


Stenciled Vintage Mod Fold-Out Sewing Box

8 Materials
$15
4 Hours
Easy
Yesterday, I rescued this Vintage Mod 60's Sewing Box from a thrift store for $5. Today I'm going to reclaim it and make it mine! Our weekly challenge is to use stencils. So I'll restore the wood, then stencil in Rose Copper and lastly fill the holes.
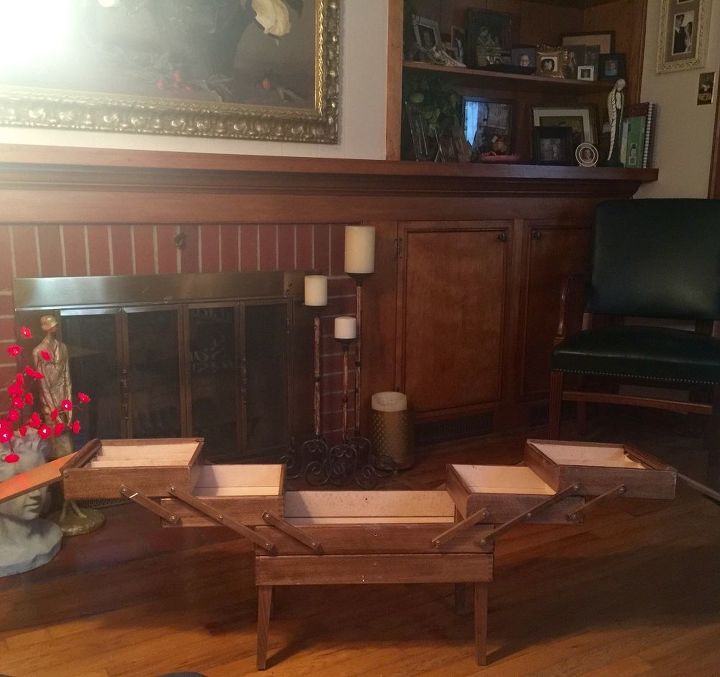
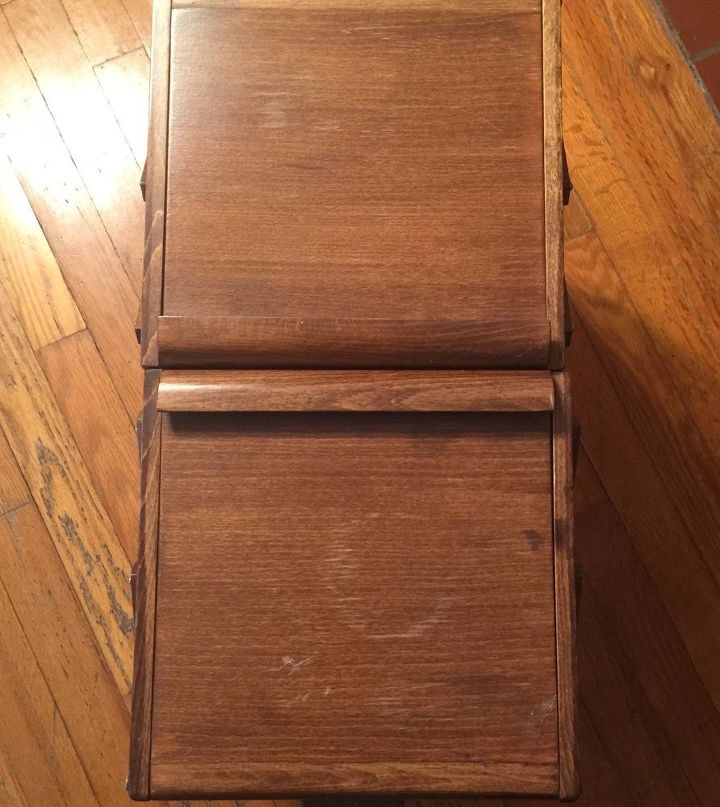
This is the shape I found it in.
The first thing I did was wipe the box down with a damp cloth for dust. Then I grabbed one of my favorite products: Restore-A-Finish. I used coffee filters to rub the solution in. I don't like the lint that paper towels leave and prefer the ease of disposable items, so I chose coffee filters.
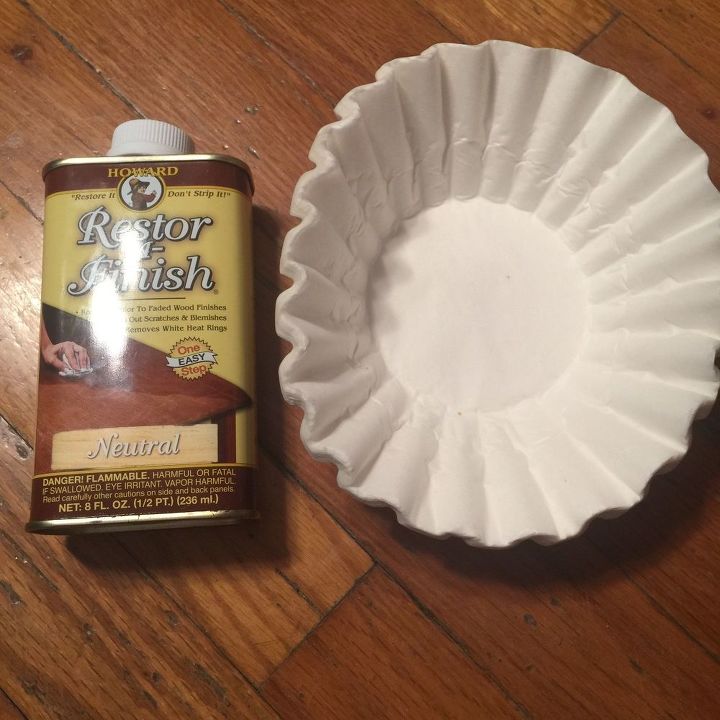
Restore-A-Finish took less than a minute! THAT is why I love this product. Perfect for the impatient DIYer! I regularly use this on my kitchen cupboards too. Here's how it looked after Restore-A-Finish.

Look at the top. White rings gone!
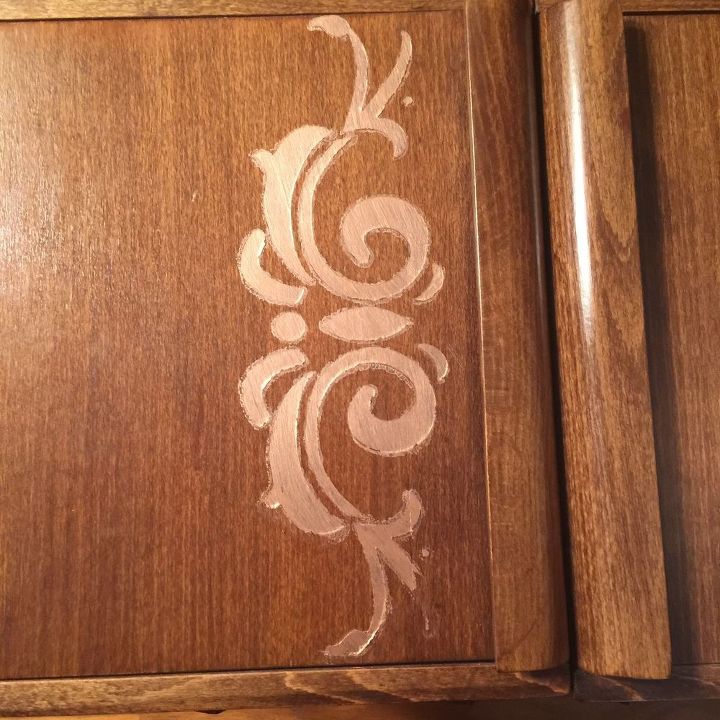
After this I jumped into stenciling with a Martha Stewart stencil and Rose Copper paint.
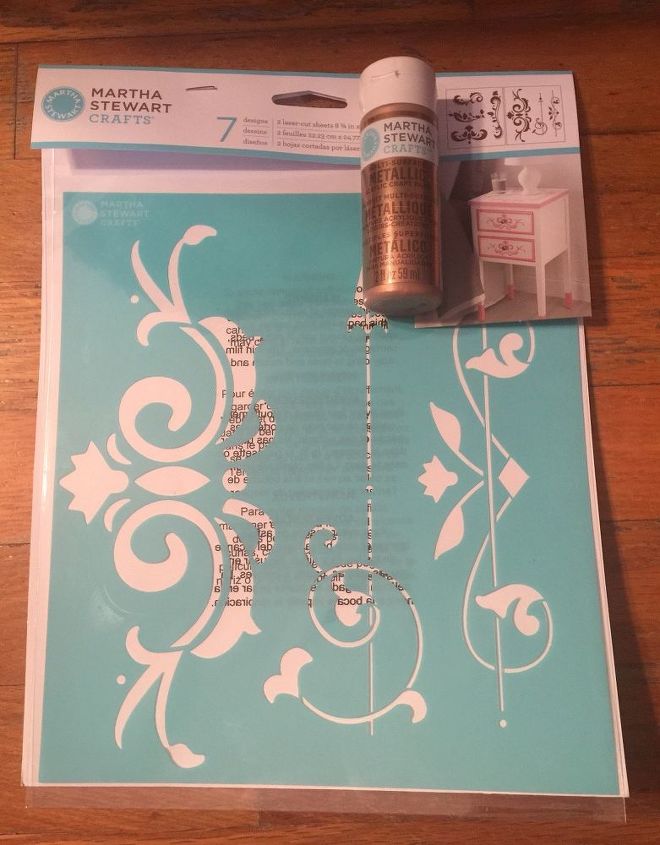
Next I taped the stencil down with masking tape. Then I didn't use the mod podge trick and ended up with fuzzy lines. Let's say I did this just to show you what happens when you cut corners 😉.
Not pretty. What can you do? Take out Dawn Platinum, scrub it off quickly and start over!
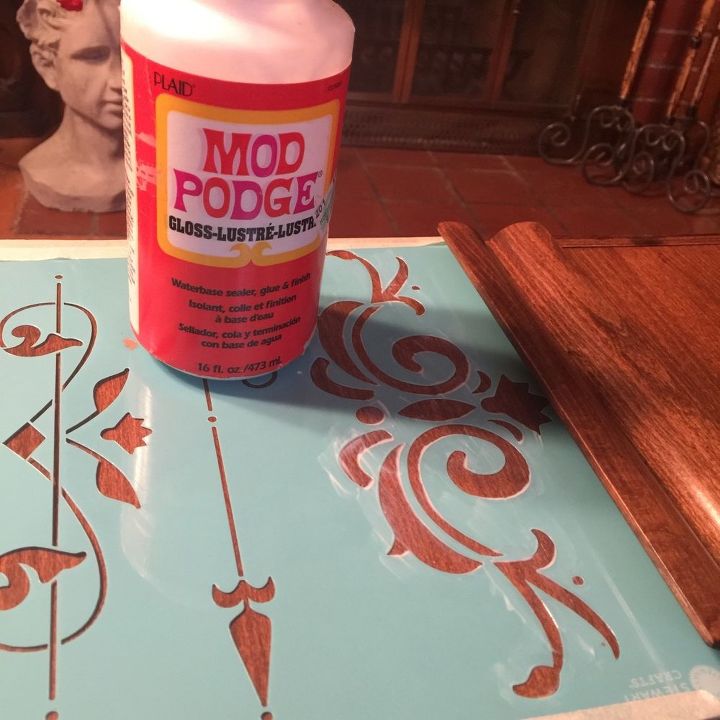
This time I laid the stencil down, retaped it with masking tape, and then put on the magic coat of mod podge over the stencil.
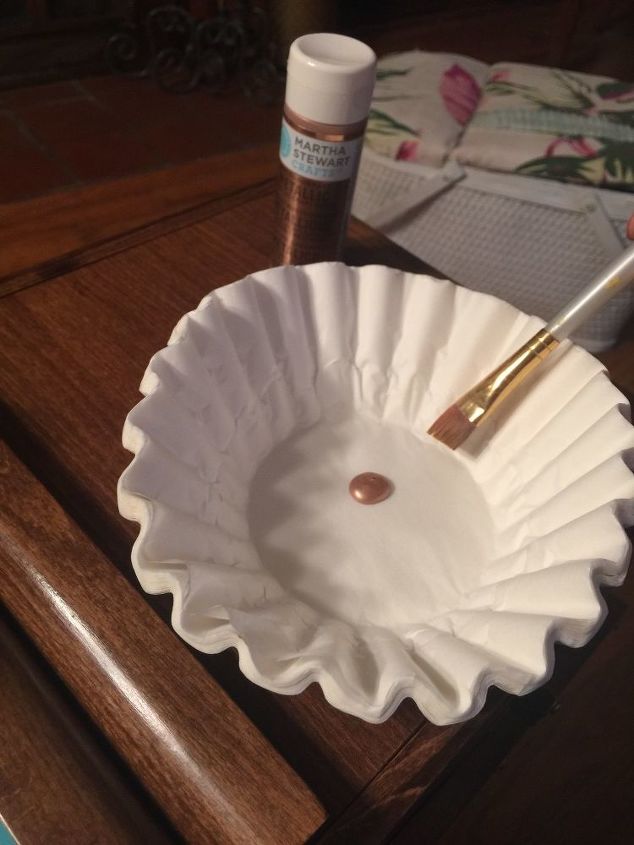
I grabbed my paint and put it in a coffee filter. Aren't coffee filters great?
Then painted the stencil in Rose Copper. It took three coats before I let it dry fully. Meanwhile, my morkie barked at the Fed Ex guy, a squirrel, rain and...well, you get the picture.

Who me? I'm not barking!
Next I prayed. Because I need help like that.
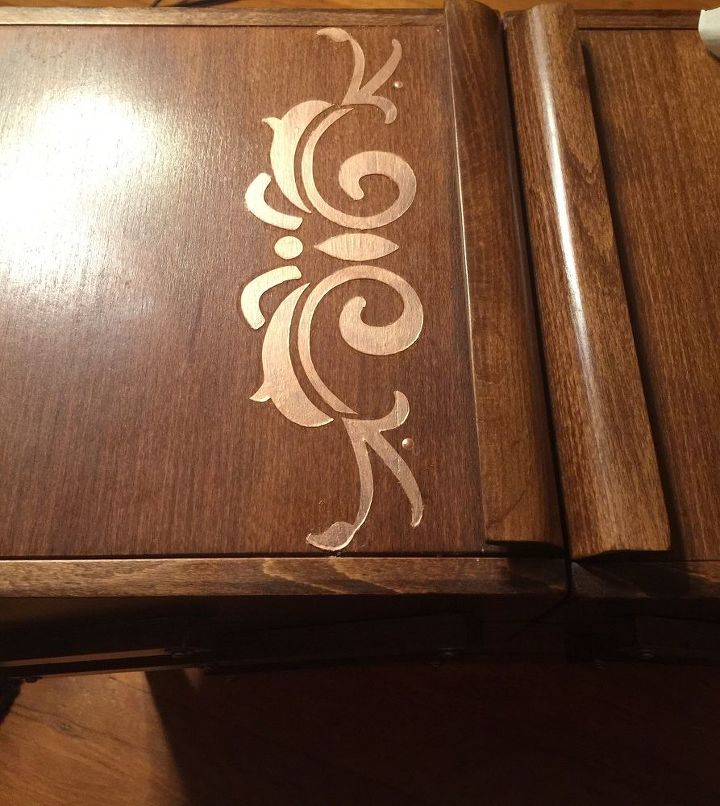
It turned out much better! So I washed the stencil with Dawn Platinum again, dried it then replaced the stencil.
This time the stencil would not hold down in all places. I tried to put a couple heavy objects in the places that were popping up.

But that didn't help. So I painted the stencil slowly while holding it down in spots.
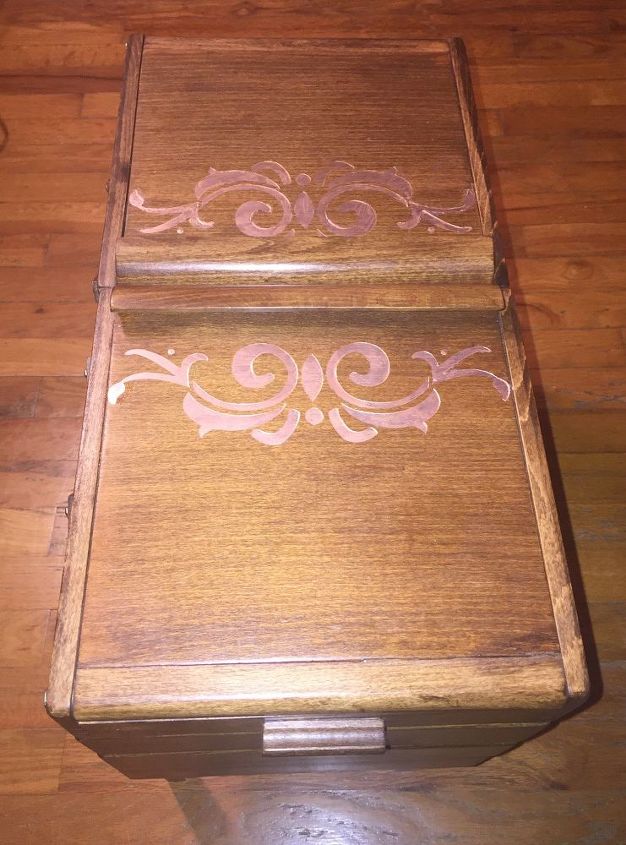
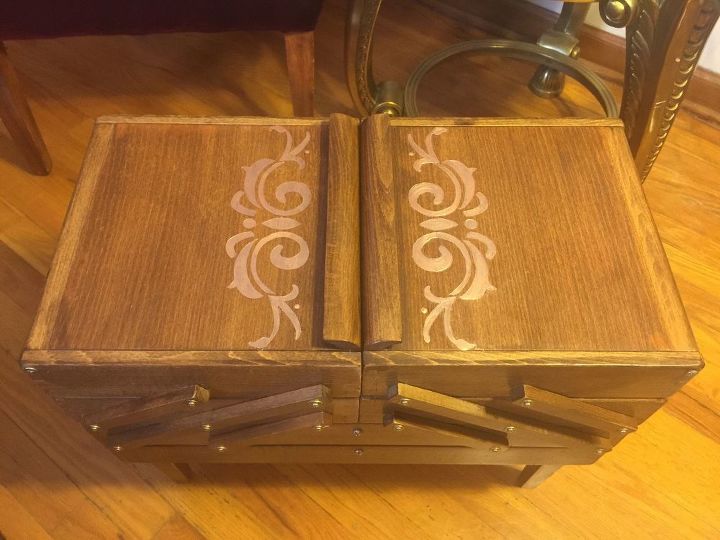
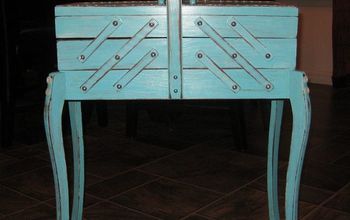
Here is how it turned out. The angle may look like the spacing is off but I put the stencil flush up against the handles on both sides to get them spaced evenly.
In a final touch, I put screws in the holes where the handle used to be and tipped all the hardware in Rose Copper.
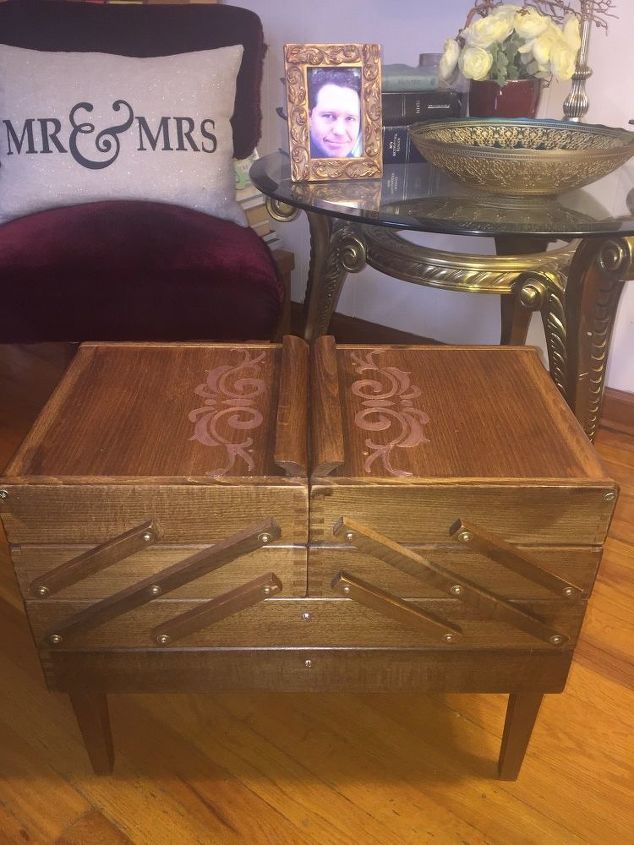
This is all the space unfolded. 5 feet of happiness!

Comments
Join the conversation
2 of 20 comments
-
I also have a box that is like this but mine has handles too. Mine used to be my Grandmother’s sewing box and for that reason I’m going to leave it like it is. No stenciling here, but yours looks very nice with it. :)
-
I have this exact same sewing box. I have loved it for years as is, but now I need to fancy it up!!


Frequently asked questions
Have a question about this project?
What you what you did to it was really great. But what I want to know is I would love to have a box like that. Where can I get it. Or maybe ideals how to build one. I 💘 that box!!!!!!!
What you what you did to it was really great. But what I want to know is I would love to have a box like that. Where can I get it. Or maybe ideals how to build one. I 💘 that box!!!!!!!
What you what you did to it was really great. But what I want to know is I would love to have a box like that. Where can I get it. Or maybe ideals how to build one. I 💘 that box!!!!!!!