


To Mod Podge or Not To Mod Podge?

I love to stencil and for most projects, I really want a clean crisp line. Sometimes it seems this is IMPOSSIBLE! But its not! I thought I would share a quick demonstration on stenciling with Mod Podge...yep.. Mod Podge!!
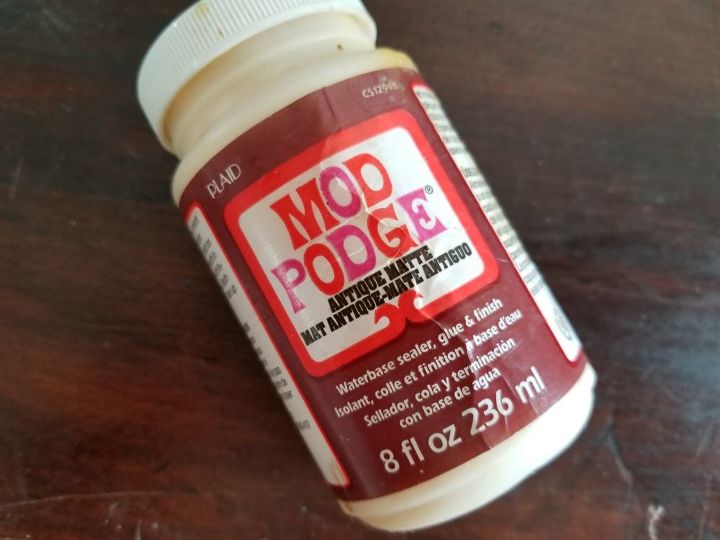
I think every DIYer has used Mod Podge at one time or another for a project, but here is one more use to add to your DIY arsenal.
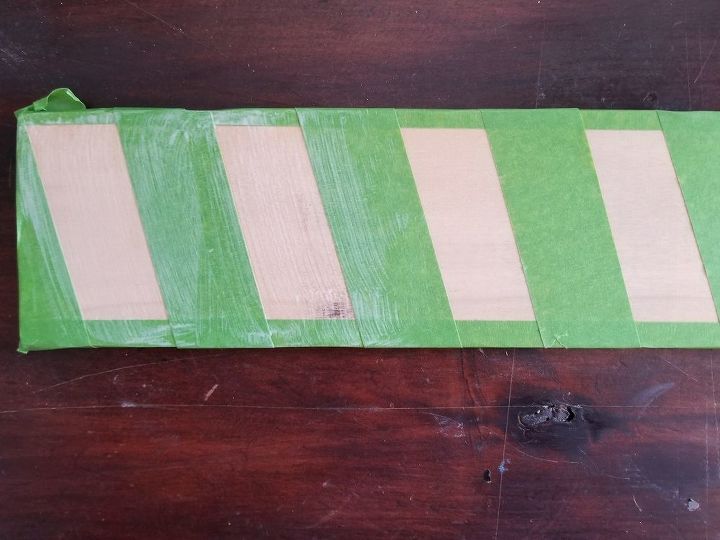
THE TEST! First thing i did was tape a piece of wood with a pattern and then I applied Mod Podge to half of the board.
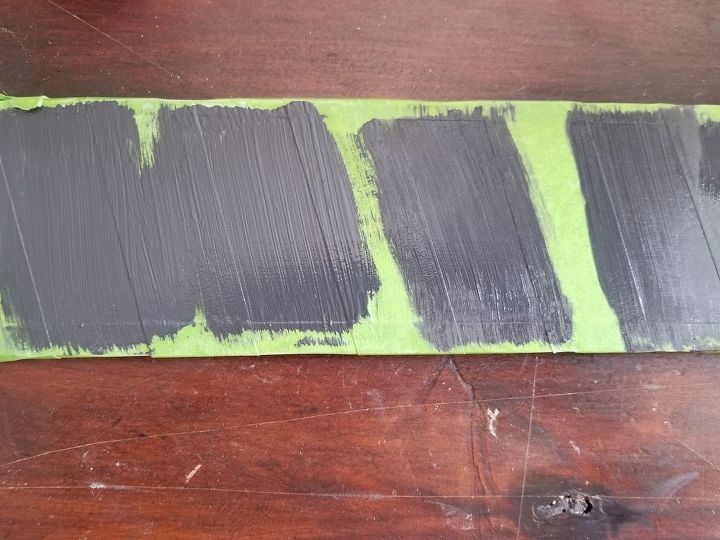
Once the Mod Podge is "dry"( a few minutes), I painted all four sections with Rust-Oleum Chalk Paint. I purposely went in different directions and then feathered it to give it a smoother look. One thing I did notice was the sections with the Mod Podge took a little longer to dry.
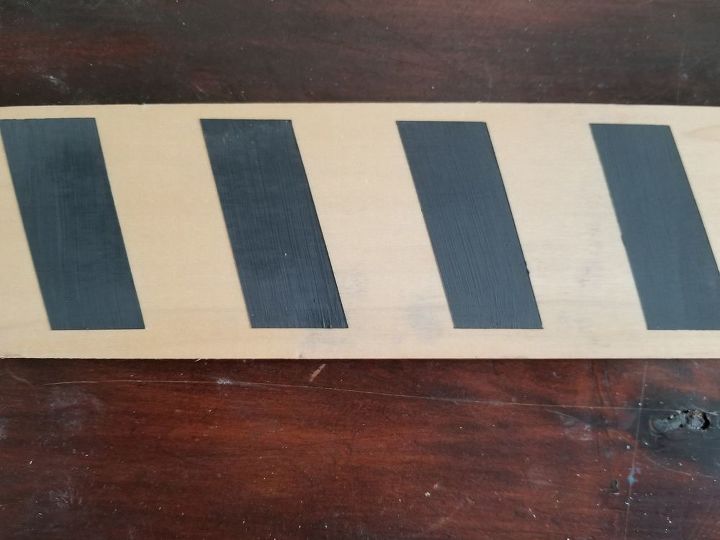
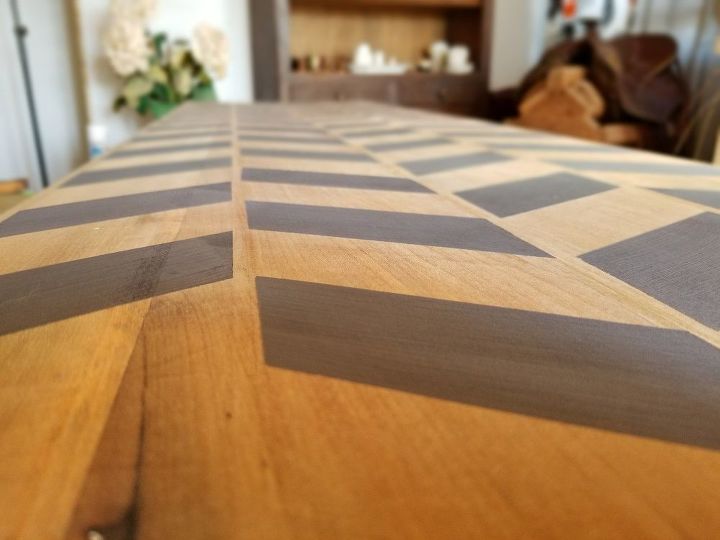
Once the paint was dry, I removed all the tape. From afar, it looked great!
But lets take a closer look...
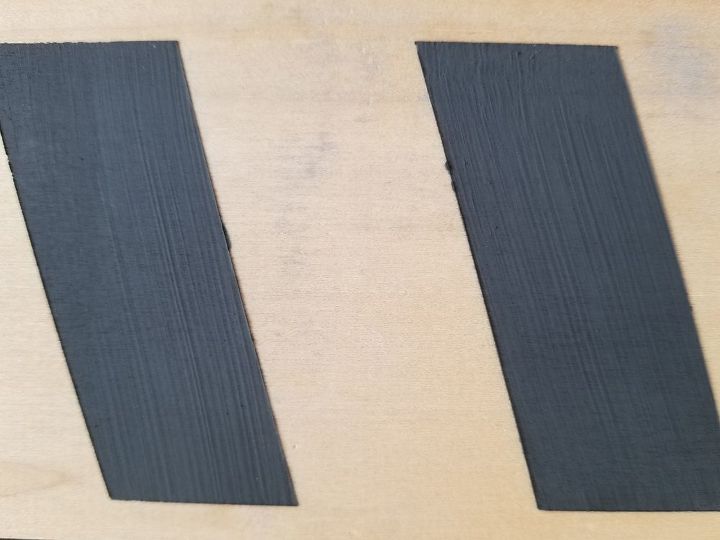
No Mod Podge.... Not too bad. There was a little bleeding and unevenness to the edges. Livable but not perfect!
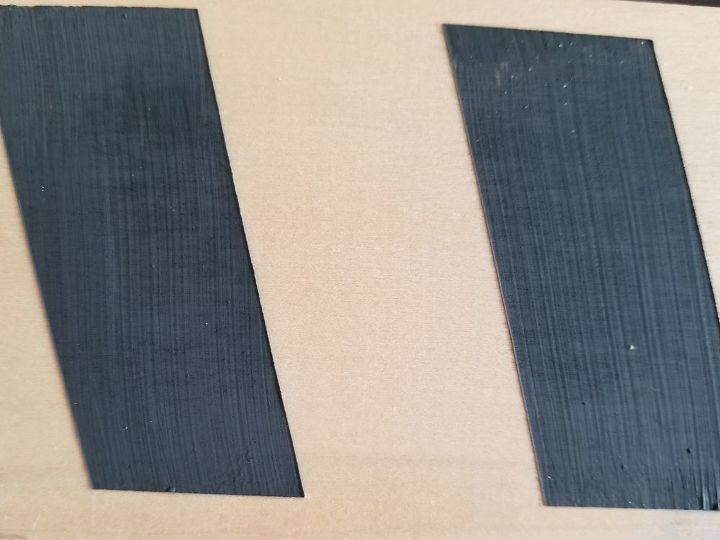
With Mod Podge. PERFECT! The lines were all super clean and crisp.
In short. Its definitely worth the extra time and effort to apply the Mod Podge first!
Next time we'll test out this method on a real "stencil"... So be sure check back or to head over to our Channel and subscribe to our channel.
Comments
Join the conversation
-
Love this technique! Thank you!
-
Thanks so much Wendy!


Frequently asked questions
Have a question about this project?