


Ooh La La That Desk! (it's French You Know...)

1 Material
1 Week
Medium
Ok, not really. At least not the desk itself : ) The writing however is apparently. I would not know French if it hit me in the face, and that after having spent 3 years of my childhood attempting to speak it! The best I could do for you is Les haricots verts, which is green beans and one of my favorite vegetables! hahaha
It's the little things....
So on to the desk. I was perusing Face Book one day when I came upon this computer desk. I work from home, I am in I.T., AND I just happened to need a desk! It was the perfect size, 5 minutes from my house and CHEAP! Winner , winner chicken dinner! The fact that it was boring orange/brown didn't matter, I could make it my own.. off to snatch it up I went!
I used it as is for a while because I didn't have the time to mess with it. I was organizing my office the other day and decided I had just had enough of boring , time to redo my desk.... Here's how it went...
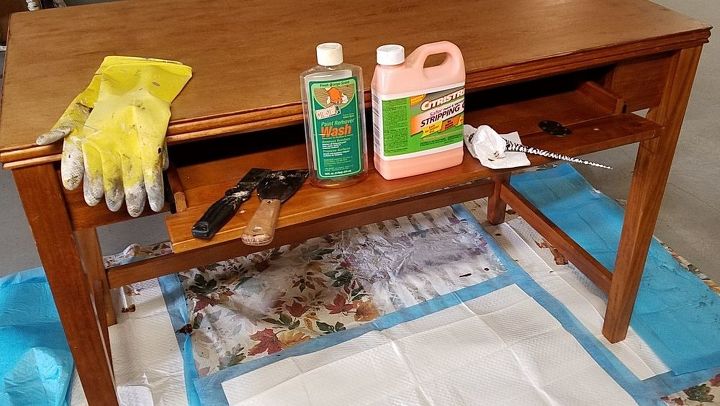
I already knew what I was going to do with it. So I got out the handy dandy Citristrip (with low voc), gloves, scraper and cleaner.. Off with her clothes!! Well , off with the ugly finish anyway : ) Then I quickly sanded the remainder of the desk because that part would be painted.
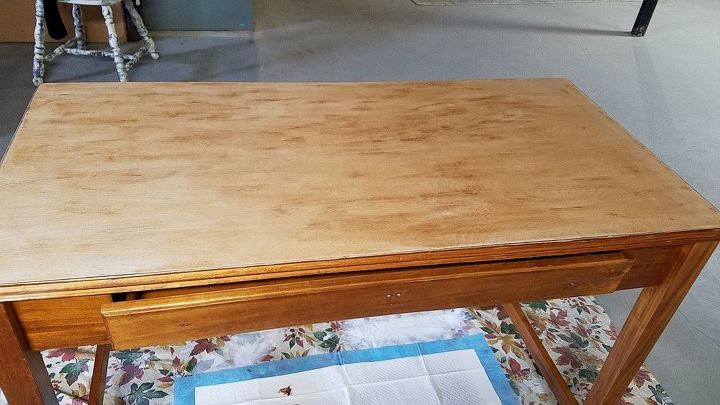
Top stripped and base lightly sanded.
Because the desk was brown, I decided that it would be prudent to paint a quick coat of primer. I used Zinsser. in the Picture I had already done one coat of the stain on the top of the desk. I used Minwax Jacobean. It was not as dark as I wanted by itself, so I mixed the Jacobean with a little Minwax Ebony for added color and depth. That gave me what I wanted.
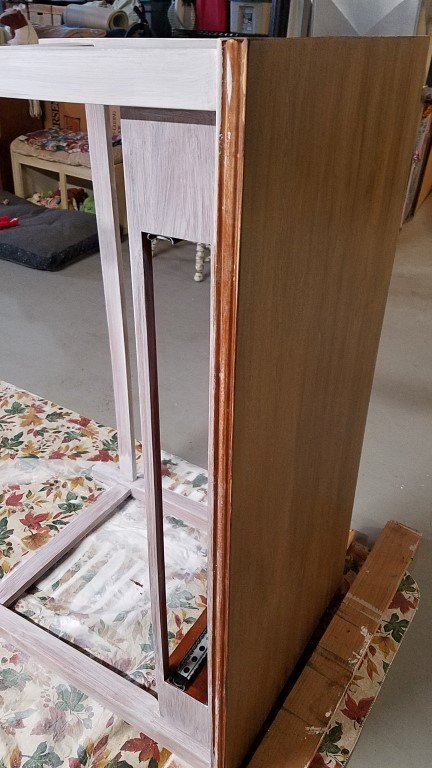
Painting the desk a creamy color with Martha Stewart home décor eggshell In the color Sumner Linen. It took two full coats and I added an extra watered down coat to smooth the finish a bit. The top of the desk now has two coats of stain.
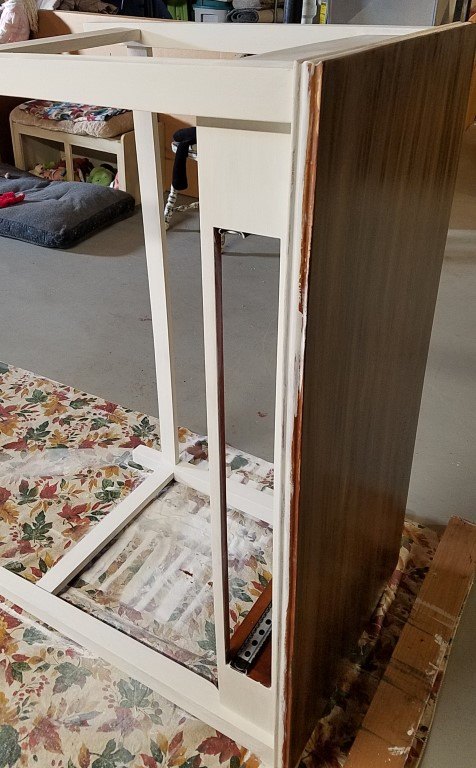
After the second coat of stain dried, I taped off the top of the desk and finished painting around the edge with the cream paint. (Don't have pics of that process). I then put the third and last coat of stain on the top.
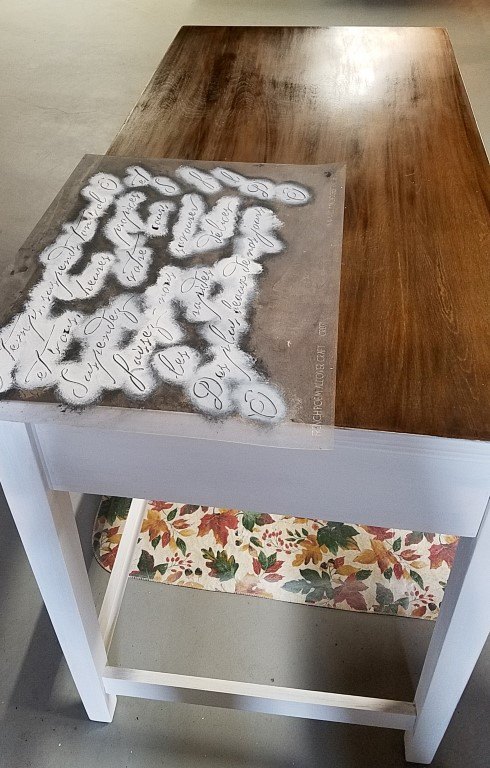
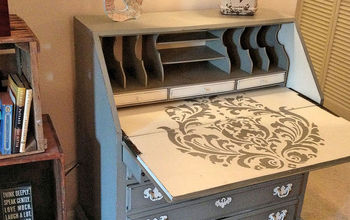
Adding the stencil. I used the same cream colored paint. I purchased the stencil from Amazon. I've had it a while.
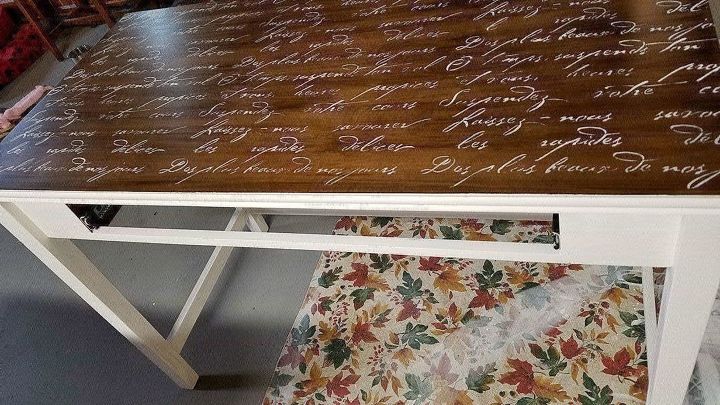
Stenciling done and clear coat on : )
NOTE: I used Polycrylic at first because I had it on hand. It left horrid paint marks even with sanding in between coats. I ended up buying some Varathane which I heard was much better at self leveling and no sanding in between coats. That worked MUCH better.
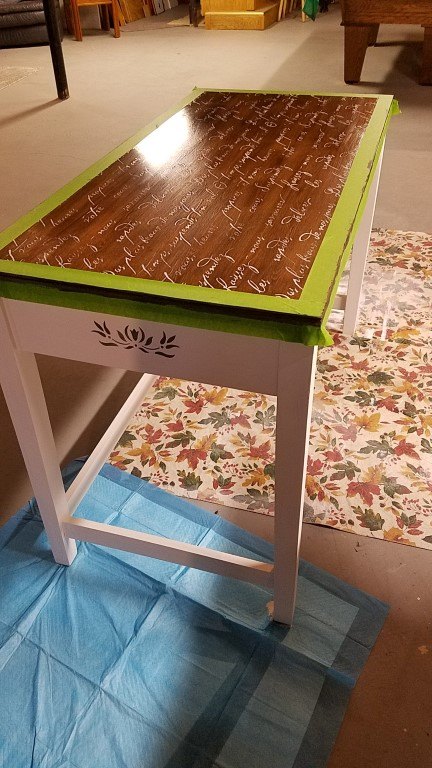
After the top dried, I taped off the top of the now white edging and finished off just the top part of that in a bronzy color called Blackened Iron also by Martha Stewart (love this color!) . I had already painted the hardware in dark Bronze (Rustoleum Metallic Oil Rubbed Bronze) and I wanted the accents to match. You can see I also stenciled the side and back panels with the bronze color. I distressed the desk, then used clear and antiquing wax for the finish.
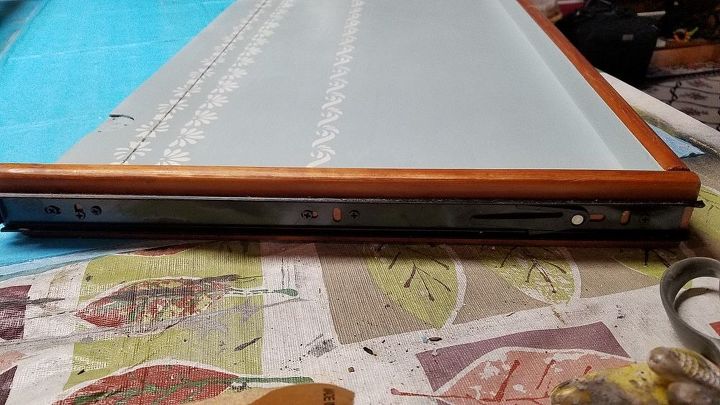
This is the 'keyboard' tray (that looks like a plain drawer when closed). I Painted the inside with a 'surprise' color by Americana called Vintage. Stenciled with the cream color. Then I took of the side rails, taped off the inside and painted the remaining parts of the tray in cream. I spray painted all the hardware with the Rustoleum as mentioned earlier.
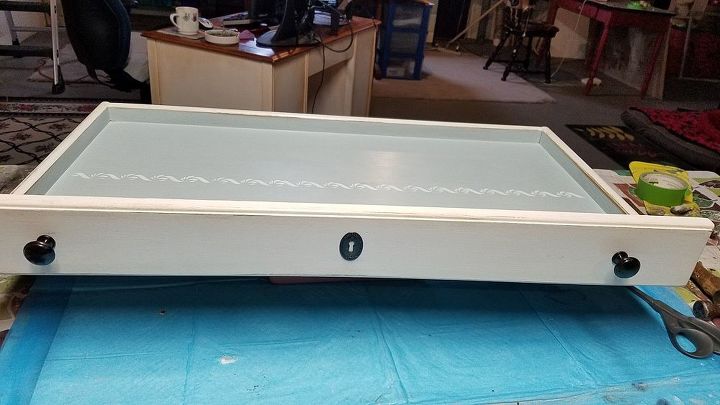
Here is the drawer all finished with the hinges back on and the hardware installed!

Here she is in all her new glory. I love it now!
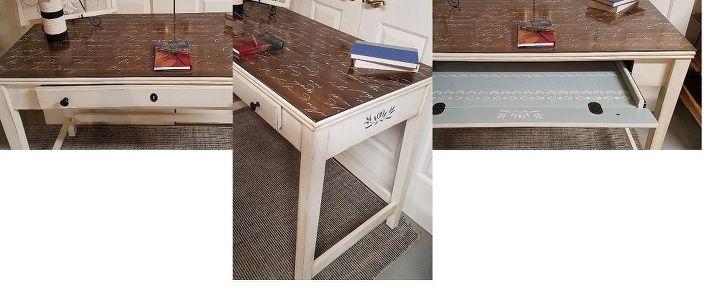
More views.
Because I had everything on hand, and reused the hardware , this project only cost me my time. I think it time well spent :)
Comments
Join the conversation
4 comments
-
I love the update!!
-
You did a beautiful job on your makeover of this desk. Nice work - a showcase piece for sure!


Frequently asked questions
Have a question about this project?