


Make Your Own Laminated Labels

by
Emily Counts
4 Materials
$1
10 Minutes
Easy
Labels are such a great way to organize your home! Laminating your labels makes them durable and reusable since you can write on them with a wet erase marker. If you need to make some DIY labels, here's how to laminate them!

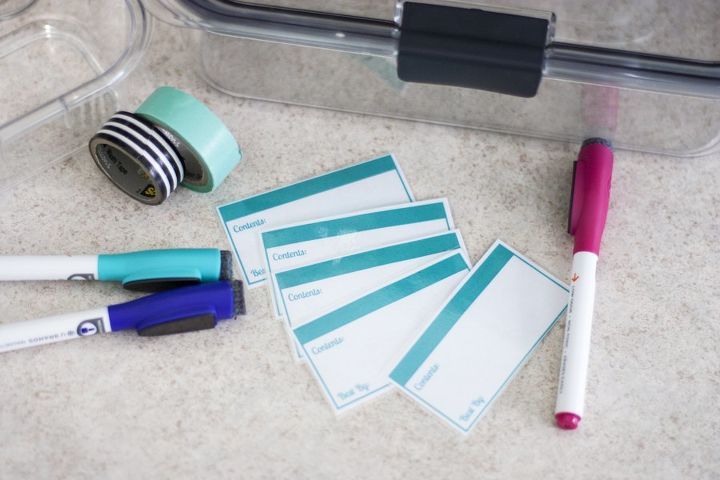
Print out the labels you want to use. You can find links to a few free printable labels on my blog.
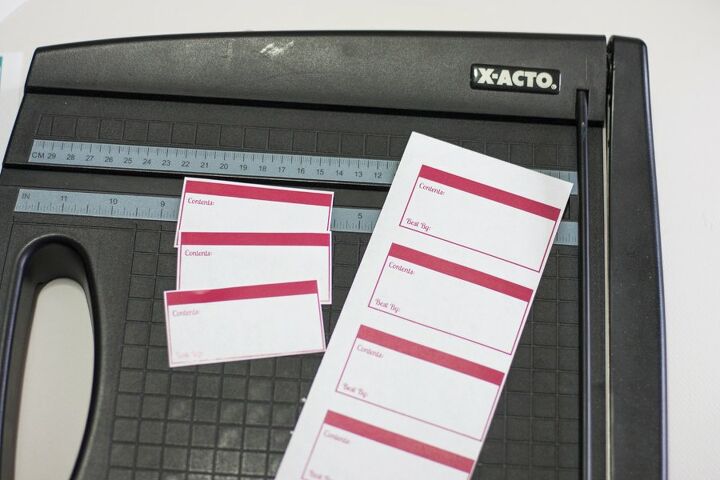
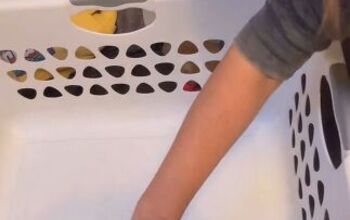
Cut out your labels. I used a paper trimmer to get the sides nice and straight, but a scissors also works.
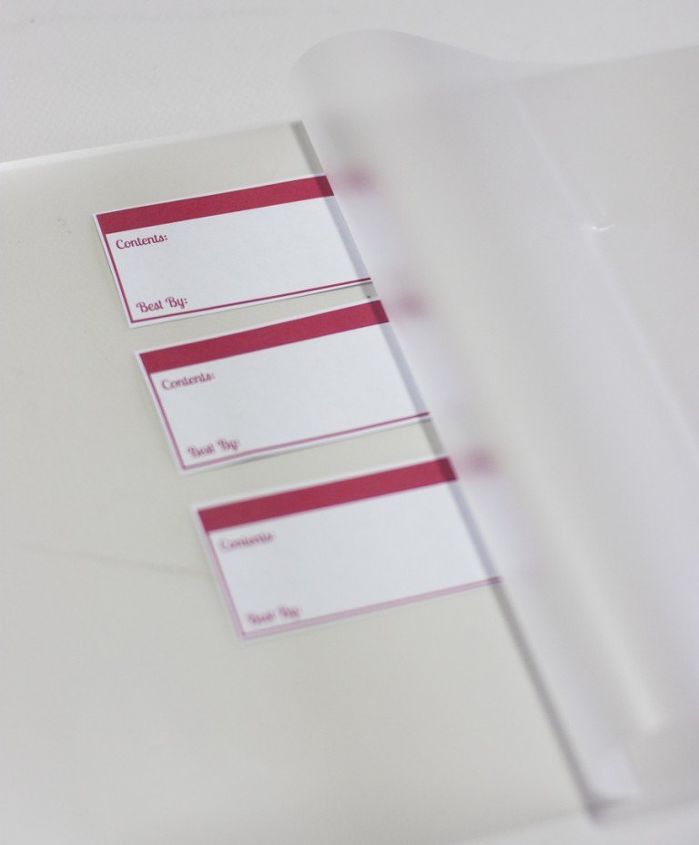
Insert your labels in between the two sides of the laminating pouch.
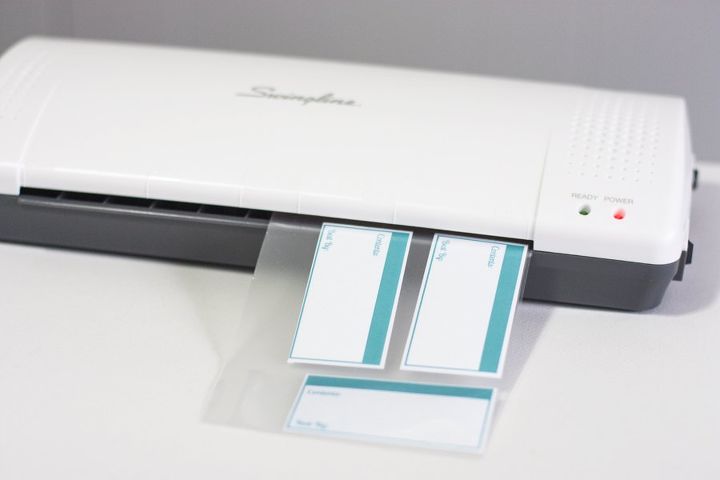
Turn your laminating machine on and wait for the indicator light to turn on once it warms up. Simply insert one end of your laminating sheet into the laminator and it will feed through the machine. Laminators are super useful and very inexpensive!
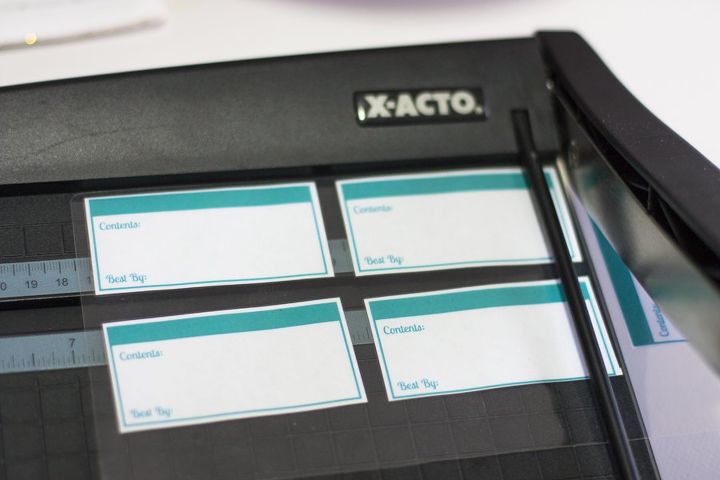
Cut out your laminated labels using scissors or paper trimmer.
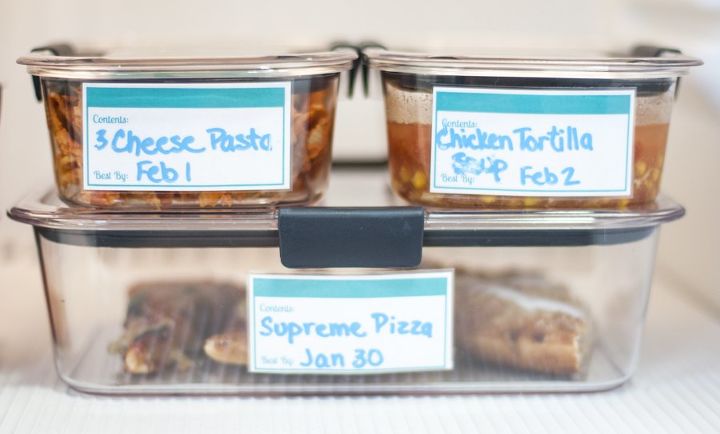
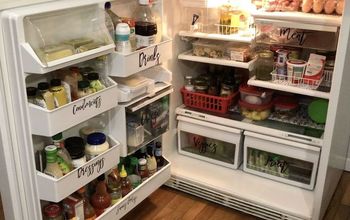
Put your new labels to use! I use these laminated labels for our leftovers. Using a wet erase marker, I write down the food and date and tape them on our food storage containers.
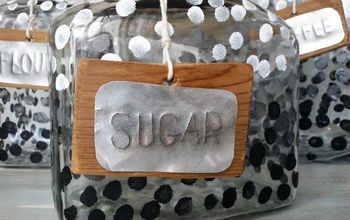
You can also laminate labels with pre-written or pre-typed text if you want the text to be permanent.
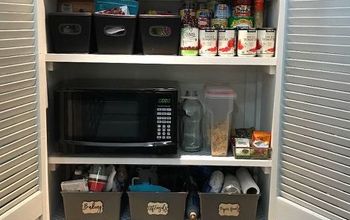
Laminating labels is easy and very useful for organizing projects all over the house!
Resources for this project:
See all materials


Any price and availability information displayed on [relevant Amazon Site(s), as applicable] at the time of purchase will apply to the purchase of this product.
Hometalk may collect a small share of sales from the links on this page.More info
Want more details about this and other DIY projects? Check out my blog post!


Frequently asked questions
Have a question about this project?