


Pickle Your Pine to Lighten and Brighten

by
Adele Kurtz
3 Materials
$50
1 Week
Medium
My country home is filled with natural wood. Knotty pine has aged to golden hues. White and bright is trendy now, and I'd like to lighten up, but I prefer to keep a light touch on solid paint on permanent pieces. Not solid white, but a more subtle effect of stain with a bit of paint in it, protected with a coat of poly .
I have restored a few historic homes which included labor-intensive, lung-damaging stripping of layers of misbegotten paint over beautifully aged wood. So I feel this effect is a good compromise.
I love texture and natural elements far more than smooth paint and plastics. I'm bending my purist tastes, struggling to keep a balance.
So I am introducing clean crisp whites with bold splashes of color, while keeping lots of texture and authenticity.
Mix and match.
And here's where I'm at this week.
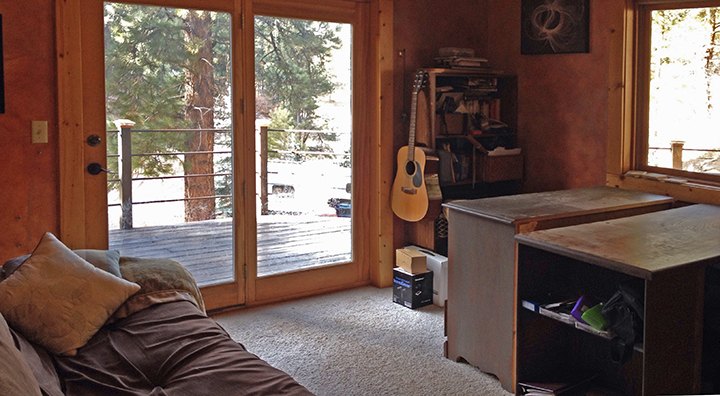
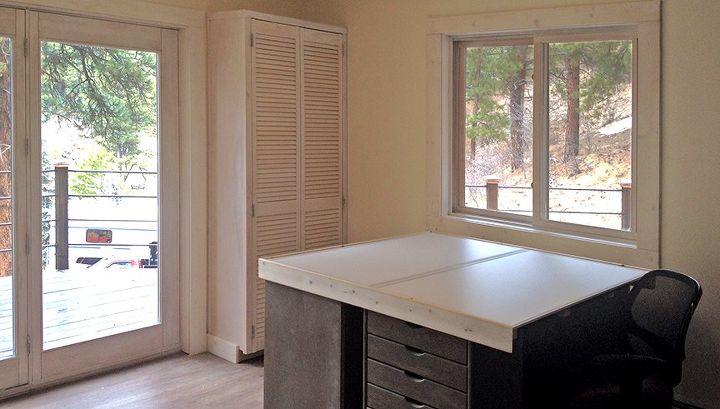
BEFORE: kids room used for guests & storage
I have BIG PLANS for this space. It has seen a lot of abuse as a kids room then as a guest room. I want to lighten and brighten it, personalize and use it as my Creative Space.
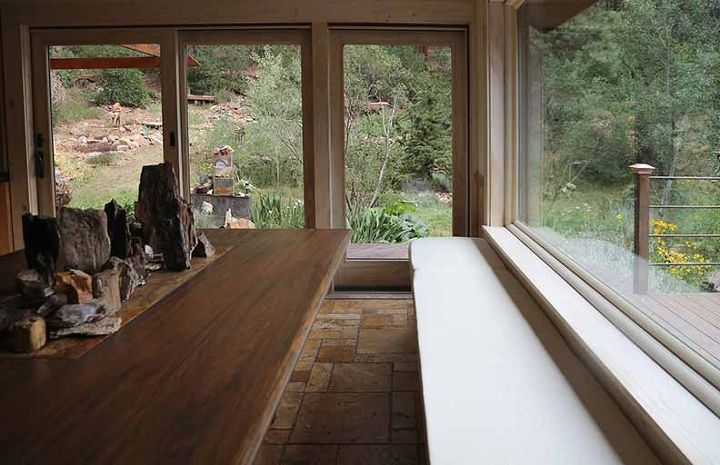
My INSPIRATIONal Success Story
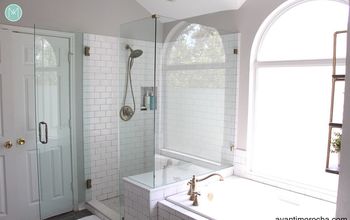
I want to duplicate my success with the windows in the dining area of the house. These were a new install that I finished last year in the pickled stain and added a creamy leather window seat.
See post:

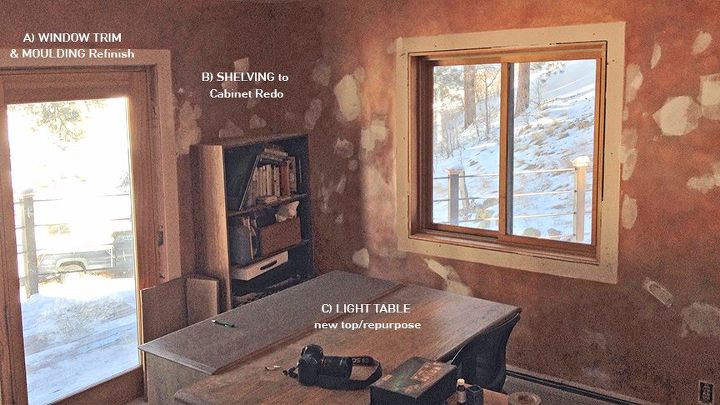
BIG PLANS for my new CREATIVE SPACE
Here's the plan....
I will be posting the steps as I go along with my plan. Please follow me to check on my progress.
First things first:
1. REMOVE WINDOW TRIM and BASEBOARDS. Since these pieces were merely nailed in, it will be easier to plane, sand and finish them when removed, then reattach.
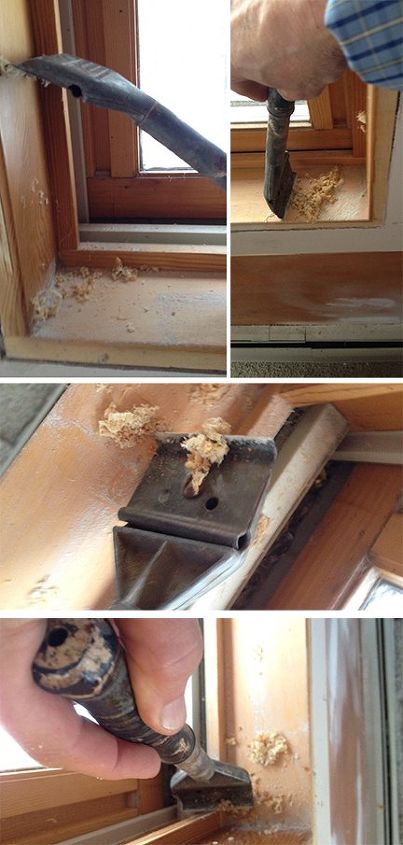
2. STRIP OLD COATINGS OFF using a scraper first
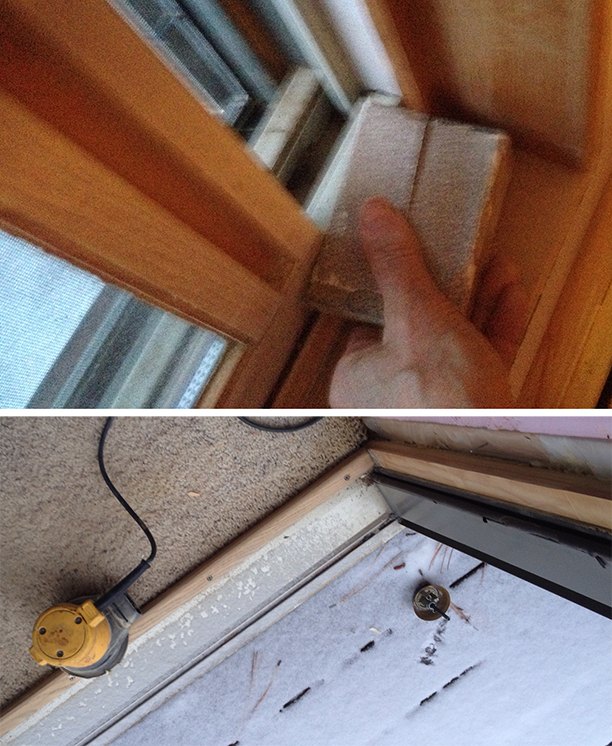
Sanding corners & trim
3. SAND all wood down as close to natural as possible.
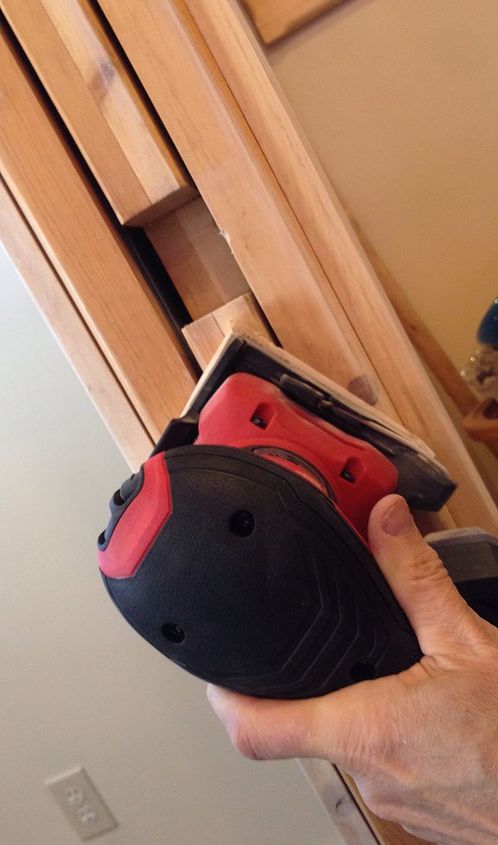
I invested in this Milwaukee PALM SANDER after starting this job. Made faster work of corners and trim. Used 100 and 220 grit.
BTW: I borrowed a palm sander from my contractor and loved his. Even though the 7 Amazon reviews for this Milwaukee brand were less than others, this brand is considered a "powerhorse" in the construction industry. A few disses in the reviews about the clip not holding seem to be old as mine did NOT have the same problem.
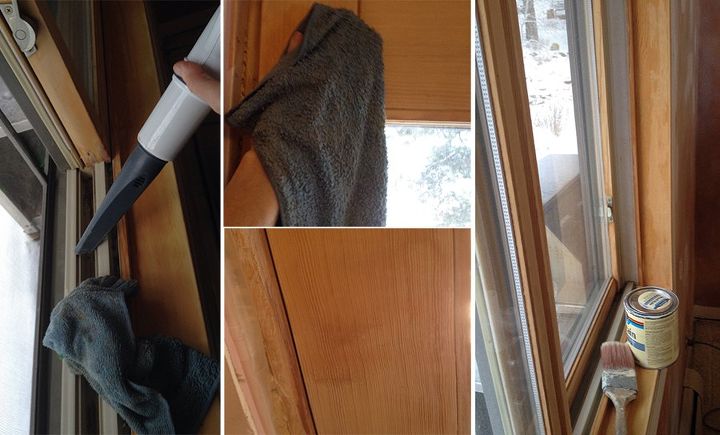
4. CLEAN & PREP using a vacuum and damp cloths which also brings up grain and shows your imperfections -- as in the lower middle shot. Thought it was good enough, until I dampened it and saw I had more work to do.
You will NOT be able to get every inch of old finish off, such as in the cracks. Don't obsess, just try your best. The more you remove, the better the results. The pickling stain has some paint in it that will get into those cracks and blend ok.
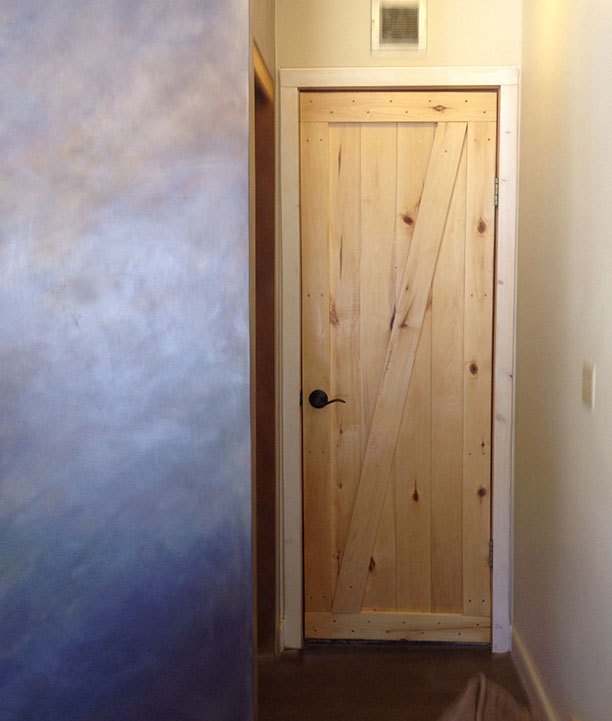
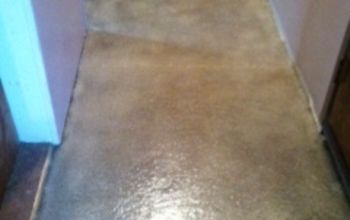
Here's a preview of what the effect looks like. Pickling stain on the left, natural finish to the right-hand side of the window... The door is the old finish.
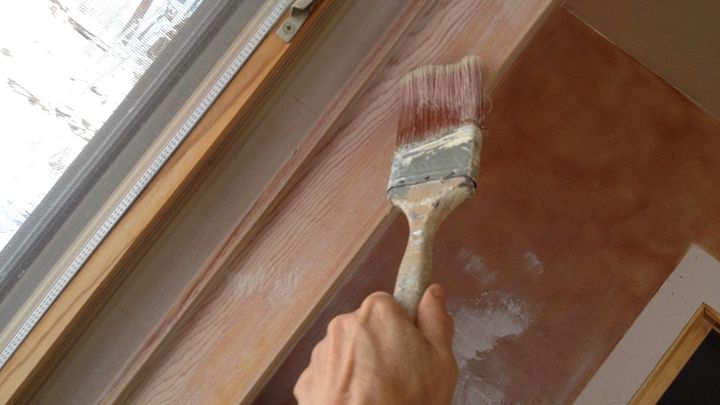
5. BRUSH and BLEND in the STAIN. Minwax recommends working against the grain first, then blending in with the grain. You can dilute the stain for a more transparent effect, or add extra coats depending on how white you want to go.
I like to let the knotholes and other grain details show through, which requires a bit of finesse with the brush. I apply a coat of stain first, then use a diluted brush half stain/half water to pick up some of the details.

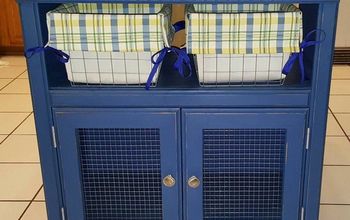
Whitewash/pickling first coat vs unfinished
Here is a cabinet we made for that corner that shows the process: pickling/whitewash next to the unfinished, raw wood.
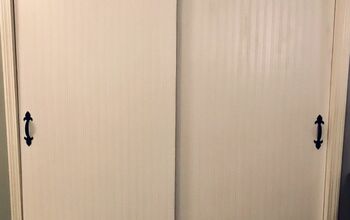
TIP: We refashioned the hardware on a bi-fold door so that the hinges were on the outside edge for a shutter effect.
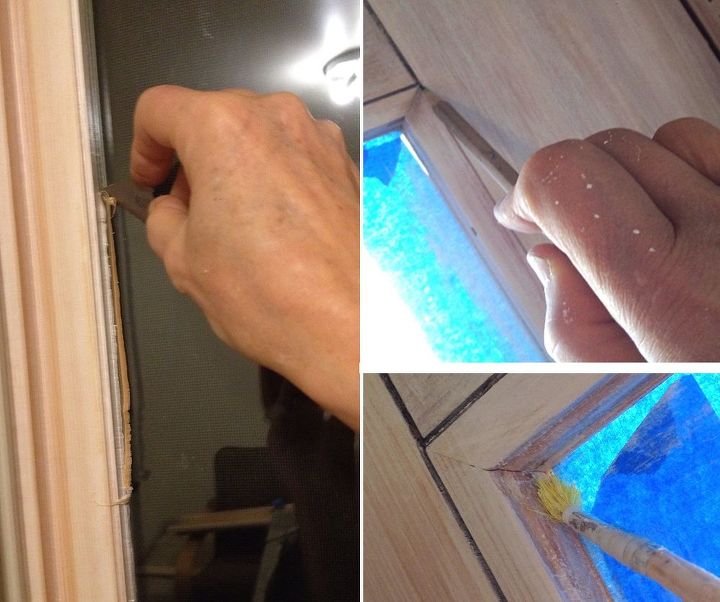
6. DETAIL Whether or not you see God or the devil in the details depends on your level of finish. I take the time to make sure I blend the corners, fill in the cracks, trim out old junk and pencil in my edges. Far from perfect, but a little bit closer.
TIP: Whether this project comes off as a typical DIY or looking more professional than what your family and friends may be expecting, really depends on your level of finish, blending and touch up.
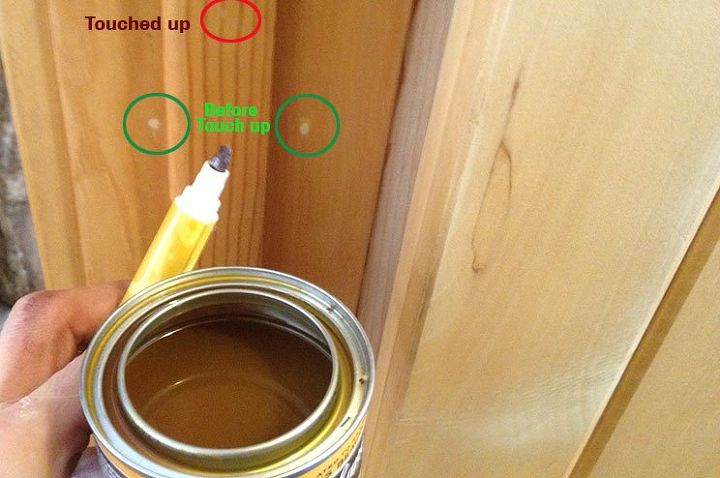
Here's another trick I discovered. This example is in an area I am leaving the natural pine. Since the old wood ages faster than the hole patch, you may need to touch up acne scars. I take an old marker and dip it into stain mix to match. It's easier to dab on that way.
Can you see the retouch in the red circle? Look closely.
7. POLYURETHANE COAT Use a WATER-BASED Poly so that it does not yellow. I used a satin finish.
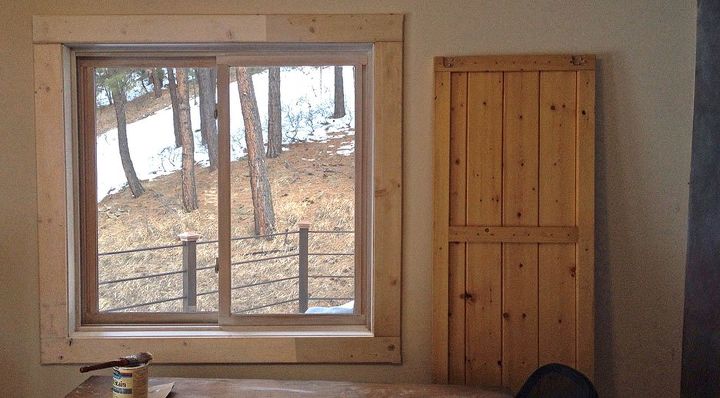
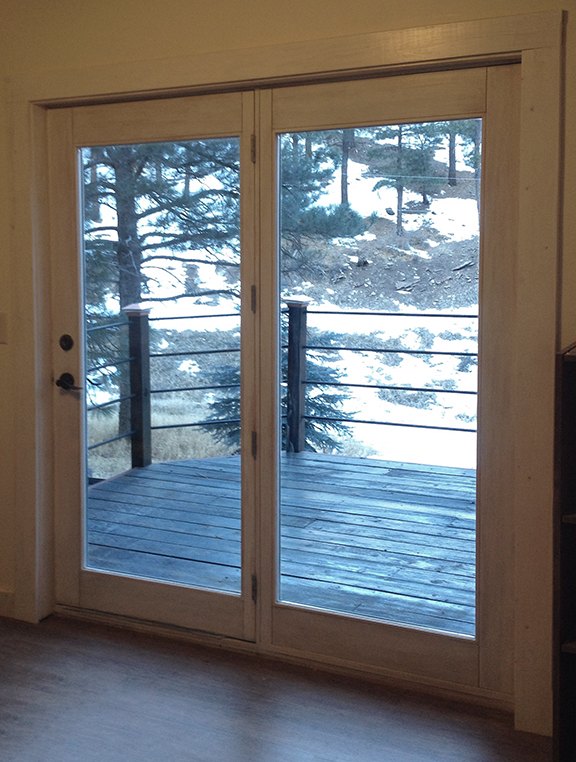
I chose to sand and stain the doors in the natural finish, and pickle the trim.
I like the pop of contrast, lighter and cleaner than when we started.
TaDa!
Here is the same view toward the corner showing how the room looks now. Shot in natural afternoon light so you can see the variations in white tones which change throughout the day into the night.
- Neutralized, so that the outdoor views will pop prettily.
- Decluttered, so that materials are INSIDE a closed cabinet or hidden in drawers within the light/work table.
Colorful artwork will be added on the walls. The light/work table will always showcase a work in process. Splashes of color like the purple wall shown above will add flash, coordinated with accent throw pillows on the neutral brown futon for our occasional guests.
Please follow me to see the progress on the other steps involved in this transformation.
Comments
Join the conversation
3 of 12 comments
-
I definitely love this. And I wish I'd known this was possible before I painted my now office white. I would have loved the whitewash, but had no idea how to do it. The wood (tongue and groove pine) was much too dark for a small room. Live and learn :) Thanks for such detailed comparison photos and explanations!
-
I love it . I hate it when people go dark all the time , This I love . You did a wonderful job. Thank you so much for sharing this. I just love it.


Frequently asked questions
Have a question about this project?