


How to Turn Barstools Into Nightstands
If you love this project, grab your quick start DIY guide & subscribe to our blog!
See how to transform $5 barstools from the thrift store into nightstands. Upcyling a bar stool into a nightstand is so easy to create with a little chalk paint and wood for shelving.
I received product samples from General Finishes for review purposes for this post. The opinions are completely my own based on my experience.
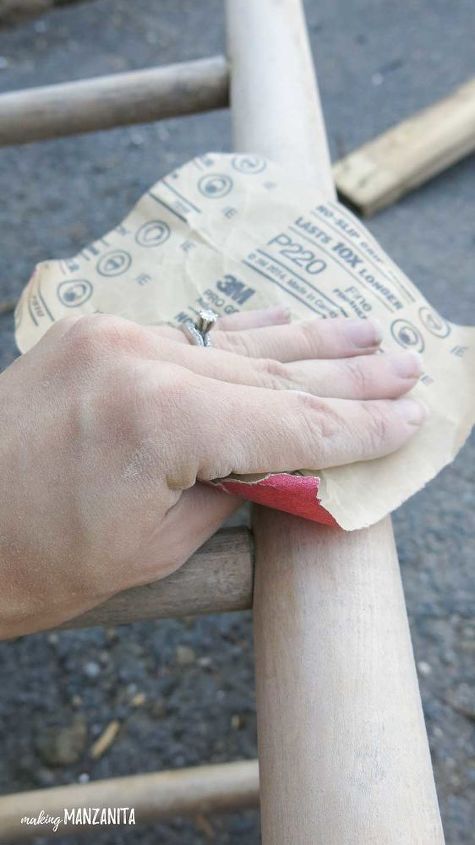
STEP 1. SAND BAR STOOLS.
Lightly sand the bar stools. You want to remove the finish and give the paint a rough surface to adhere to.
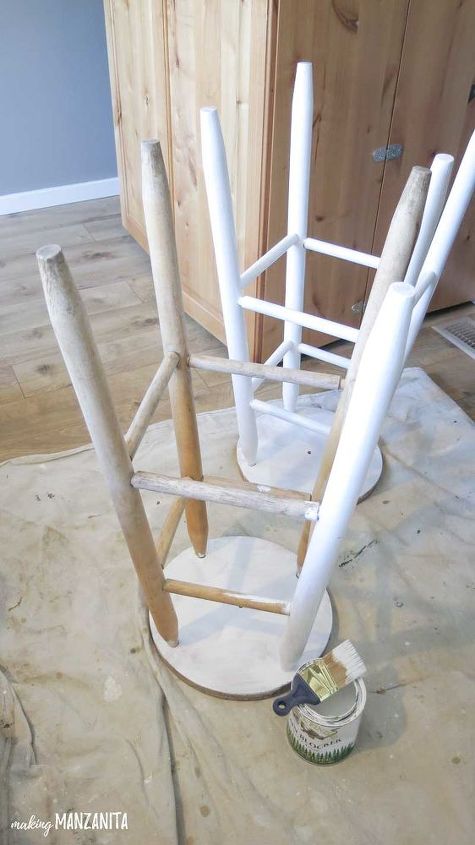
STEP 2. PRIME BAR STOOLS (OPTIONAL).
I used 2 coats of the General Finishes stain blocker white primer. This helps prepare the bar stools to be painted and provides great coverage so you end up using less chalk paint because you’ve already blocked the color of the wood. However, I DID find it a bit harder to distress the bar stools since I used the primer.
STEP 3. CHALK PAINT BAR STOOLS.
Apply chalk paint to the bar stools. I did 2 coats.
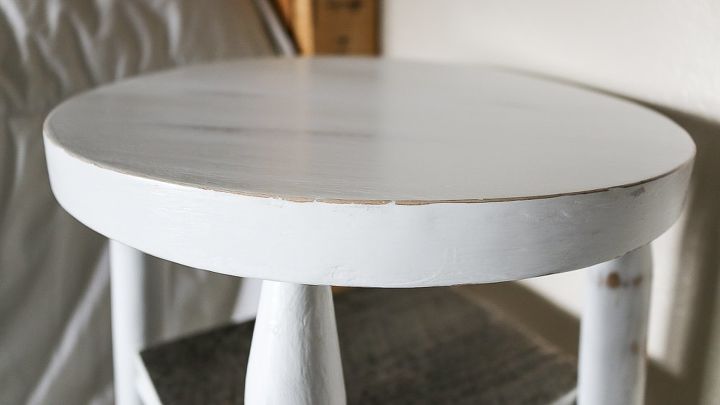
STEP 4. DISTRESS PAINTED BAR STOOLS.
Sand the bar stools down to your desired distressed look. Be sure to use a tack clock after you’re done distressing to get all the sanding dust.
STEP 5. SEAL BAR STOOLS.
Using the top coat sealer, brush on one coat with a foam brush in smooth even coats. Don’t brush back and forth a lot. Just one coat brushed on and leave it so it doesn’t start to gum up.
STEP 6. CUT WOOD SHELVES.
Each barstool will be different, so measure your bar stool between the rungs (footrests) to see how big you need to the wood shelves.
STEP 7. PAINT EDGES OF WOOD WITH CHALK PAINT.
Block off the top of the wood with painter’s tape to protect it before painting and then apply 2 coats of chalk paint.
STEP 8. SAND EDGES OF WOOD.
Give the edges a little bit of sanding to make it match the distressed look.
STEP 9. SET WOOD INTO UPCYCLED BAR STOOLS.
Just set the ghost wood onto the rungs of the upcycled barstools and VOILA…they are all the sudden now nightstands!

Transforming these thrift store barstools into nightstands was really simple. All it took was a little bit of painting and some wood shelves cut down to size!
Love this tutorial? Check out more like it in my painting archives here.


Frequently asked questions
Have a question about this project?