


Install Board and Batten Lattice Wainscoting
4 Materials
$100
3 Days
Medium
I’m always drawn to wainscoting in homes. I saw this Lattice-style Board and Batten in a Disney Resort last year and just loved it. So, I had to add it to my home!
This DIY board and batten wainscoting isn’t very hard to install, but it does take time and detail work. But with the tricks and steps I've written up, you can easily get this look for your home. Wainscoting can add instant value and classic style to your home. I think it’s always best to stick with wainscoting styles that work with your homes over all style too. There are so many variations of wainscoting, you can always find one that works.
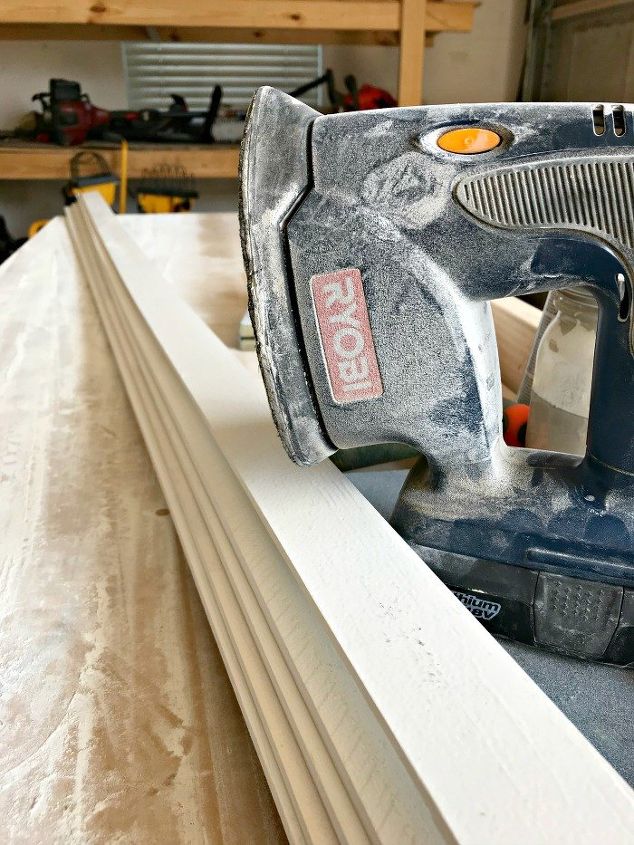
Start by sanding the lattice before bringing it inside. Use 120 or 150 grit sand paper. I used the lattice boards that are already primed.
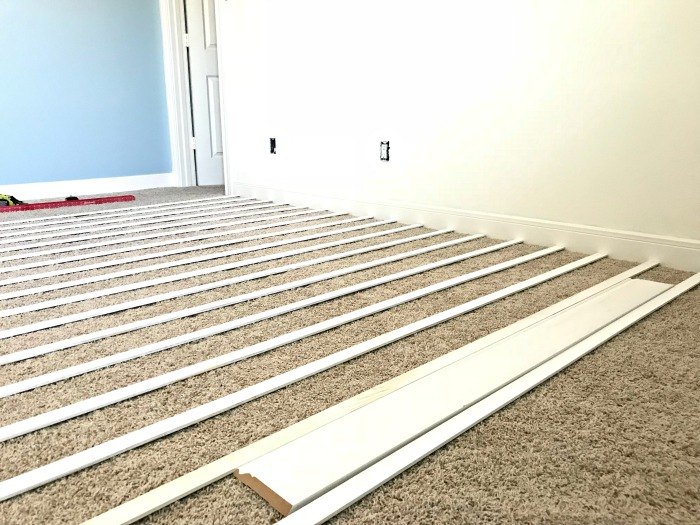
Decide on the best spacing and layout before hand. I used a 5 1/4" wide piece of baseboard as my spacing guide. I started by centering the first piece on the wall. Then laid each board out to make sure that it wouldn't end up with half a board on a door frame or hitting outlets, if possible.
If your design hits a door frame, you'd have to notch out a long cut in the wood. So, if you can avoid that, it's much easier.
I got lucky and only ended up having the lattice cross over 1 outlet.
If I had to, I would have changed the layout so that the center of the wall was in between 2 lattice pieces instead.
I measure and cut each piece to size as I went, to account for any variation between the crown and baseboards along the wall.
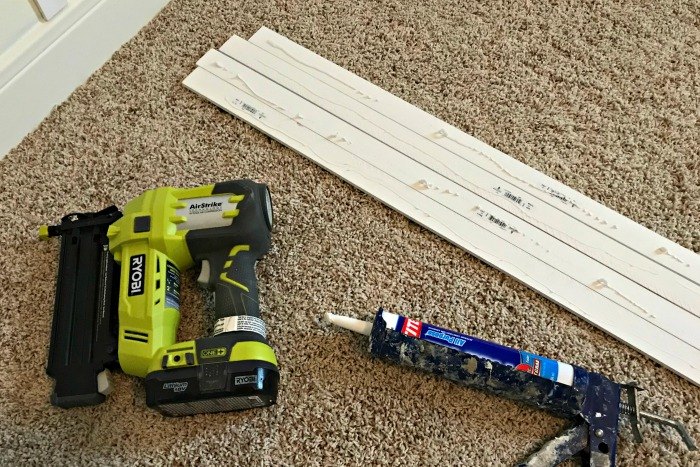
I used a thin bead of Loctite Power Grab across each board. Then my brad nailer to set the pieces tight against the wall, while the power grab dried.
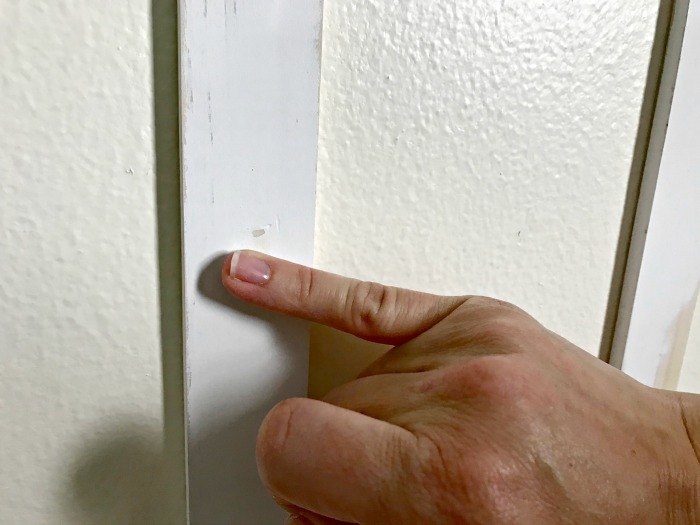
Use a level to get the first piece perfect, then you can use the long spacer to make sure that each piece after that is level too.
You can see the long 5 1/4" board I used hanging on the wall here. It's just the pressure between 2 pieces holding it up. I make sure that each piece fits tightly against the spacer before nailing.
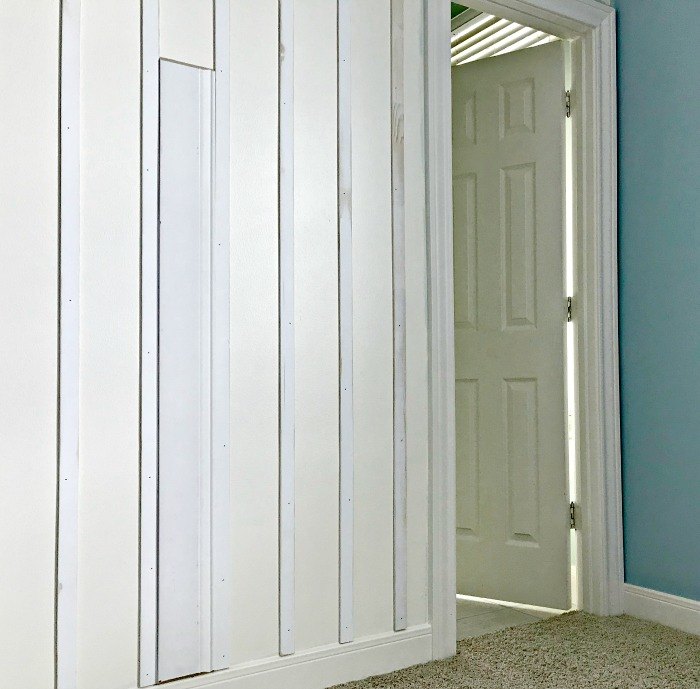
Fill each nail hole with Dap Drydex Spackle. I try to get it completely smooth to avoid sanding.
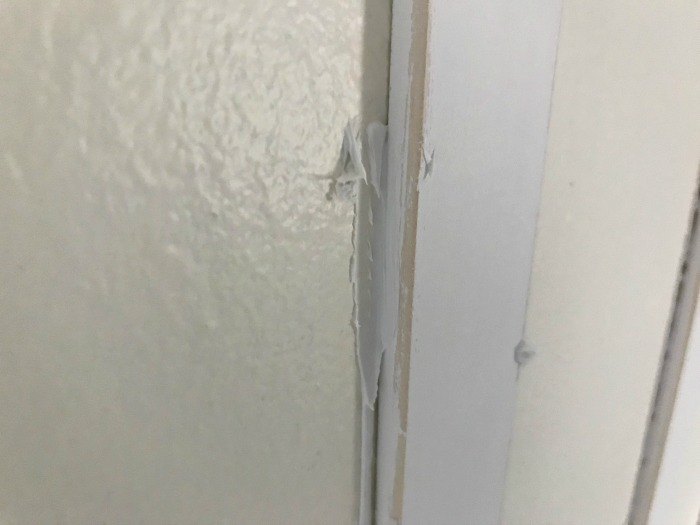
Then use paintable caulk for the gaps between the wall and lattice on each side. Use a damp cloth to wipe away excess caulk before letting it dry. I don't use caulk on nail holes because it tends to shrink up and I have to apply a second coat.
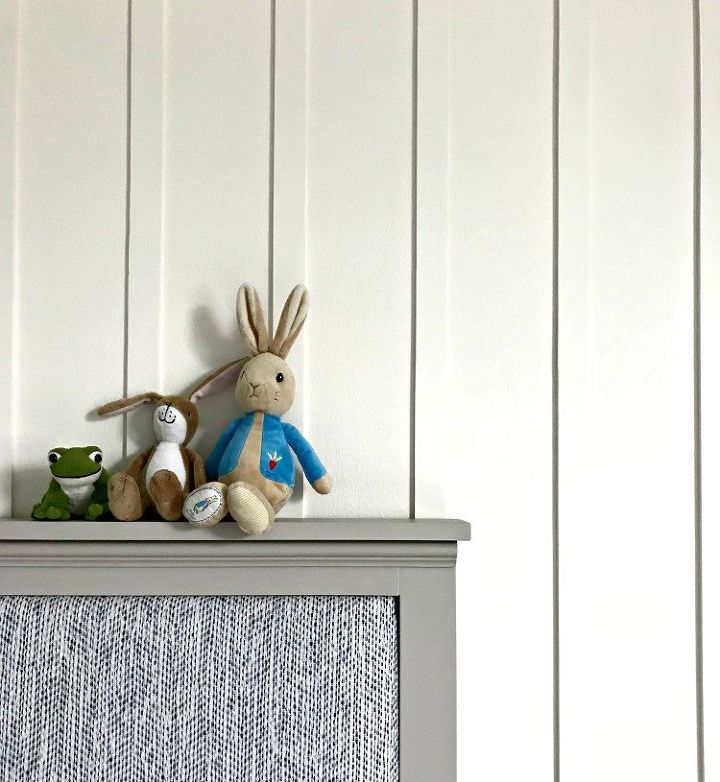
After the caulk dries, you can prime, then paint your new board and batten.
Find more details for this room and DIY here.


Any price and availability information displayed on [relevant Amazon Site(s), as applicable] at the time of purchase will apply to the purchase of this product.
Hometalk may collect a small share of sales from the links on this page.More info

Want more details about this and other DIY projects? Check out my blog post!
Comments
Join the conversation
2 of 12 comments
-
Love it!!! Great job!
-
This would do great to upscale old paneling before you paint it. Add the lattice over the grooves in paneling. I have a paneled room. In my basement I might try this on.


Frequently asked questions
Have a question about this project?
Could you post a better picture of the finished wall. I love this.
May be something I can do on my own.
Thanks
Very nice indeed, but can I ask....why not use panels, and maybe just add slats at the edges of each panel strip, and paint it?