


Create Custom Home Decor With Cricut Adhesive Foil
Learn how to transform a plain ceramic jar, with a wooden lid, into a customized piece of home decor with just your Cricut machine and some adhesive foil!
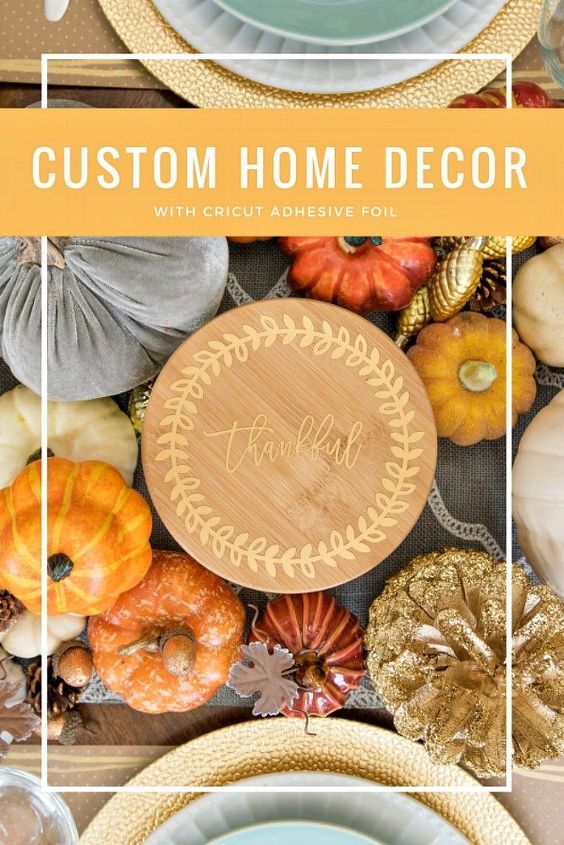
Cricut has hundreds of different materials and colors to choose from - and one of my all-time favorites is Adhesive Foil! It comes in a variety of colors and finishes and is the perfect material to add a little extra glam to your project. Today we're turning a plain wood lid into a custom hostess gift just in time for Thanksgiving!
Here are the supplies you will need:
- Cricut Explore or Cricut Maker
- Standard Grip Mat
- Adhesive Foil (I used Gold)
- Weeding tool
- Transfer Tape
- XL Scraper
- Mod Podge Furniture Satin
- ceramic jar with wood lid

Step 1: Measure your lid, select an image in Design Space, size it to fit your lid and then cut it out.
I selected two images and "attached" them so they would cut as one single image - you can find the file here.
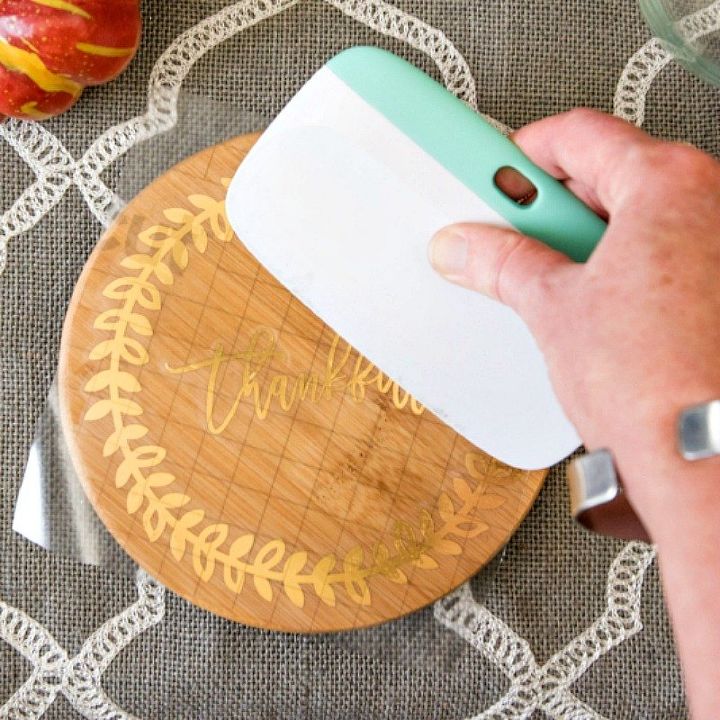
Step 2: Once you've cut and weeded your image, apply transfer tape and place your image on your lid. Then use the XL scraper to burnish or rub the image onto the lid.
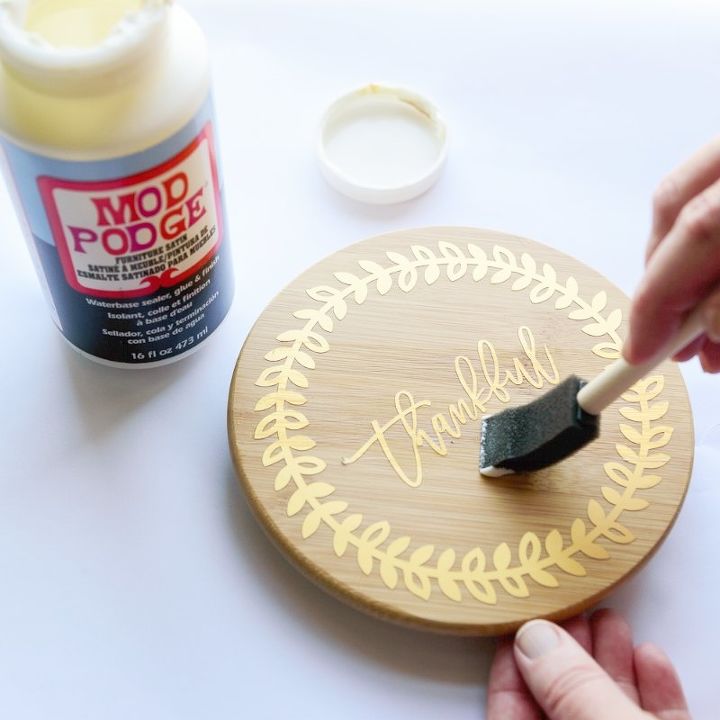
Step 3: Once your image has been added to your lid, brush a few layers of Mod Podge Furniture Satin onto the lid for a little-added protection from wear and tear.
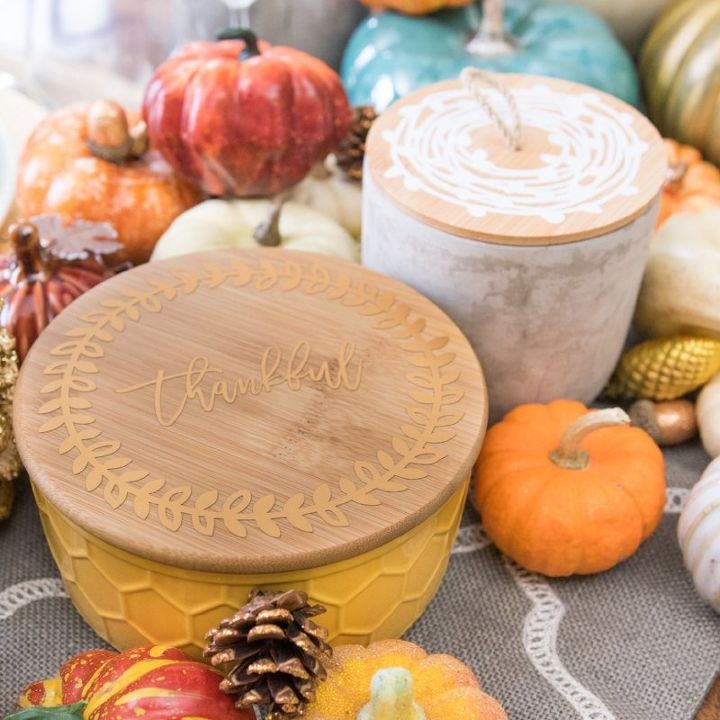
And voila! With some adhesive foil and your Cricut machine, you can turn a plain item into a cute hostess gift for any occasion!
Don't forget to keep your Cricut mat clean! Read this guide on how to clean a Cricut mat to keep your mats in perfect shape!
To get more project inspiration for your home and to learn more about the products used in this project, stop by my blog!
Resources for this project:
See all materials


Comments
Join the conversation
-
Such a gorgeous gift idea! I love it!
-
Lovely


Frequently asked questions
Have a question about this project?