


Pantry Makeover
2 Materials
8 Hours
Medium
My pantry is pretty simple: it’s a small closet space with wire shelves. Part of the space extends beyond the door and is a little harder to reach. As far as pantries go, it’s not the smallest, but it sure ain’t the biggest either. My problem has always been how to organize it properly (and keep it organized).
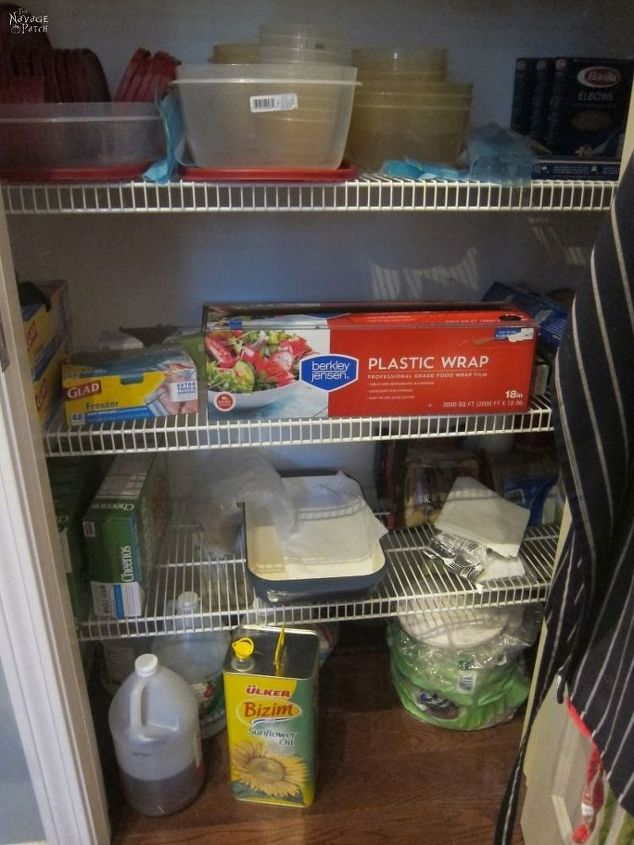
The full before pic was blurry, but I managed to get top half and bottom half pics. You can see that anything behind the front row is unseen and quickly forgotten on those top two shelves. That top shelf in particular held many secrets behind the bread and Nutella. Sometimes I’d find year-old cookies (bonus!), but often they’d be picked clean, save for one cookie (The Boy found the stash and slowly drained it – boo!). Sometimes I’d find green bread (science!), and sometimes I’d find hippie crap like quinoa (when the hell did I buy that…and WHY?)
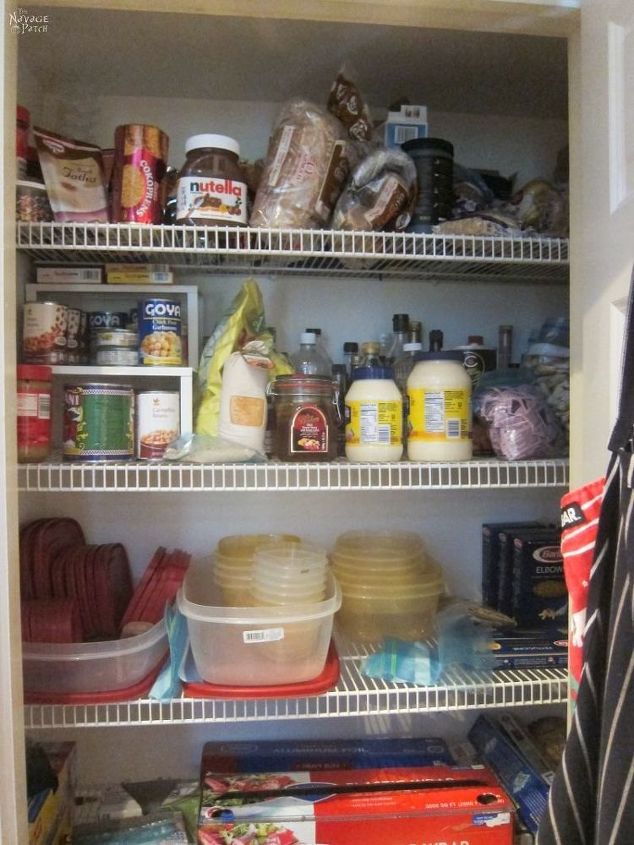
The Tupperware shelf was the one shelf that I insisted remain organized. I’ve spent my entire life fighting Tupperware, and I finally had enough last year. It is quite literally the only thing in my life I’ve ever been successful at organizing and keeping organized for more than a week. I was rather proud of that shelf, though the configuration shown above is the modified version that Handan imposed on me after declaring my entire shelf of Tupperware “inefficient.” Maybe it was. But it was organized, and I liked it!
My kitchen is mine, and I like to keep it that way. I always get nervous when Handan starts snooping around my space, because it will surely lead to change, and my pantry was no exception. She took a look at it before Father’s Day and a makeover bomb went off inside her head. My pantry’s days were numbered.
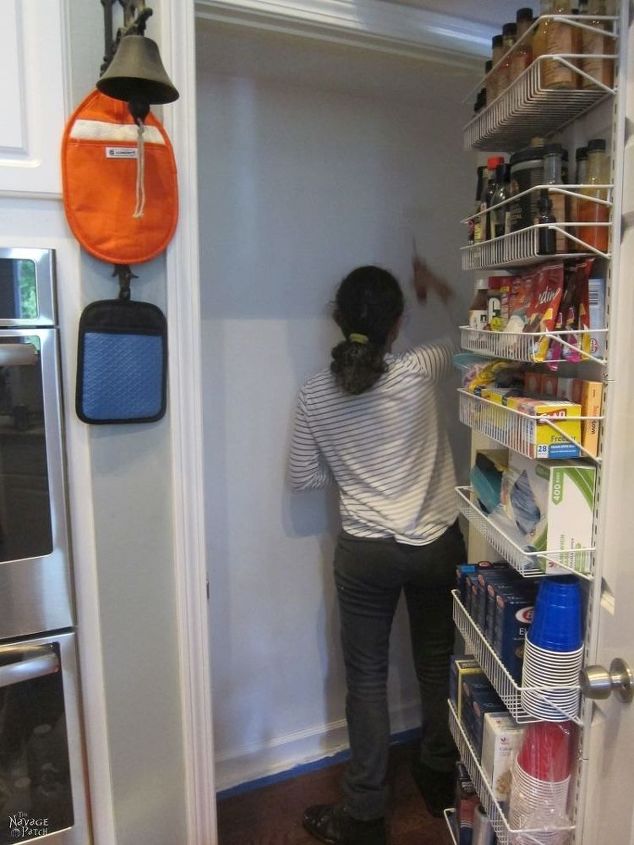
Her first thought was to gut the place and have me build new shelves from scratch – wooden ones. She must have seen the look of horror on my face, so she took pity and changed her plan somewhat. We would leave the existing shelves, and she would find some slide-out shelves and caddies to add onto the existing wire. We’d also add some storage to the inside of the door – a total waste of good space in her eyes.
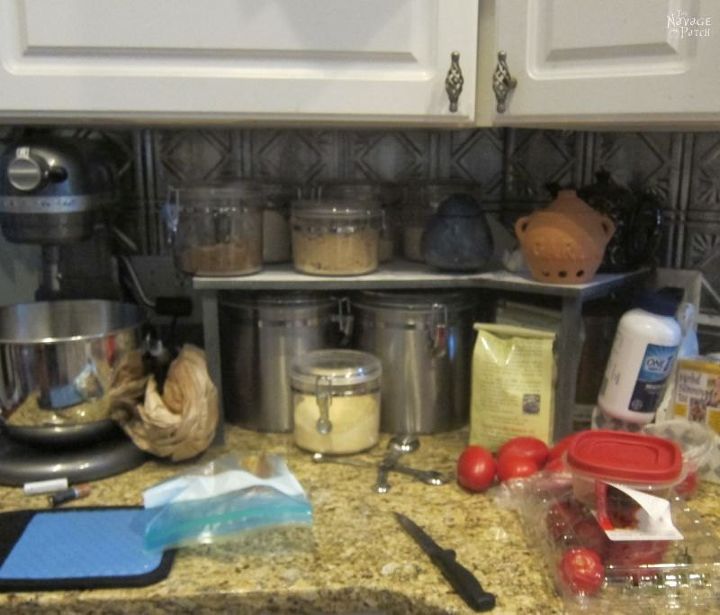
Her goal was not only to tidy up the pantry. That would be too easy – beneath her skills, really. No, my babes also wanted to clear my baking supplies off of the counter. And she wanted to clear all of my hot sauce bottles and rice from the microwave and get rid of the baker's rack on which it all stood (not pictured).
And she wanted to empty another cupboard that was filled with even more baking supplies. She wanted all of that stuff to go into the pantry. I knew she could do it. If she set her mind to it, I’ve no doubt she could engineer a way to fit our entire house inside that pantry.
Oh, but about those shelves staying the same? Yeah, not really. She wanted to add two more wire shelves, which meant that we had to remove everything first and start over.
Removing the old shelves left a lot of holes. Handan decided that we would fill those holes, and then she would paint the pantry.
Installing the shelves was pretty easy. We first drew a line with a level where we wanted the shelf. I cross-marked where each support would go, careful to make sure the support would line up with a space on the wire shelf.
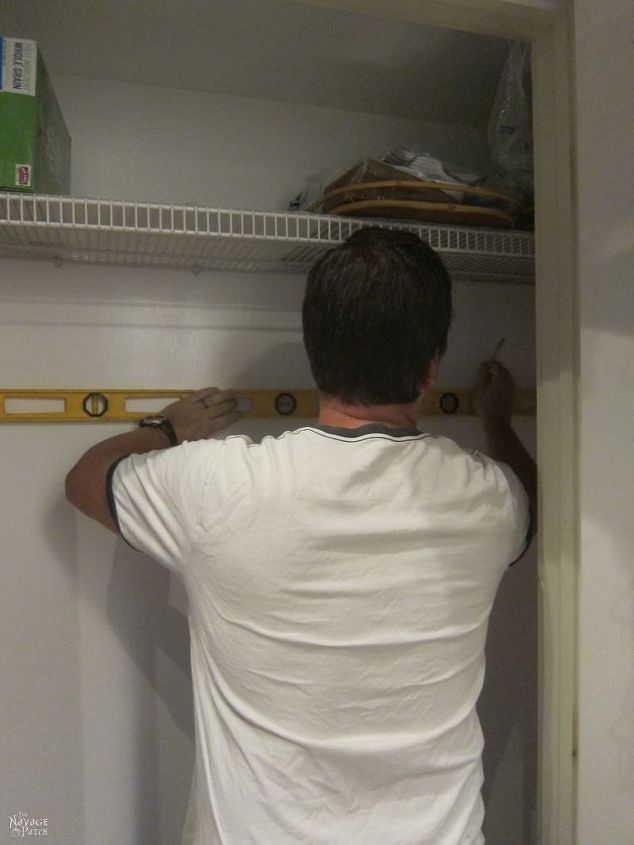
I installed the rear brackets and then installed the front brackets after marking with a level. You can find our easy shelf installation method on our blog post.
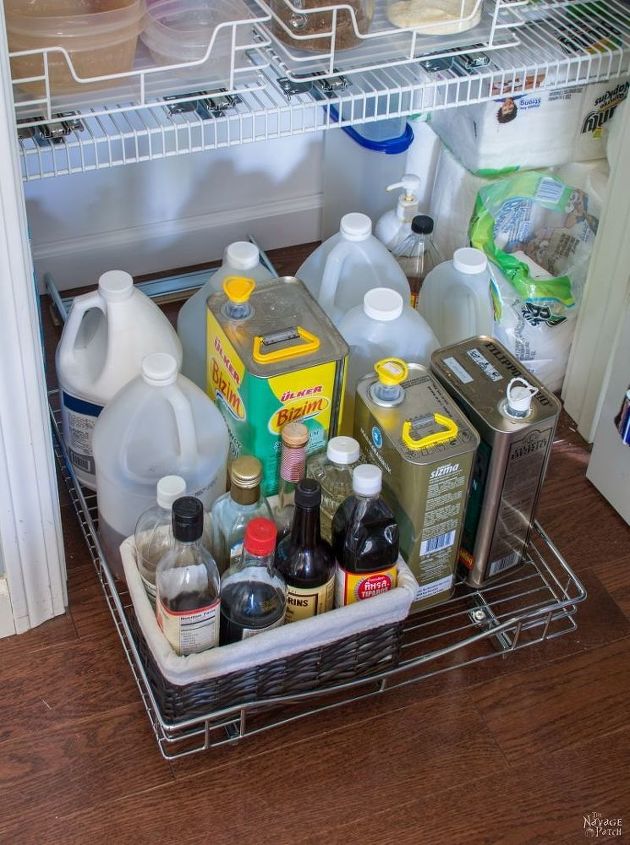
Once we finished installing the new shelves, which were really the old shelves in different places plus two more, Handan installed the floor slide-out. This would hold my big cans of oil and gallons of vinegar and other heavy stuff. Notice in the picture below the pull-out shelves she already installed up above.
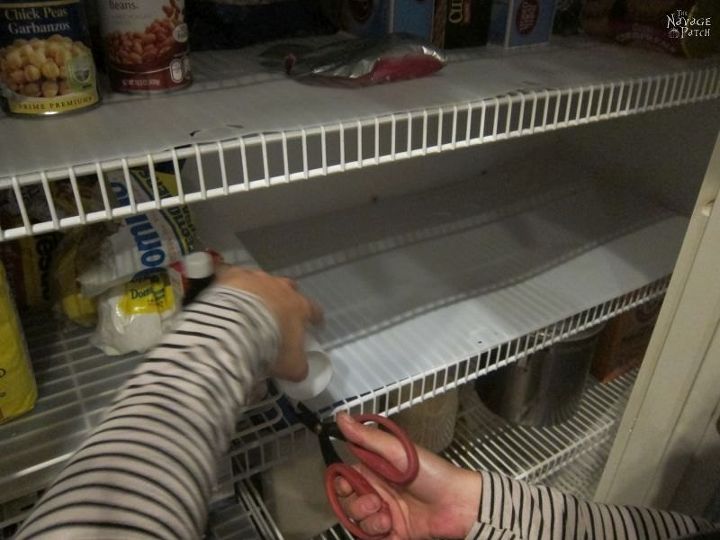
To make things slide easier, Handan installed some heavy-duty shelf liner.
And that was pretty much it, except for me fixing the crooked door.
---------------------------------------------------------------------------------------------------------
---------------------------------------------------------------------------------------------------------
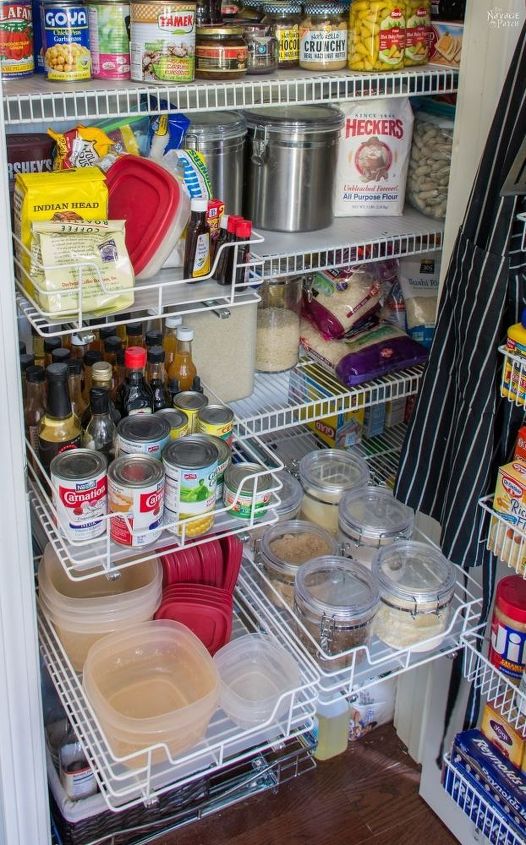
Now, behold the glory of my pantry makeover!
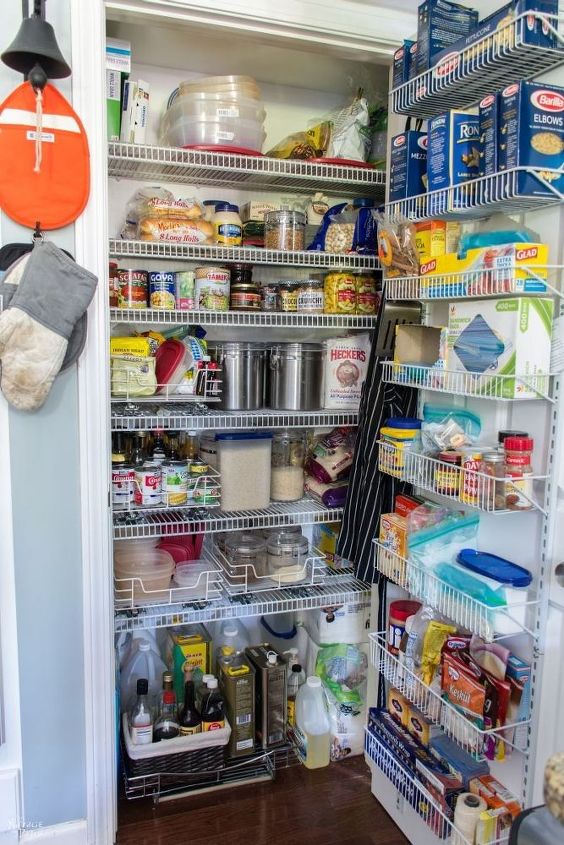
Slide out shelves - a fantastic addition! And they are pretty affordable too.
You can find all the details on this project and the full source list on our blog post. But if you are wondering where we bought our slide-out shelves that are installed on wire shelves, click on the link below.
------------------------------------------------------------------
-------------------------------------------------------------------
Slide-out floor shelf - a back saver!
Thanks for reading! As always, hit up our blog for more fun, DIY, crafts, adventure, food and laughter!
-Greg

Want more details about this and other DIY projects? Check out my blog post!


Frequently asked questions
Have a question about this project?