


Repurpose a Chandelier Into a Serving Piece!

by
Ann M
4 Materials
$40
1 Hour
Easy
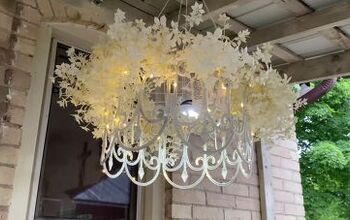
Last year I attended my Goddaughters wedding and at the reception I saw the most amazing serving piece for cupcakes- a chandelier! I knew someday I wanted to make this. It could be used for serving finger foods for Mothers Day or any party.
I was recently asked to take care of the wedding reception for a Second Cousins wedding coming up this summer. And the Bride wants cupcakes so you know where my head went! Time to look for a thrift store chandelier.
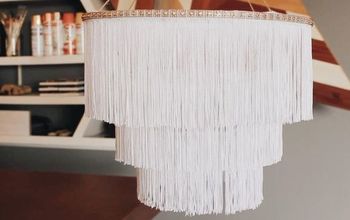
I figured I would find something old and spray paint it maybe rose gold but I came across this beauty for $40.00!
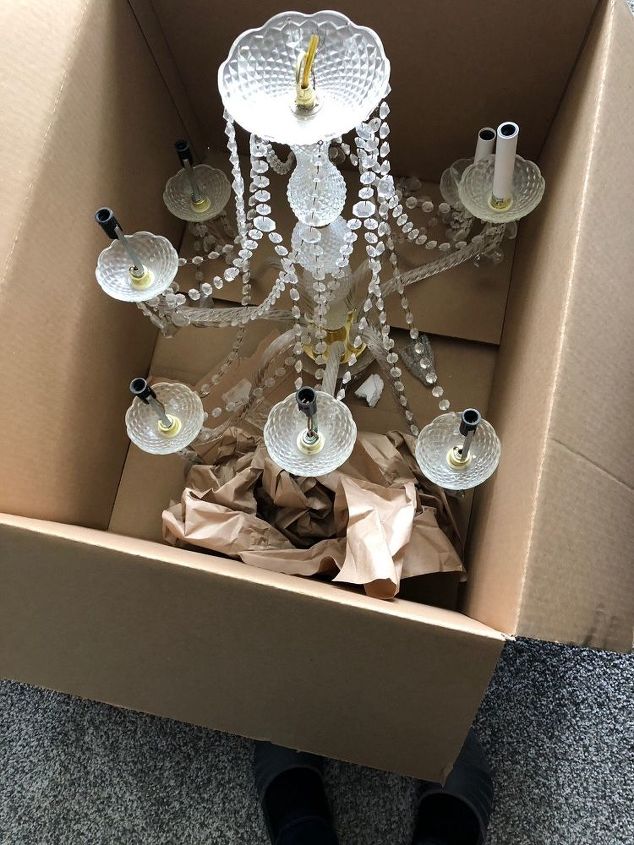
Needs a good cleaning
This is all crystal so basically all I need to do is take it apart, give it a good cleaning, and reassemble what I need.
I forgot to take pictures of the disassemble but it was very easy. Everything began with a bottom finial which unscrewed which led to the main tall rod that the crystal orbs slid onto. This was all held together by the top screw. I cut out the wiring, unscrewed the holders for the lightbulbs which I discarded. I soaked all the pieces in a hot bath using dawn dish soap.
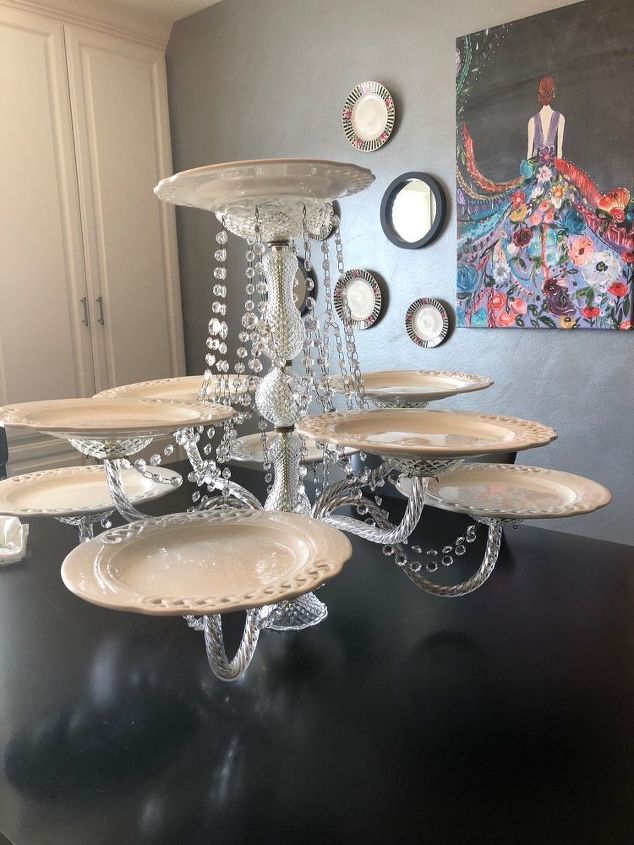
And then I reassembled the whole thing!
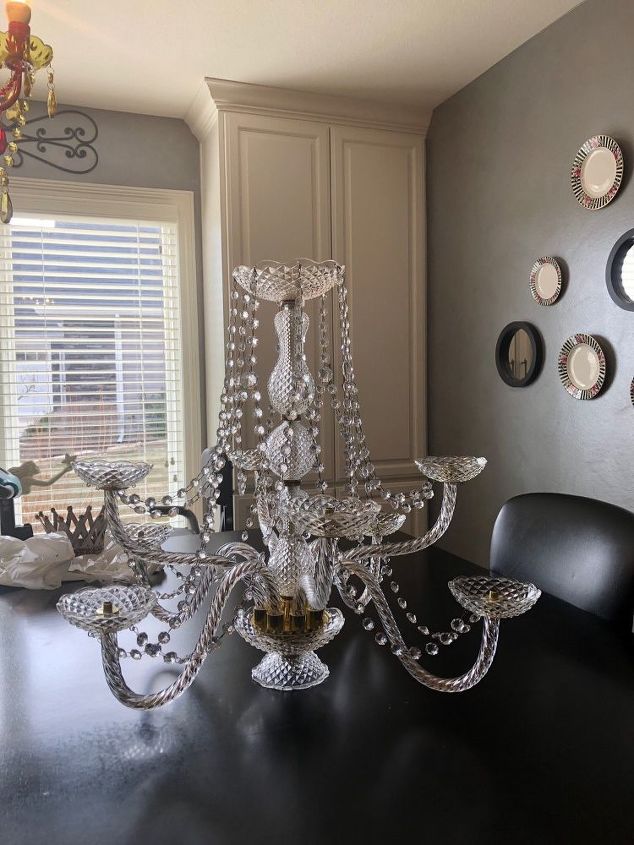
All cleaned up
By removing the bottom finial, the chandelier sits flat and secure on the table. You can see I removed the bulb holders but kept the cups underneath. These will hold the plates.
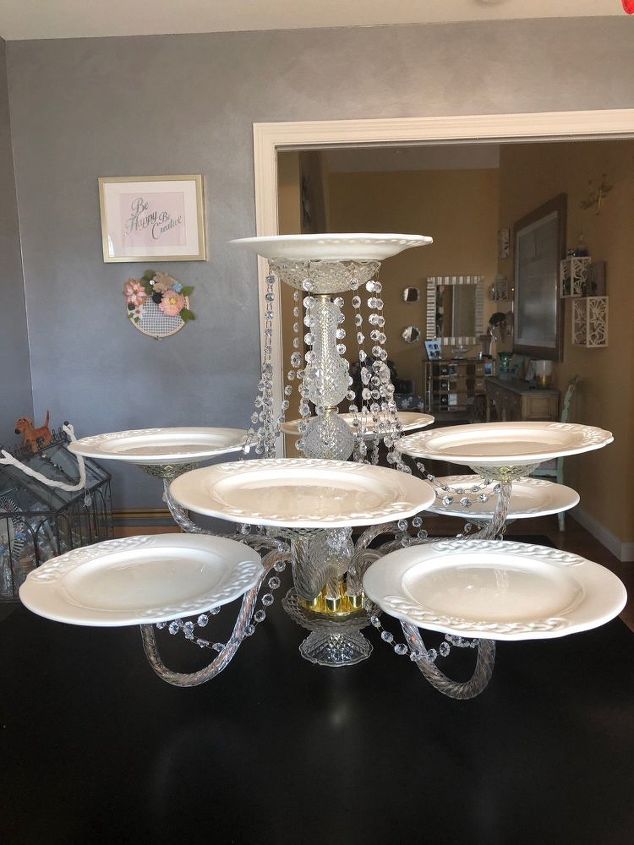
Plates added
I know I won’t be using these plates because they are too heavy. They did make the chandelier nice and weighted but it’s not the look I’m going for. I think a lighter china plate or I’m thinking even those acrylic chargers would work better. Because I want to make the plates interchangeable here’s what I used to secure the plates to the crystal cups.
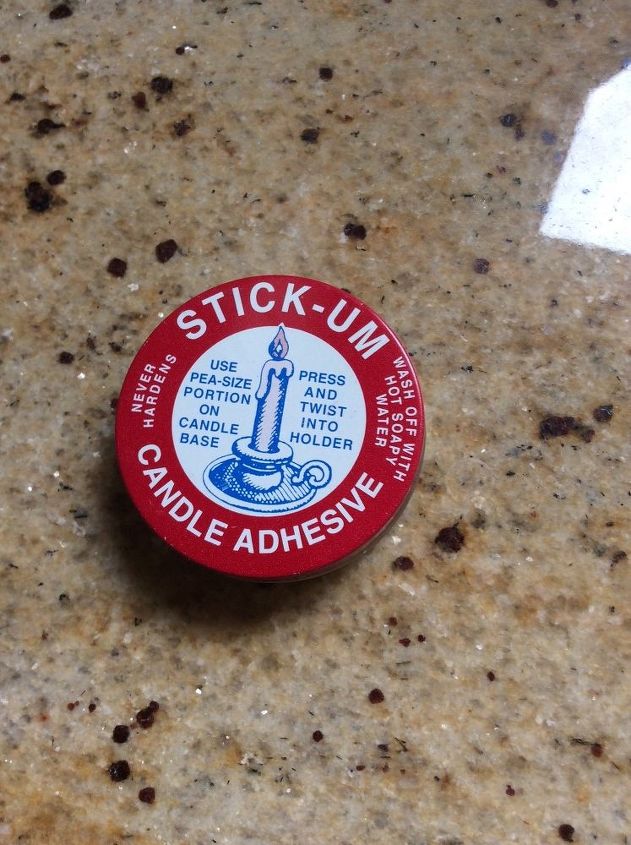
Use to secure plates
Stickum for candles. I also used Museum putty but ran out of it. It’s very much the same as the Stickum. You can get either at Michael’s or Hobby Lobby. A little goes a long way.
I tried one plate and it was nice and secure. I will wait to attach these plates when I set up for the reception since it will make transportation so much easier.
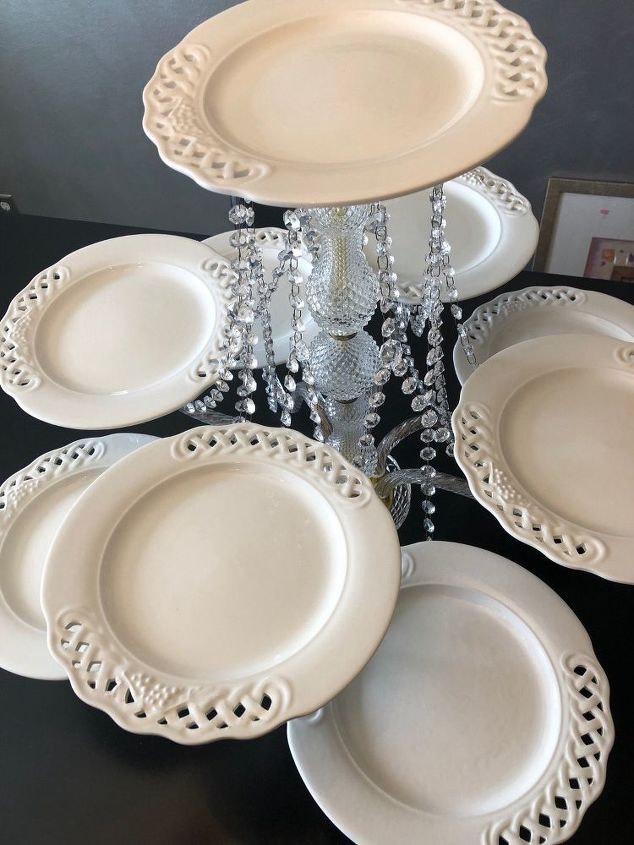
A view from above
So this particular chandelier holds 9 plates including the top plate which in use was what was against the ceiling cap!
The secret to finding the perfect chandelier for this use is to make sure the bottom finial can be removed so it can sit firmly on the table or on some styles I noticed the arms were longer than the finial so in that style it would be sitting directly on the table on all its arms which was also very secure.
I’m excited to use this for the reception for cupcakes plus I can see it being used for sandwiches, cookies, or any other desserts for other occasions. And with the ability to change plates and even the removal of the draped crystals, it can be changed up for many occasions. Side note: To remove stickum or putty, using a plastic knife, scrape off and put back into original tins. It can be reused! Then use goo gone for final residue removal.
Resources for this project:
See all materials


Any price and availability information displayed on [relevant Amazon Site(s), as applicable] at the time of purchase will apply to the purchase of this product.
Hometalk may collect a small share of sales from the links on this page.More info
Comments
Join the conversation
2 of 86 comments
-
Lovely it’s pretty for any get together .
-
Just found this post and absolutely LOVE this idea! Will certainly be looking for a chandelier to transform ASAP. Great share!


Frequently asked questions
Have a question about this project?
Simply stunning! But I have to know: where do you store this or is it a permanent feature on an island or a table?
I both a chandelier made into serving trays like this. However they hot glued the plates which makes transport and storage gificult. What did you use to attach the plates and can they be removed for cleaning , storage and transport?
This is lovely. Did you glue the painted teacups to the chandelier?