


How I Transformed My Dining Room Without Replacing the Furniture
5 Materials
$1800
3 Months
Easy
Did you ever want to completely change a room without spending a lot of money? Here’s how I transformed my dining room without replacing the furniture.
It’s not that I get bored easily. I actually don’t.
In fact, once I found my home style – a fusion of old world European elegance mixed with casual American lifestyle – I pretty much stuck to it. Still, since we moved into our new house two years ago, I’ve found I’m ready to rework every room.
In reality, I’m just refining my style. When we first moved in, I simply duplicated most of my rooms from the way they were decorated in our old house. But now I find I’m going back to each space and fine tuning. In some cases, the results are transformative. And yet I’m not looking to spend a fortune on all new furniture.
Here is how I completely transformed our dining room without replacing the furniture.
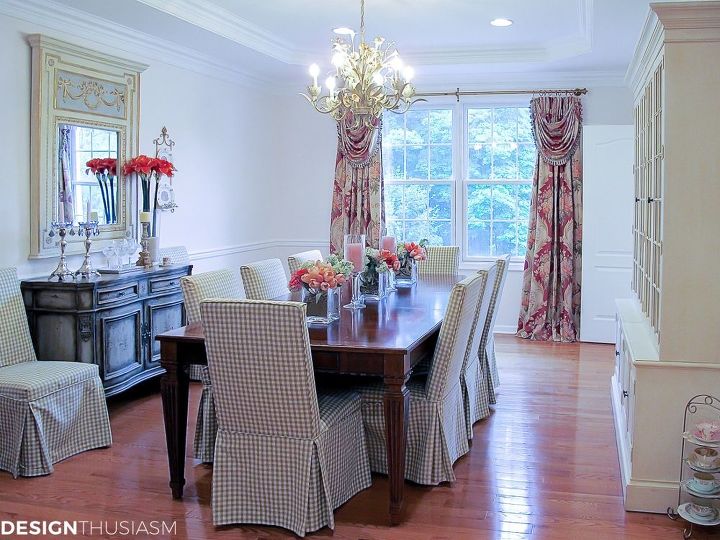
Let’s start with a look back. The photo above shows how I decorated my dining room when we first moved in. It was an exact replica of the dining room in our old house and the furniture fit fine in this slightly larger room. But the room did not benefit from the brilliant light we got in our old dining room and the florals here began to feel too prominent. At the same time, my taste was becoming more focused and I wanted to honor my passion for antiques.
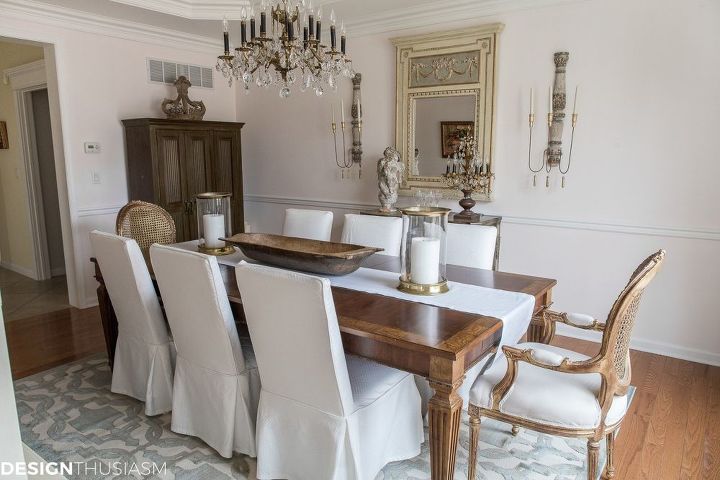
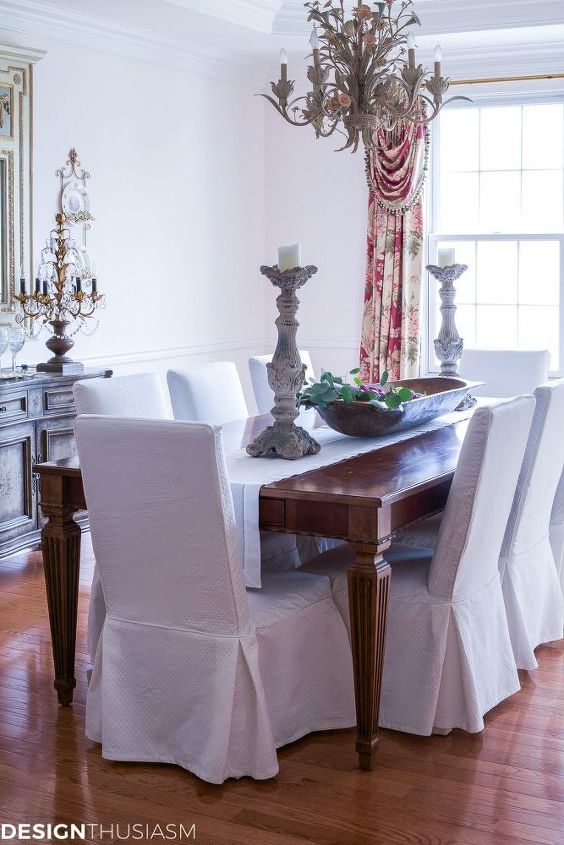
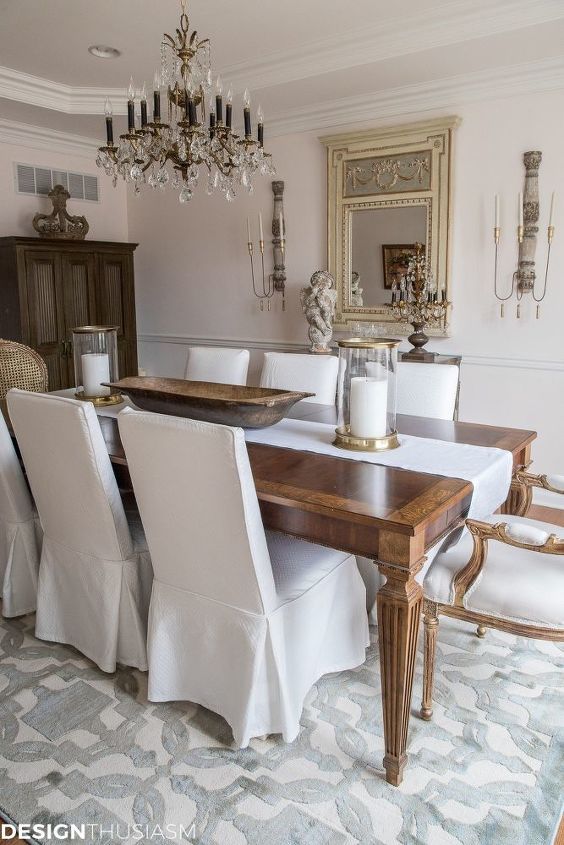
Below is the (almost) finished product and I assure you, I did not replace any of the furniture!
To underscore my assertion that my taste hasn’t changed, I’d like to point you to my post The 6 Defining Style Elements I Use In Every Room, written 2 years ago, in which I outlined exactly what defines my style. I’ve now finally realized that vision in this room, and you will notice almost everything I’ve changed coincides with what’s highlighted in that post.
So, if I haven’t replaced any furniture, what have I changed to accomplish such a marked difference?
While it was an ongoing process, I essentially approached this refresh in three separate phases. You can see the details of the first round in THIS POST, which shows that first stage.
The most significant change at that point was to buy new white slipcovers for my parsons chairs. This was a very inexpensive fix for something that made a huge impact. Of course, if you don’t have the same chairs, my slipcovers won’t help you, but the idea of replacing the pattern and color with white, will. If you have dark wood chairs you can paint them. If you have upholstered chairs, you can re-cover them or find slipcovers that fit. Or you can simply buy inexpensive new chairs, if that fits your budget. I’ve linked a similar chair in the original post linked below.
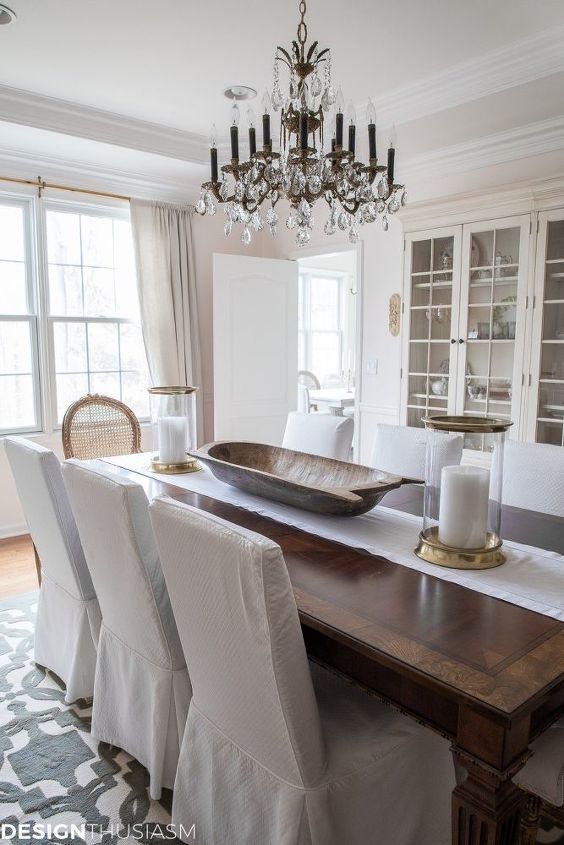
I also started working on the accessories at this early stage. I removed the faux florals from the table and brought the antique dough bowl in. I started playing with candlesticks and added the white linen table runner to the table. It was a good start that revealed the first signs of the dining room that would come to be.
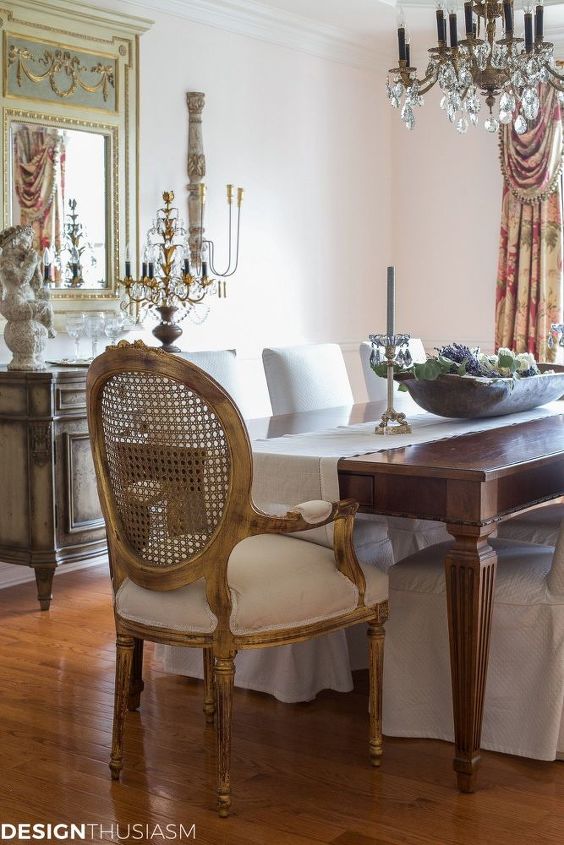
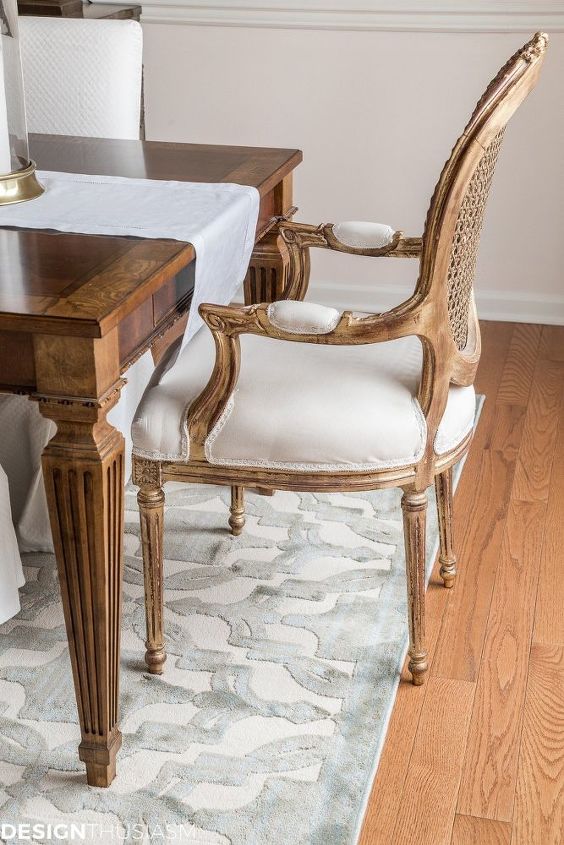
As the first batch of changes addressed quieting the decor a bit, the next few updates I did zeroed in on adding notes of character and elegance. Almost everything I changed had to do with accessorizing, with the sole exception of the gorgeous gilt arm chairs. If you’re looking to save money, you don’t need to replace all your chairs. Using end chairs as an accessory to punctuate the space is a great way to make a beautiful statement with quality antiques, without breaking the bank.
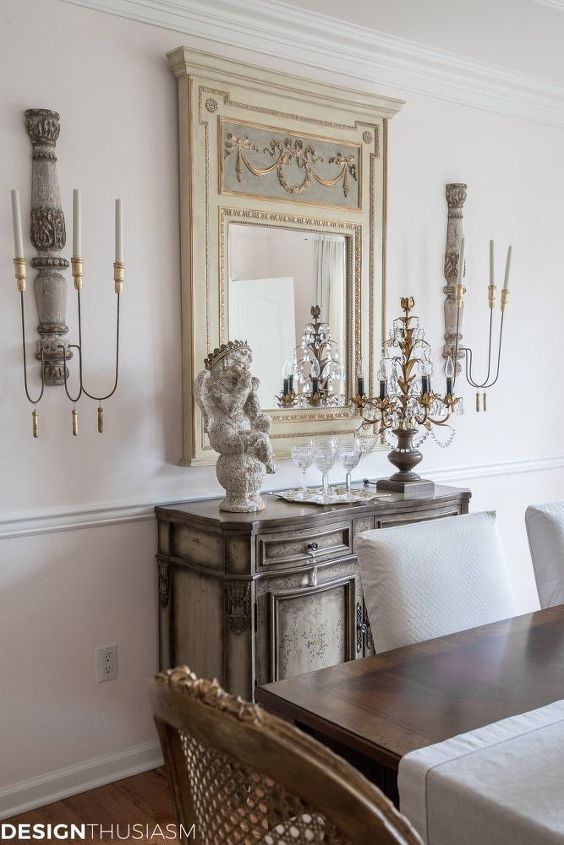
I also added the reproduction sconces and the antique crystal chandelier. I feel these beautiful French pieces can now take center stage when displayed in a room with a simple classic backdrop.
At this point the room was really starting to take shape, but it still needed some key elements to complete the transformation.
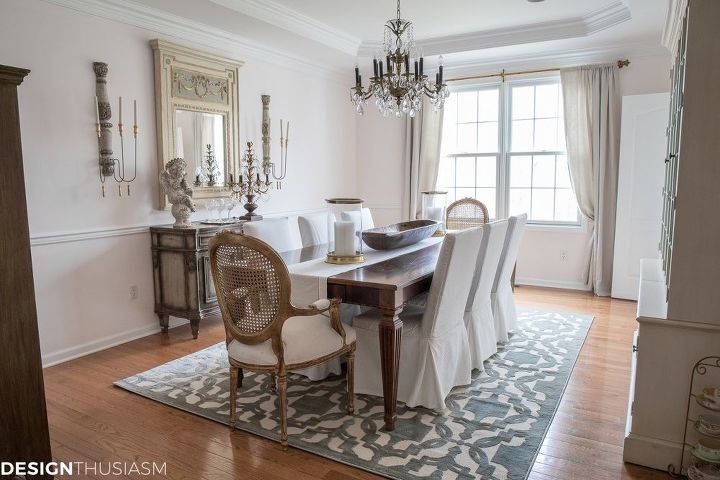
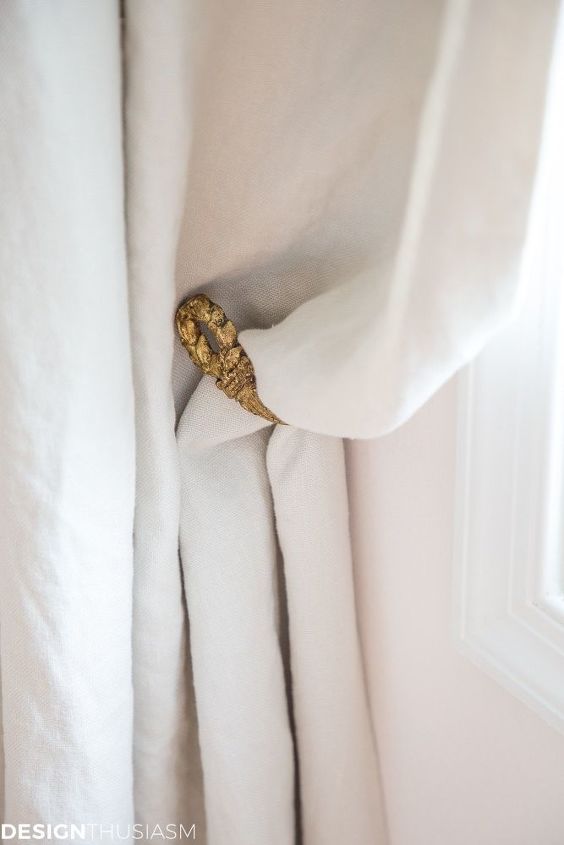
The room sat like this for a few months, while I prepared for the final details. For me to realize my vision, I knew the floral drapes had to go. I still love the pattern but it did not fit with the direction I was headed. Instead I went with washed linen panels in a bisque color and used lovely vintage brass tie backs. This made an enormous difference in the now neutral room, allowing for the possibility of bringing in various accent colors that could easily be changed.
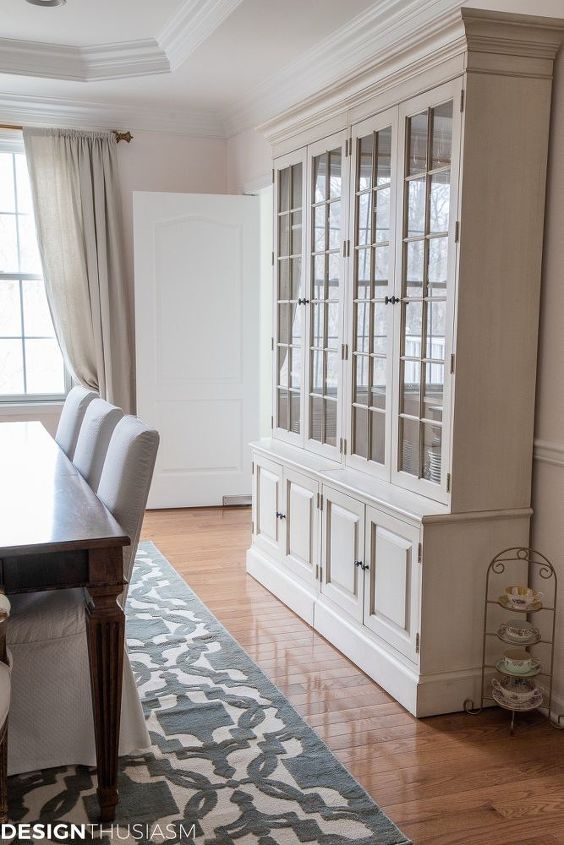
The final unifying piece is the last one I added and serves as a lovely finishing touch. This beautiful rug pulls together the entire room, subtly mixing neutral beige with a hint of greyed-over-blue. The sculpted pattern is reminiscent of heraldic medallions, but with a modern spin it embodies my updated style.
A quick glimpse of the other side of the room shows my creamy white china cabinet, which I re-styled to feature my neutral tableware, while I packed away the more colorful pieces behind the closed doors.
As I hinted above, this transformed dining room is *almost* finished. Which means it’s not quite finished.
Still to come: the pantry cabinet is way too dark for the space. I’ve wanted to try my hand at painting furniture for some time, and one day, you just may open a post and see I finally tackled my first painting project. This pantry cabinet is the perfect place to start!
I’d also like to paint the walls and finally give the blush pink a rest.
I feel like I’ve finally got a firm handle on my home style and I’m delighted with how this room transformed, particularly without spending on replacing the furniture. The table, chairs, china cabinet, sideboard, mirror and pantry cupboard are all exactly the same as before. This is precisely how I plan to approach the other rooms in my home, as I fine tune them to reflect my aesthetic, so stay tuned for more.
For sources and more details please click the link below to the full blog post.

Want more details about this and other DIY projects? Check out my blog post!
Comments
Join the conversation
4 of 16 comments
-
I do love the big dough bowl! It’s on my wish list. I know I’ll find one soon!
-
Great look. You did a fabulous job. Gave me some good ideas.


Frequently asked questions
Have a question about this project?