


Cabinet Transformation Using Chalk Paint
2 Materials
$100
10 Hours
Medium
Howdy, everyone! Today I'm sharing with you a project that has been a LONG time coming. When this piece came to me, it was so close to disrepair. It had came out of an old farmhouse and was a built-in in their bedroom. My client wanted to turn it into a kitchen hutch and that we did! But not before lots and lots of work!
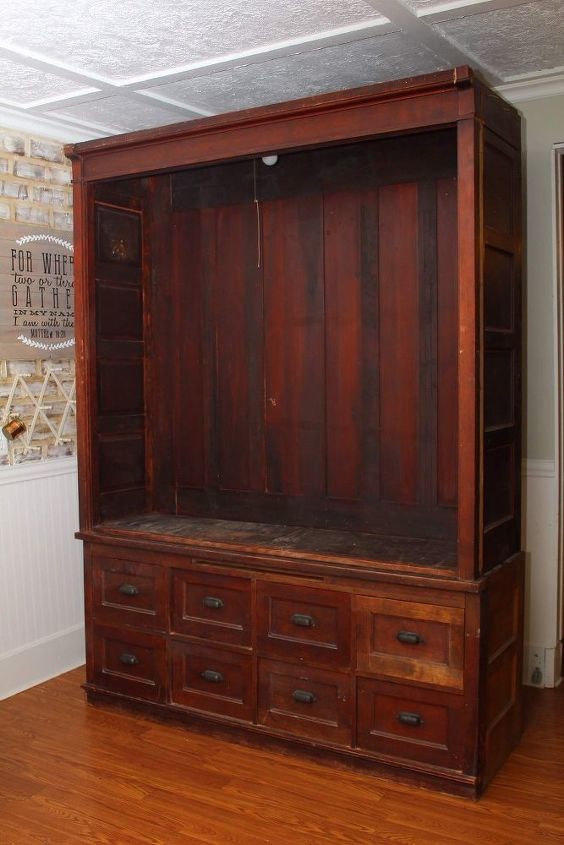
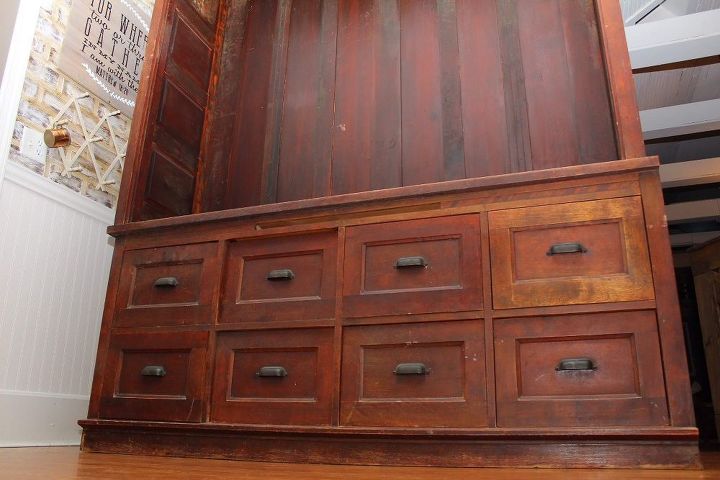
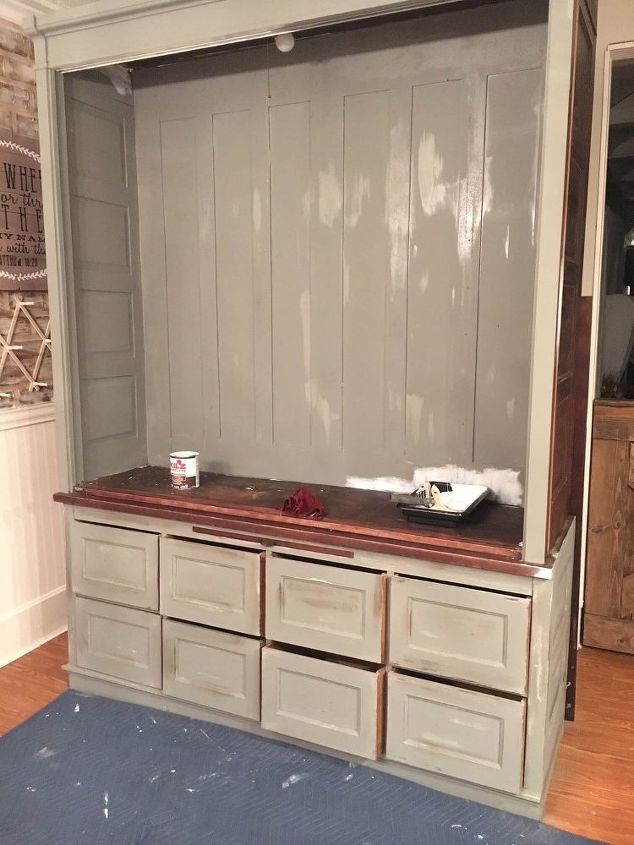
The dreaded before! There were lots of bits and pieces missing, and overall this cabinet was wobbly and falling apart. It was going to take the power of paint and some wood fixes to bring this thing back to life!
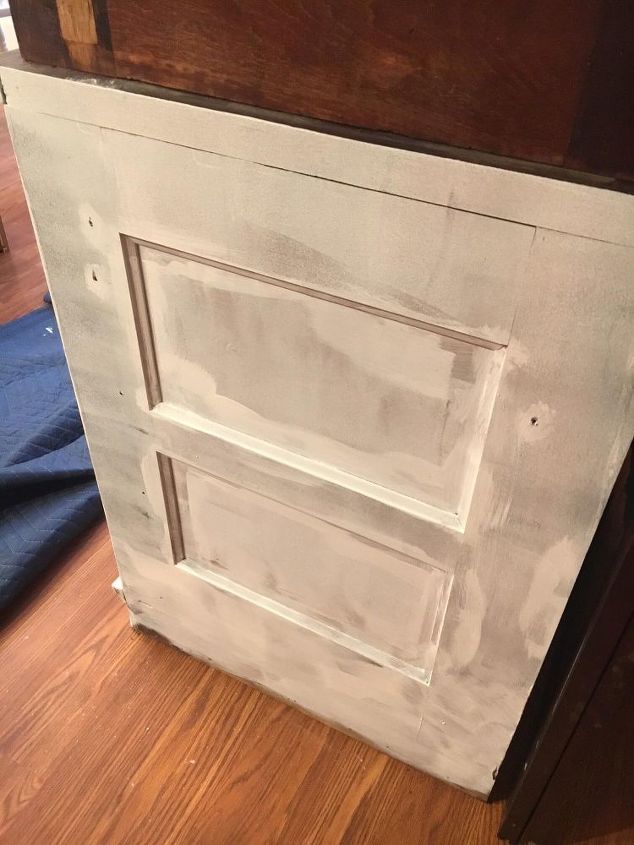
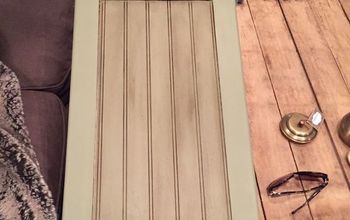
I first started by priming the entire cabinet. Red wood bleeds through badly no matter how many coats of paint you put on it so this step is CRUCIAL.
For a list of all materials, please check out my blog post here!
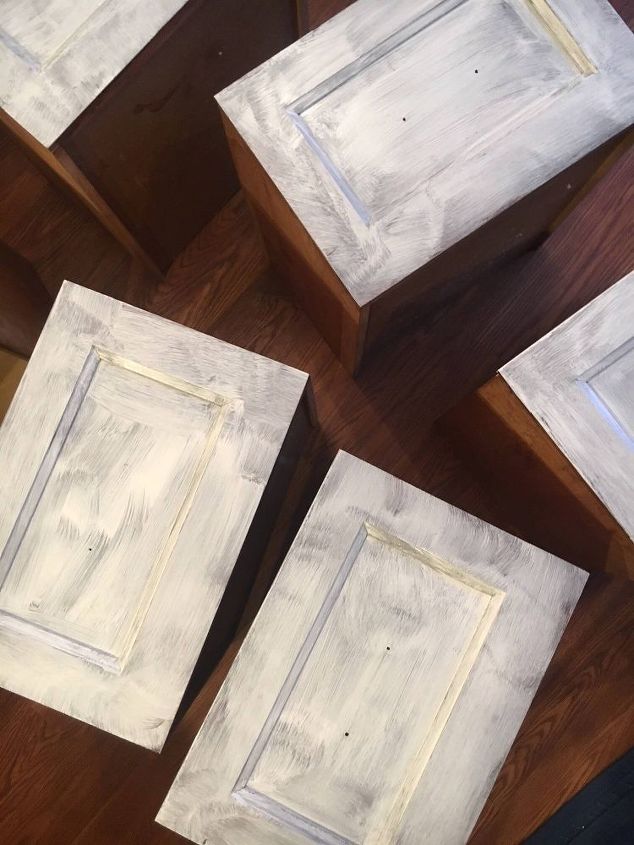
You really only need one coat of primer to cover up the ugly stained color underneath. This stuff is thick and will look a bit clumpy going on. Don't worry, once you get your paint on there, it'll be smooth as a baby's butt!
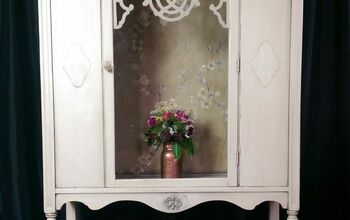
Once your primer is dry, start painting! I used Country Chic Paint in Cobblestone for this cabinet because my client wanted a warm gray. This paint probably could have covered in one coat but I went ahead and did two because there were a few spots that needed it. It went on so smooth and was not as thick as some other chalk paints I've used! This whole cabinet only took a quart of paint to finish. I then used a foam brush to apply a thin coat of fast drying polyurethane to protect this painted piece from scratches and dings.
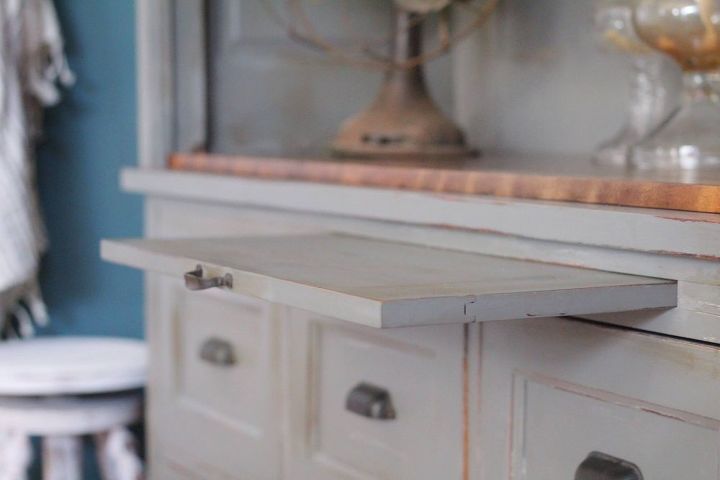
We then sanded and re-stained the bottom piece in Early American to give this piece some dimension. We then sealed that with three coats of fast drying polyurethane.
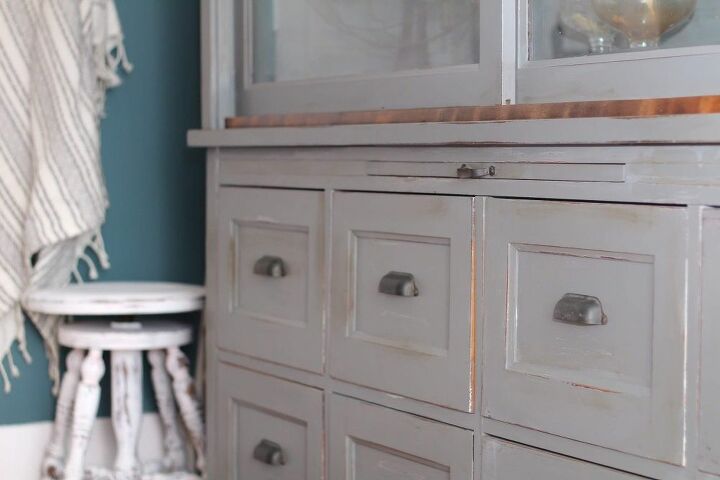
To finish this piece off, I used an old washcloth to apply dark wax and white wax around corners and edges to give it that aged, antiqued effect, along with a whitewashed look in some areas. You barely have to use any of this to get the look you're going after, and a container of these waxes will last you years!
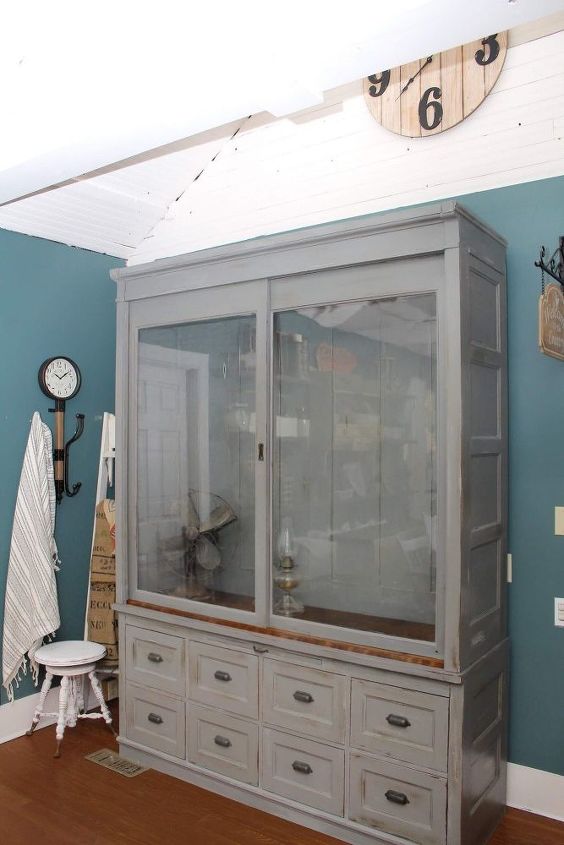
She's a beauty, isn't she? If you're interested in seeing more after photos as well as a list of materials and a few more detailed steps, hop over to my blog post!

Want more details about this and other DIY projects? Check out my blog post!
Comments
Join the conversation
2 comments
-
When my kitchen was redone 7 yrs. ago, I had to give up the cutting board and I miss it now. Kitchen is too small (9' x 9'.6") to include a bar-size dishwasher and pullout tray plus a Lazy Susan storage space.

-
Yes I am going to try it


Frequently asked questions
Have a question about this project?