


How To Turn A Bottle Into A Lamp

Creating this lamp is easier than you think. If I can do it, so can you! My biggest fear was drilling the hole into the bottle. After doing it several times, I realized the fear was all in my head. Not one bottle broke, and I never did this before this. Learning this is a total bottle game changer as you can now up-cycle them into lamps and customize them to your liking. The possibilities are endless!
Warning, drilling into thin bottles is riskier and has a higher rate of breaking. Do not drill the hole close to the bottom of the bottle or on a crease. Also, please use a circular drill bit. They are safer.
You can watch the step by step video or keep scrolling for instructions. Let's get started.
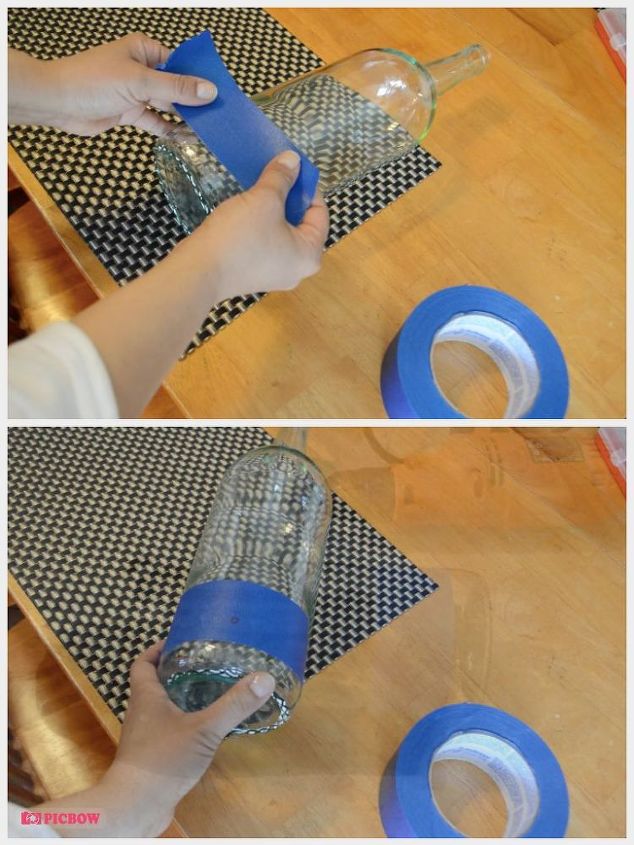
Place a piece of painter's tape over the spot you will be drilling the hole. Doing this will help prevent the bit from slipping as you start drilling. Mark the spot where you will be drilling the hole.

I placed an old oven mitt under the bottle. I did this to prevent the glass from breaking while I drilled. I don't know if you have to do this, but it made me feel safe, so I did it. The idea of the bottle scraping against the cement while putting pressure on it didn't seem safe to me. I guess if you did it on the lawn, you might be okay.
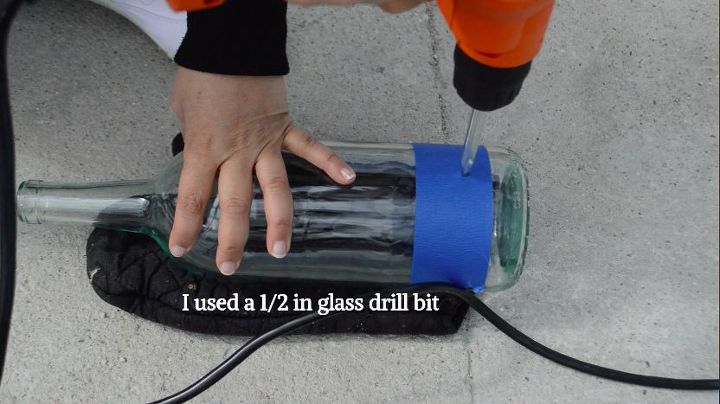
Using a half-inch glass drill bit, I started to drill the hole. When starting, I go slow and put light pressure. You want to get it started and create an indentation. Doing this will prevent it from slipping. Then you can speed it up and add more pressure.
Please use a circular glass drill bit as they're safer.

Once you have a slight indentation, start applying more pressure and speed the drill up. Stop drilling now and then to check the hole. Doing this will also give the glass and drill a quick second to cool off. Continue to do this until you have drilled through the glass.
Warning, only use thick bottles and do not drill close to the bottom or on any seems.
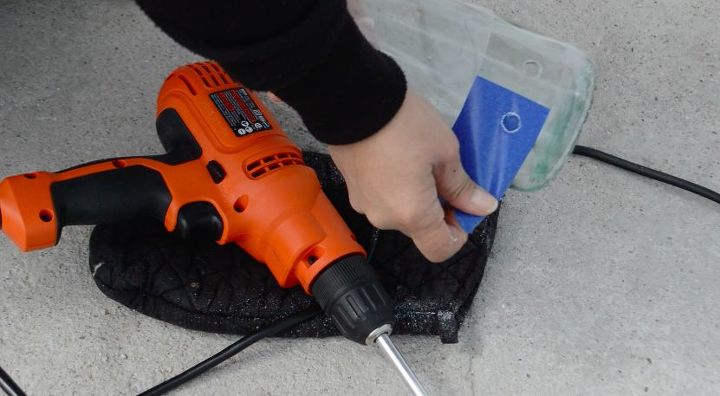
Once you've drilled the hole, peel the tape off, clean the bottle, and you've just got the hardest part done! I'm telling you, it looks scarier than it is, but of course, use caution when doing this.
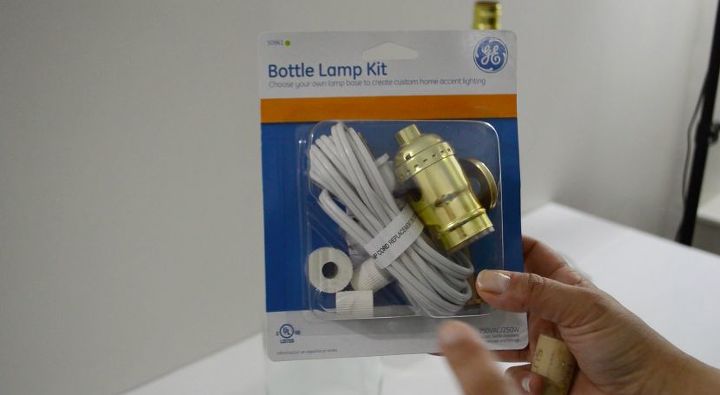
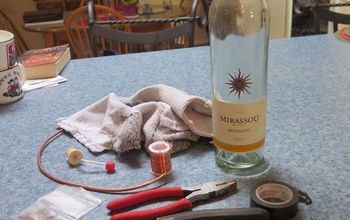
This is the bottle lamp kit I bought. I just followed the direction. The only difference is that I used the original cork instead of the rubber adapters it provides.
Update; You can use the rubber adaptors that come with the kit, and one should fit. I created another lamp, and in doing so, I realized what I was doing wrong. You have to screw the bottom gear up, which causes the rubber adapter to widen. Do this until it fits your bottle.
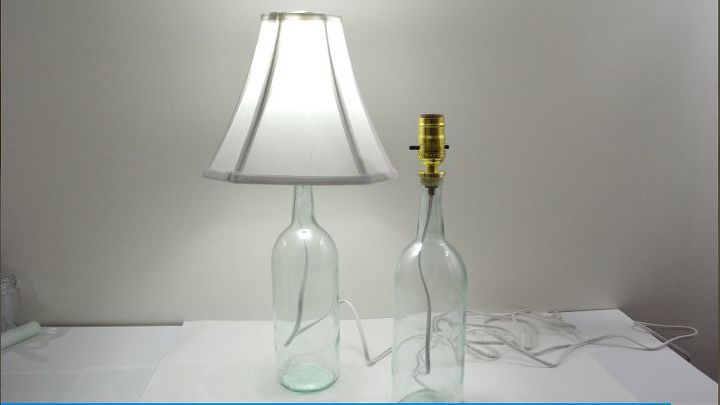
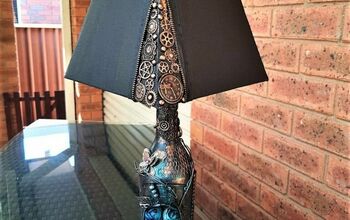
Once you've put that together, you have yourself a bottle lamp! You can decorate this any way you want to fit any decor. What a great way to recycle old bottles! I hope this has inspired you to make some! I have a video of how I decorated it, if you would like to see that click the link below.
Resources for this project:
See all materials


Comments
Join the conversation
-
Hi, I have made some fairy light bottles out of wine bottles and have found when drilling the holes, water helps keep everything lubed and cool. Either fill sink with water to cover bottle and drill (PORTABLE drill only, NOT ELECTRIC) or get some plumbers putty, roll out a 'snake' about 1/2" to 3/4" thick, form into a small circle and put around area where you will drill, make sure it is tightly sealed to bottle and fill 'well' with water and drill hole. I would discard putty each time since glass fragments may become imbedded. Hope this helps.


Frequently asked questions
Have a question about this project?
In reference to the $15 that you marked for the cost of this project, I am wondering what, out of the list of required tools, you purchased new, and what did you have already?