


Easy DIY Waterfall Bench
6 Materials
$50
2 Hours
Easy
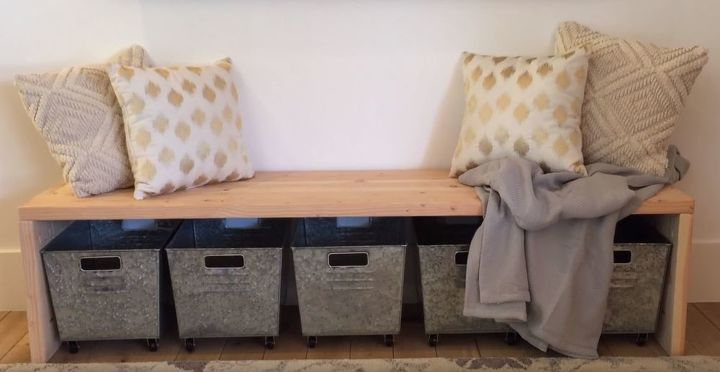
Are you looking for a DIY wooden bench that is easy and quick to make but still looks great and has great function too? Our tutorial will be perfect for you. We designed and made this one for our home and we love it.
{
"id": "4738829",
"alt": "",
"title": "",
"video_link": "https://www.youtube.com/embed/J_WlsVmXgd8",
"youtube_video_id": "J_WlsVmXgd8"
}
{
"width": 634,
"height": 357,
"showRelated": true
}
Make sure to watch our short video tutorial for the complete project. We take you through all the steps there.
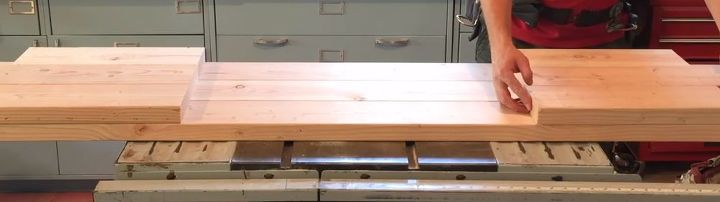
Gather up some 2x6 boards and some pocket hole screws. You will need a jig to make pocket holes and we highly recommend the Kreg Jig.
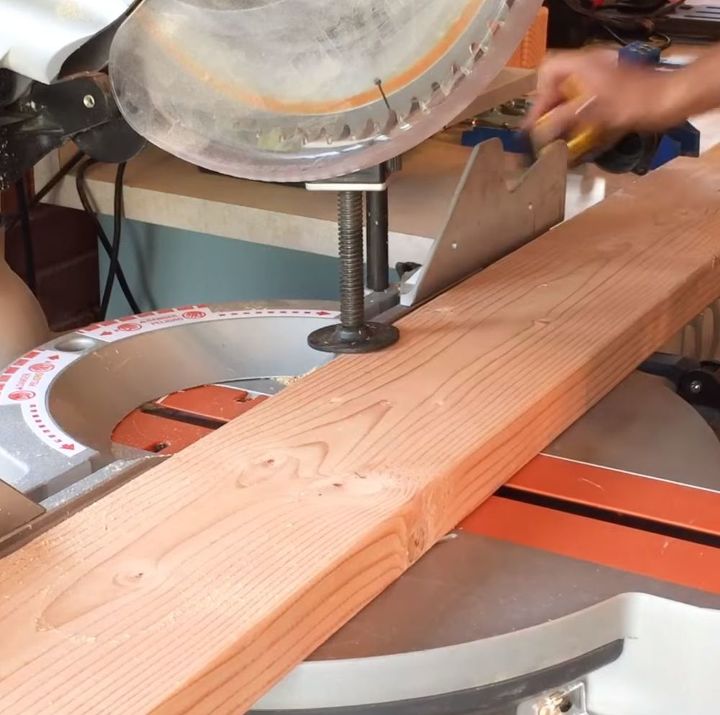
Make sure to get the free, complete, printable building plans at Remodelaholic.com. Cut your boards to length. We cut ours with a miter saw. Then, we sanded the cut ends to make them round and sanded the lengths of the boards.
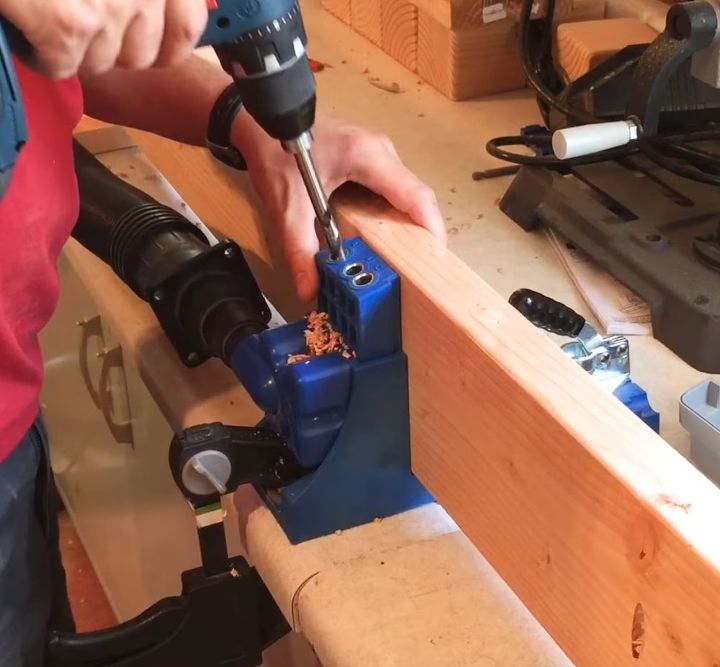
Create the pocket holes that will be used for attaching the boards to each other.
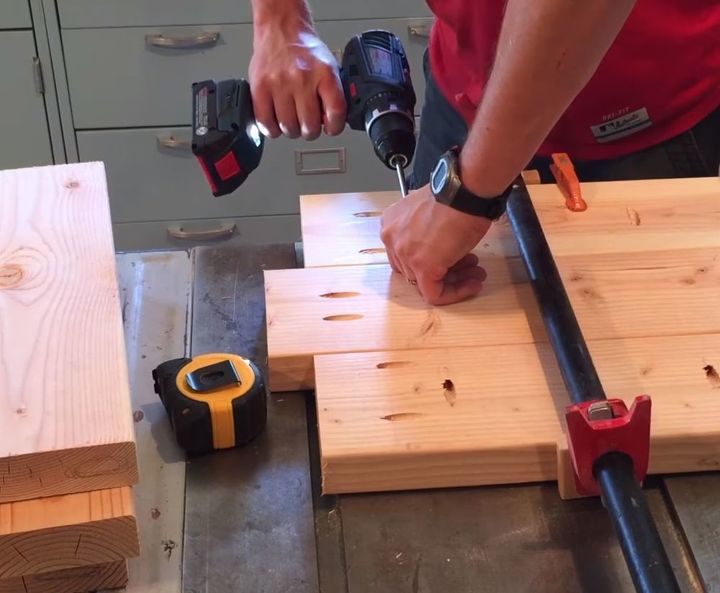
Using pocket hole screws, first attach the side pieces to each other. Then, attach the top pieces to each other.
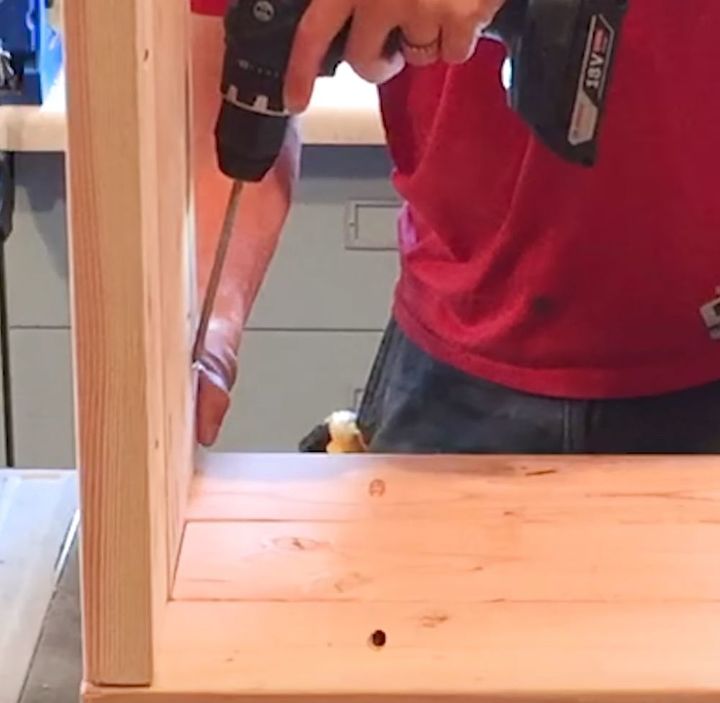
With your sides and tops ready, attach the legs to the top at a 90 degree angle with your pocket holes and screws.
Voila! In just a short time, you have a completely functional and stylish bench. We chose to leave our unfinished but you can certainly stain and coat it.
Resources for this project:
See all materials


Any price and availability information displayed on [relevant Amazon Site(s), as applicable] at the time of purchase will apply to the purchase of this product.
Hometalk may collect a small share of sales from the links on this page.More info

Want more details about this and other DIY projects? Check out my blog post!
Comments
Join the conversation
2 of 6 comments
-
We have been planning on putting a bench under our bay window and also wanted to have more storage. This is perfect! Thank you!
-
great job talented


Frequently asked questions
Have a question about this project?
Why is it called a "Waterfall" bench?
Any idea of how much weight the bench will tolerate? Thanks.
If a rat dies will it take away the order?