


Pushin Pencils

by
Lynn
6 Materials
$35
3 Hours
Medium
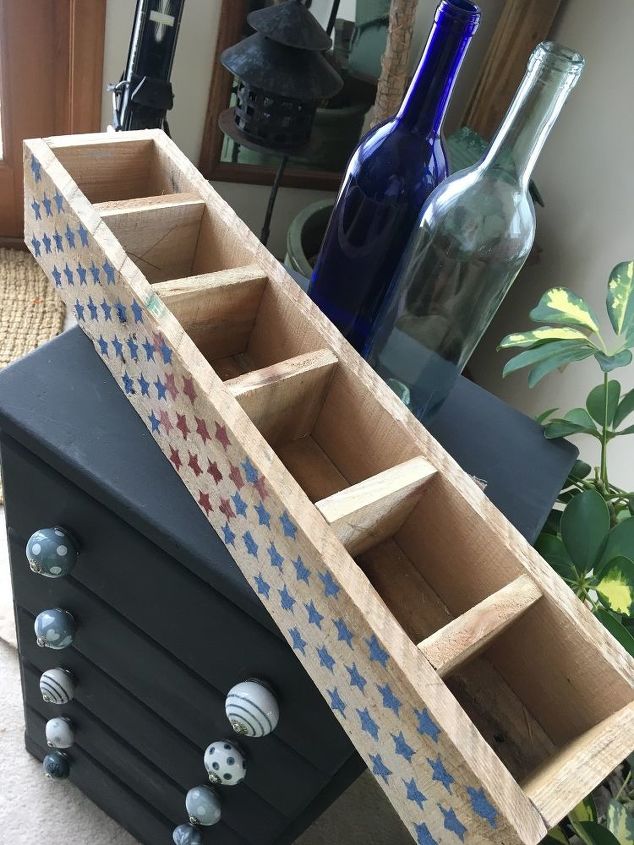
Need a place to unload that overstuffed pencil drawer? Let’s get started on a pumped up pencil box!
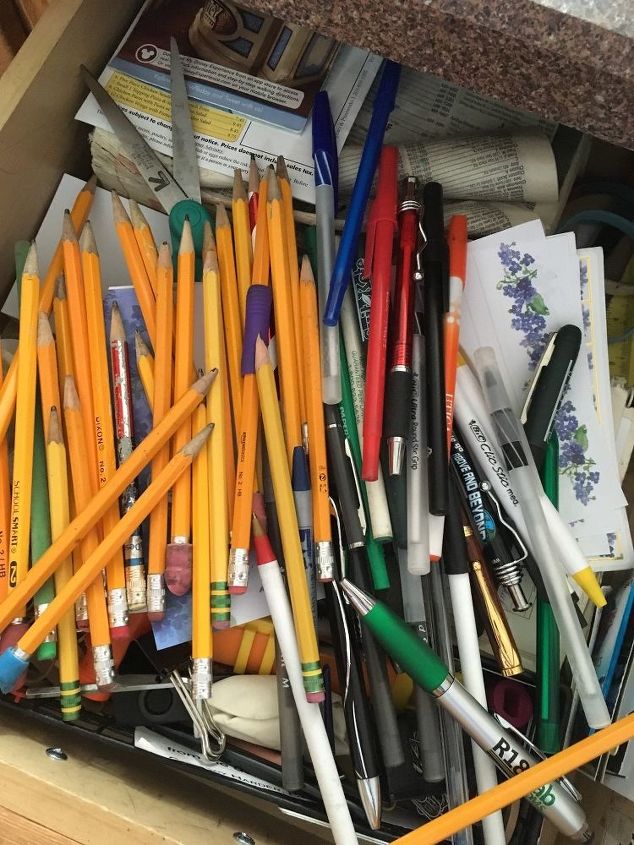
Does your pencil drawer look like this?
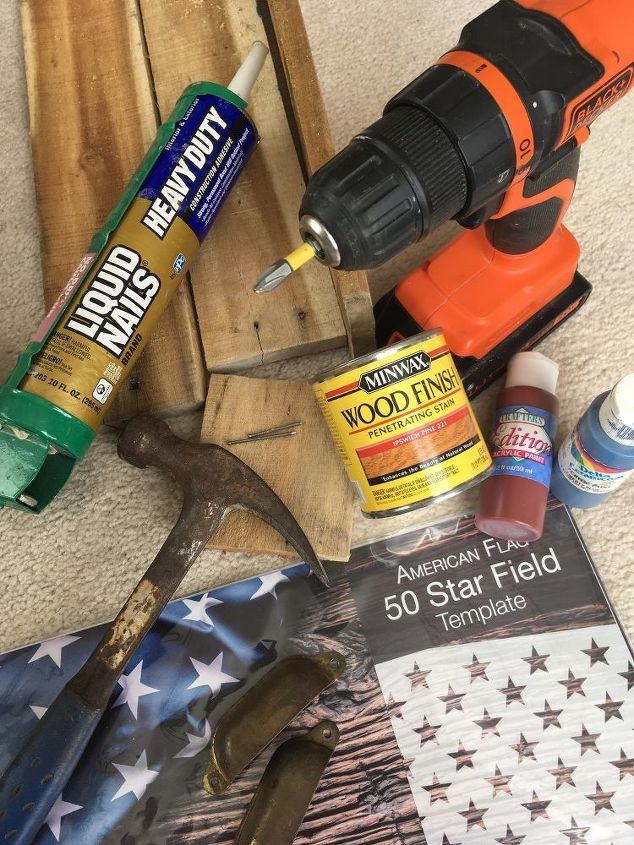
Grab your tools. Having some of the items kept cost down.

Cut wood to preferred length.
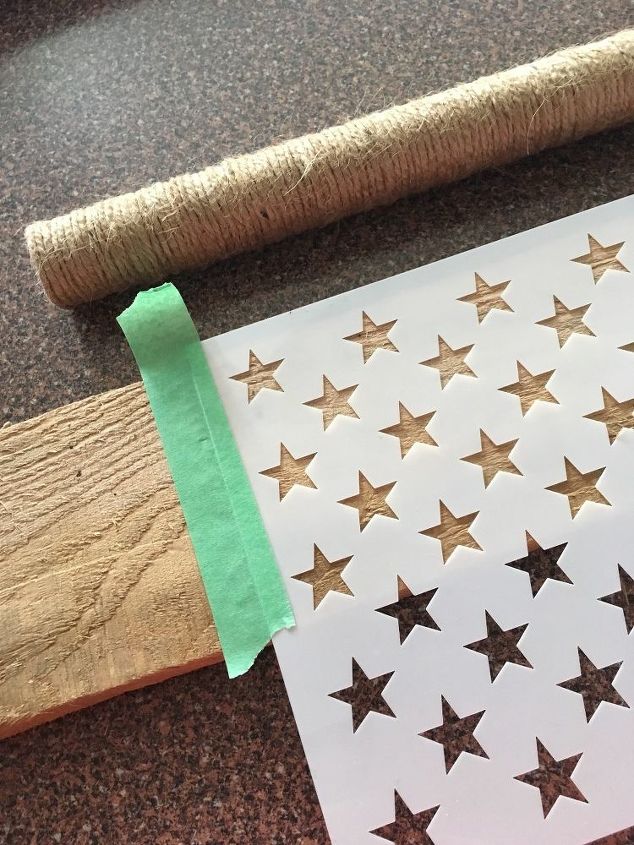
Decided on a star front. Tape template to your board.
Paint away!
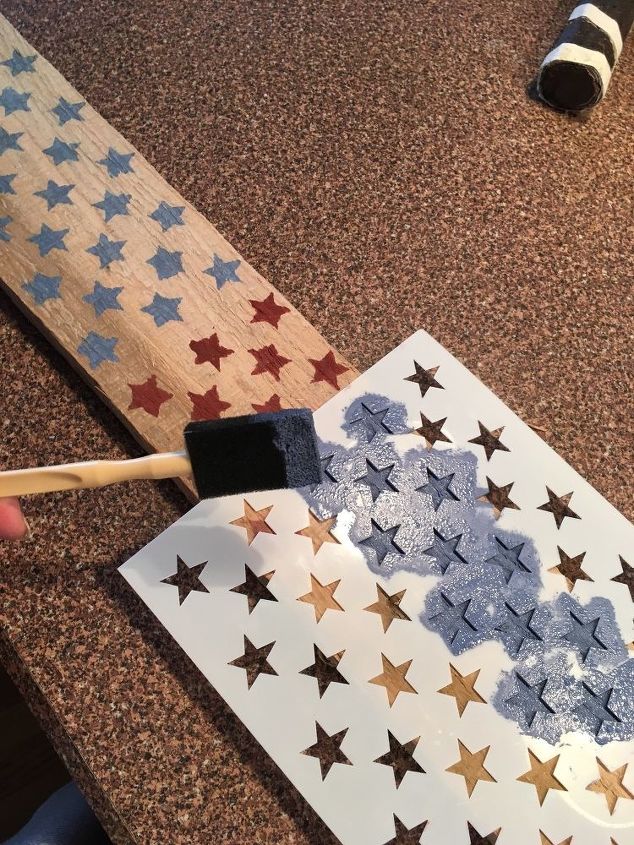
Dab paint, sloppy or not, no worries, it’s rustic. Pattern and color is up to you.
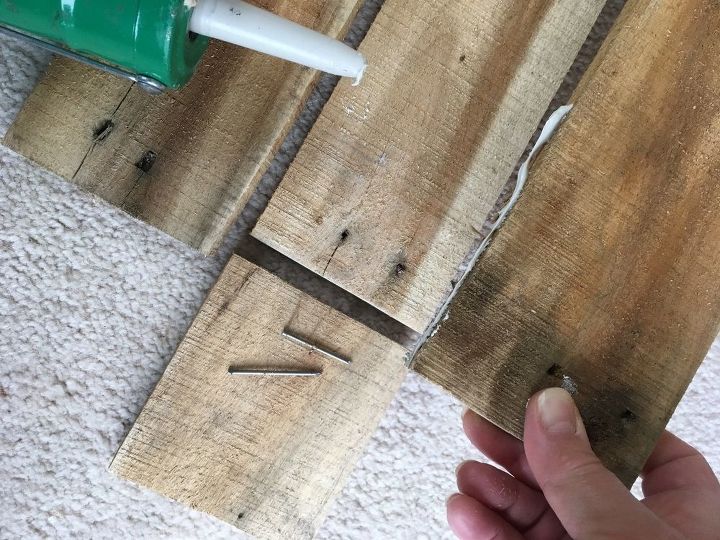
Glue all your pieces together to form your box, two sides, two ends and don’t forget the bottom.

Spread it, place it, let dry.
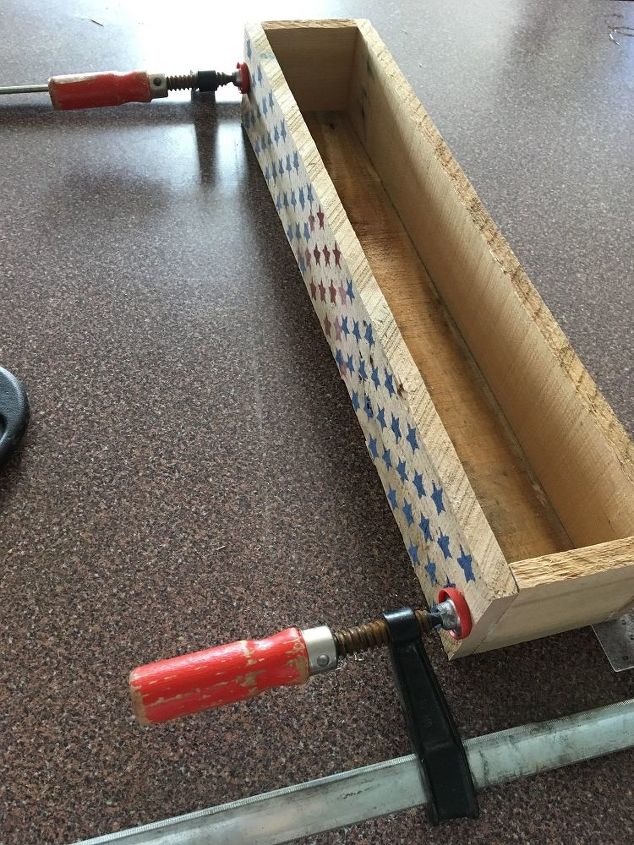
Clamp if you got them. Otherwise use a heavy book or two.

Once dry, nail along the edges. The Brad nailer makes quick work of it. A hammer and finishing nails will also do the job.
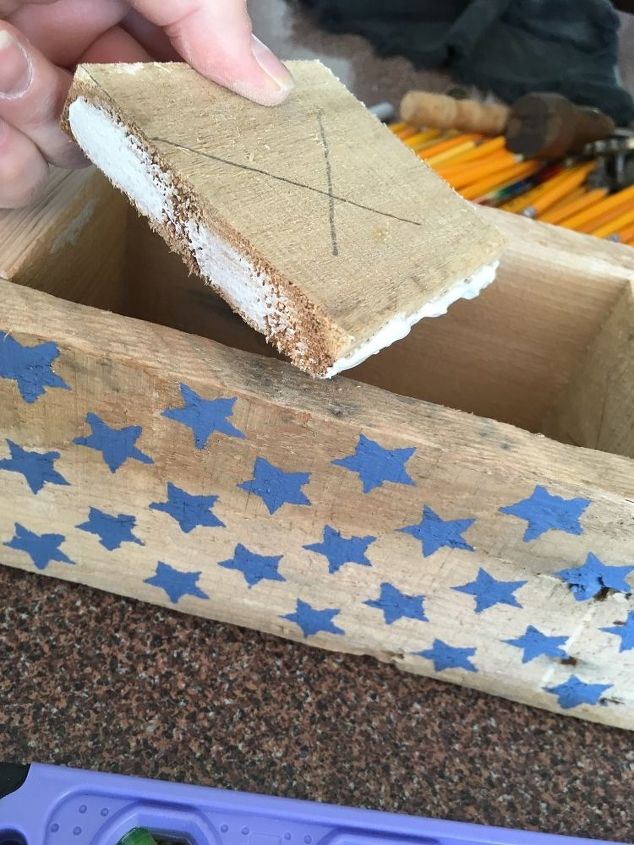
Measure the height and width of the box interior to determine the size of the dividers. Cut and glue.
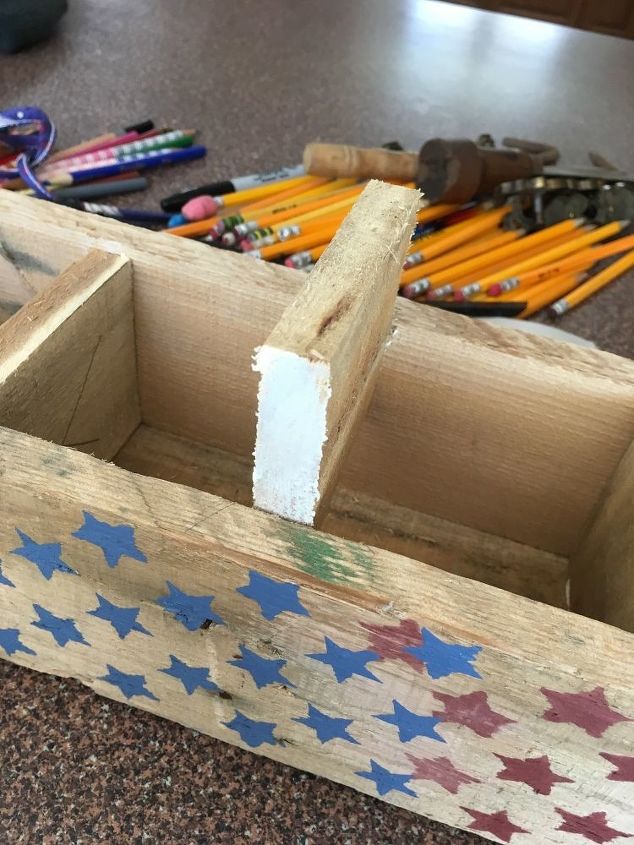
Slide them in, as many or as few as you like. Nail if you feel they need a little extra support.
Give it a light sanding and some stain
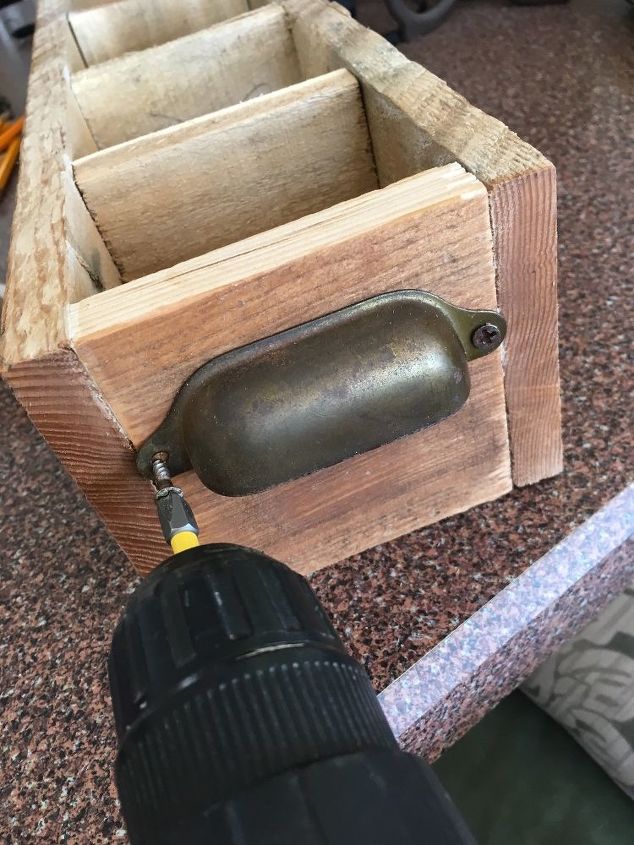
Attach the pulls.
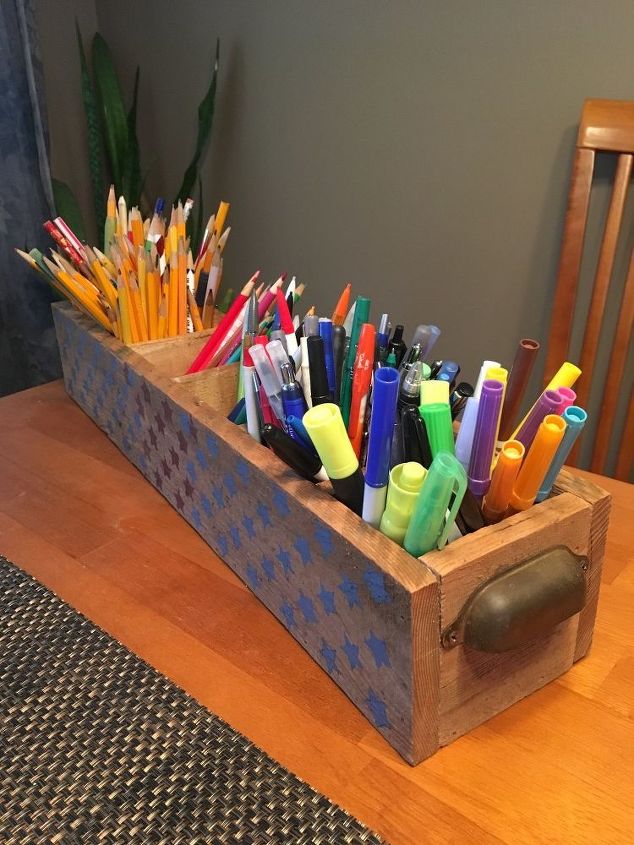
Yes, all the pencils, pens and markers were in one drawer!
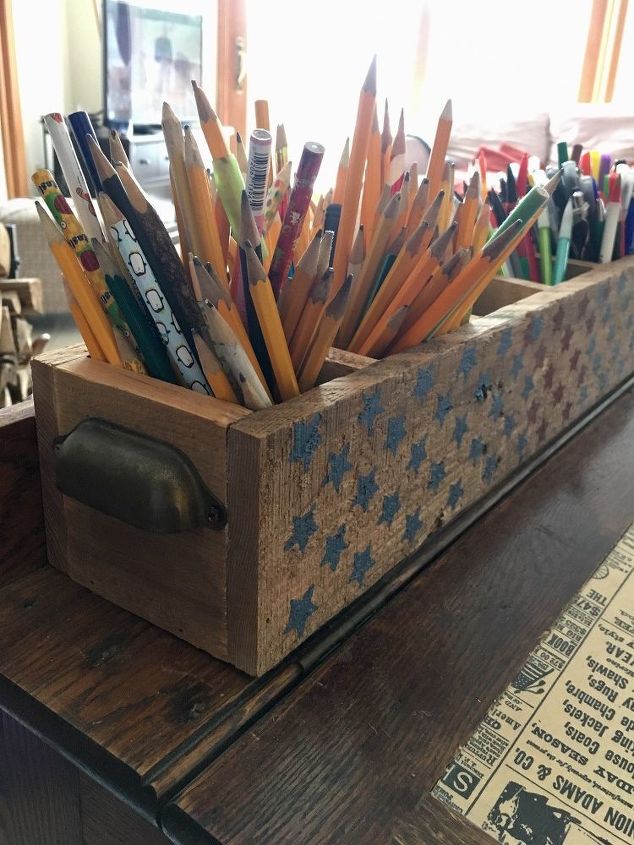
Now they’re in their happy place.


Frequently asked questions
Have a question about this project?