


How To Do A Shiplap Wall Out of 5" Baseboard For Only $54

7 Materials
$54
8 Hours
Easy
Creating a Custome shiplap wall doesn't have to be difficult or expensive. Learn how to make a shiplap wall using 5" baseboards. I have been living in my house for 12 years and I wanted to make some updates with out breaking the bank. I wanted to do a shiplap feature wall after doing my master bedroom wall with wood. (I'll post link below for wood wall) The baseboard gives it texture and dimension and adds a visual focal point for this small space. Its also very pretty and clean looking. Lets get started and you can see how easy this is. Here is the link to the Mid Century Modern Wall I did in my master bedroom
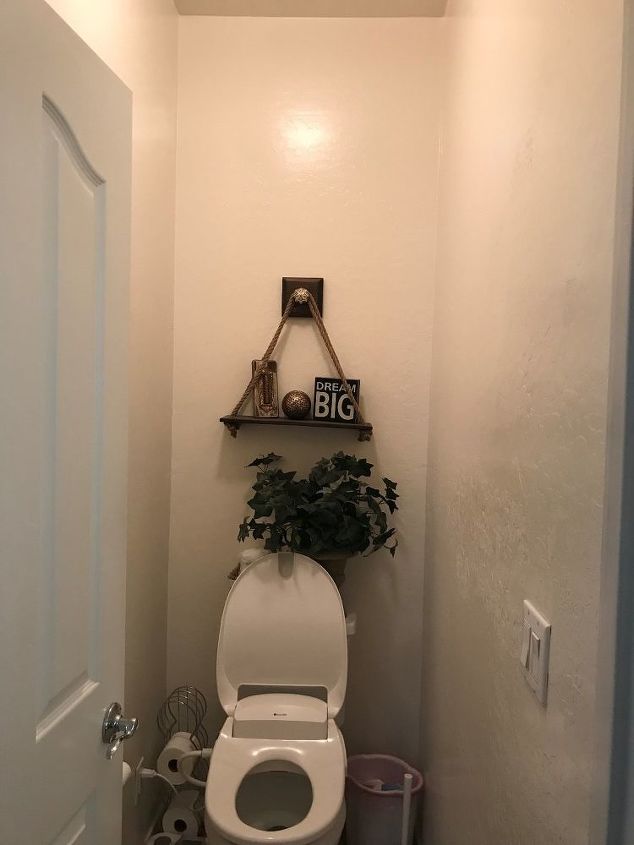
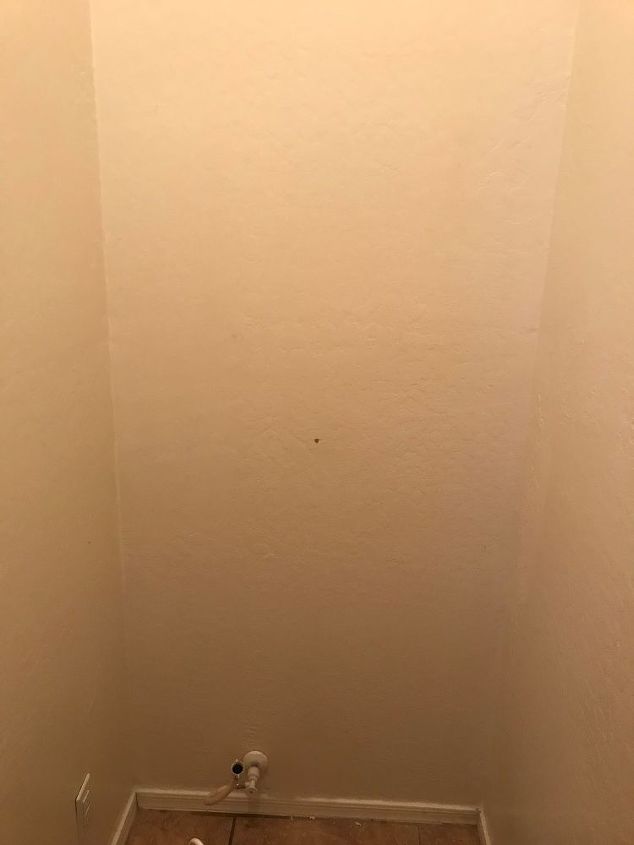
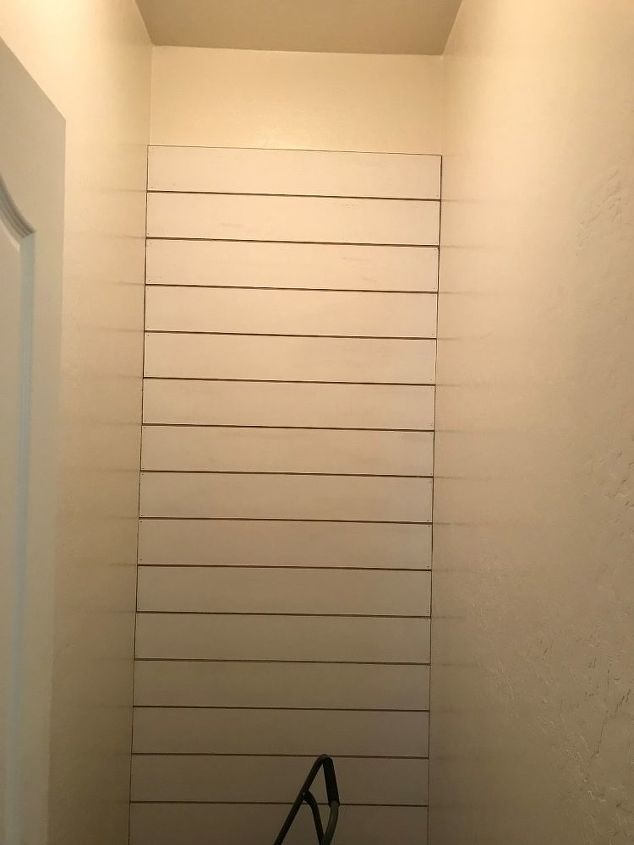
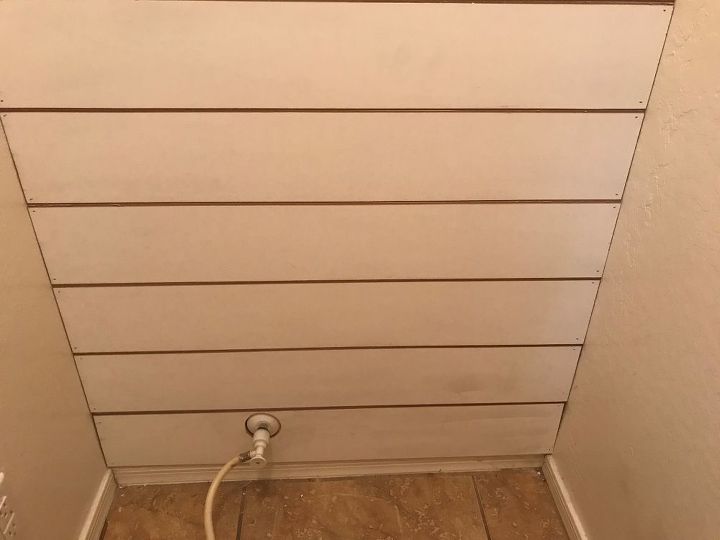
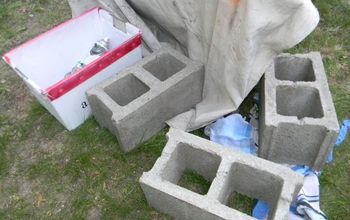
This is my before
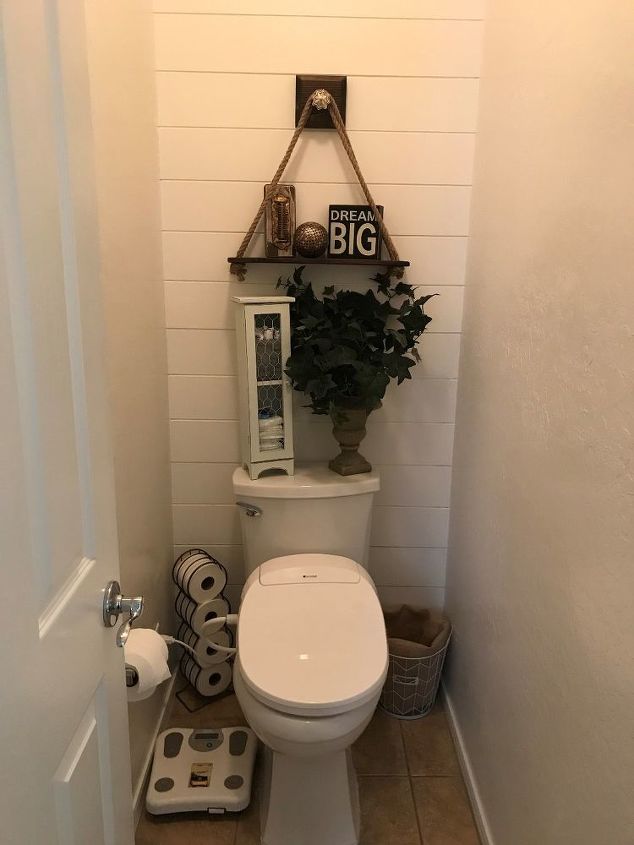
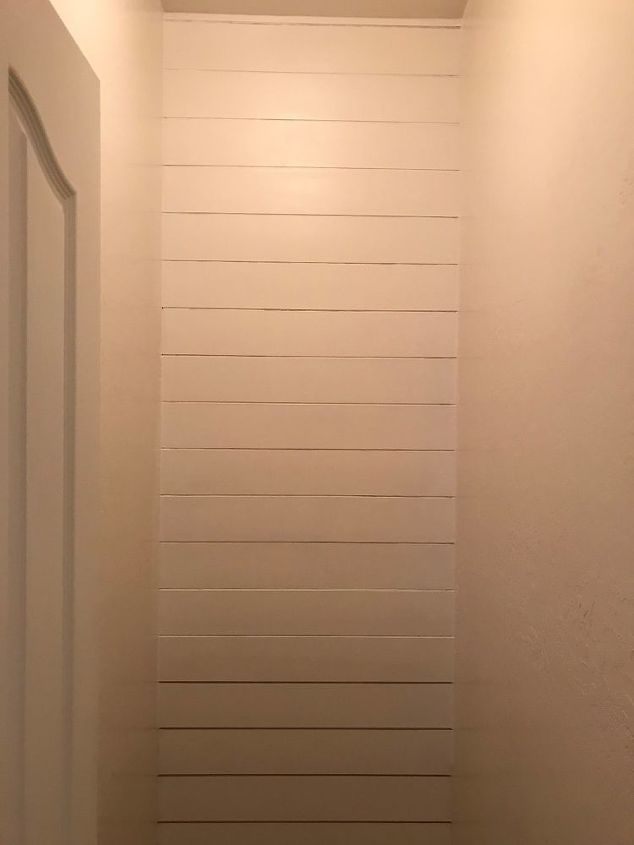
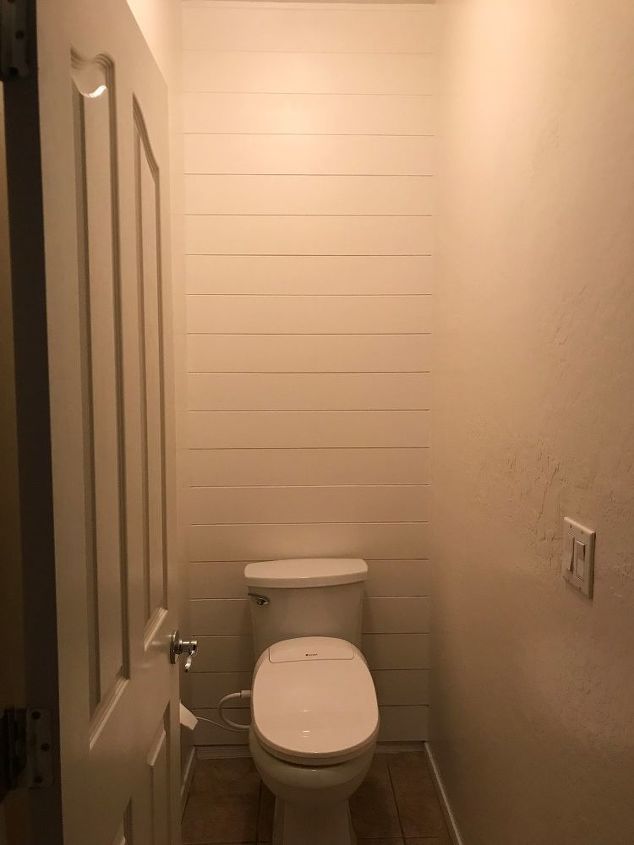
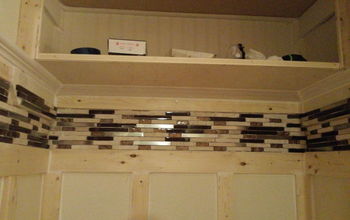
This my after. See step by step on how I did this for only $54
Supplies you'll need:
Saw
Ladder
Nail Gun and 2" nails
Level
Ladder
Paint & Brush and roller
5" baseboard
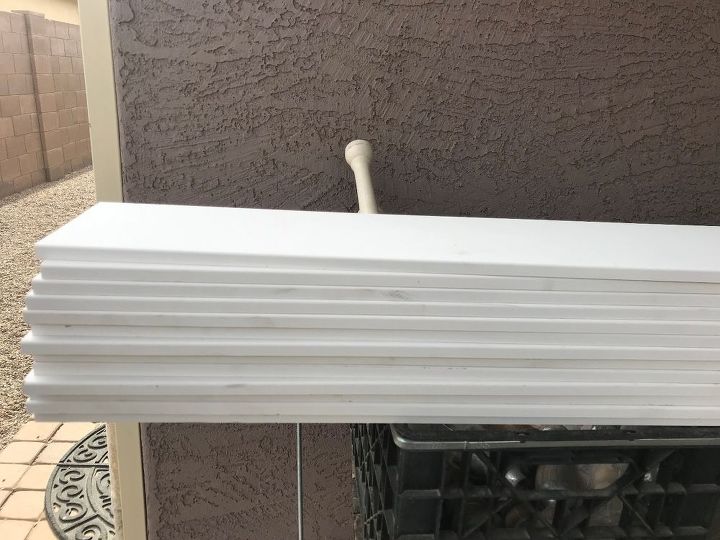
We cut all the 5" baseboards down to size, the baseboard came in 20ft lengths
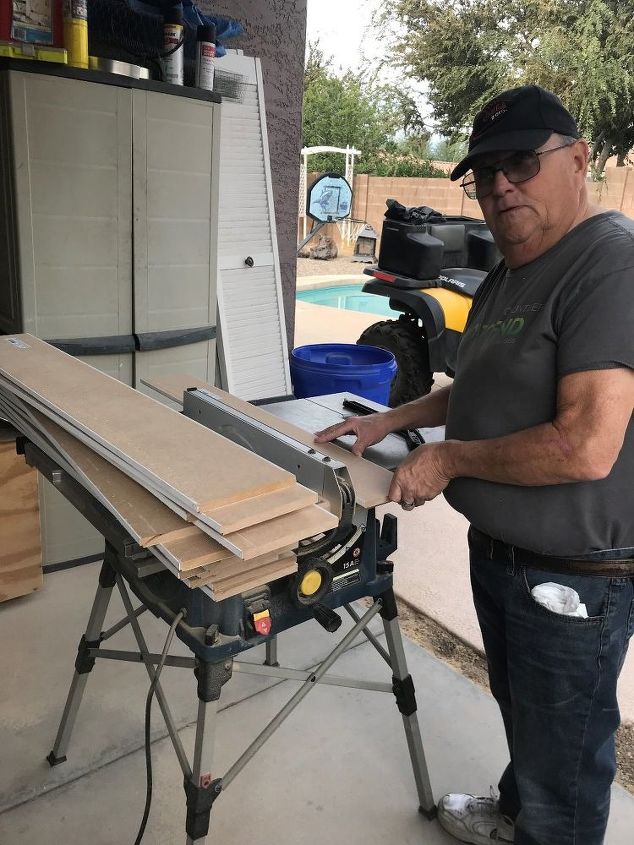
next I had my dad cut a edge (grove) on both sides of the baseboard, he laid the boards face down and put the blade at 1/4 inch height and the guard a 1/4 in and ran them each threw on each sides. Making a grove on each side.
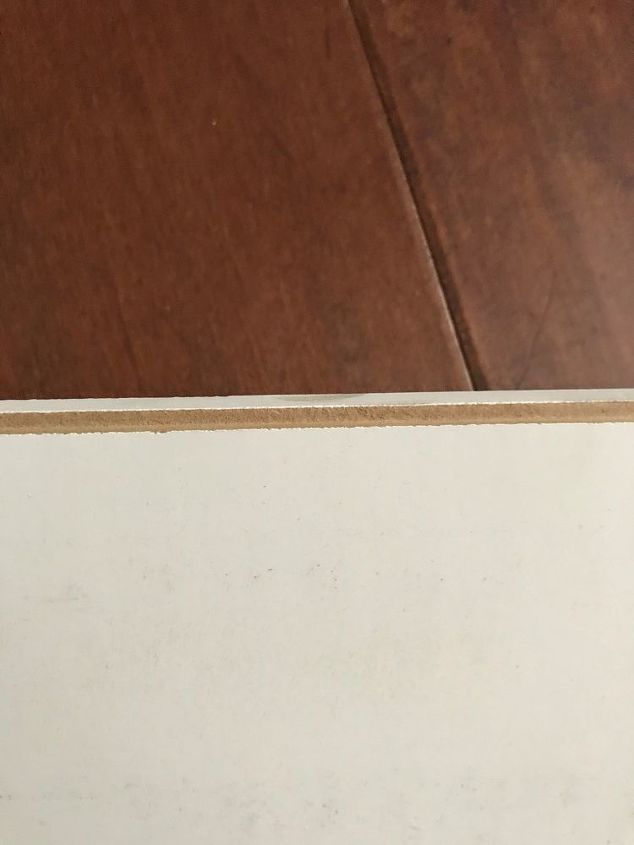
This is how each side looked almost like a slot wall look. After we finished all the boards we were ready to start.
Since I'm doing my toilet area in my bathroom I needed to remove my toilet. I was then ready to start my wall.
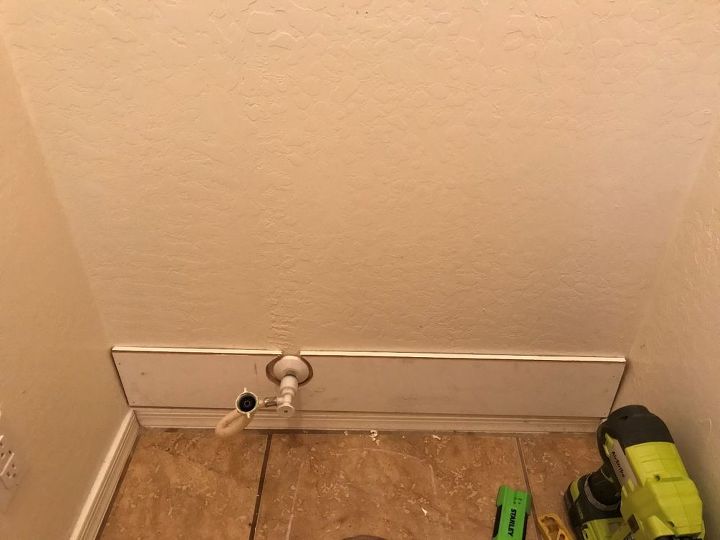
Getting the first board in is most important. I started above the baseboard, because I'm only doing this wall. I thought it may look funny if the rest had baseboards and the back didn't. So I measured and made a circle to cut where the water pipe goes and slipped it over. Making sure it was level is key. I then used my nail gun to staple into the studs which are on both ends only. None in the middle making it nice.
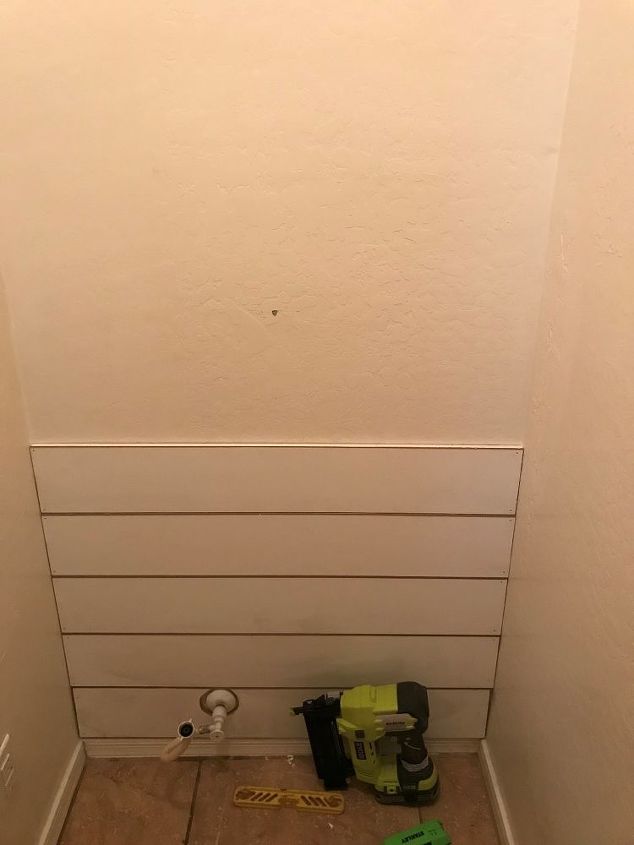
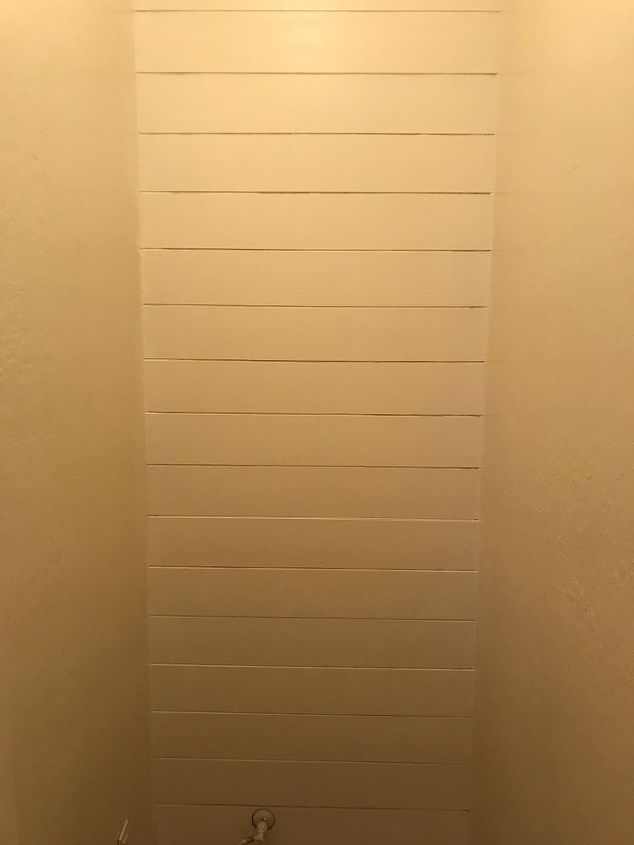
I then proceeded to keep moving up the wall I just set one on top of the other I did not need to space the boards because I cut the edge to make it appear that there is a gap.
I just kept going as you can see the sides are not perfect no worries I'll be using caulk to clean it up
At the top I needed to cut a small piece to fit. If I was doing it over I would of measured that out and cut it off the bottom so I didn't end up with a small board but it still looks great. Live and learn.
Here I caulked all the ends and filled the nail holes to make them less visible. Ready for paint
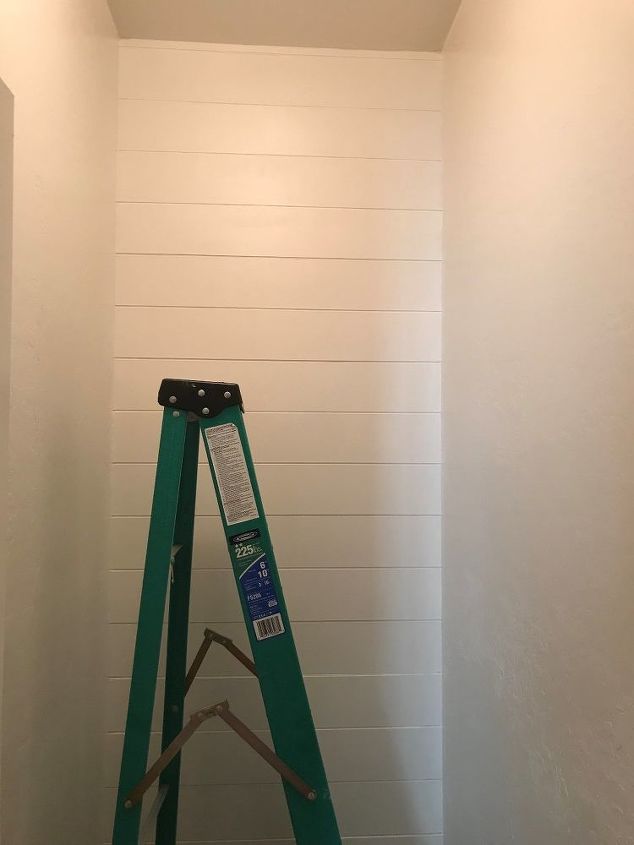
Here I have 2 coats of white paint. I used semi gloss because its a wet area being in the bathroom
I didn't like the way the hole was so I changed that fist board after I did the whole wall. I just pulled out the nails and redid it. Its a better fit not that anyone would have seen but it bugged me.
Now I was ready to put the toilet back once the paint was dried. It was looking good, I just need some finishing touches

This is my final look all decorated and ready to use. I love the way it came out. This only took a 1/2 a day and $54 dollars
Resources for this project:
See all materials


Any price and availability information displayed on [relevant Amazon Site(s), as applicable] at the time of purchase will apply to the purchase of this product.
Hometalk may collect a small share of sales from the links on this page.More info
Comments
Join the conversation
2 of 19 comments
-
Thank you!
-
No questions, just wanted to say it looks awesome. Great tutorial.


Frequently asked questions
Have a question about this project?
Looks great!! One question..why cut the grooves rather than spacing them??? Just wondering if it had something to do with the wood or the look you were going for.
What is the electric cord for and what is going into the toilet?
Would you have liked 1/4" round at top, sides and bottom for a finished look?
Still looks great -- just like Fixer-Upper walls!