


Free A/C Hack That Could Save You $75-$100

When I bought this house a couple of years ago, I hired a home inspector as part of the loan process. He told me that the HVAC unit was in good shape, and still under warranty, but he recommended that I clean the air conditioner filter right away. I thought it was pretty obvious because the filter in the door was clogged. When I took possession of the house, there was no filter in the door to the AC unit. I was planning on changing it anyway, so I thought no more of it. Until it got hot that first summer…
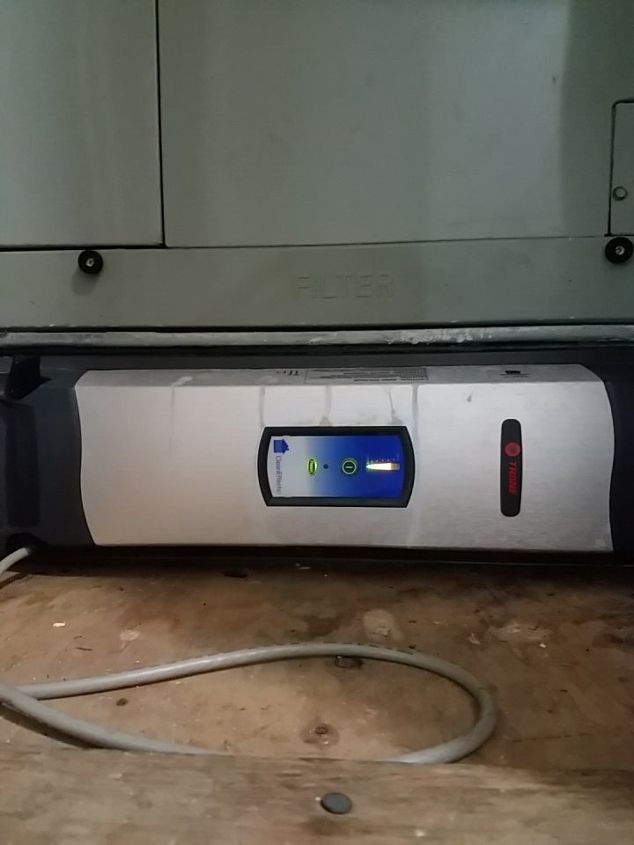
I could hear something dripping in my hallway. I investigated, checking both bathrooms, and couldn’t find the source of the dripping. After a few hours, I realized that the air conditioning unit was struggling, and I was still hearing that dripping. My filter was pretty clean, but I realized the noise was coming from inside the closet. When I looked, I discovered condensation on the floor of the HVAC closet. I couldn’t figure out what was wrong, so I called the contact information on the unit. They couldn’t explain over the phone, so I had to pay for an after hours service call. By this time, it was getting late in the afternoon and the air conditioner wasn’t cooling the house.
That service call ended up costing me over $180, but I found out some useful things, and I had the guy show me how to clean the filters. Turns out that there is a built-in filter that needs to be cleaned annually. Today I’m showing you how to take it out and clean all the parts so you don’t have to pay that outrageous service call!
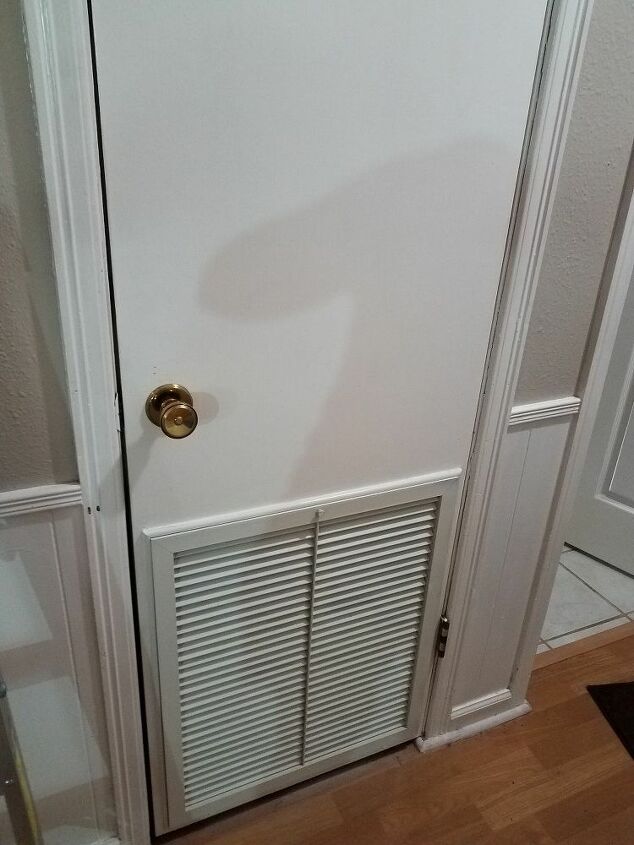
The A/C has a standard disposable filter in the door of the closet. That's what I thought the inspector meant for me to change.
Since I was paying for that original service call, I asked the technician to show me what he was doing, and explain it to me so that I could do it myself in the future. He was kind enough to do so.
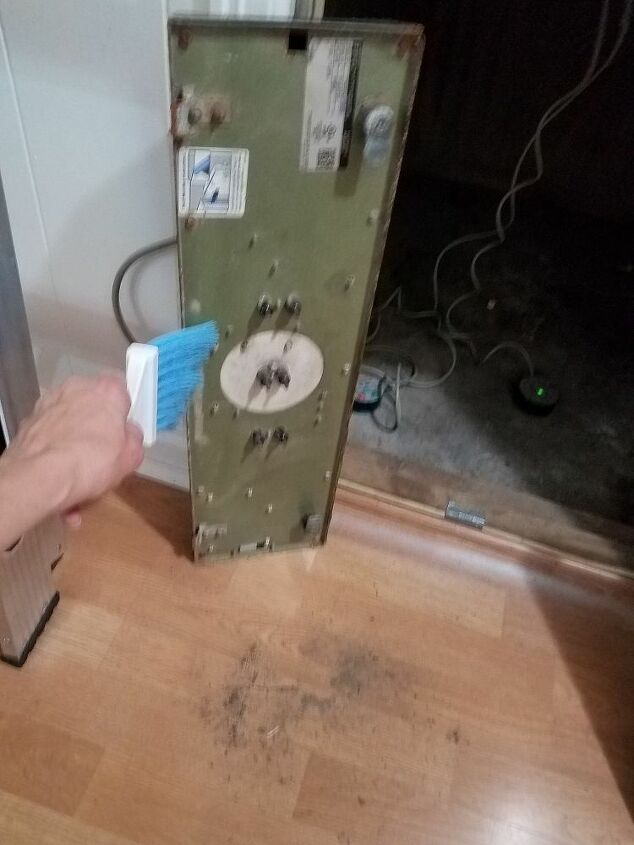
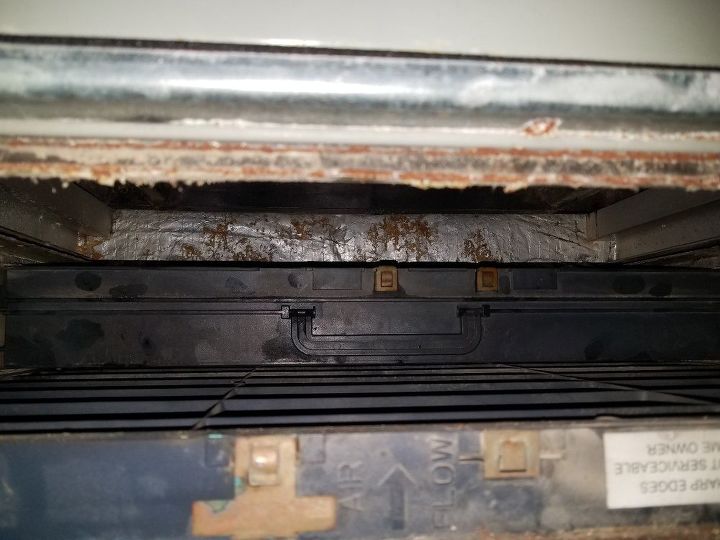
First, open the closet and find the permanent filter.
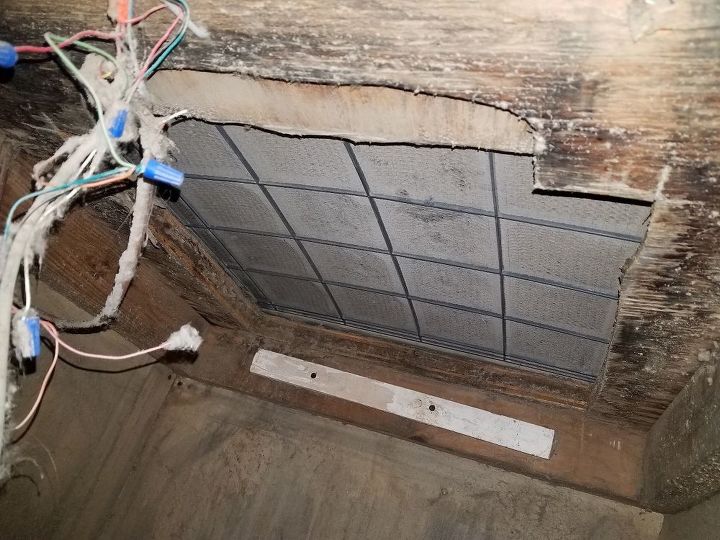
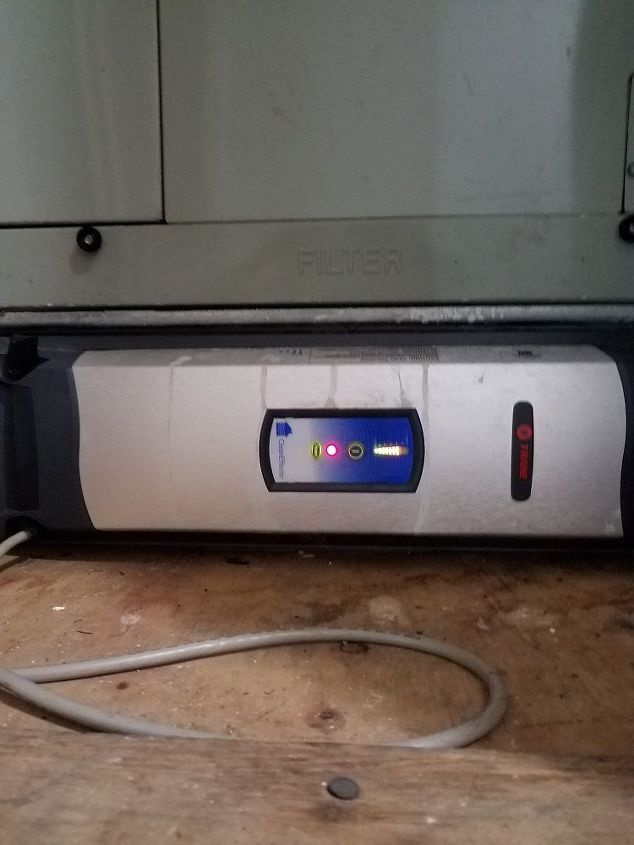
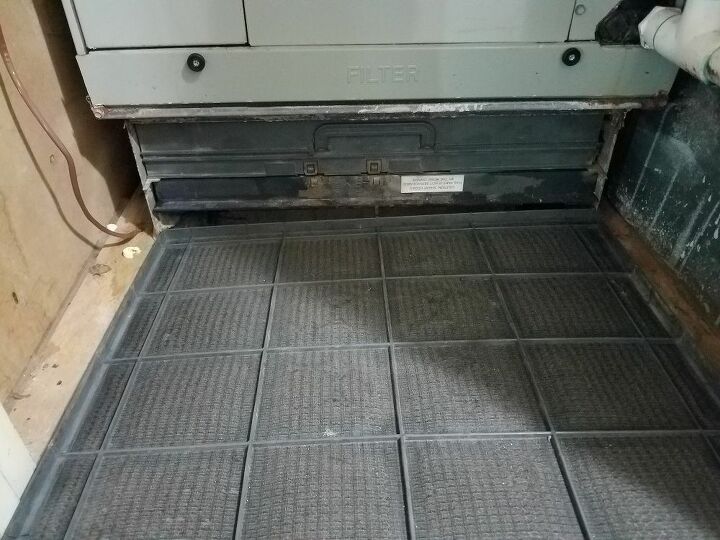
Check under the air intake part. This part has to be cleaned, too. Don't judge, I cleaned it in July. The A/C guy told me once a year. And I'm not touching those wires!
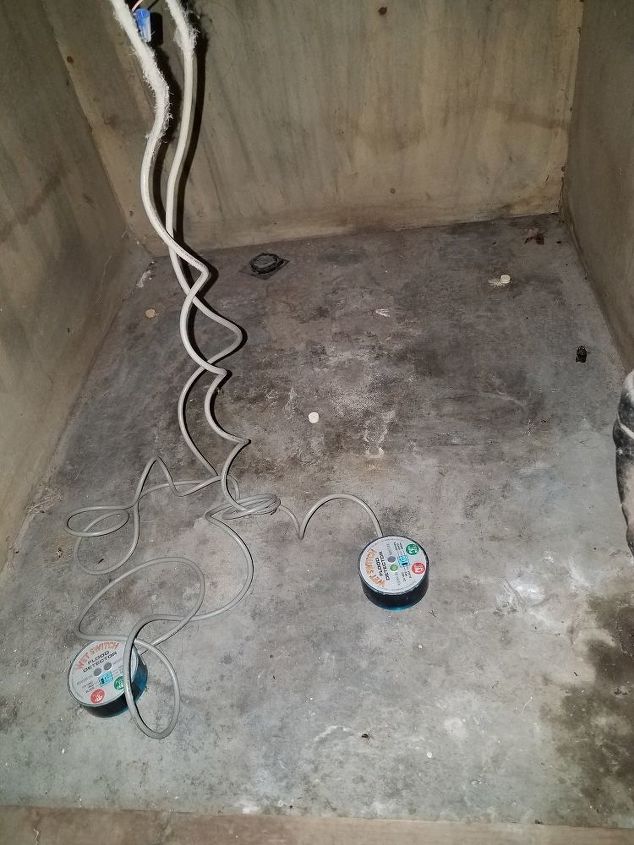
Check the moisture indicators to see if condensation is a problem. Today, there's no problem.
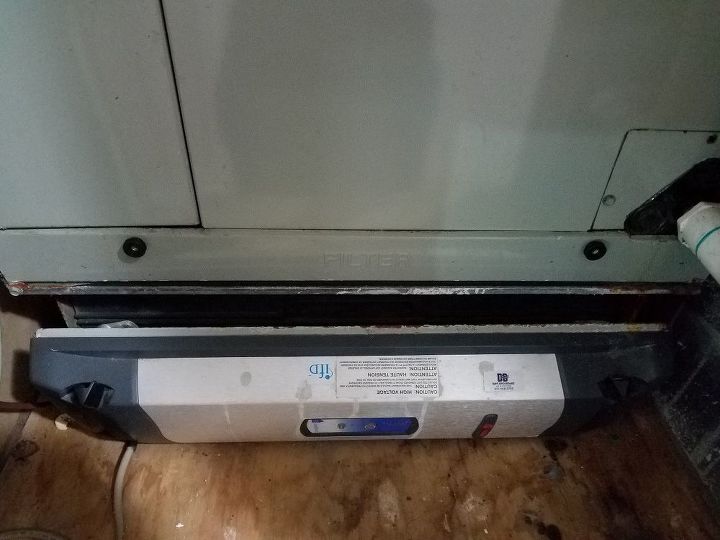
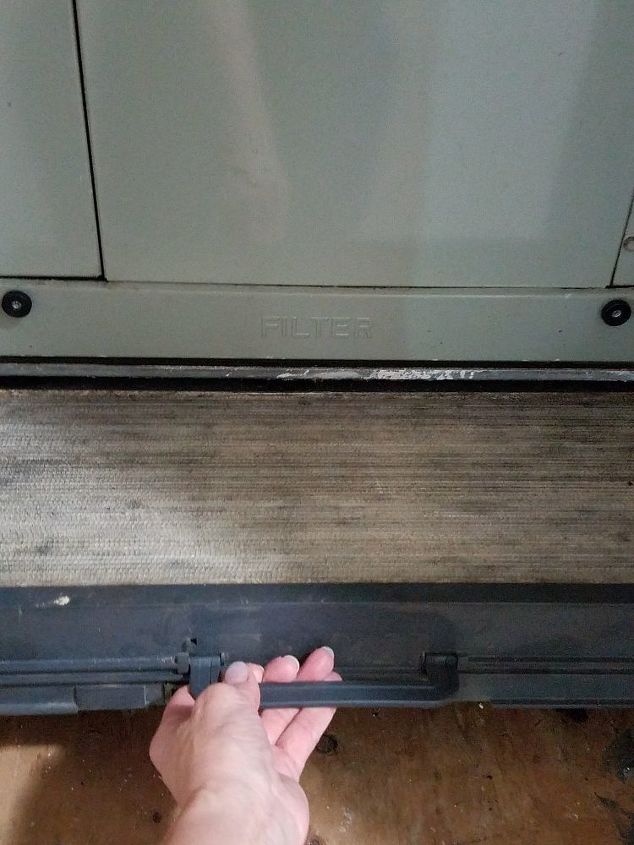
Then, I puled the face off the filter cabinet.
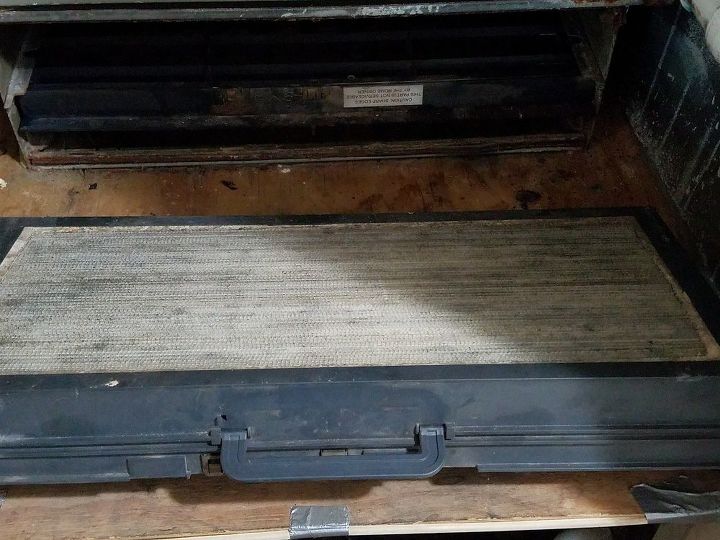
Next, I removed the bottom filter. It catches the biggest dust particles. This part is the back of the filter. When it's dry, you can always vacuum it from below to remove the dust and dirt, but I'd just as soon clean the whole thing once I start.
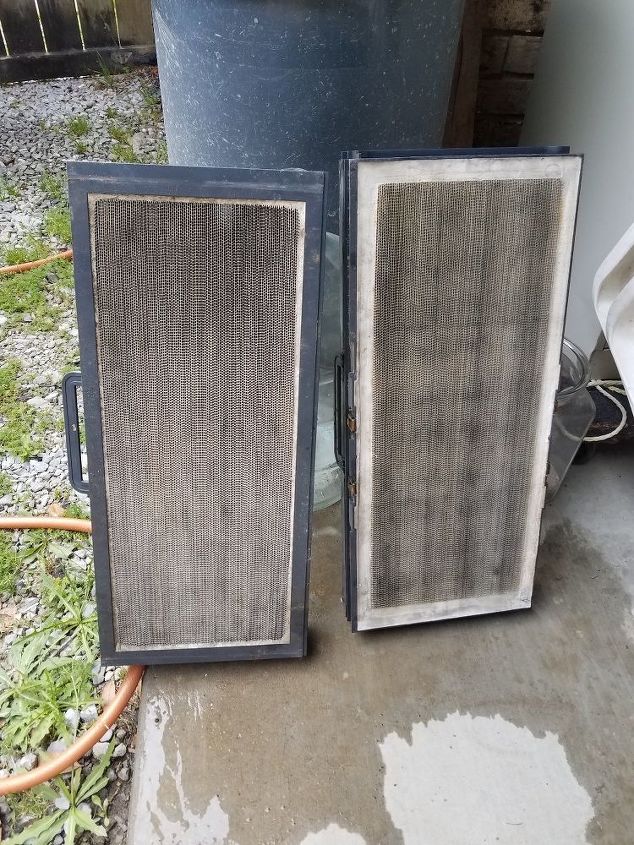
Then, pull out the small particle filters. There are two, one right behind this one. I call them suitcases.
I went ahead and used a whisk broom on the inside of the facing of the filters. It was pretty nasty!
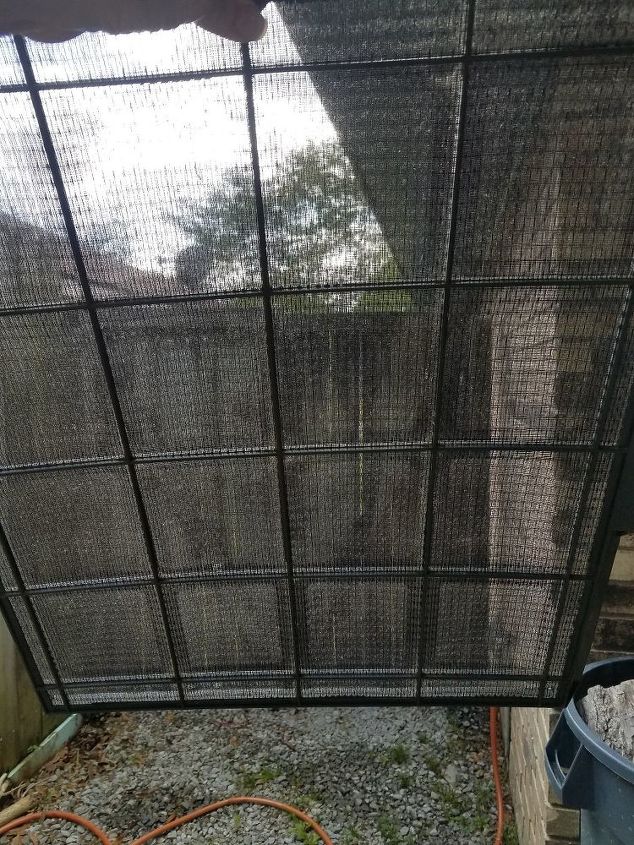
Then, I hosed the two inside filters off and set them to drain. It's difficult to tell, but the one on the right was already rinsed, and the left one hadn't been done yet. I looked at the sun through the filters to see if they looked clean, but couldn't take a picture of it because I needed both hands to hold the filter up. The A/C technician had told me just to give them a good shake, and even if they were still somewhat damp, I could put them back in the unit.
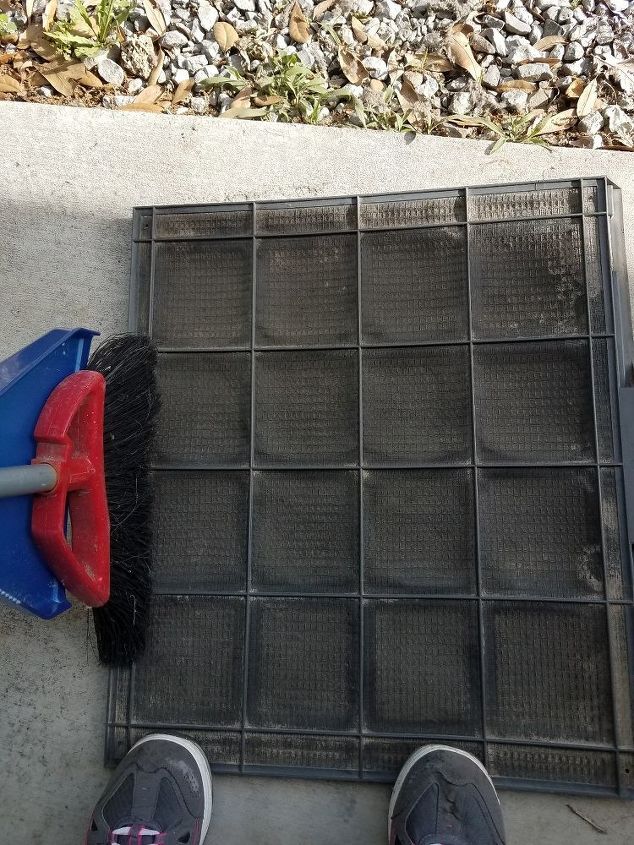
While the two cases were draining, I swept off the bottom filter.

Then I hosed it off, to make sure it was as clean as possible.
Put everything back, careful not to cut myself.
Done! It's not pretty, but my air will be cleaner, my electric bill will be lower, and I didn't have to pay anyone $100! I hope this encourages you to take on more home maintenance projects yourself, too.


Comments
Join the conversation
-
Thanks for sharing your valuable ideas to everyone. By following your mentioned tips one can easily save a big amount on repairing or other services of their HVAC unit. It really helps a lot.
- See 1 previous
-
Thank you for the tip!


Frequently asked questions
Have a question about this project?