


Rustic Wood Garden Signs

by
Lauren Z
3 Materials
2 Hours
Easy
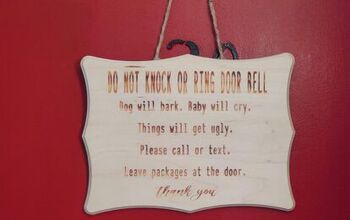
Using scrap wood, tissue paper and Mod Podge, I created these fun garden signs.
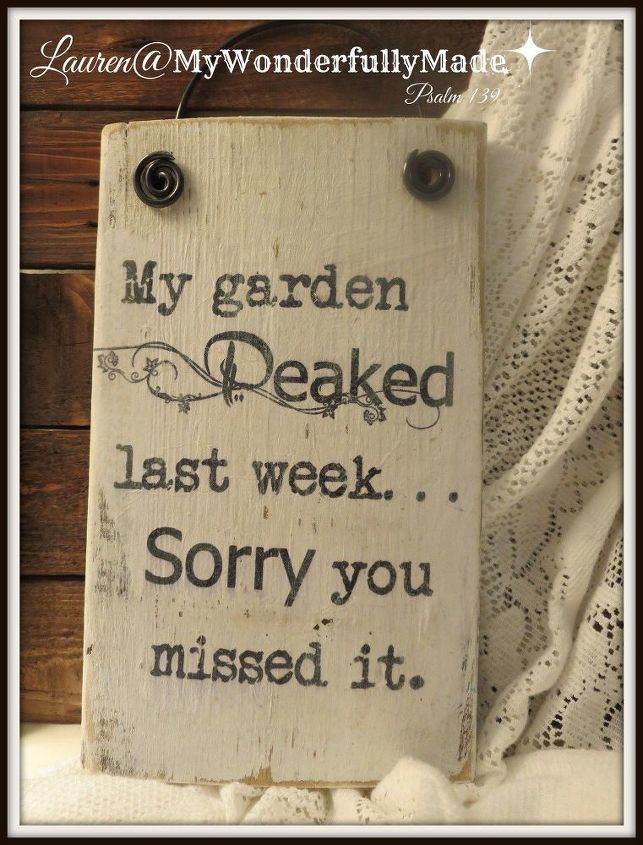
Start with wood boards (I use old fence boards) and give them a white wash with watered down paint. Once the paint is dry, you can go back and sand the edges and top to give it a worn look.

Using repositionable adhesive, attach white tissue paper to a piece of copy paper and using a regular inkjet printer, print out your quote, picture, etc. Tear the edges of the tissue to give it a ragged edge.
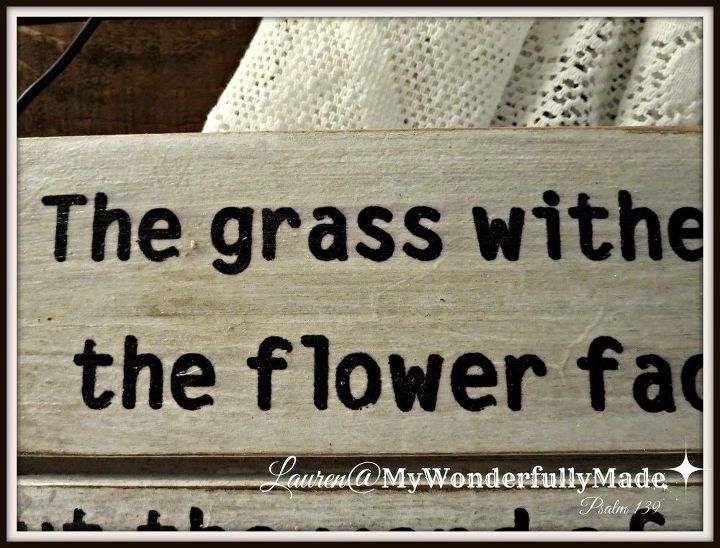
Apply a layer of Mod Podge to the board and then lay down the tissue applying another coat of Mod Podge on top. Once this is all dry, go back and sand the edges of the tissue paper and it will 'disappear' into the wood making it look like the words are hand painted on the board!
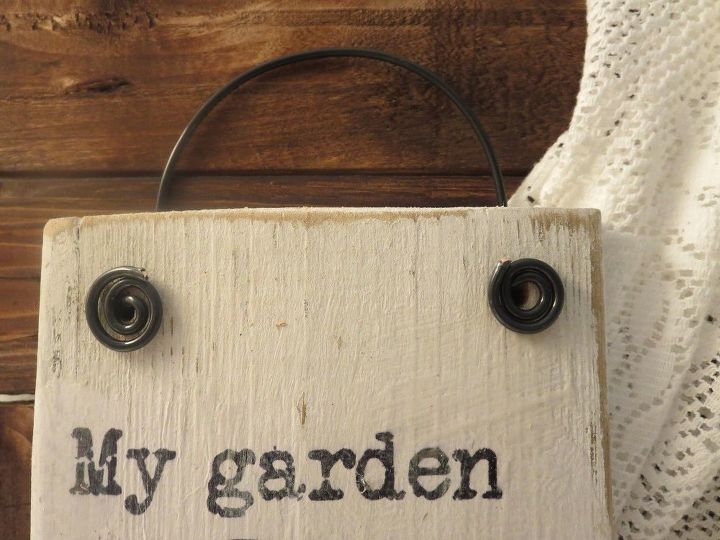
I drilled holes into the boards and threaded through some plastic coated wire.
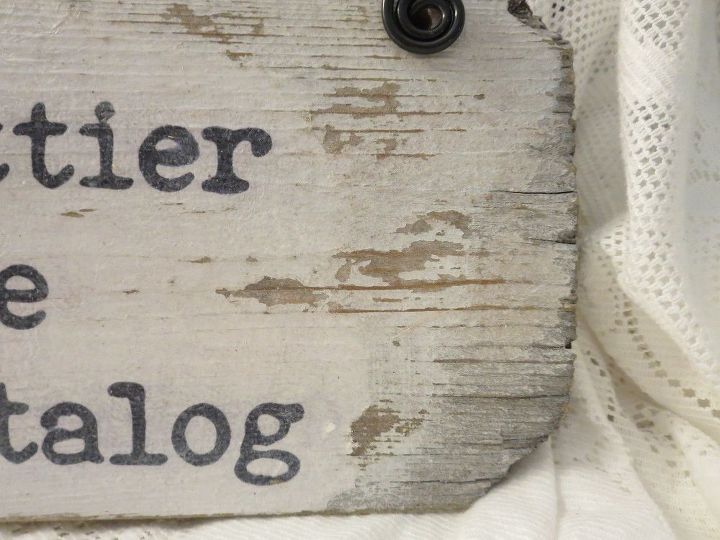
Once you've sanded, distressed and 'weathered' the wood, you'll want to seal it if it will indeed be in the garden. I used a matte spray sealer on these pieces.


Any price and availability information displayed on [relevant Amazon Site(s), as applicable] at the time of purchase will apply to the purchase of this product.
Hometalk may collect a small share of sales from the links on this page.More info
Want more details about this and other DIY projects? Check out my blog post!


Frequently asked questions
Have a question about this project?