


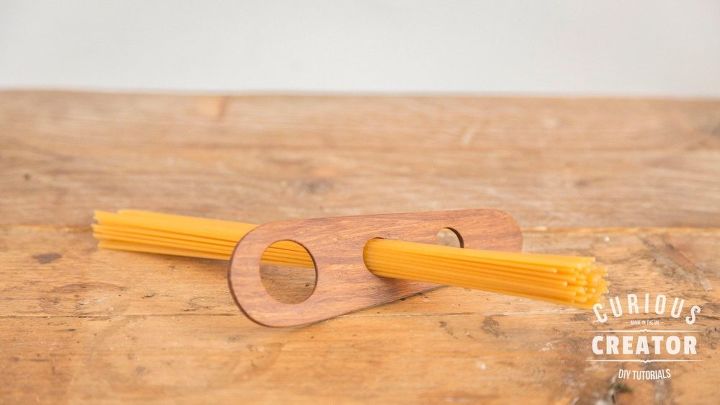
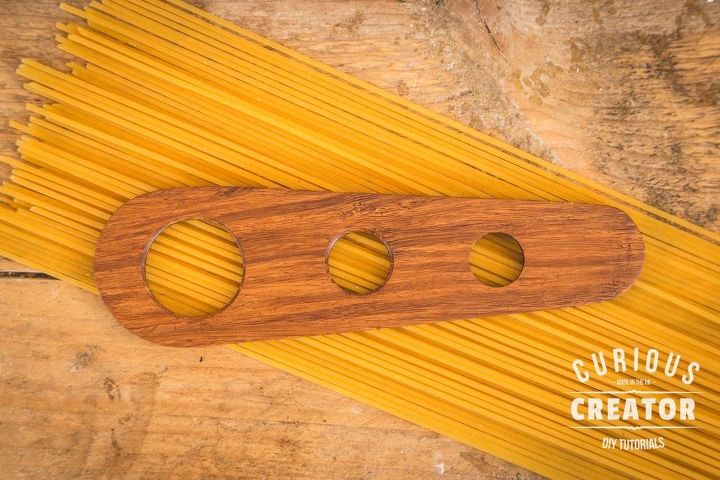
Bamboo Spaghetti Measure
2 Materials
1 Hour
Easy
Okay. I'll preface this by saying this is quite possibly the silliest thing I have ever made. It's silly. Right, so that is out the way.
In this video, I show how I made this Bamboo Spaghetti Measurer. My wife and I are pretty terrible at working out how much spaghetti is needed for each person.
{
"id": "4763554",
"alt": "",
"title": "",
"video_link": "https://www.youtube.com/embed/O78g9XPjGIs",
"youtube_video_id": "O78g9XPjGIs"
}
{
"width": 634,
"height": 357,
"showRelated": true
}
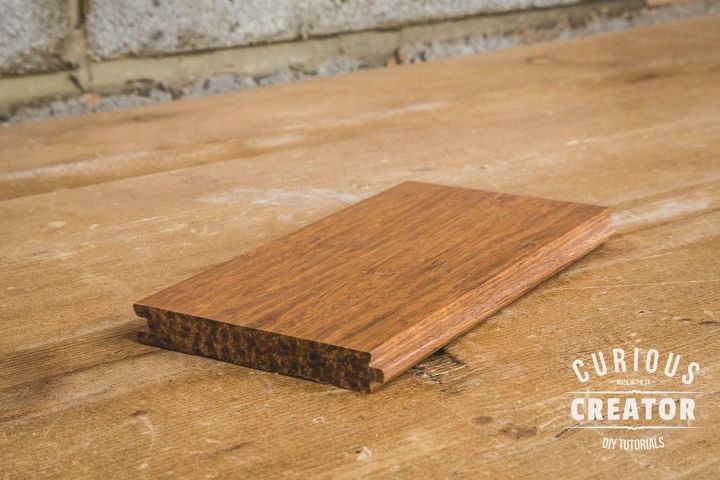
I started with a piece of bamboo. This was a left over off cut from when we re-floored a room in our house. This worked out great as it was free, but you can use any wood you have. There are lots of different types of bamboo flooring and not all would be suitable for this, so do some research. This was pure bamboo which was resin bonded.
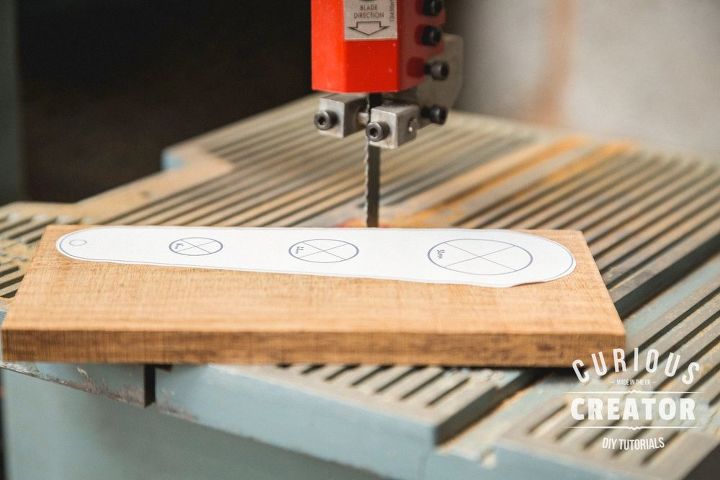
As this was left over flooring it had a tongue and groove on 3 sides. First job was to take this over to the bandsaw and trim these bits. I set up the fence to make sure this stayed nice and straight.
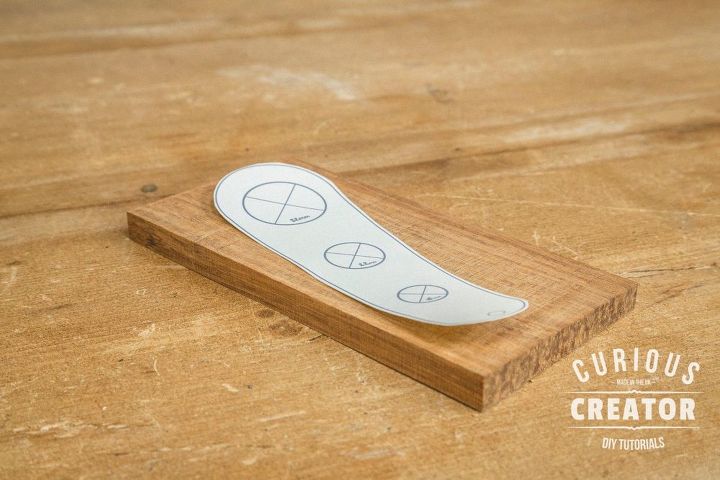
I designed a template in Illustration and printed it off onto some sticker paper. You can just print onto regular paper, and use spray glue which is what I usually do. But doing this way is a lot quicker! If you guys want me to make this template available to download let me know in the comments below.
Next I took it back over to the bandsaw and cut close up to the line, but stayed just outside line so I could sand it closer to the edge. Not all bandsaw blades work well for cutting curves, I can't remember which blade I had on, but make sure you have one that works for this.
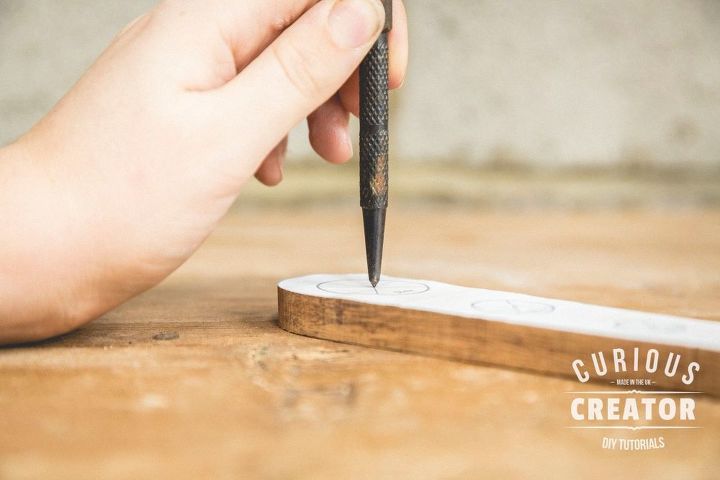
I knew going in that keeping the lines central on this would be important in it looking great. Unfortunately I was slightly off on one of the holes, but it looks good enough for me!
To help keep these lined up neatly it was crucial I start the drilling off in the right spot, so I used a punch to start the hole off.
It was at this point that I realised that it was far too thick. There was no main reason, it just didn't look or feel quite right. I had planned to sand it down to size, but thought it was take too long. So instead I took another off cut, and started again, but this time trimmed it down on the bandsaw so it was around 3mm thick.
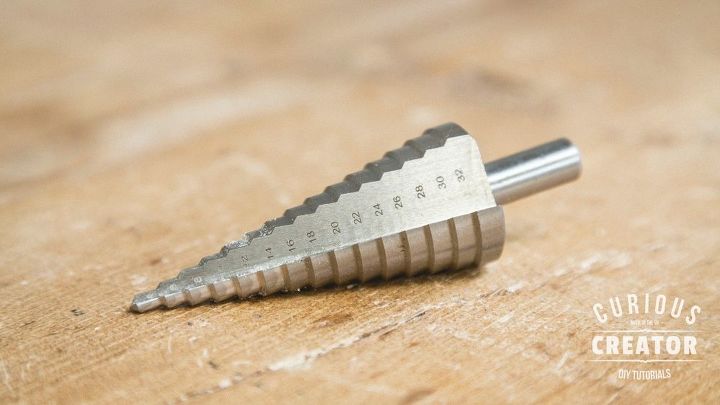
The main tool that makes this measurer work is the stepped drill bit. I got a pack that came with multiple sizes. I used the biggest one that goes up to 32mm big.
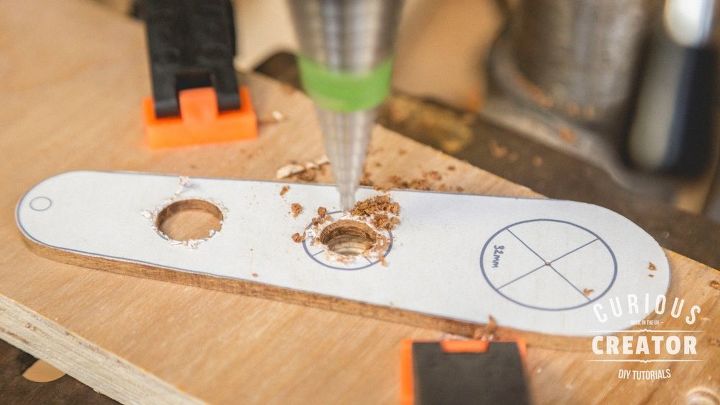
To help me make sure I don't go over sized I added some masking tape around the right size.I slowly worked my way up through the sizes and up through the wholes.
You will get much neater holes if you can use a drill press here, but if you're careful you should be able to do it with a hand drill. I had to add a scrap bit of wood underneath to as not to mark my drill press plate.
For the final 32mm wide hole though I had to switch out and use a hand drill.
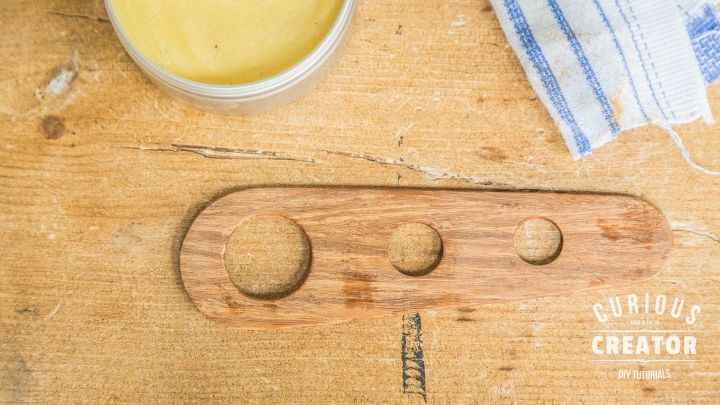
Hand sanded the sides, edges and inside from 60 grid up to 240 grit. I always use left over sandpaper discs, after a while they no longer grip to my Ryobi Orbital Sander, but the sandpaper still have plenty of life in them.
This bamboo was getting scratches on very quickly, so I made sure to sand with the grain.
Then I used my Beeswax Wood Polish to finish the spaghetti measure. I have a video on how to make your own ( DIY Beeswax Wood Polish) or it's available to buy directly from my shop ( Curious Creator Beeswax).
FINAL IMAGES
FINAL IMAGES
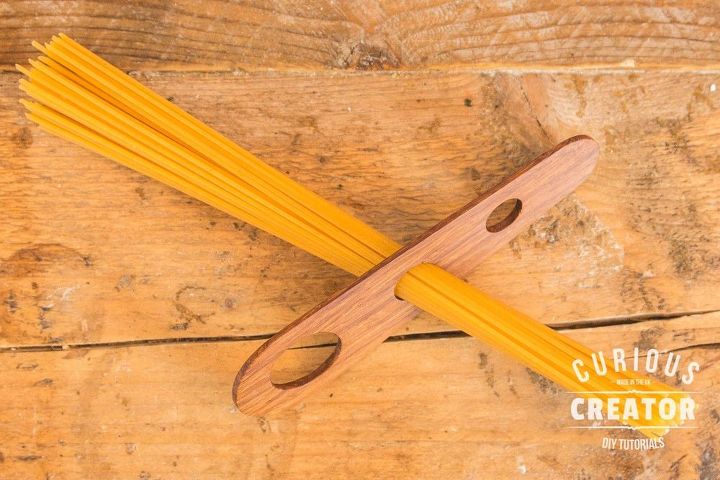
FINAL IMAGES
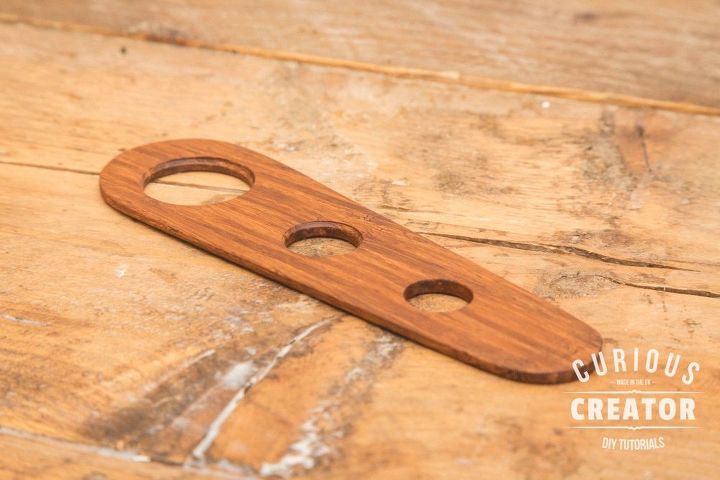
FINAL IMAGES

Want more details about this and other DIY projects? Check out my blog post!


Frequently asked questions
Have a question about this project?
Very nice. Yes please down load the template. What is the measuring size of each hole? 1oz/1 serving, 2 oz/2 serving....
Will you sell me one?