


DIY Farmhouse-style Photo Display and Shelf
2 Materials
$20
2 Hours
Easy
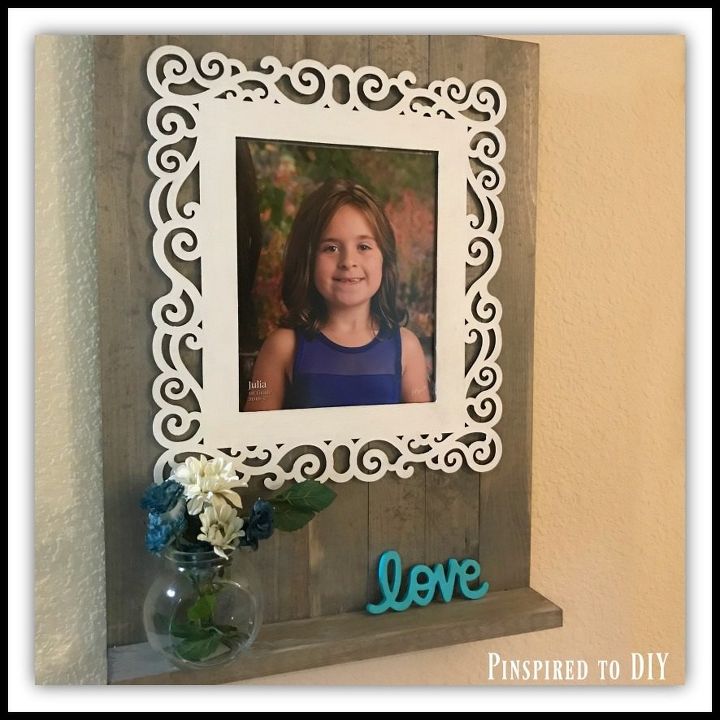
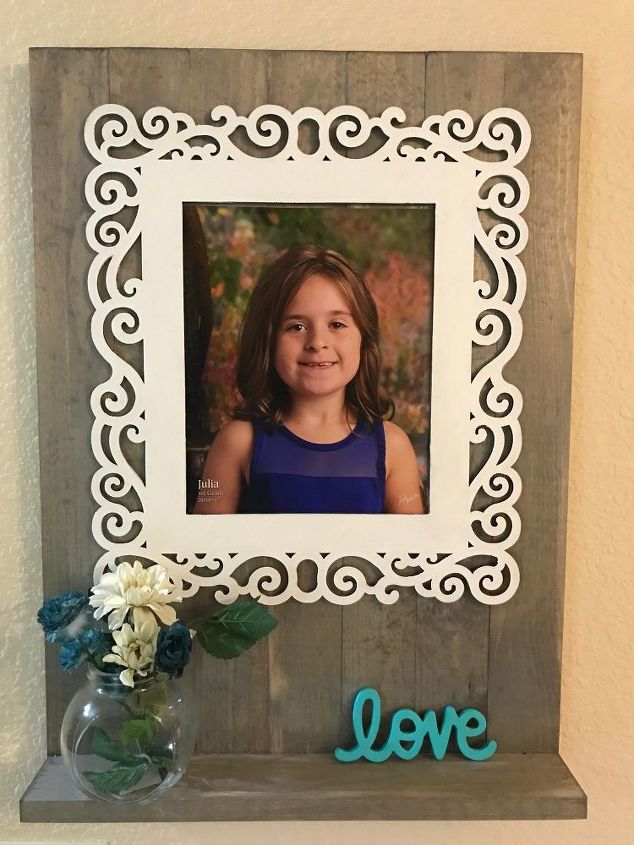
I have been wanting to create a cute DIY photo frame and shelf to display my daughter’s most recent school picture and since I am in between big projects, now was the perfect time to make one. This is a very quick and easy project that adds some farmhouse charm to your wall.
Here are the abbreviated instructions for building this photo display frame and shelf. For a full tutorial, please visit my blog at the link at the bottom of this page.
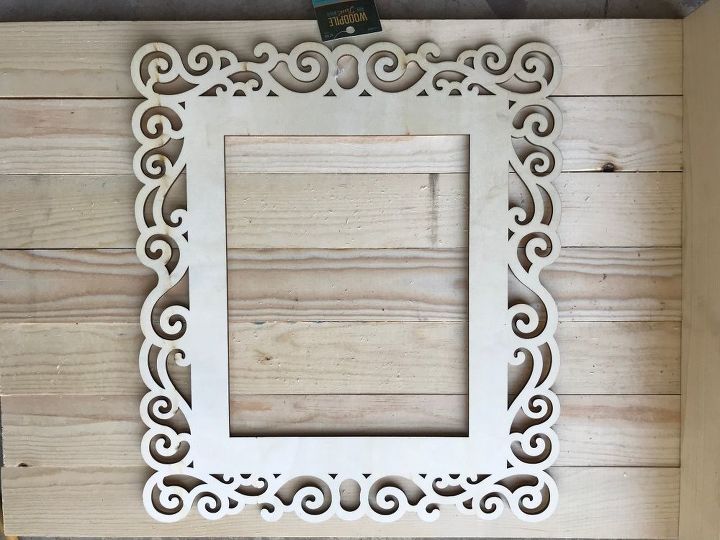
1. Paint the wood laser engraved frame white.
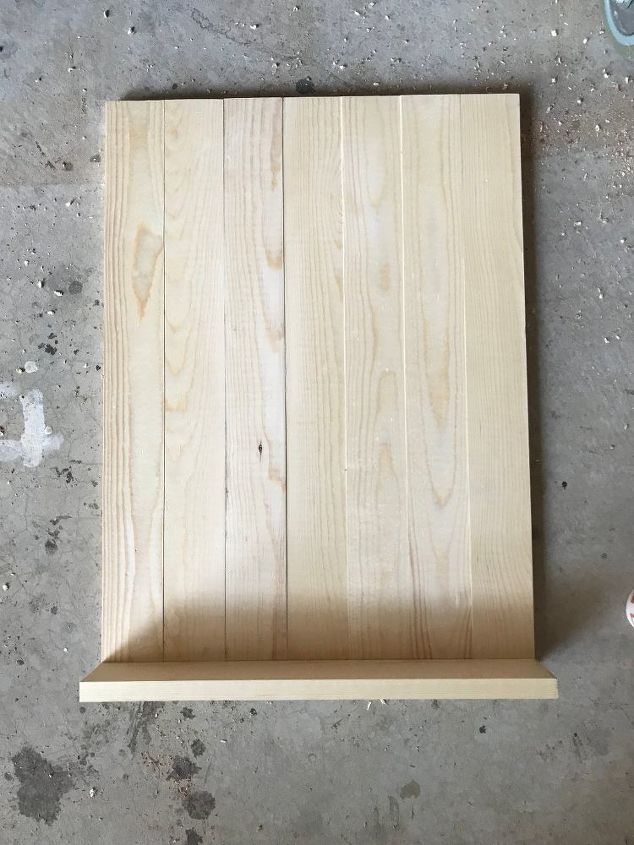
2. Cut the 1x3 boards to length and attach together with wood glue and pocket hole screws.
3. Cut the 1x3 shelf board to size and attach with wood glue and wood screws.
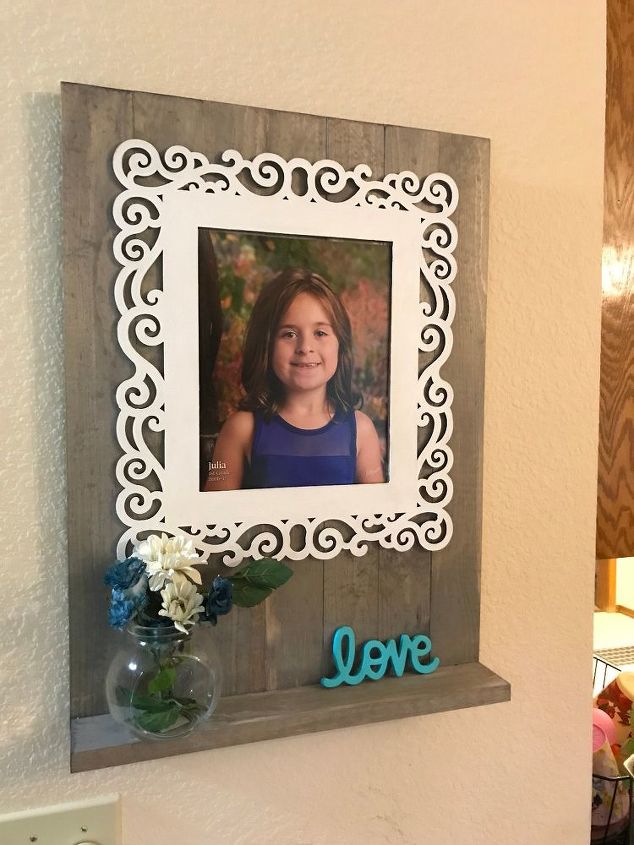
4. Use a gray stain or a wood weatherizer on the boards and let dry completely.
5. Attach the painted frame to the boards using wood glue.

6. Add a picture hanger to the back of the wood. Add a picture to the frame and some colorful decor to the shelf and enjoy your new picture frame and shelf!

Want more details about this and other DIY projects? Check out my blog post!


Frequently asked questions
Have a question about this project?