


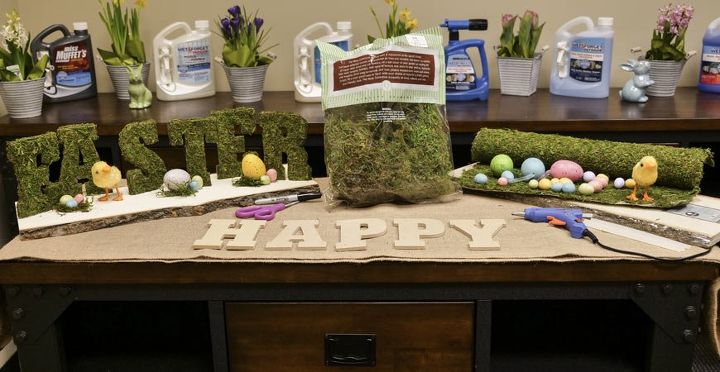
Moss Happy Easter Sign

by
Wet & Forget
8 Materials
$30
2 Hours
Easy
Let mother nature help decorate your home with this moss Easter sign! This DIY Happy Easter sign can be displayed in your front foyer or on your countertop to welcome friends and family to your home. All of these materials can be found at your local craft store.

Step 1: Tracing
On the backside of the roll of moss, trace each wooden letter face down using a black marker. Make sure you do not trace the letter face up, otherwise the letters will be backwards.
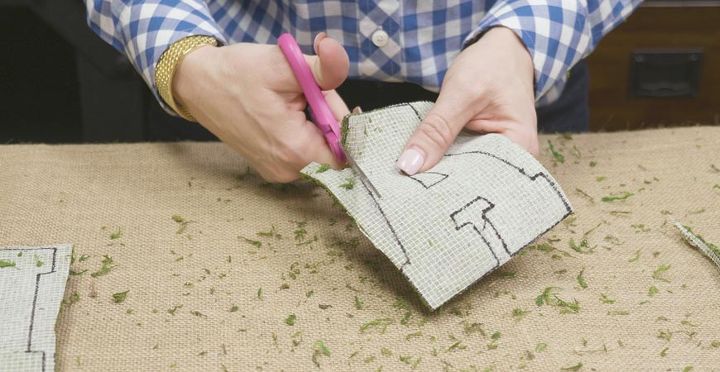
Step 2: Cut out Letters
With a pair of scissors, carefully cut out each letter from the roll of moss.
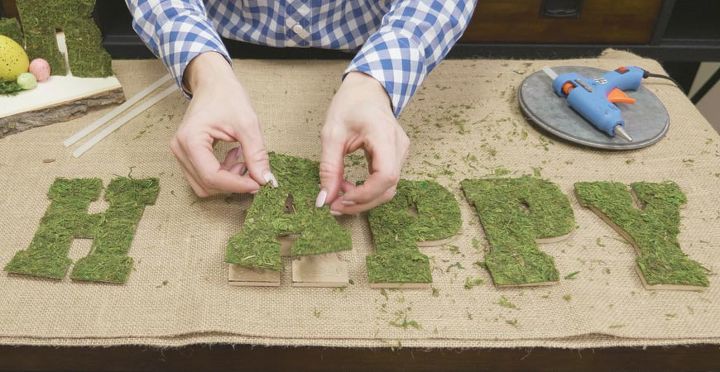
Step 3: Glue Letters
Use a hot glue gun to attach the moss to each wooden letter. Let the hot glue dry until it has cooled completely.
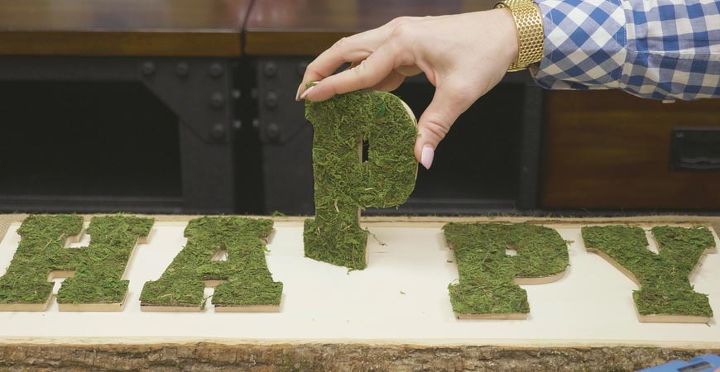
Step 4: Assemble the Sign
Stand each letter up and place it on the wooden bottom to get an idea of where you want each letter to be. Next, use hot glue to attach each letter to the wood. Hold the letter in place until the glue has secured the letter in place.
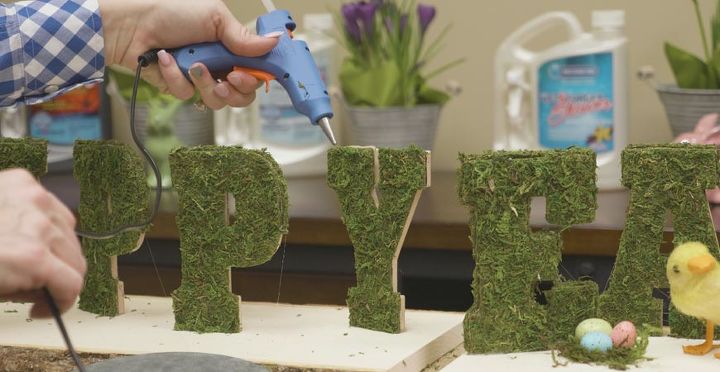
Step 5: Finishing Decorative Touches
Cut out a few small strips of moss and hot glue them onto the edges of each letter. The extra moss will hide any extra wood that may be sticking out. After this, hot glue Easter eggs to the board then glue bits of loose faux moss onto the board around the Easter eggs to your liking. You can also glue a chick or bunny to the base for a festive look. Allow the glue to dry completely then your DIY Easter sign is ready to display!
This moss Happy Easter sign will welcome guests and is a simple way to add some greenery to your home.
{
"id": "4774857",
"alt": "",
"title": "",
"video_link": "https://www.youtube.com/embed/9MFXZx1tfQM",
"youtube_video_id": "9MFXZx1tfQM"
}
{
"width": 634,
"height": 357,
"showRelated": true
}
Get extra hints and tips with our DIY Easter tutorial video above.


Frequently asked questions
Have a question about this project?