


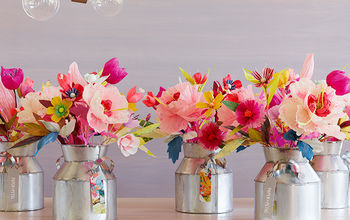
Easy DIY Giant Paper Flowers
2 Materials
$10
30 Minutes
Easy
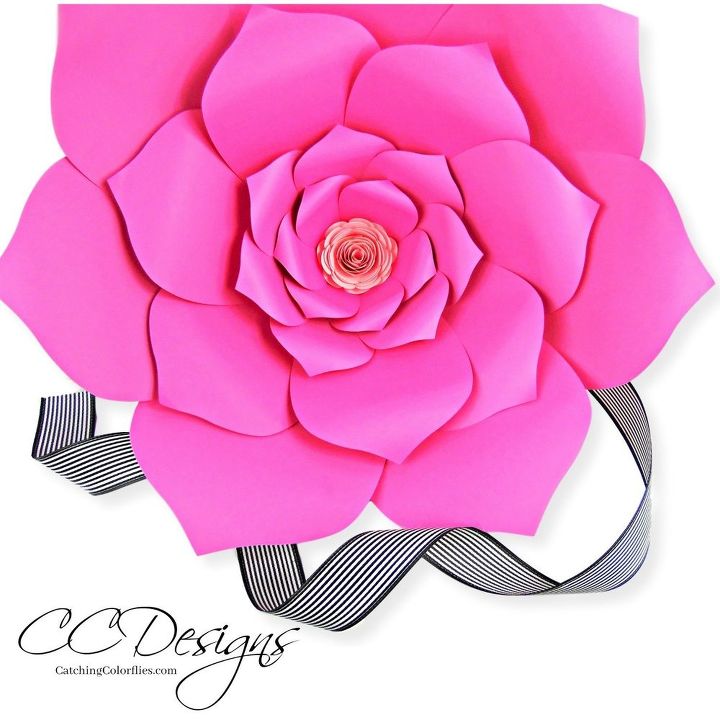
How to make giant paper flowers. Easy DIY large backdrop paper flowers.
This Giant Paper Flower Tutorial is our easiest step by step beginner’s tutorial.
The instructions I’m teaching you today is basically an updated version of the “ Easy Method when DIY-ing any Giant Flower” post that made our blog so popular! This method I am teaching you below is wonderful because it is a simple method that can be applied to successfully create any giant flower template, no matter the petal shape.
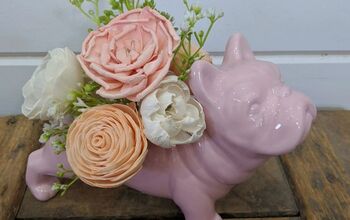
Giant flower are great to use at any event from weddings, to baby showers to even home decor! And a lot of people want to know how to to this for themselves to customize it just like they want.
- Here are the supplies you will want/need:
- Flower templates (sign up below to receive them for free!)
- Glue gun
- Scissors
- 176 gram weighted/65lb Card stock
- Wooden dowel
- 3 inch circle punch
- Patience
{
"id": "4784580",
"alt": "",
"title": "",
"video_link": "https://www.youtube.com/embed/diKqBpUVL6I",
"youtube_video_id": "diKqBpUVL6I"
}
{
"width": 634,
"height": 357,
"showRelated": true
}
Full step by step video tutorial.
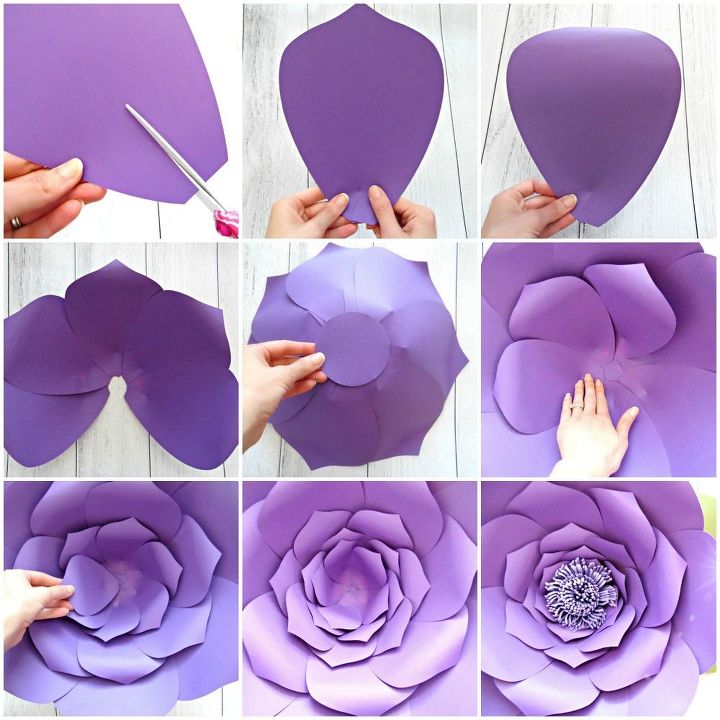
Begin by laying you template on your card stock of choice and trace your petals.
Largest base petal– 6-8 cuts
2nd layer– 6-7 cuts
3rd layer– 6 cuts
4th layer– 5-6 cuts
Cut all your petals out once you have finished tracing.
You can make this process quicker by stacking 2-3 sheets on top of one another and cutting several out at once. Use binder clips to help keep paper from moving.
Now you want to cut slits at the bottom
center of each petal, about an inch, slightly less on the smaller petals.
Now to start building the giant paper flower begin with the 1st layer, put glue on the inside edge and over lap the slit, but not too much or your petals will be too tight when assembled to get all the smaller layers in. Do this with all the petals. You can over lap a little more on the 3rd & 4th layer.
Next you will curl all the petals back. You can do this by hand or use a thick wood dowel or a fat pencil works too.
Assembly time. Starting with your 1st layer base petals, you want to add some glue to the outer edge of one petal and precede to over lap another petal at about a 45` angel and press firmly for a second or two.
Continue in this fashion until all the base petals meet together forming a circle in the center of the flower. Watch the angel of placement as you go around making sure you leave enough room for the petals to come together evenly at the end of the circle.
Use a circle punch or cut out a small square if you don’t have one to glue over the open bottom.
Add petal layers 2-5 to complete the flower.
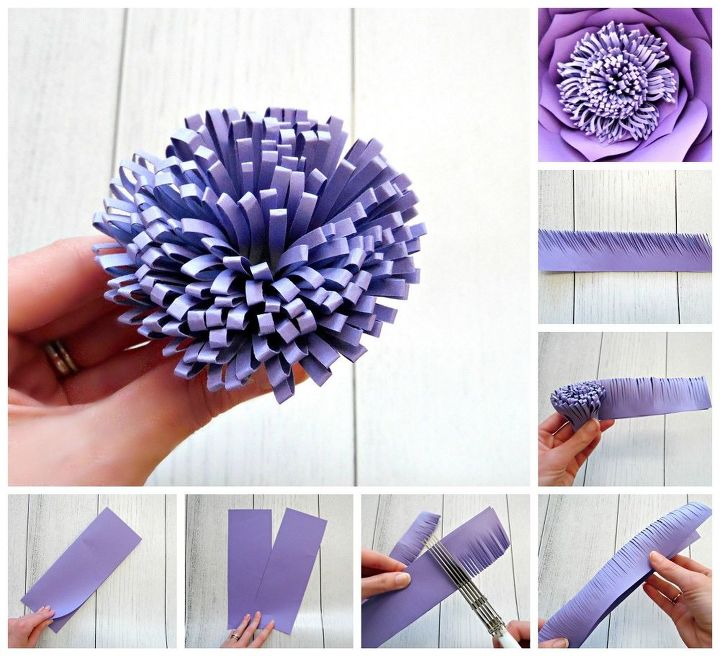
Pompom flower center. See video.

Want more details about this and other DIY projects? Check out my blog post!
Comments
Join the conversation
2 comments
-
Love it!! Can’t wait to make them and take to the nursing home!! Little effort with big joy for others!! Thank you!!🌼
-
How/where do I get your pattern? Templates?
I volunteer at a facility for Alzheimer afflicted men and women. Their intelligence is usually intact, and this is something they can concentrate on.
And they are lovely.


Frequently asked questions
Have a question about this project?