


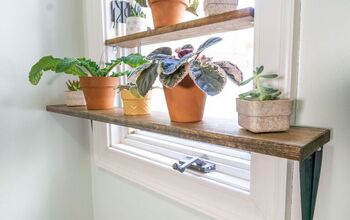
DIY: How To Make An Over The Sink Window Shelf
8 Materials
$15
3 Hours
Easy
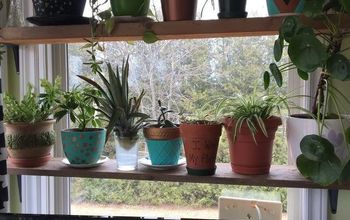
I don’t know about you, but I seem to collect a lot of crap near my sink. Some of it is necessities, like soap and scrubbers. Most of it, admittedly, are knickknacks that I don’t know where else to put and I like to look at while I’m in the kitchen. I’ve been living with all sorts of stuff teetering on the edge of my sink and crowding behind it for ages, and I finally got sick of it. I’d been using the window ledge as an impromptu shelf for forever, but the problem was, stuff kept falling off of it. I decided that the easiest solution would be to turn my window ledge into an actual shelf, so that’s exactly what I did. This was a quick afternoon project, but it’s made a world of difference for me, so I thought I’d share it with you 
Find this and other DIY and home remodeling projects here:
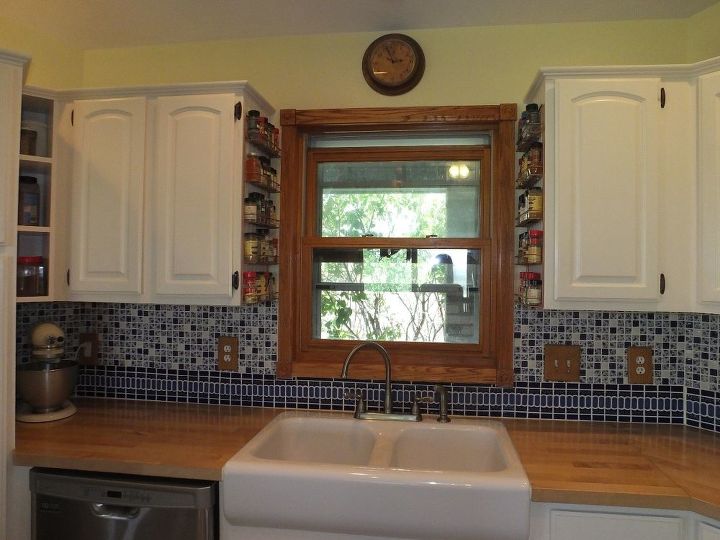
My kitchen sink before without a window shelf. Random assorted stuff that I usually store there has been removed for your viewing pleasure.
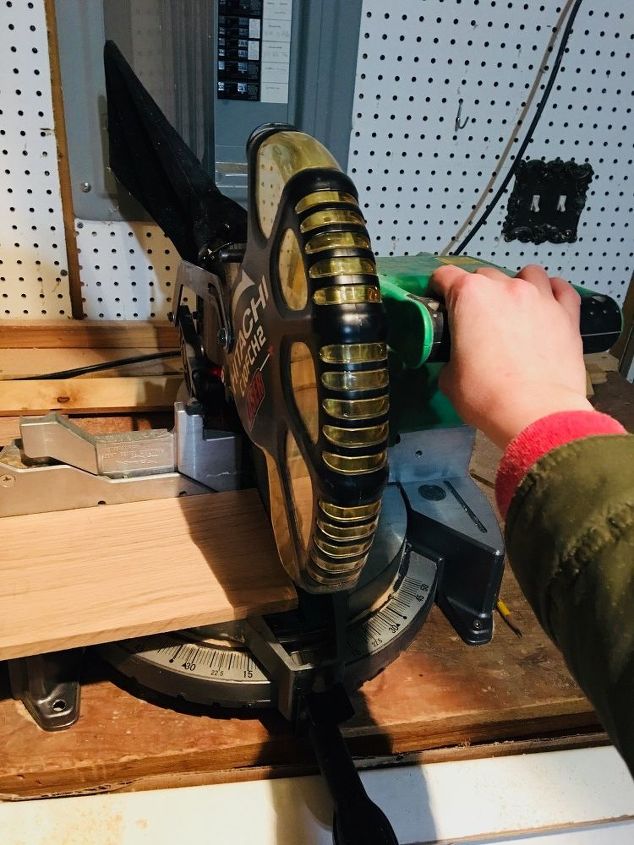
First, I bought a six inch wide oak board from Home Depot and cut it to the inner length of my window using my miter saw.
***Tip: Instead of measuring, I held up my board inside the opening and marked my wood with a razor blade to get the exact measurement. If you cut right, your wood should fit perfectly into the opening.
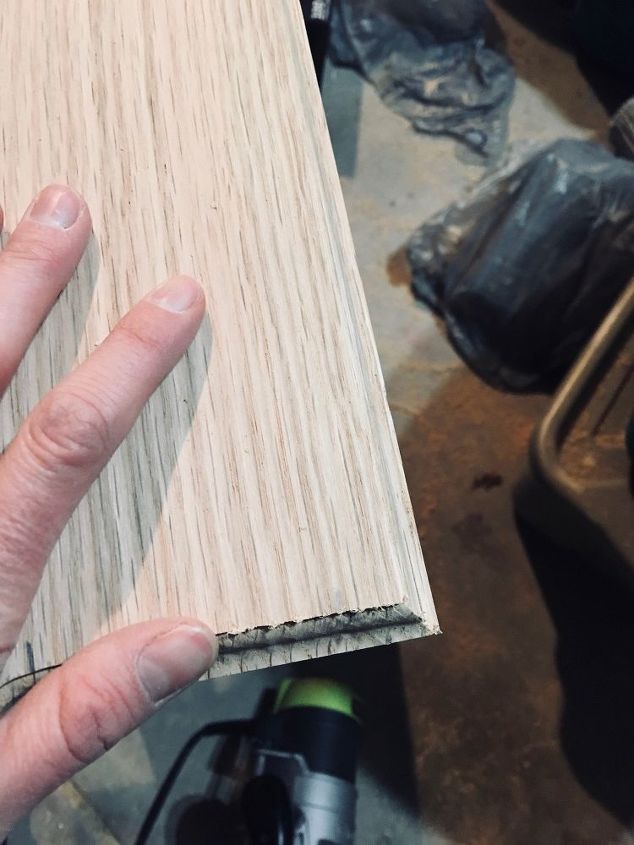
I routed the front and the two side edges of my oak board with my router to give it a finished look. Make sure your wood is secured tightly with wood clamps, and make long, even passes with your router. My favorite power tool of all time is my router. It’s a good one to start with for a beginner because IMO, it’s a bit less intimidating than a circular saw or some other power tools. I use it all the time and you should too BTW, I only routed the sides of the board halfway, so that the back portion would sit flush with the window trim.
BTW, I only routed the sides of the board halfway, so that the back portion would sit flush with the window trim.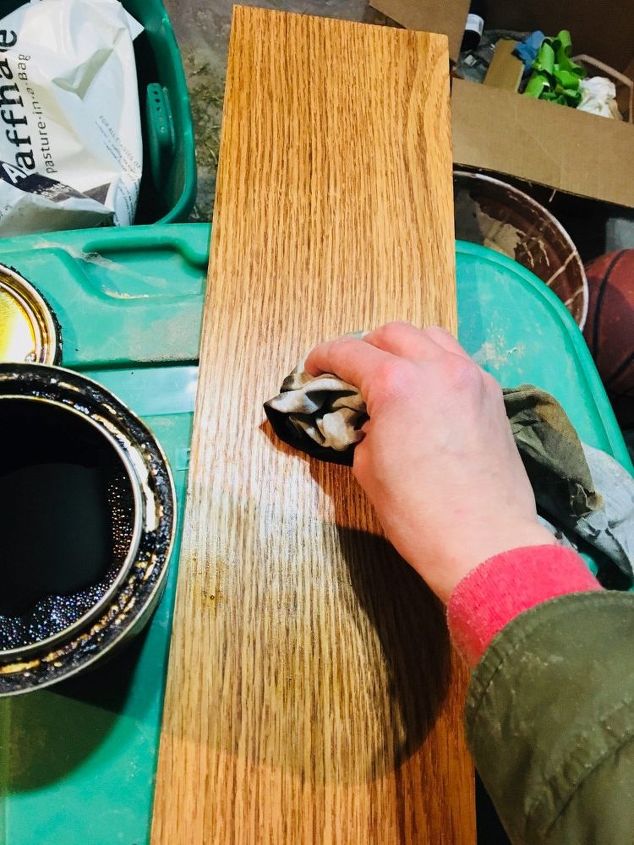
I sanded down my board and stained it to match my window trim. I added several coats of polyurethane, since it will be susceptible to water splashes and I wanted to keep it protected.
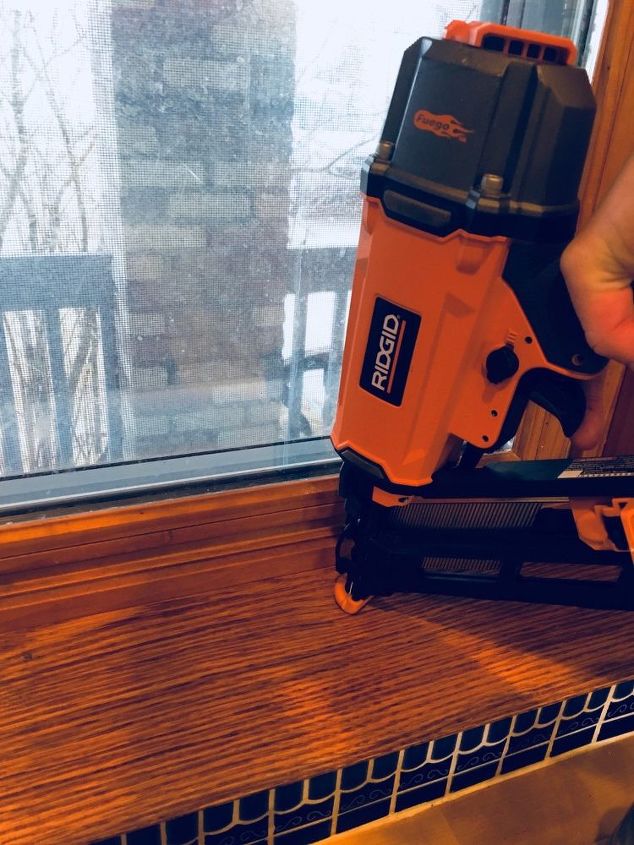
I used my nailer to nail it down to the window trim. I used 1 and a 1/2 inch nails to make sure my shelf wasn’t going anywhere.
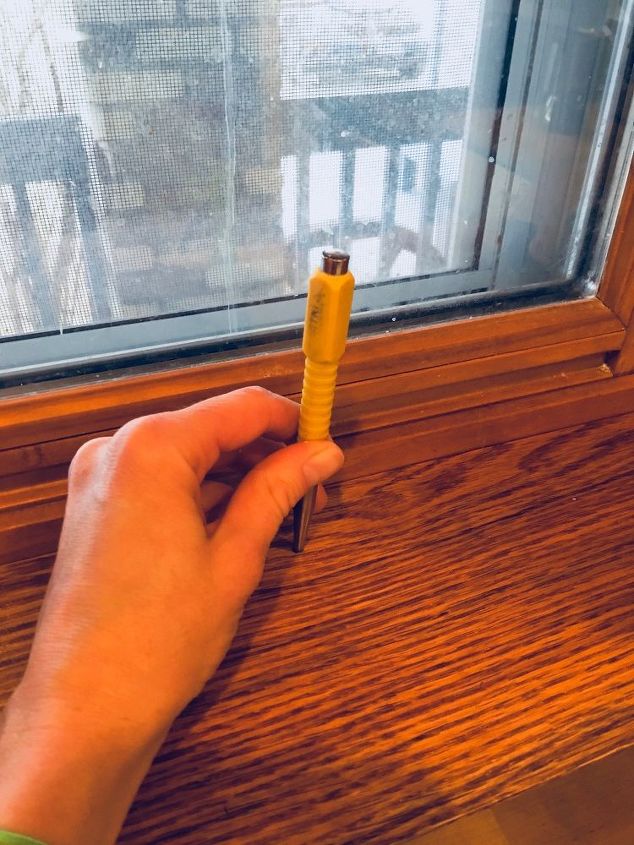
Next, I hammered down the nails with a nailset below the surface of the wood. That way, you can cover your nails with wood putty and you won’t be able to see them.
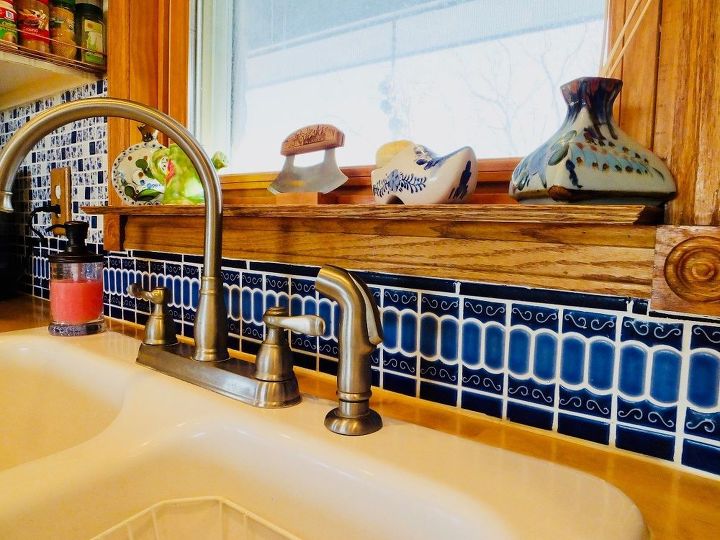
That’s it. This project only required some beginning carpentry skills and I love how it turned out! The shelf looks as if it has always been there and blends in perfectly with the window trim, which is just what I was trying to achieve. Plus, I don’t have knickknacks falling down into my sink anymore, which is nice. If you’ve wanted to try woodworking, but are nervous to start, this might be the perfect beginning project for you. But be forewarned: once you start woodworking, you might not be able to stop. Be prepared to start inventing all sorts of little projects for your home
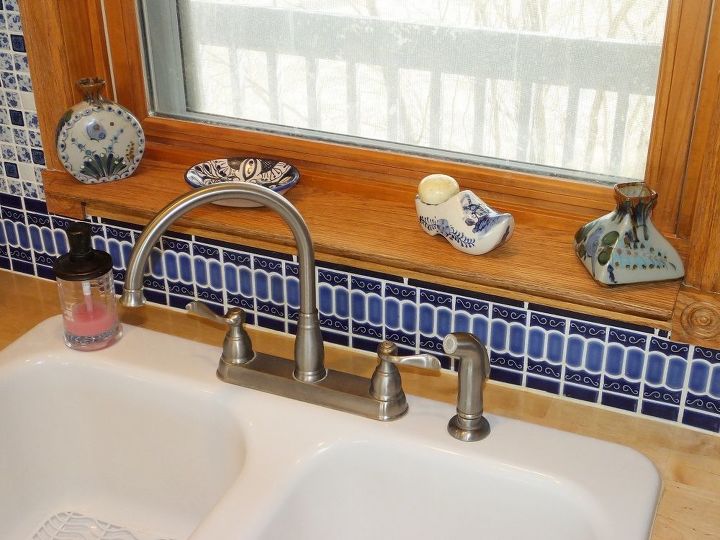
Window shelf viewed from above. It looks like it was always supposed to be there :)
Resources for this project:
See all materials


Any price and availability information displayed on [relevant Amazon Site(s), as applicable] at the time of purchase will apply to the purchase of this product.
Hometalk may collect a small share of sales from the links on this page.More info

Want more details about this and other DIY projects? Check out my blog post!
Comments
Join the conversation
2 of 19 comments
-
Hi! Fantastic job on the shelf! I also love the backsplash and tiles. LOL, on the use of the word "crap"! One of my frequent go-to's thanks to my dad! Great job, and thank you! :)
-
Love your tile surround! Will use a variation of this project in a bathroom.


Frequently asked questions
Have a question about this project?
Love the idea looks great, I did expect to see more stuff on the shelf though. You must have parted with some things. Can you please tell me about your spice shelves, do they pull out and did you install them and where did you get the them, thanks?
Is that beautiful tiled backsplash a diy project??? I would love to create something like that. The window shelf is a great idea. Thanks for sharing.
What did it look like before you did this?