


How to Build Your Very Own Push Pin Inspired Star Wars Desk

by
Karl Young
5 Materials
$2000
3 Days
Advanced
Wanting to liven up our home office or an old desk?
How about bringing to life an image from one of our favourite films using simple stationary at the same time? Well if you have some free time and can get your hand on a load of thumb tacks/ push pins, then this is how you do it...
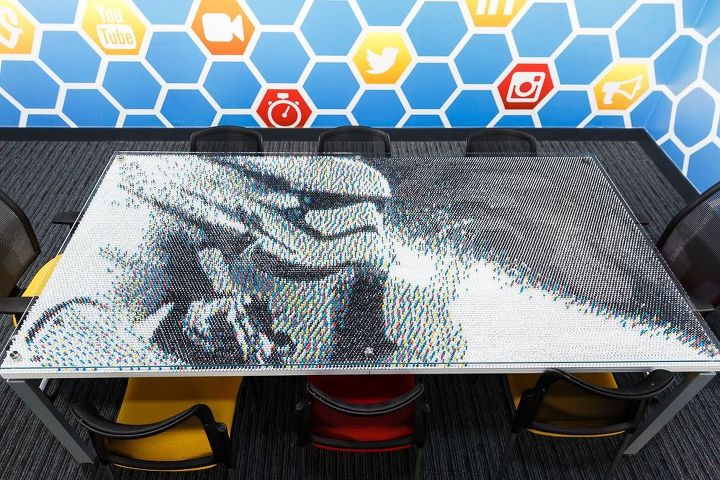
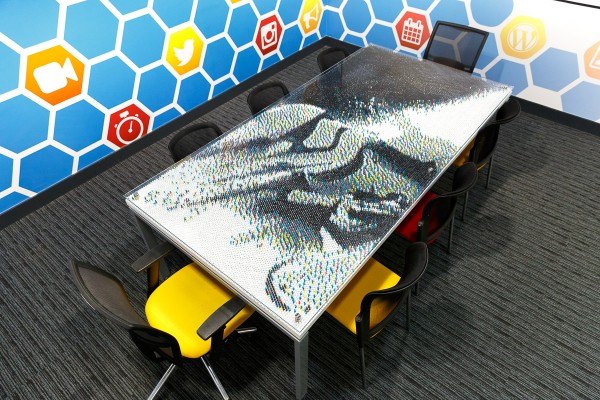
Star Wars inspired desk
To get started you will first need to consider you location. You need plenty of room and the desk you are up-cycling needs to be in reasonable condition. Wash and clean the surface; remove any lumps and fill-in any large holes.

pixel stormtrooper
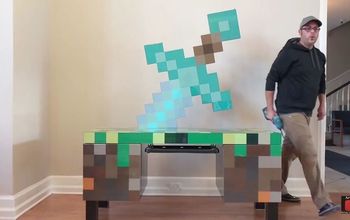
The next step is to choose an image, we went with this great shot of a stormtrooper. After selecting the image, we downloaded it, and downsized it using Photoshop, so that each pixel equalled one centimetre.
After this, each pixel was replaced with a coloured symbol representing a coloured pushpin: revealing the number of pins your required and in what colour.
When our image was complete, we had it printed on Foamex board the same size as our table. If your desk has a soft surface you could consider printing out the image to scale of your desk and hammering in the pins directly to the table.
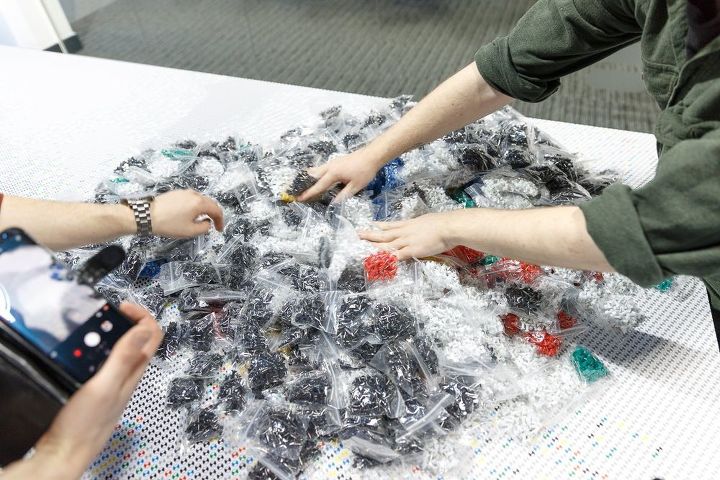
With the desk ready and the foamex/image laid on top of it, it was time to get out our pins ready! For our 240cm by 120cm table we used 12,859 black pins, 9,865 white pins, 2,680 blue pins, 1,225 green pins, 1,156 yellow pins and 1,015 red pins.
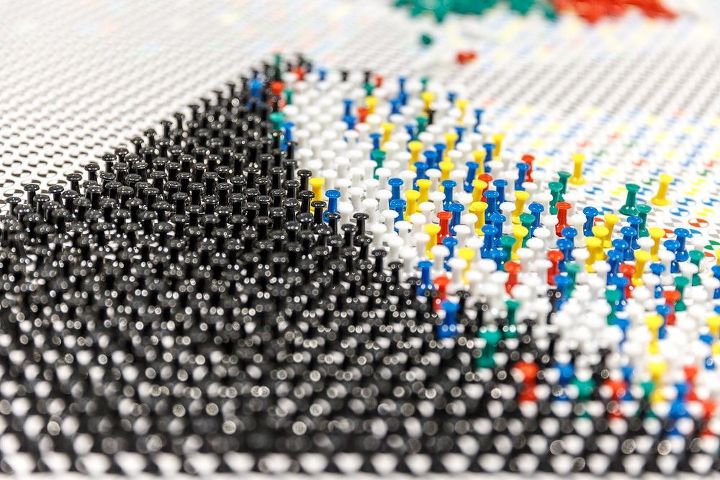
Each pin was matched up to one of our colour-coded symbols, and we spent 39 hours bringing our picture to life. It is important that every pin goes in straight, as a wonky pin can encroach on a neighbouring pin.

Source: https://www.viking-direct.co.uk/speci
Once the pins were in, the table was looking great, but wasn’t the most practical for working on. We fitted a glass table top above our work to create a level workspace we can enjoy for years to come.
We used stainless steel spacers to lift the glass above the pins. We left a 3 cm gap between ours. If you are fitting glass or a plastic cover then we recommend that you ask the manufacturer to drill the holes for you spacers.
Whilst this is not a quick DIY project, it is one that is well worth the time you invest in to it!
{
"id": "4867814",
"alt": "",
"title": "",
"video_link": "https://www.youtube.com/embed/HoeoeQVsIKk",
"youtube_video_id": "HoeoeQVsIKk"
}
{
"width": 634,
"height": 357,
"showRelated": true
}
The "making-of" video should also help guide and inspire you.
There is also a write-up of the build here:
Resources for this project:
See all materials


Any price and availability information displayed on [relevant Amazon Site(s), as applicable] at the time of purchase will apply to the purchase of this product.
Hometalk may collect a small share of sales from the links on this page.More info
Comments
Join the conversation
3 of 45 comments
-
What cost 2000. 00 ?
-
W O W !


Frequently asked questions
Have a question about this project?
how do you create/convert the color coding on the ?
How do you create/convert pixels to colored dots? (Tech challenged)
What is a nice colorful perinneal to plant along a walkway, something that doesn't attract bees or mosquitoes?