


Mini Mason Jar Wooden Storage Rack
9 Materials
$35
90 Minutes
Easy
Simple and stylish storage solution? Absolutely! With this DIY project for storing and displaying spices, crafts, etc, a storage solution is just a few minutes away. What would you store and display? Are you a collector? Do you just want to create a fun visual piece for your home?
{
"id": "4808913",
"alt": "",
"title": "",
"video_link": "https://www.youtube.com/embed/DMD16v0Ypkw",
"youtube_video_id": "DMD16v0Ypkw"
}
{
"width": 634,
"height": 357,
"showRelated": true
}
Check out our video tutorial for tips and tricks. Our contributor, Corey, from Sawdust 2 Stitches, created this pretty and easy DIY project that can be completed in under 2 hours.
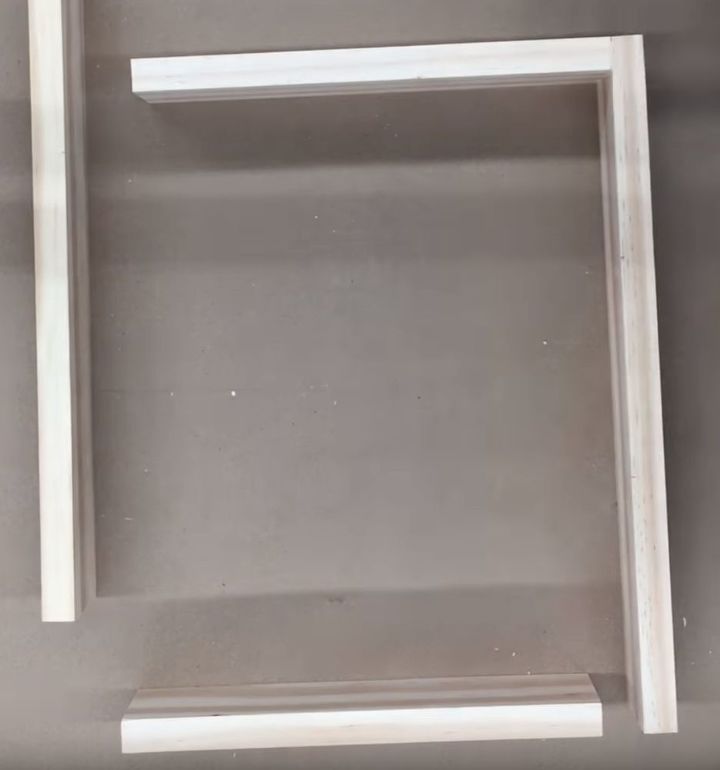
Cut the 1x3 boards according to the free, printable cut list on our blog post at Remodelaholic.com. Sand them to smooth out rough spots and edges.
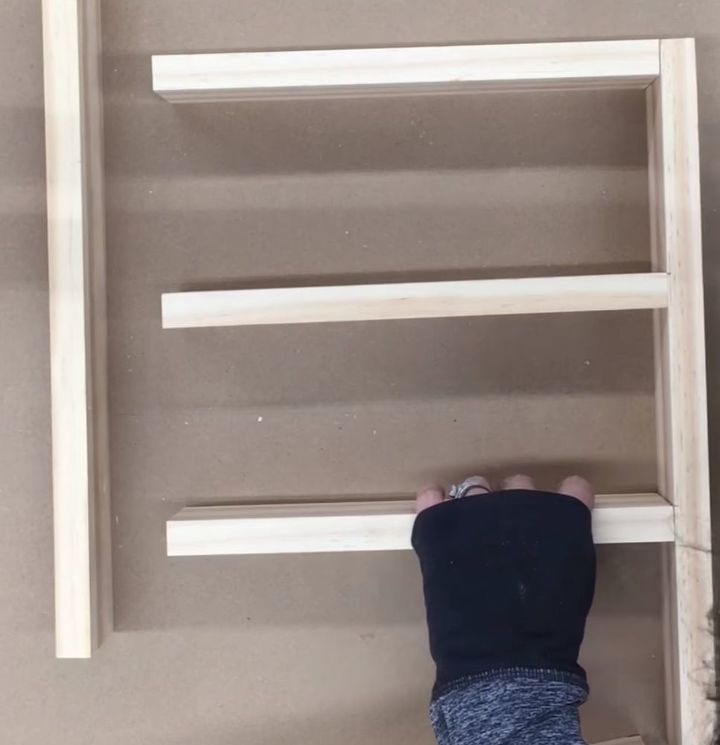
Glue and nail one side piece to the shelves and then attach other side. A nail gun is helpful but not necessary. Watch the video tutorial for Corey's helpful tips.

Cut, glue, and nail the backing in place. At this point, you could stain or paint your wooden storage rack, or you could leave it natural. It just depends on what you prefer. A coat of poly will help seal the wood.
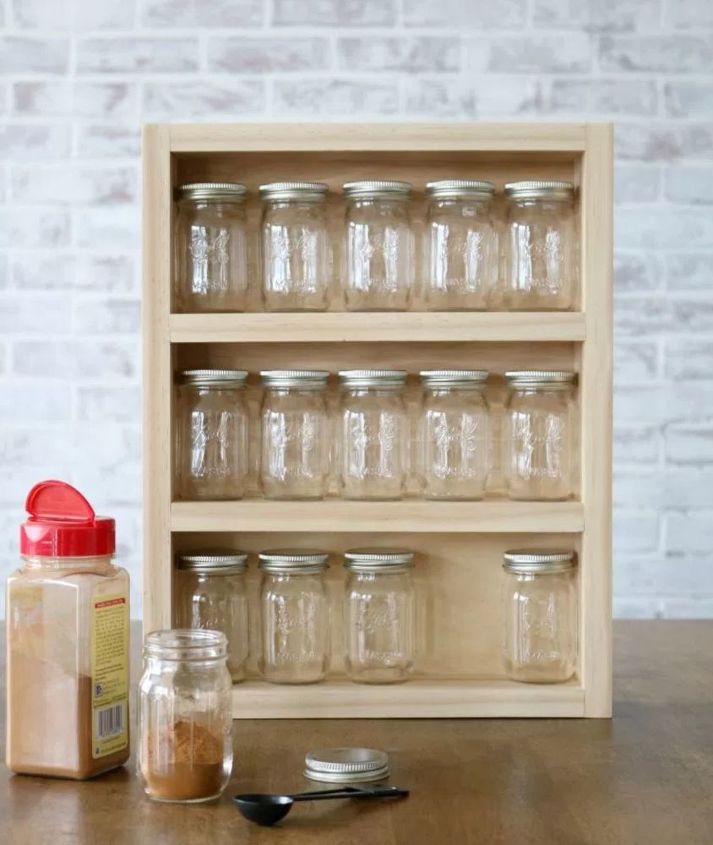
Now, fill your mini mason jars with items of your choice and display proudly! Isn't it a fun piece? What will you put in your jars?
Resources for this project:
See all materials


Any price and availability information displayed on [relevant Amazon Site(s), as applicable] at the time of purchase will apply to the purchase of this product.
Hometalk may collect a small share of sales from the links on this page.More info

Want more details about this and other DIY projects? Check out my blog post!


Frequently asked questions
Have a question about this project?