


DIY Wooden Labels For Storage Bins

by
Emily Counts
6 Materials
$6
2 Hours
Easy
The cherry on top of any organization project is a pretty label! Let me show you how I made these super cute DIY labels for the storage bins in my baby's nursery.
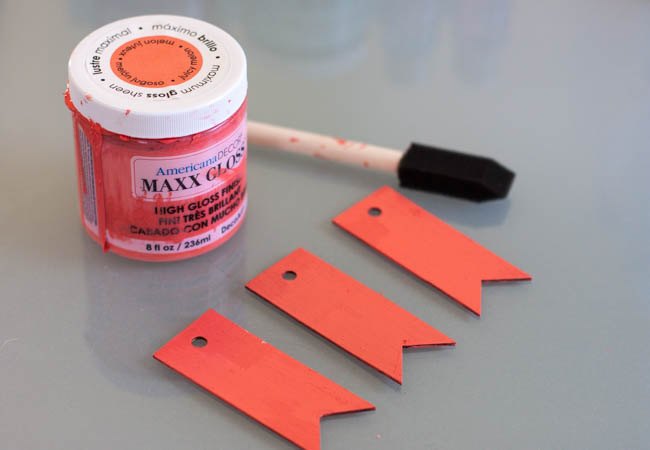
Step 1: Paint wooden tags with craft paint. A small sponge brush will give you a smooth coat of paint. I did two coats on both sides of each tag.
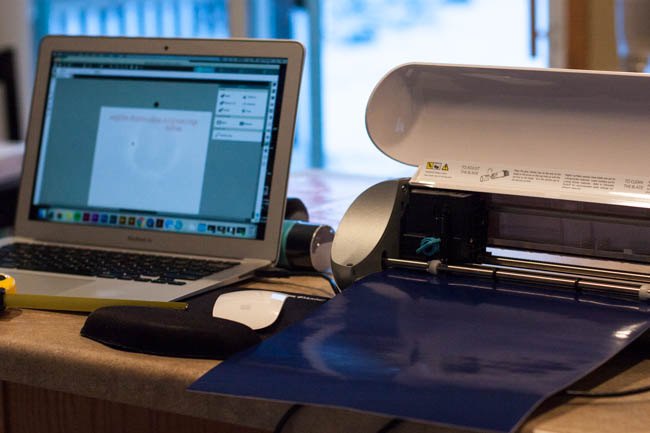
Step 2: Cut vinyl lettering using a Silhouette or Cricut machine. Weld together the individual letters before cutting so the words peel off the backing in one piece.
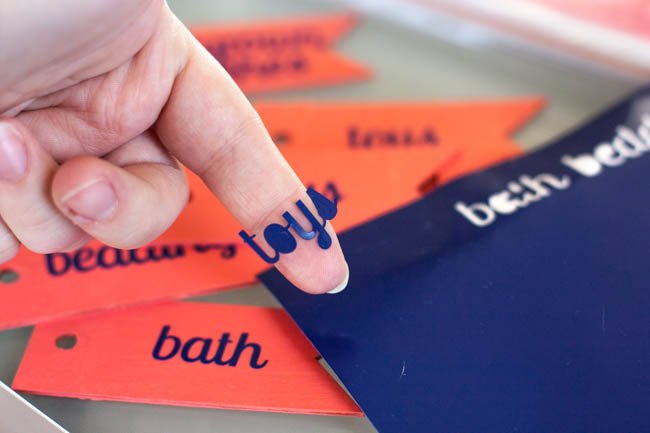
Step 3: Peel the vinyl words off of the paper backing and stick to the painted labels.
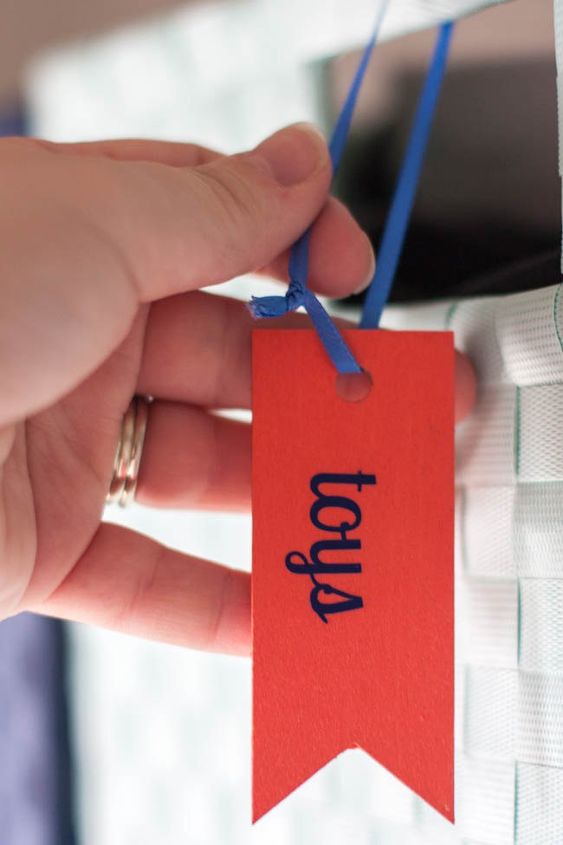
Step 4: Use thin ribbon or string to attach the labels to the handles of storage bins.
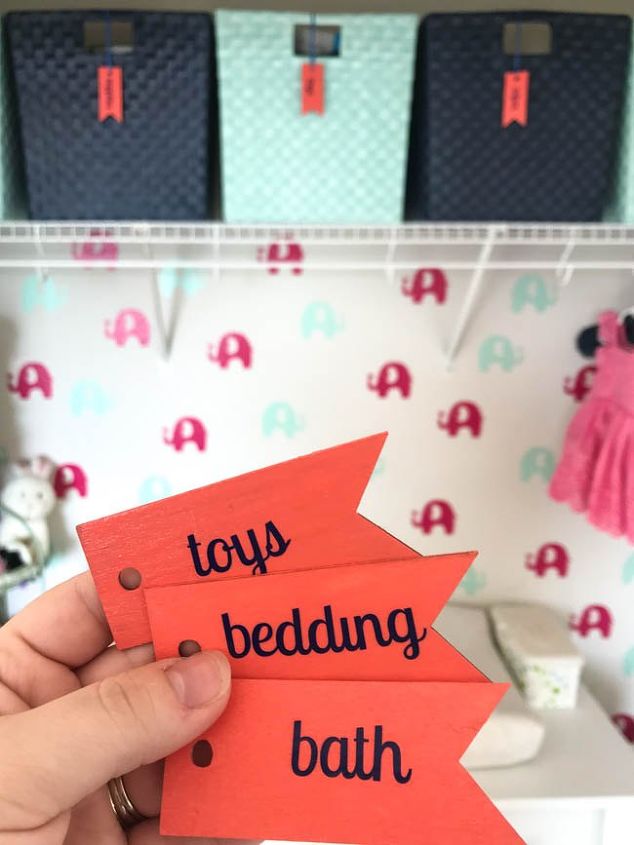
These DIY labels are the perfect way to label all of the storage bins in your kiddo's room!
The vinyl lettering makes them easy to change up as your storage needs change as your child grows older. Hanging the labels from ribbon also makes them super easy to move around to different storage bins whenever you switch things up.
See more photos of these labels in our organized nursery in this blog post: https://smallstuffcounts.com/diy-labels-using-wooden-gift-tags/
Resources for this project:
See all materials


Any price and availability information displayed on [relevant Amazon Site(s), as applicable] at the time of purchase will apply to the purchase of this product.
Hometalk may collect a small share of sales from the links on this page.More info
Want more details about this and other DIY projects? Check out my blog post!


Frequently asked questions
Have a question about this project?