


Restoring Our Original 1950s-Era Stove
2 Materials
$250
3 Hours
Easy
When my husband and I first decided to renovate our beloved country cottage, we knew there were many updates that the house needed. It hadn’t had a facelift since it was built in the mid-1950s and in order for it to be a sustainable place for us to raise a family for another 50 years, it needed some work. We ultimately decided to gut it, tearing out the existing sheetrock, totally replacing the wiring, knocking down a few walls to open up the bottom level, and more. One of the only parts of the home that we salvaged, that was original to the property, was the old 1950s-era stove. I have a heart for everything vintage and retro and lovely and the stove, though she was old, was so lovely. Yet, we couldn’t just leave it the way it was. It was old and dirty and had unsafe wiring. Here is how we helped bring it back to its original glory.
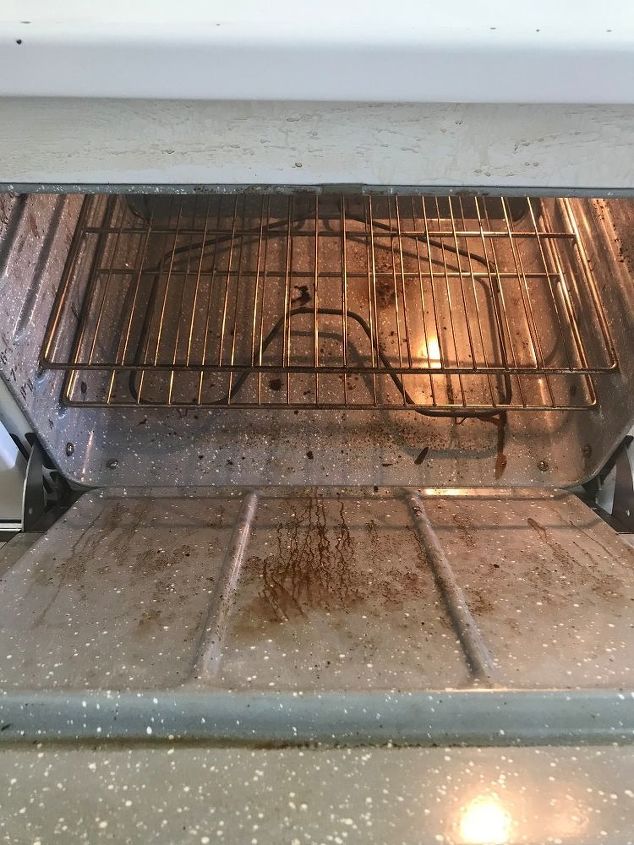
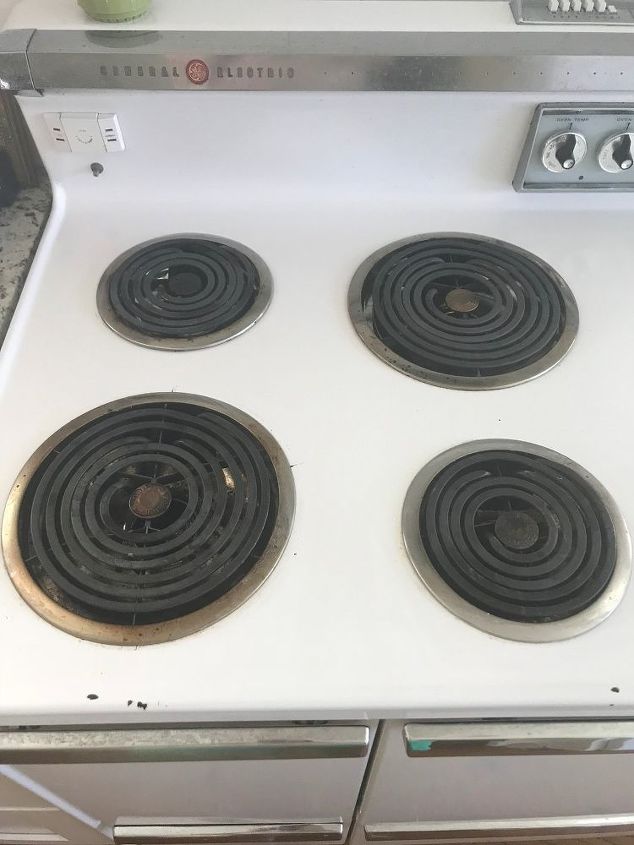
First, we gave the stove a good cleaning. While there are plenty of commercial cleaners on the market, I found that the fumes were incredibly off-putting. Plus, I was expecting during this time and didn’t need to be around them. So, my mom, aunt and I worked diligently to clean it the old-fashioned way with a little bit of elbow grease. We found that using Magic Erasers and baking soda helped to chip away at decades of food splatters, grease and more.
Then, we took the stove to a local electrical engineer. He took a good look at it and inspected the wiring. He rewired the burners so they would be safe. Seeing as we planned to use this stove as our main kitchen stove, we didn’t want to run the risk of it being electrically unsafe or posing a risk for a kitchen fire. The process didn’t take long and was relatively inexpensive, though it gave us valuable peace of mind. While we had it at the shop, we also replaced the interior light, as well as the longer bulb at the top of the stove, right above the controls. It wasn’t burned out, but over time the bulb had taken on a cloudy appearance and just to be on the safe side, we decided it was time to spring for a new one.
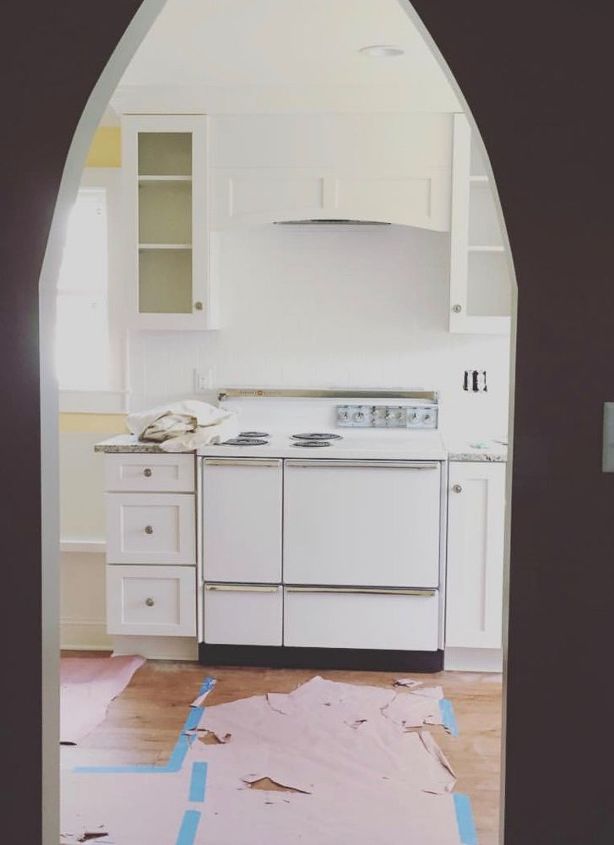
We ran into an issue with the countertop when it came time to install the stove back in its original spot. The left side of the granite countertop ended up being slightly too large for the stove to fit, so for about a month it sat away from the wall while we had the granite re-cut. Then, it was time to put it back into place and install it for good.
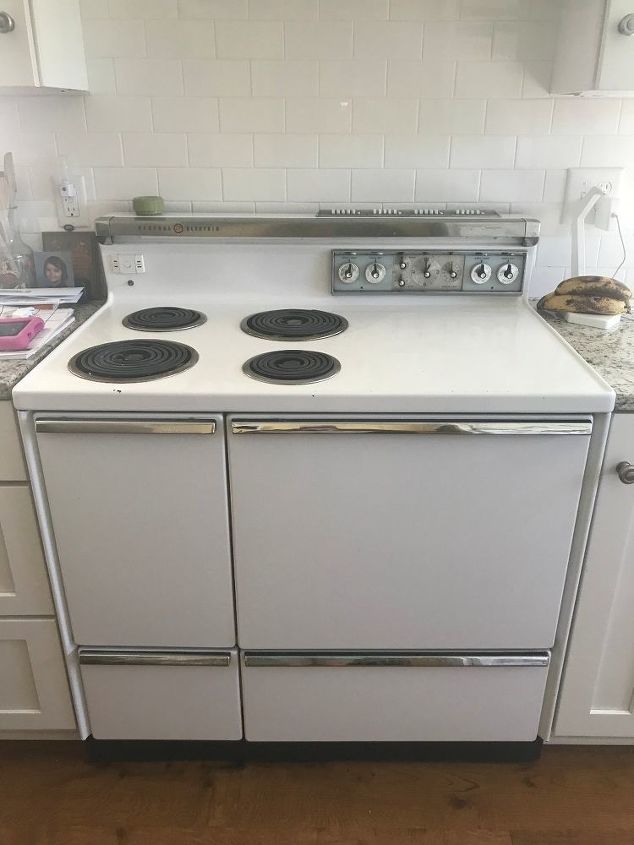
We love the oven and have been using it for quite a while now. It’s quaint, charming and now safe, thanks to a little bit of work. I also love that it has a separate warming oven on the left, which makes it a breeze to reheat leftovers or warm a pie before dessert. While the rest of our home reflects a blend of mostly modern touches with a select few throwback pieces, I’m glad we chose to keep this beloved General Electric classic. They just don’t make them like they used to!

Want more details about this and other DIY projects? Check out my blog post!
Comments
Join the conversation
1 comment
-
I have stove envy! It turned out really nice. Thanks for sharing how you updated it and made it safe for daily use.


Frequently asked questions
Have a question about this project?