


Boutique Counter From an Old Door
5 Materials
$150
8 Days
Easy
The two owners of a new women’s clothing store contacted me several months ago as they were planning the space for their new venture. They had an old five-panel door that they wanted to incorporate into the décor, which was going to be a mix of industrial, shabby chic and glam all wrapped into one.
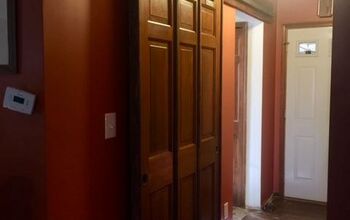
Before
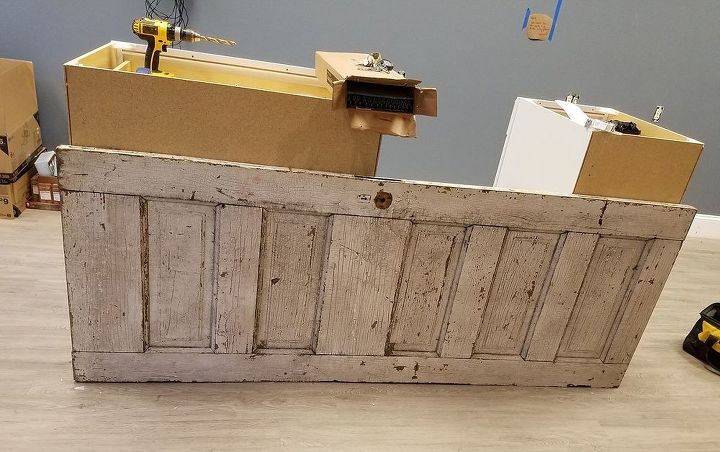
Here is how it all started…a door and two lower cabinets purchased from Lowe’s.
Counter coming together
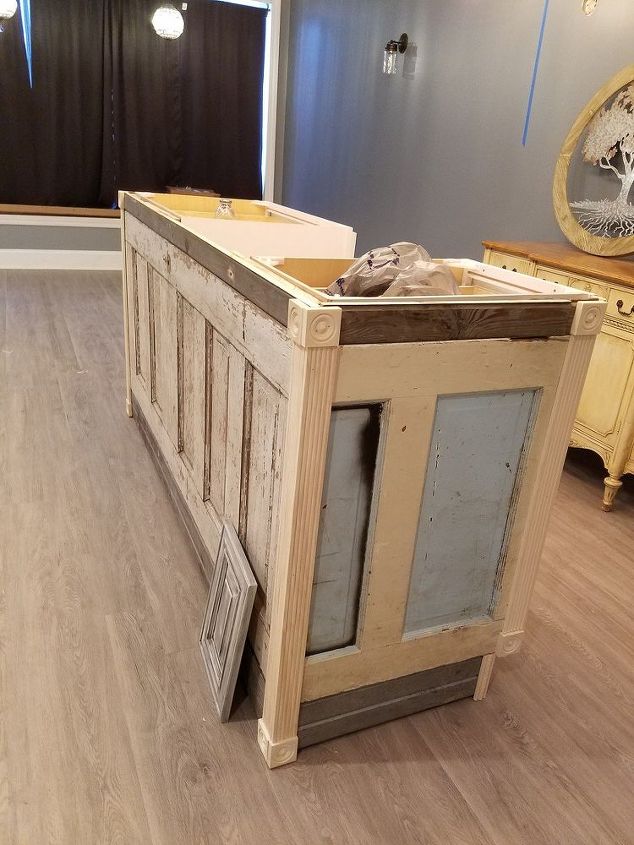
One of the owners' husbands did the work putting the counter together. The two cabinets were spaced on each end of the width of the sideways door, leaving an area in the middle open for behind-the-counter storage. Another old door was cut down to fit the sides and became the two end panels. Some old wood trim pieces were added to the top and bottom edges of the doors to match up to the height of the cabinets. New routed wood edge trim and medallions made up the endcaps to complete the counter’s carcass. (The countertop came later.)
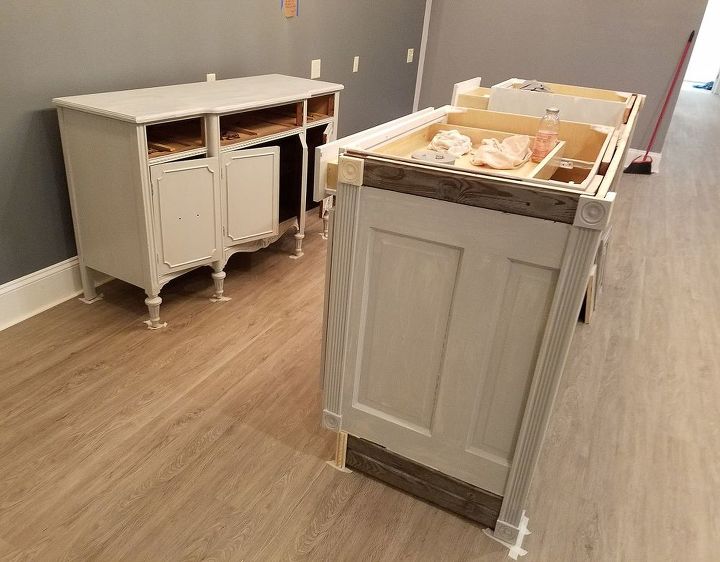
Counter and dresser in Seagull Gray
They also had an old dresser that they wanted to use behind the counter so we planned to make it match with the same look. After cleaning and sanding both pieces (and removing hardware from the dresser), I applied two coats of General Finishes Seagull Gray Milk Paint. This is a great, soft color as is, but we wanted to take it beyond basic gray. We left the old wood trim natural, since it complemented the look and blended perfectly once the glazing effect was added.

Black glaze over the gray
Next, I applied a coat of General Finishes High Performance Topcoat in Flat Finish to the gray surfaces and let it dry. This gave me a barrier between the milk paint and the General Finishes Pitch Black Glaze Effects that was used next. I used a foam brush and applied the glaze onto the gray in manageable sections, then wiped off the excess with a cloth to leave a worn, faded look that was darker in the recesses. I did the same effect on the new wood endcap pieces, but left the old wood untouched.
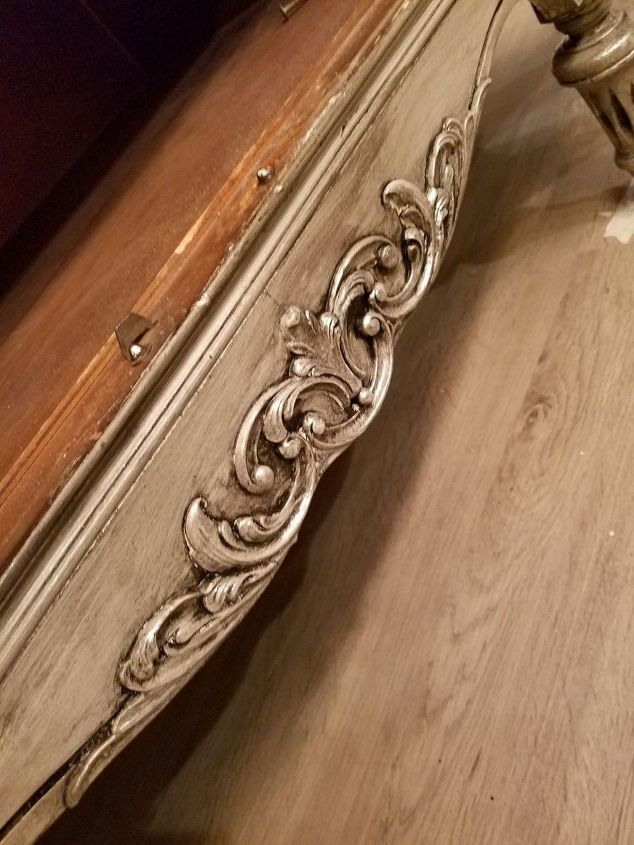
Pearl Effects added some shimmer
To give the counter and dresser a little shimmer for the “glam” part of the decorating equation, I lightly brushed on General Finishes Champagne Pearl Effects to highlight certain areas. The girls loved the look!
A light distressing completed the shabby chic look, which was then finished with two more coats of GF Topcoat. Once dry, the hardware went back onto the dresser.
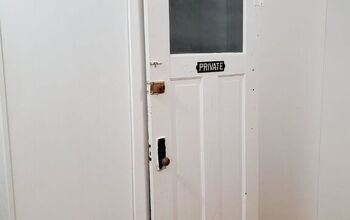
Painting the door
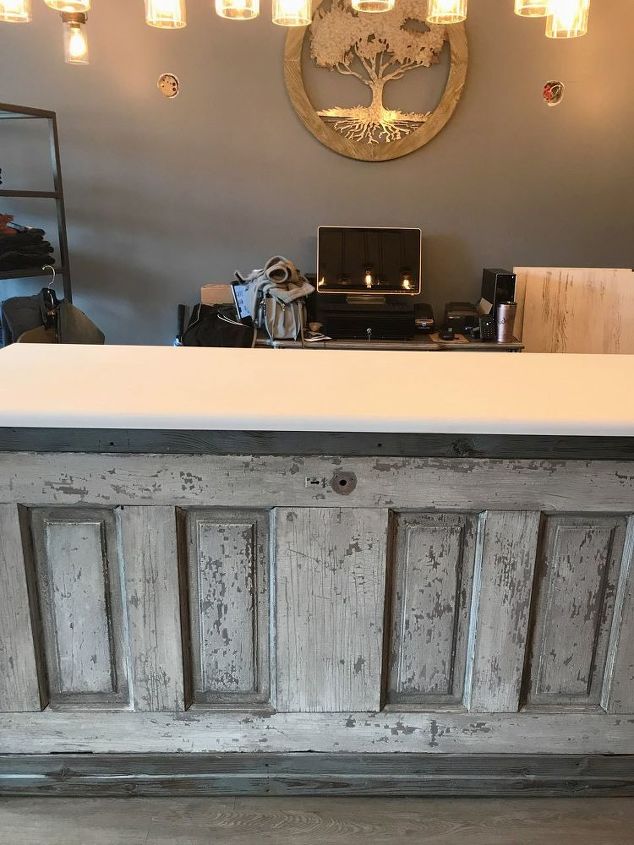
DOOR - Now…let’s talk about that old door. It was super duper chippy when they brought it in. We wanted to maintain the vintage feel but we had to clean it up and keep it from chipping all over the floor. I did a good scrub with a Scotch-Brite pad and 50/50 water and denatured alcohol to get the loose chips off.
After that dried, I did a very watery mix of Seagull Gray and white Clean Canvas Black Dog Salvage Furniture Paint in a big cup and brushed that on with a chip brush, wiping off any drips with a rag. This sort of “whitewashed” it and sealed the surface from further flaking.
To make it a little darker to match the rest of the counter, I did another wash with General Finishes Driftwood Milk Paint (a darker gray) and some Seagull Gray, going darker in the edges around each panel. I added some Pearl Effects on the door panels and highlighted a few areas, and then sealed it all with the flat topcoat.
Completed countertop
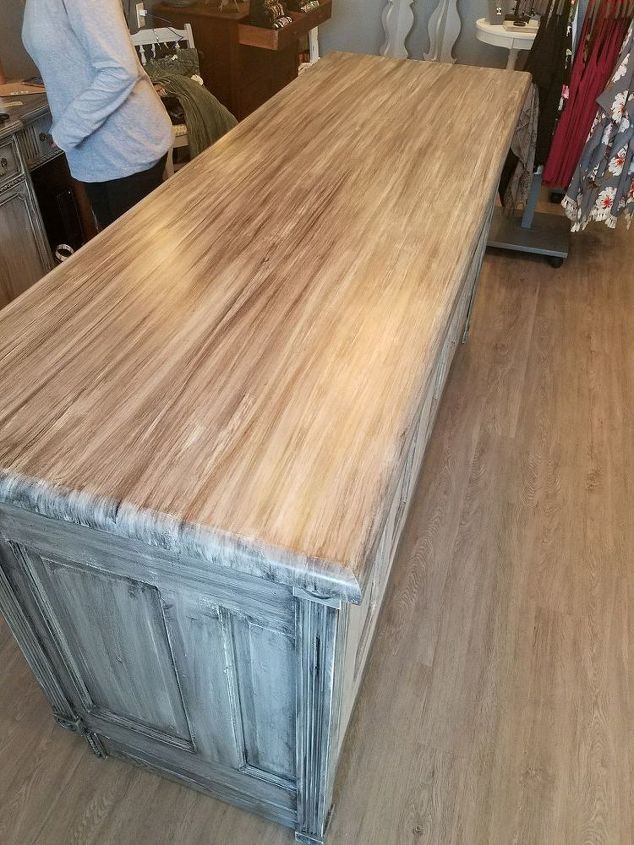
COUNTERTOP - You may notice that the counter finally has a countertop! The landlord (also a builder) made this really nice solid countertop with rounded edges. After it was primed, I did a bit of paint layering to achieve the look the girls wanted.
I started by giving it two coats of Seagull Gray. Then I used a scruffy brush and dry brushed the top with Driftwood, alternating with Seagull Gray for a layered effect of light and dark grays. I sealed it with two coats of topcoat.
Next I applied the black glaze as I had the rest of the counter and then did a liberal dose of “shimmering.” The matching top brought all of the elements together — the old wood trim, the dark glazed sides and the gray-washed door. Two coats of finish and whew!
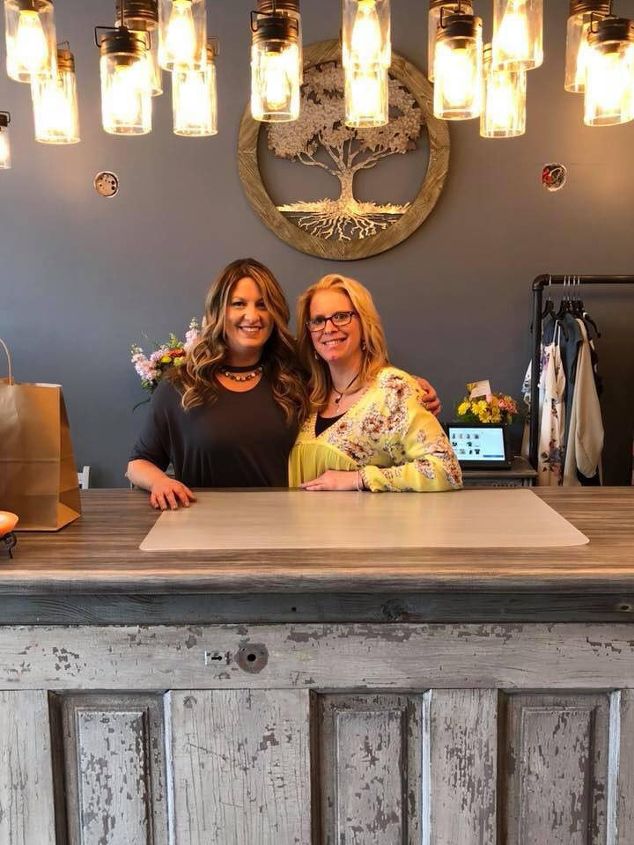
Nikki & Michelle - Sugar Maple Boutique
Store owners Nikki and Michelle are pictured here on the opening day of Sugar Maple Boutique in Marietta, Ohio, (with a protective mat on their new countertop!). The store is darling, and I absolutely love the cluster of light fixtures with Edison bulbs above the counter!
Check out the blog link below for more details and pictures of the gorgeous decor of the shop, including shiplap wall dividers in the dressing rooms, sparkling crystal lighting fixtures and the biggest antique mirror you've ever seen.


Any price and availability information displayed on [relevant Amazon Site(s), as applicable] at the time of purchase will apply to the purchase of this product.
Hometalk may collect a small share of sales from the links on this page.More info

Want more details about this and other DIY projects? Check out my blog post!
Comments
Join the conversation
3 of 45 comments
-
stunningly awesome
-
I love it! After seeing the finished product, I had an afterthought: If you still have the door knob, or any door knob, place it where the old one was removed, or higher, utilize it as a purse/bag holder at the till. Best luck at your venture.


Frequently asked questions
Have a question about this project?
I love your tree of life on the wall where is that from?
love this desk, could u tell me what u used for the countertop? Thanks