


No Fair Peacock(ing)

by
Lovesunique
4 Materials
$3
1 Day
Easy
I cheated a bit and bought a peacock bottle holder frame. I felt like I shouldn't do a post since I really didn't create the frame and so not "fair". However, the more I thought about my peacock frame the more I thought about how I COULD turn it into a DIY project!

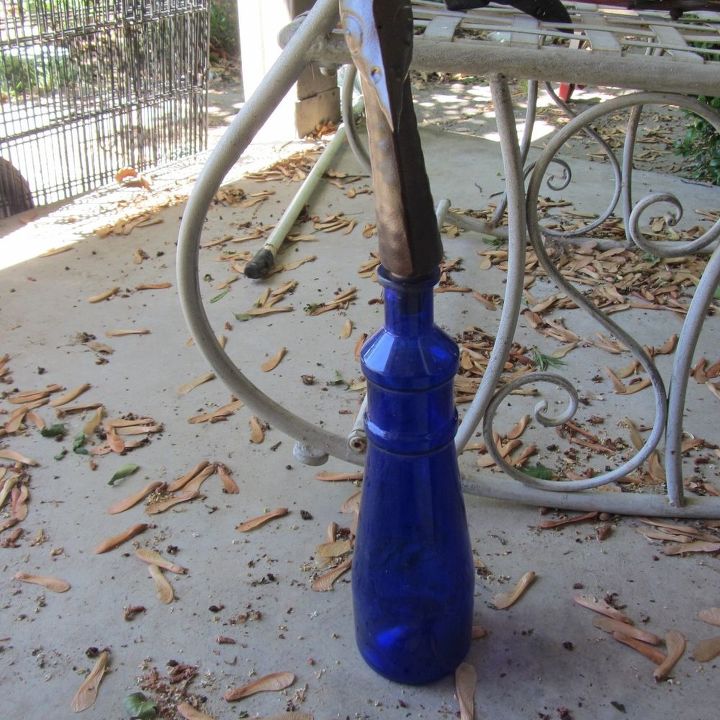
This is what the frame looks like. The head has a cork on the bottom to put in a bottle and there are "bird feet" that go on with screws and keep the frame stable. It is a very well made frame. You can see the rods for the bottles and the metal "feathers" in between. The bottle head/body sits upright in a holder.
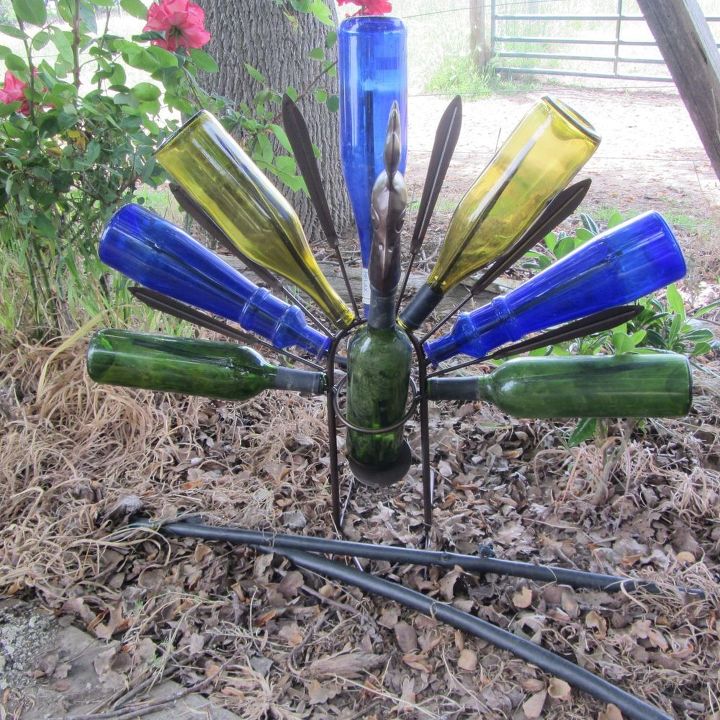
Here's what I came up with after scouring my yard for bottles. Something wasn't quite right.
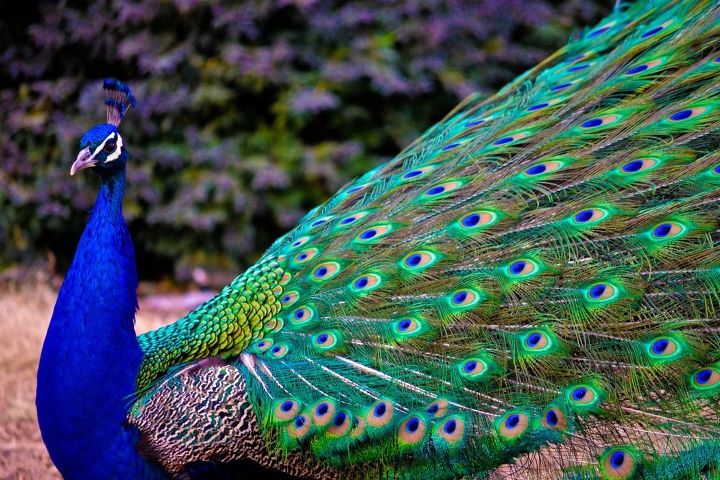
So I checked the internet for pictures of peacocks. It looks like the body of a peacock is blue and the tail has all the colors of green and blue. So I decided I needed a blue bottle for the body and green bottles for the tail feathers.
Now for my DIY idea. My plan was to decorate the bottles with gems from the Dollar Store. First I put a large white gem and then a smaller blue gem. The glass is slick so I just kept pushing the gems in place until they were tacky enough to stay by themselves.
Kind of looks like a peacock feather!
Here's the blue bottle.
I started applying the larger gems first.
I decided I would put some around the neck areas.
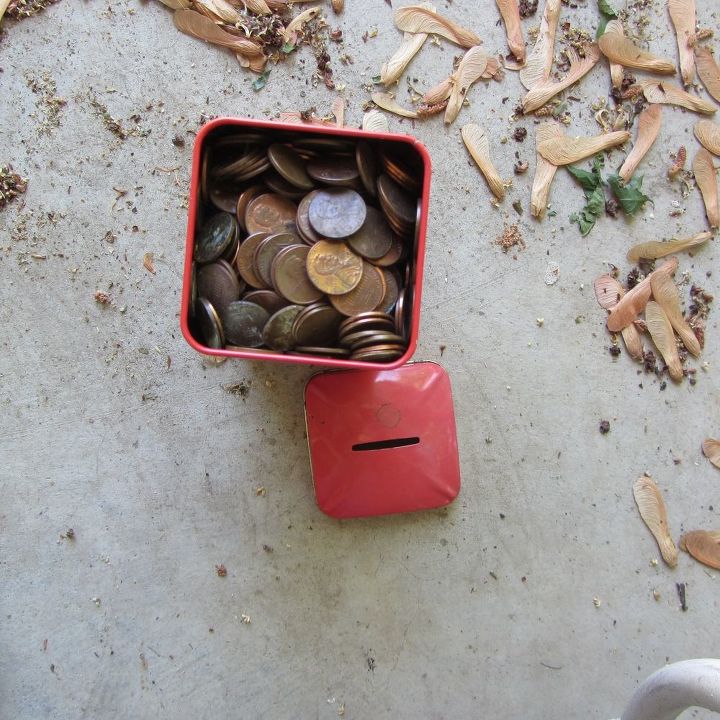
I wanted to add some different texture so I got out the penny bank and glued pennies on the bottle.
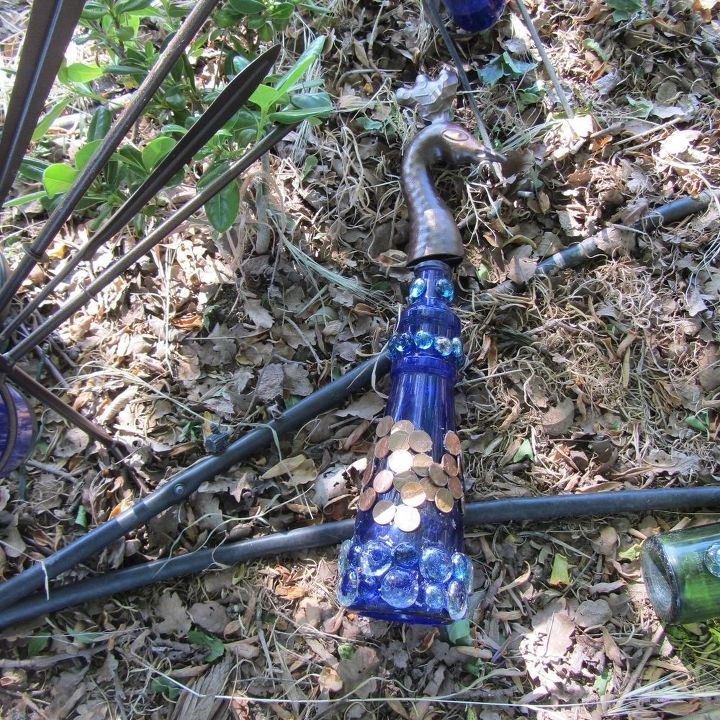
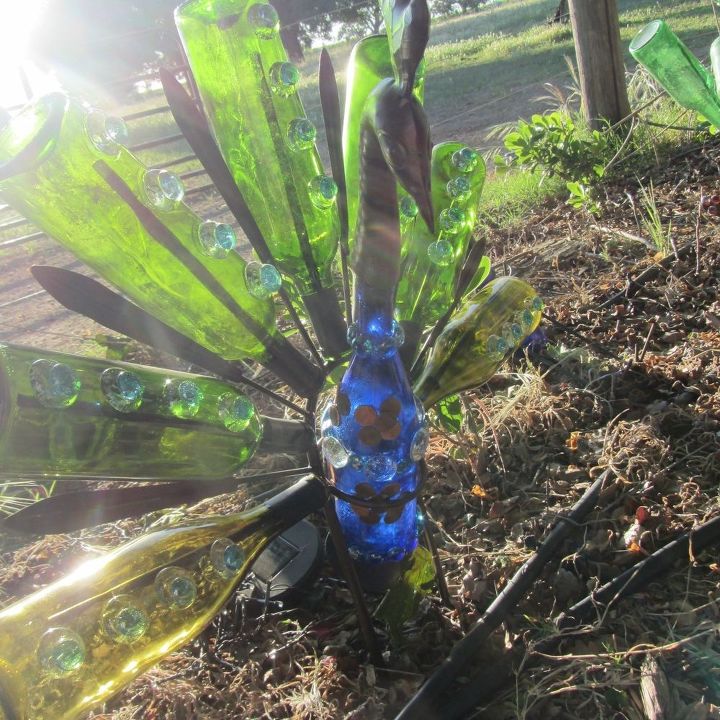
So here's how the body turned out. I like how the pennies match the metal of the head. BUT, I didn't consider how much I was expanding the girth of the bottom of the bottle. I also want to point out now, that I just dove in and started putting the gems on without a plan. Well, of course, the gems didn't fit evenly around the bottom and I had to adjust here and there so the glue got all over everything (myself included) and my spacing got messed up. Boohoo. That's how I roll. I never think things out. Well, after getting all the gems and pennies glued and set . . . .
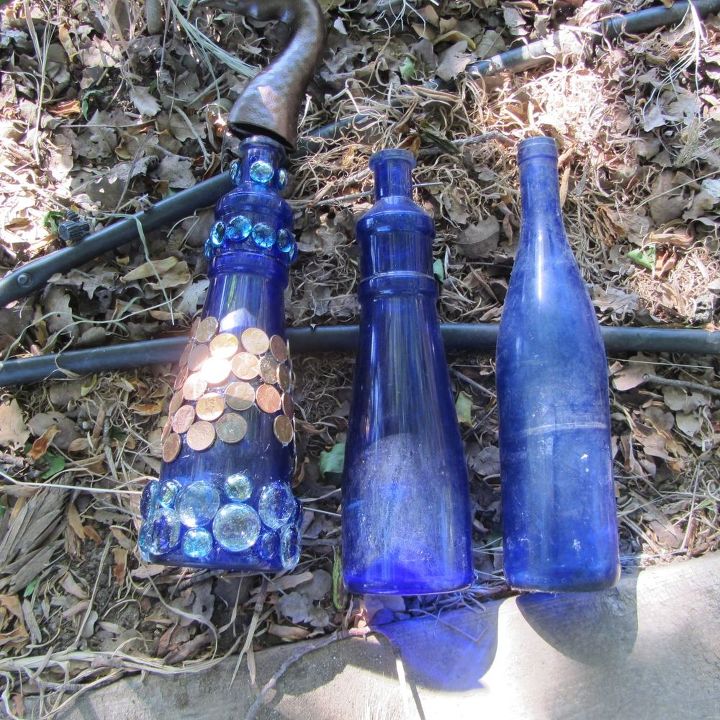
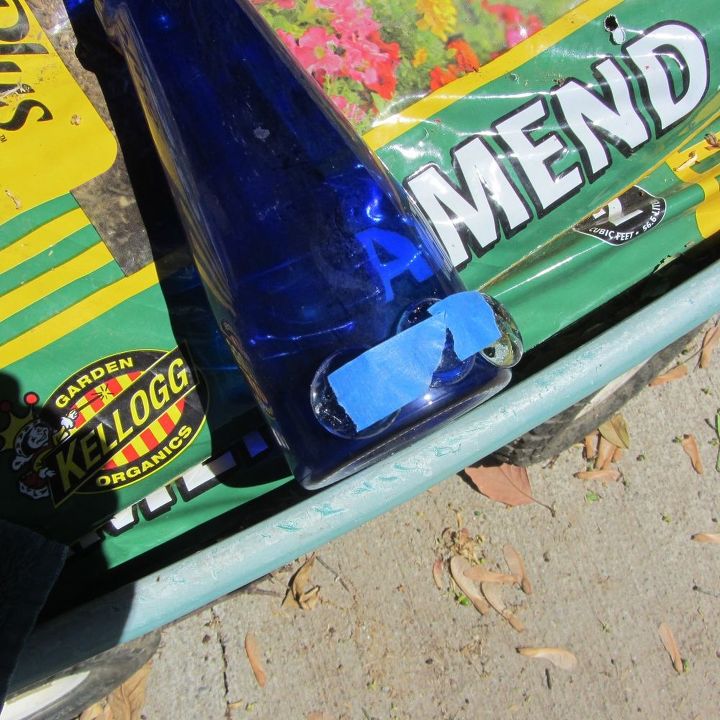
the bottle didn't fit into the holder. All that work and the bottle won't fit!! You can see that it is a decorative bottle and wider at the bottom. Lesson learned. So I took the bottle on the right and went to work. But, having learned my lesson, I just did one ring with the larger gems to see if it would work and...it didn't! So I knew I had to use the smaller gems even though I used a smaller bottle.
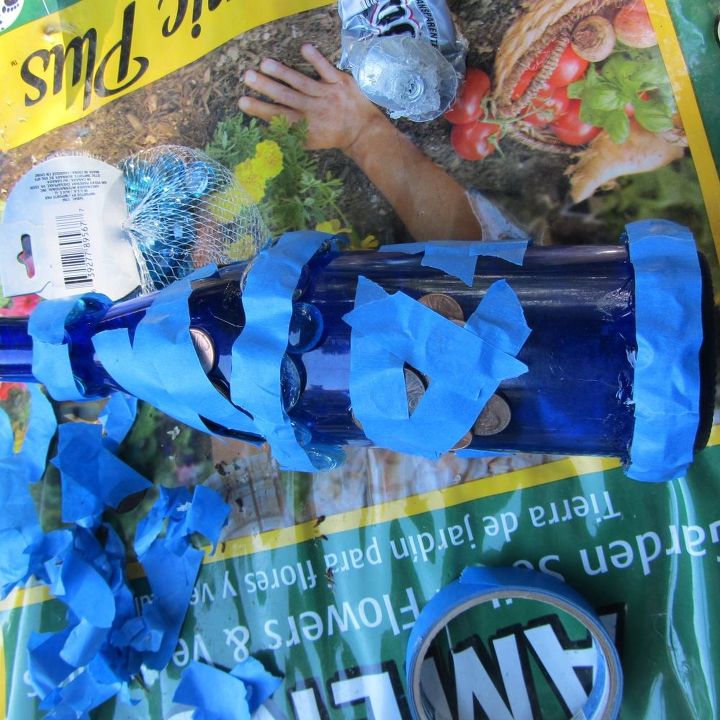
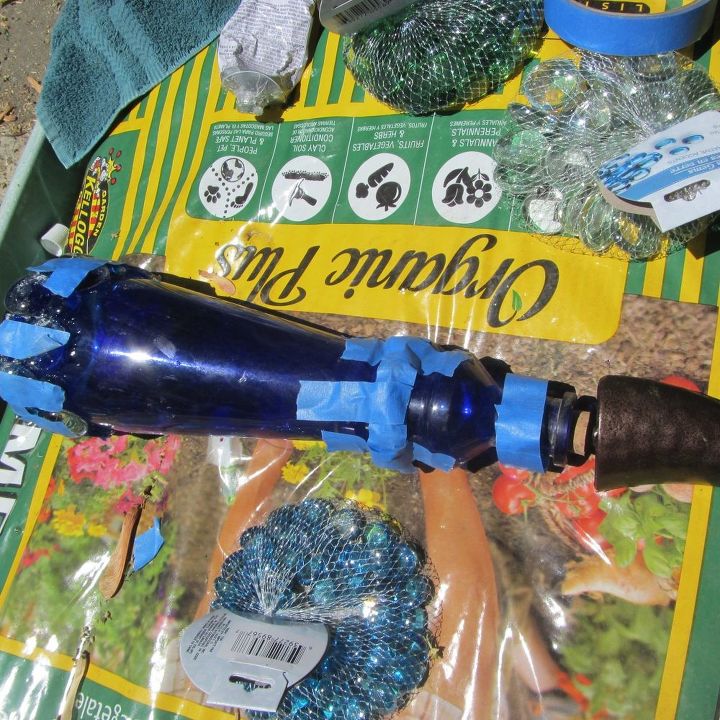
So starting over I used small gems at the bottom and larger gems midline and then small gems on the neck. I also used the pennies again but did a different design. The metal isn't sticking to the glass as well as the gems do. Time will tell if they fall off. I thought it was kind of fun using the pennies with the date up. Some of them were from the 60's.
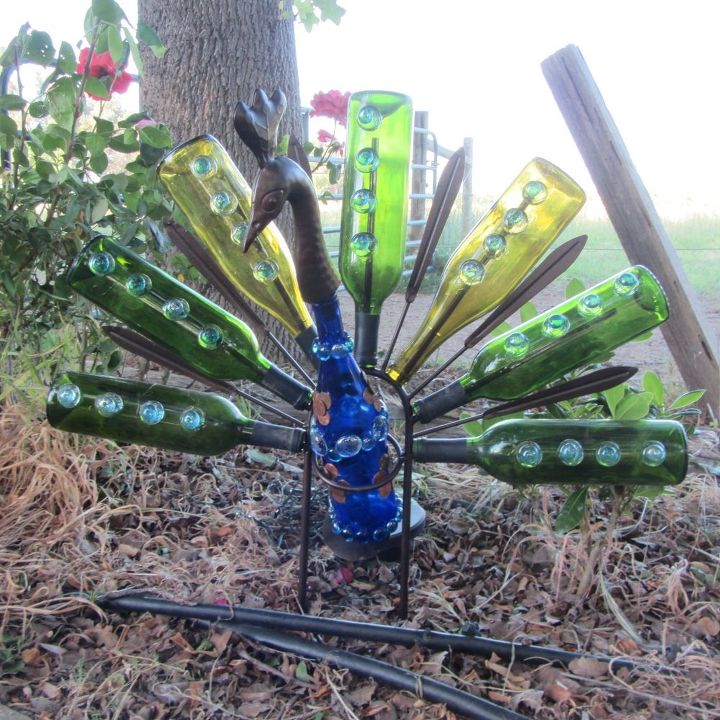
Peacock glory!
Comments
Join the conversation
4 of 13 comments
-
much better! Love it. Gotta find one for my friend.
-
Beautiful. I saw one similar the frame was made out of rebar. There is a wine bistro in Dallas that gives the empty wine bottles away. I'll have to get some n try this. Oh the frame is nice I may look up zulily or Wayfair Thx for the info.


Frequently asked questions
Have a question about this project?
Where can you buy the peacock frame?
Where can I buy the frame.