A painted faux rock wall is a little like an Impressionist painting. The result looks more realistic across the room than up close. So as you paint each layer you should step back to see how it looks. The goal is to have subtle differences in color and tone that look like texture. It also helps to study the type of rock you wish to imitate, so look up some pictures for that. For instance, limestone is a pale beige often with very pale yellow and gray mixed in. It always helps to practice on a piece of poster board or such before beginning the project. If you are going to carry this technique around corners to another side of the building be sure to extend some stones around each corner. Try not to have stacked mortar joints.
Stencils are easier to use on flat surfaces where a stencil spray glue can temporarily hold them in place and prevent paint from leaking beneath the stencil. I think you are going to be limited to taping the stencil to your wall, so don't apply too much paint that could get behind the stencil.
Use a low sheen exterior acrylic primer in pale gray for the base coat. This will be covered by the mortar joints of your stencil so should resemble the gray of mortar. Choose a beige or gray low sheen exterior paint for the stones. Paint over the stencil with a brush. If your rock has more than one color, add it now. Move the stencil and do the next section until you have finished the whole side. Allow the paint to dry. You don't need the stencil after this.
Next you need to add shadow. Add some artist color to a small amount of the exterior paint. You could use black, umber, blue or a combination of hues depending on the type of rock you are imitating. This is another situation where practice can help. Artist paint is fairly thick so mix it well with the paint. Add more paint to the mixture till you get a slightly darker shade than the original that looks good to you. Try to keep track of how much color you added to the total quantity of paint in case you need to make more.
Plastic gloves are helpful here. Using a natural sea sponge, dip it in the paint, then squeeze it out. It should not drip. Dab the sponge lightly on the rock areas in a random manner, turning the sponge to apply paint evenly while avoiding the grout lines. Have a damp rag handy to remove any mistakes. Allow 1/2 to 1/3 of the rock to remain unpainted. Move from one area to the next. Remember to step back and view the work occasionally.
Now, add highlighter. Once again, add artists color to some of the exterior paint. Obviously white is appropriate, but small amounts of yellow and other light colors could work. Sponge the lighter color onto the rock areas. Highlighting above a shadowed area will give the impression of a bulge over a hollow. Highlighting other areas will just give visual texture. Again, allow some of the base rock color and the shadow color to show.
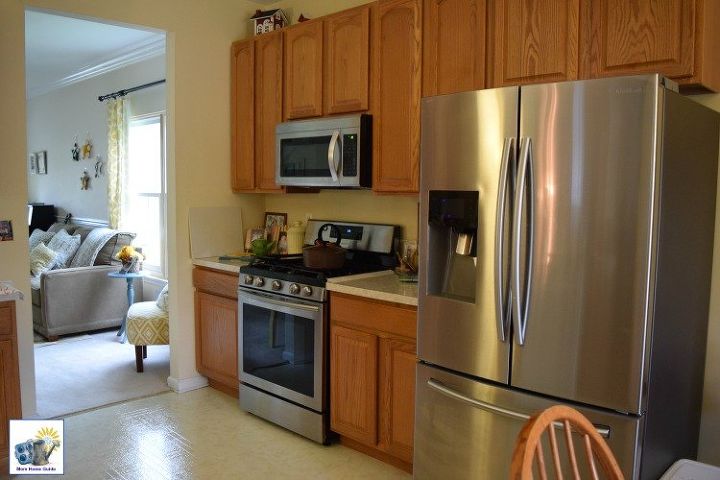
I was wondering if you could help me with something -- I have an entirely oak kitchen. I know it's the rage now to paint or gel stain cabinets. I've been considering ...
See more
hi, I'm in the process of refreshing my birdbath. I have cleaned it and wanted to give it a more "stone" look. I bought a textured spray paint but then realized it pr...
See more
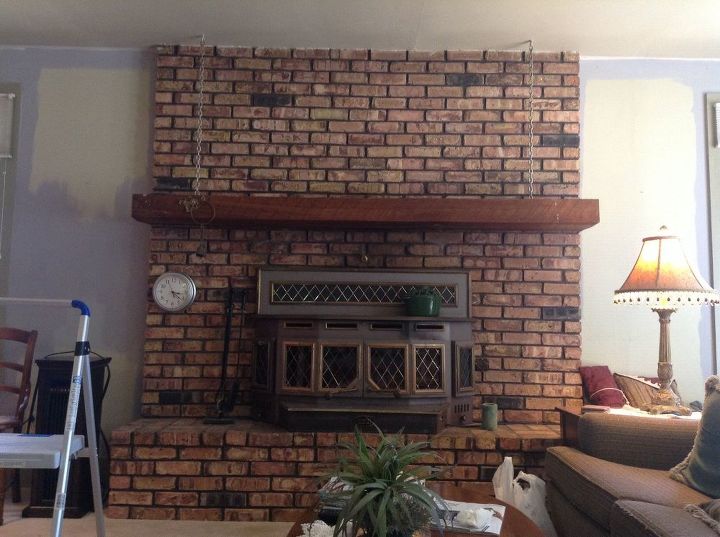
We are about to repaint our home and I would love some suggestions on color. We will not be painting the brick. If there wasn't chimney with the same brick, I would b...
See more


https://www.domesticimperfection.com/diy-faux-stone-wall/
A painted faux rock wall is a little like an Impressionist painting. The result looks more realistic across the room than up close. So as you paint each layer you should step back to see how it looks. The goal is to have subtle differences in color and tone that look like texture. It also helps to study the type of rock you wish to imitate, so look up some pictures for that. For instance, limestone is a pale beige often with very pale yellow and gray mixed in. It always helps to practice on a piece of poster board or such before beginning the project. If you are going to carry this technique around corners to another side of the building be sure to extend some stones around each corner. Try not to have stacked mortar joints.
Stencils are easier to use on flat surfaces where a stencil spray glue can temporarily hold them in place and prevent paint from leaking beneath the stencil. I think you are going to be limited to taping the stencil to your wall, so don't apply too much paint that could get behind the stencil.
Use a low sheen exterior acrylic primer in pale gray for the base coat. This will be covered by the mortar joints of your stencil so should resemble the gray of mortar. Choose a beige or gray low sheen exterior paint for the stones. Paint over the stencil with a brush. If your rock has more than one color, add it now. Move the stencil and do the next section until you have finished the whole side. Allow the paint to dry. You don't need the stencil after this.
Next you need to add shadow. Add some artist color to a small amount of the exterior paint. You could use black, umber, blue or a combination of hues depending on the type of rock you are imitating. This is another situation where practice can help. Artist paint is fairly thick so mix it well with the paint. Add more paint to the mixture till you get a slightly darker shade than the original that looks good to you. Try to keep track of how much color you added to the total quantity of paint in case you need to make more.
Plastic gloves are helpful here. Using a natural sea sponge, dip it in the paint, then squeeze it out. It should not drip. Dab the sponge lightly on the rock areas in a random manner, turning the sponge to apply paint evenly while avoiding the grout lines. Have a damp rag handy to remove any mistakes. Allow 1/2 to 1/3 of the rock to remain unpainted. Move from one area to the next. Remember to step back and view the work occasionally.
Now, add highlighter. Once again, add artists color to some of the exterior paint. Obviously white is appropriate, but small amounts of yellow and other light colors could work. Sponge the lighter color onto the rock areas. Highlighting above a shadowed area will give the impression of a bulge over a hollow. Highlighting other areas will just give visual texture. Again, allow some of the base rock color and the shadow color to show.
Finally, go back with an artist's brush and lightly dab some medium gray on the grout lines below many of the rocks. The gray should be darkest just below the rock and quickly fade out as the color moves away from the rock. This gives more depth to the stones. Below is a well done example. http://3.bp.blogspot.com/-qXdbrFXOiZs/UDKdL9ULwyI/AAAAAAAACGs/Lj3MHwbmuEw/w1200-h630-p-nu/2012-08-19_17-15-16_798-718743.jpg