


Rustic Branch Door Handle

by
Clint
4 Materials
$2
2 Hours
Easy
Due to changing the lock on my shed I needed a handle on the inside. I've always wanted to make one from a branch but never had the excuse to do so, here's my excuse!
{
"id": "4839340",
"alt": "",
"title": "",
"video_link": "https://www.youtube.com/embed/avcUKWnHe2k",
"youtube_video_id": "avcUKWnHe2k"
}
{
"width": 634,
"height": 357,
"showRelated": true
}
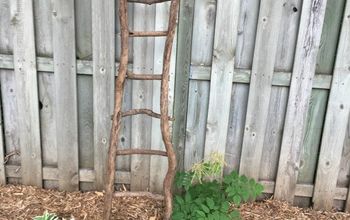
I had a small hazel branch that I got from a friends farm and it was a really nice thickness for a handle, so that's what I used!

I clamped the branch into my vice and smoothed it with a spokeshave, changing direction and skewing the angle as needed. Over the knot and particularly difficult spots I used a sharp chisel and carving knife. I used a hazel branch but really you could use a multitude of different woods.
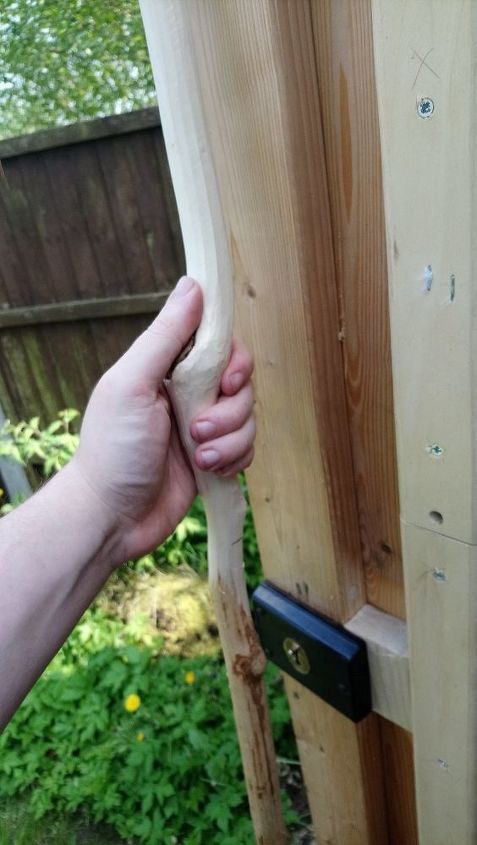
After smoothing the area of the branch I wanted to make into a handle I took it up to the door to measure up where I wanted it to be placed and where my hand would go. With this information I could mark up the screw holes and where I wanted to cut the handle from the rest of the branch.
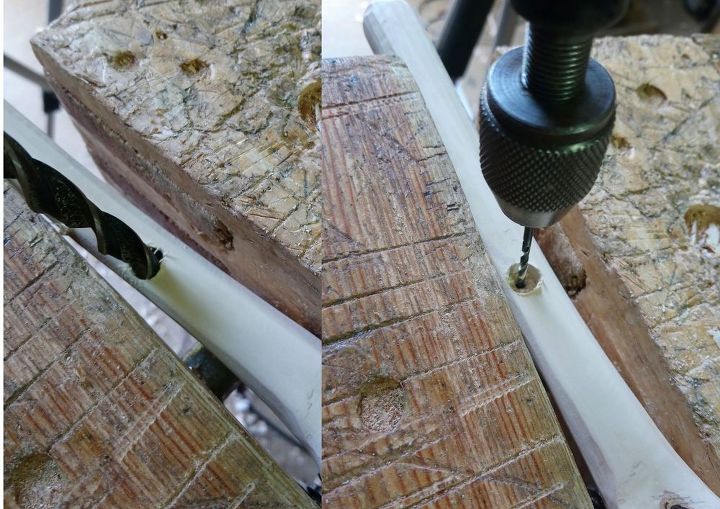
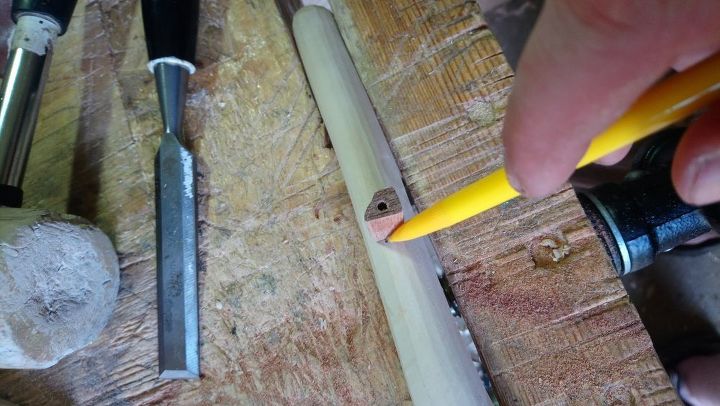
I knew I wanted to put dowels over the top of the screws to hide them when I attached the handle. Because of this I decided to drill a short distance into the handle with a 10mm bit before moving onto a 3mm bit to drill the rest of the way through.
Not wanting to hit my hand against the door when holding the handle made me want to make some decent sized spacers. I held the handle up to the door where I thought it would be most comfortable and then used a steel rule to measure the length of the top spacer.
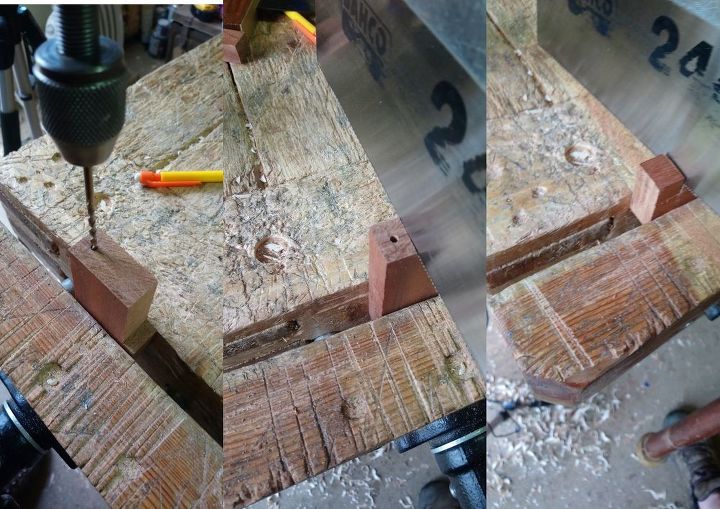
I then cut the spacer out from a block of Sapele after drilling the hole. It's easier to drill a hole into a larger piece than a small piece.
Once the top spacer was made to the right size I chiselled into the handle where the spacer would sit ever so slightly just to give it more grip and have it sit more snugly to the handle.
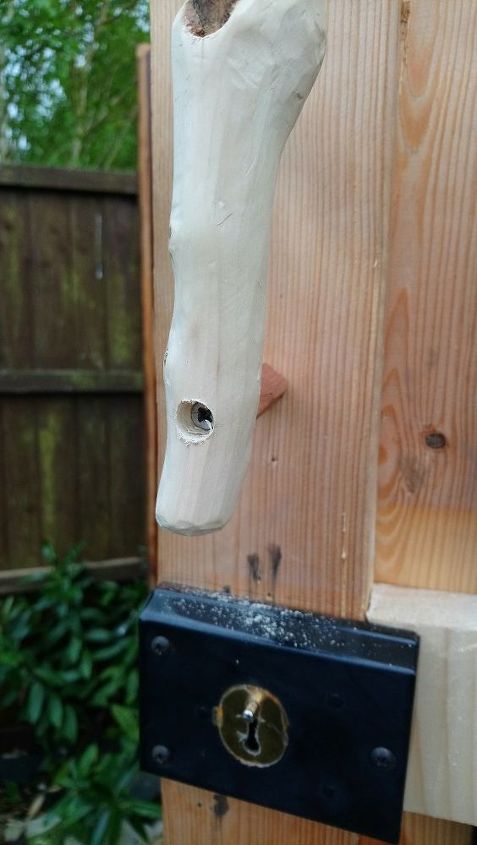
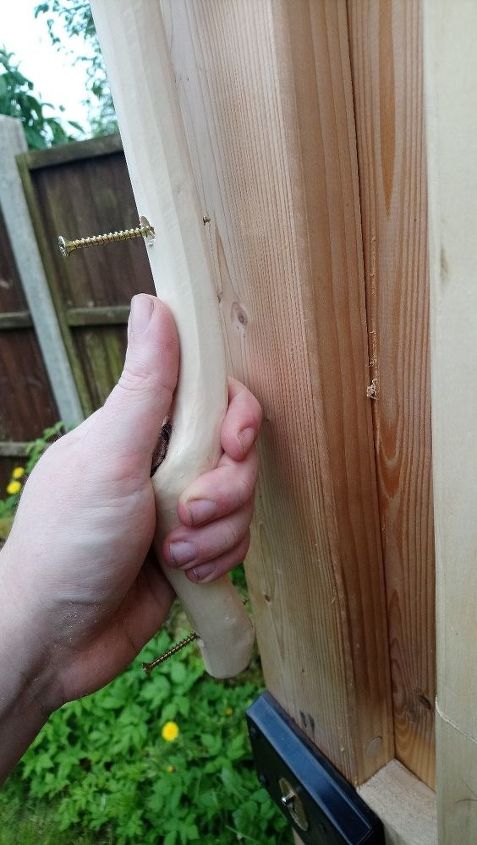
I screwed the top part of the handle into the door and then measured up the second spacer, cut it out and then screwed it in.
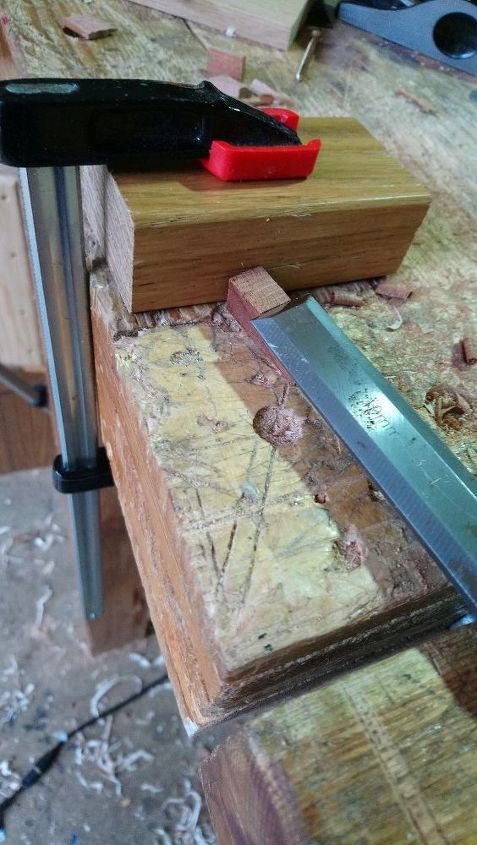
With the handle attached to the door I could then make the dowels or plugs to hide the screws. Knowing the holes were 10mm wide, which is a rather large size for a dowel, I decided to just whittle some small pieces of Sapele down to the right size. I clamped another piece of wood to my bench and used it as a kind of stop for the Sapele to sit against while I pared it down with a chisel.
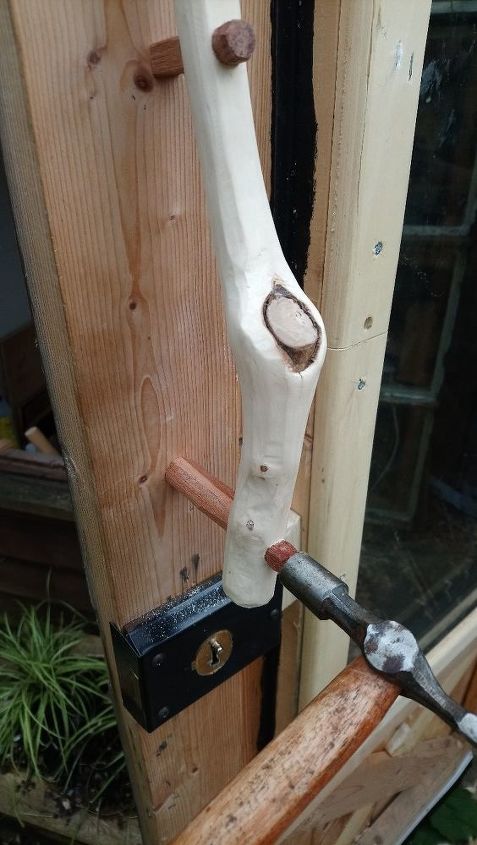
After checking a few times to get the right fit I smoothed the ends over a little with a file and then glued the plugs in place and gave them a few taps with a pin hammer.
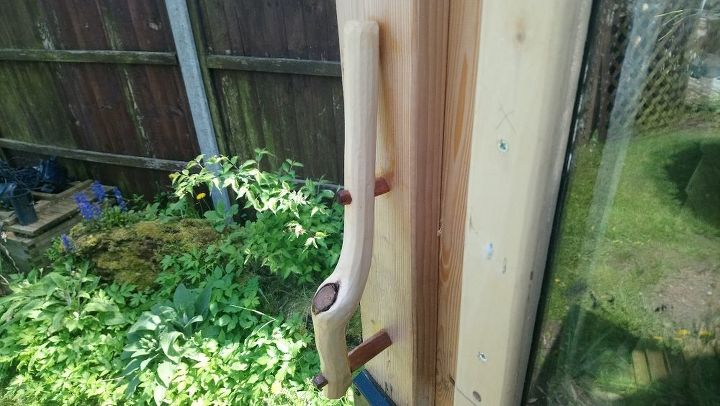
With the handle firmly on the door and the plugs in place I was ready to put on the finish. I used a brush and some hardwearing exterior varnish.
Thanks a lot for checking out this project, I had a lot of fun making it and I'm glad I can finally shut my shed door easily!
If you have any questions or comments then please feel free to post them below.
Want more details about this and other DIY projects? Check out my blog post!


Frequently asked questions
Have a question about this project?