


DIY Galvanized Planter for Tree Stump
3 Materials
$40
2 Hours
Easy
I’m all about easy, do-it-yourself projects, especially when it comes to outdoor decor. I’ve never been one to spend a ton of money on landscaping and I really enjoy the thrill of being creative and finding new ways to repurpose things we already have lying around the house. I’ve also been a thrift store devotee for as long as I can remember, and I always tend to gravitate toward old, galvanized buckets when I go salvaging. Maybe it’s because the rustic look is totally on-trend now, or that they allow me to live out my dream of pretending to live on a farm, but rusty old tins and buckets always capture my heart. When we had a tree come down at our woodline recently, I found the perfect opportunity to put one of the old stumps to good use.
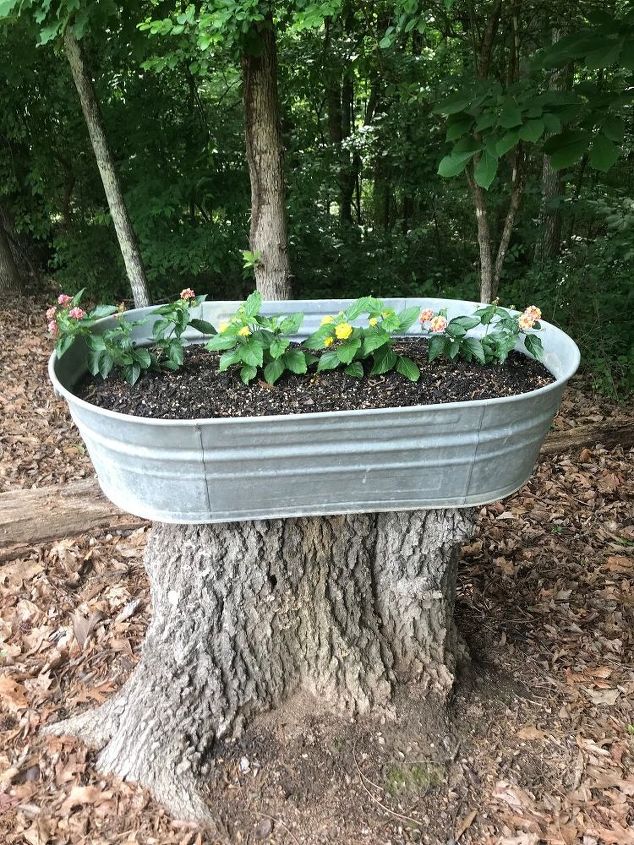
We had an old oak tree that had been leaning and slowly decaying for years. Finally, one heavy winter storm came and snapped it right in half. Thankfully, it didn’t land anywhere near the house and didn’t disrupt our clothesline. We hired a tree removal service to safely take care of it (you can view here for more info on why we went this route). The process was seamless and successful but when they asked if we’d like stump removal, we opted against the extra service. Why? I had big plans for that sweet little spot. I knew I had an oversized, oblong galvanized tin sitting in our basement that would fit on it perfectly, and would make the most unique planter.
I first drilled three holes in the bottom of the galvanized tub, to allow excess water to seep out to avoid root rot. Then, I thought about how to arrange the flowers. I have a few planters that are large enough that I can just sit a pre-planted arrangement (still inside the black plastic liner) right inside and no one is the wiser. That’s usually my go-to shortcut for effortless planting. Yet, I knew that with so much space to work with, I would need to take a different approach to fill the tub. So instead, I bought two large bags of potting soil at my local farm and garden store. They filled the tub perfectly. Then, I bought my flowers from the same store and got to work planting.
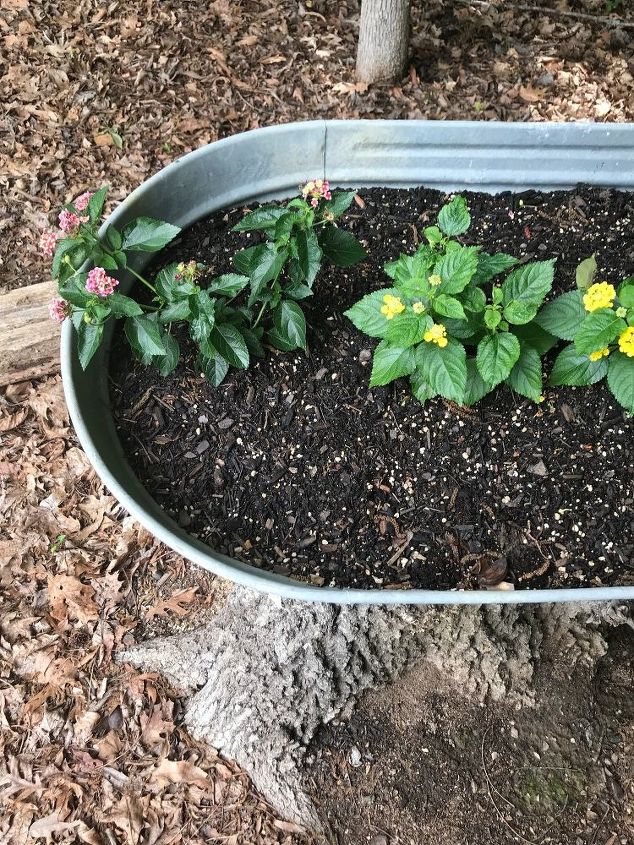
As I chose floral varieties that are known to crawl and spread, I didn’t spend too much money at the store on oversized arrangements. Instead, I stuck with just four smaller plants and gave them each plenty of room to grow. I sprinkled a little fertilizer on top and gave the plants a quick shower of water, and left them be.
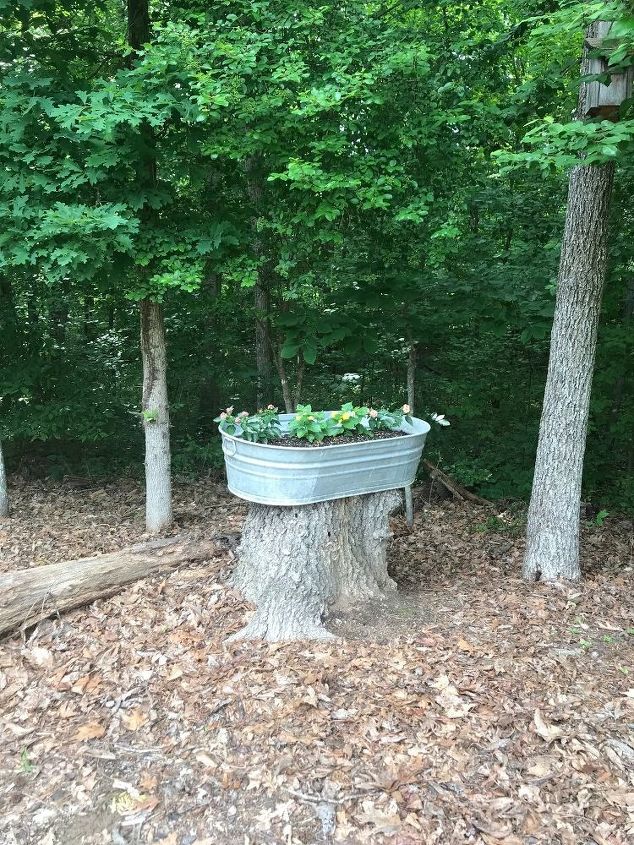
One thing to note about doing this project for yourself is to make sure the top of your stump is totally level. If not, the planter you stick on top can easily wobble and topple off in the event of a storm or strong wind. A few days after I originally planted these arrangements, the whole thing fell over on its side. I lost quite a bit of potting soil and my plant babies were momentarily squished, though they’ve since revived themselves. To remedy the issue, I just had my husband shave off the top part of the stump with his hand saw to make sure the surface was flat. Other than that slight hiccup, this was a fun and simple project to do and it brings us joy to see the flowers blooming from just beyond the clothesline.

Want more details about this and other DIY projects? Check out my blog post!


Frequently asked questions
Have a question about this project?