


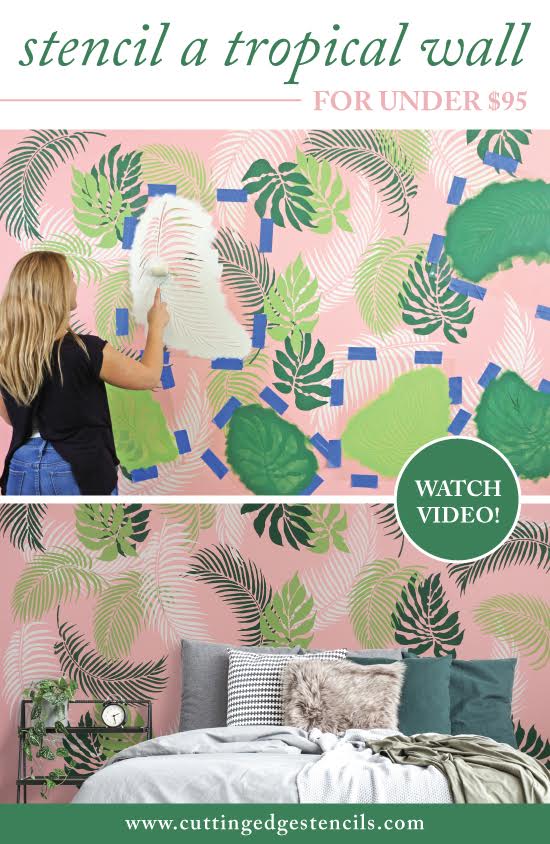
STENCIL A TROPICAL WALL FOR UNDER $95

3 Materials
$95
4 Hours
Easy
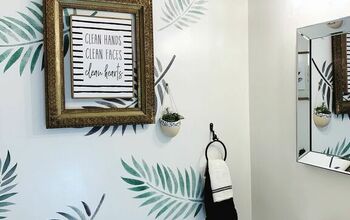
Check out this GORGEOUS stenciled tropical wall we created for under $95! Yes, you read that right. Get this Tropical Wall design using our . This simple DIY project is an inexpensive way to add the ultimate wow factor to a room. Ditch the pricey wall paper with this trending stencil alternative!
Check out this GORGEOUS stenciled tropical wall we created for under $95! Yes, you read that right. Get this Tropical Wall design using our . This simple DIY project is an inexpensive way to add the ultimate wow factor to a room. Ditch the pricey wall paper with this trending stencil alternative!
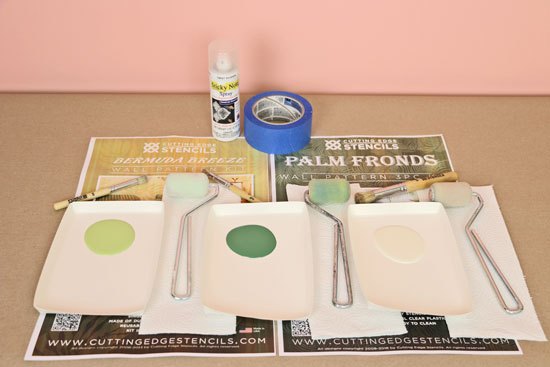
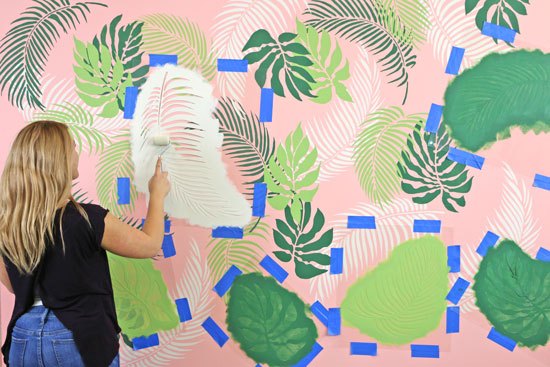
For our tropical wall Erika used two separate stencil kits. The first is the , PIY Chalk Powder, and spray adhesive!
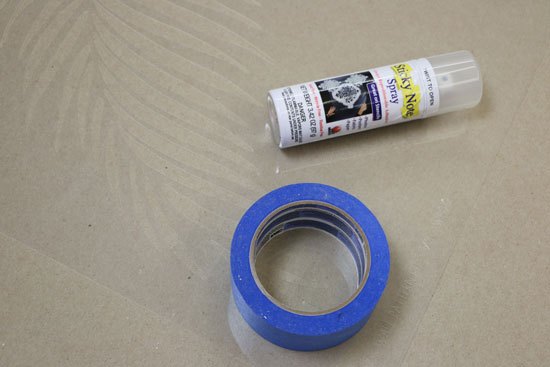
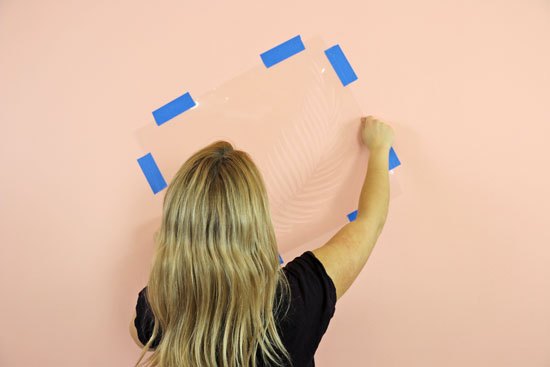
Apply Sticky Note Spray adhesive to the back of the . Then, for extra strength we also recommend adding blue painters tape to each side of the stencil before taping to the wall!

Take the and roll on the first paint color. Be sure to apply paint thoroughly on the entire roller including the edges. Then take roller and roll off all excess paint that could produce bleeding when painting over the stencil.
Time to stencil! The beauty about the is that their are several size stencils to use. To create the tropical wall design, you can place each stencil at random along to wall to cover it entirely. No wall will ever be the same!
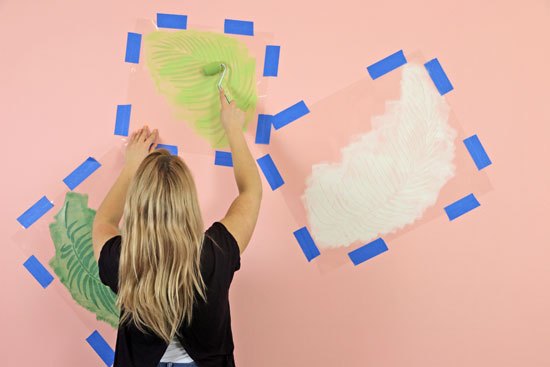
You can begin to paint over the wall stencils using the ! You can designate a specific color each individual wall stencil to make it easier when placing the stencils around the wall. This will help spread out the colors instead of having too many Navajo white stencils in a clump! Use a light pressure when rolling. You can always go back an add several layers.
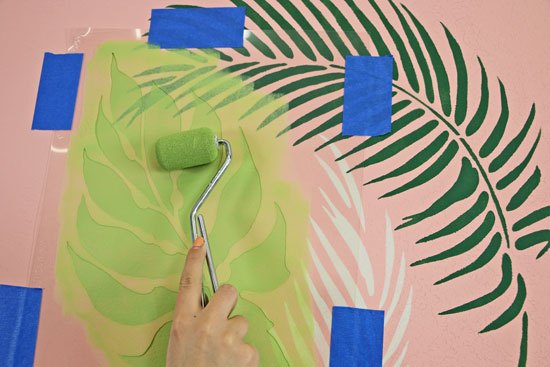
Again, the beauty about this design is that you can have a palm fronds stencil, and bermuda breeze stencil overlap at random! It gives a great wall mural design.
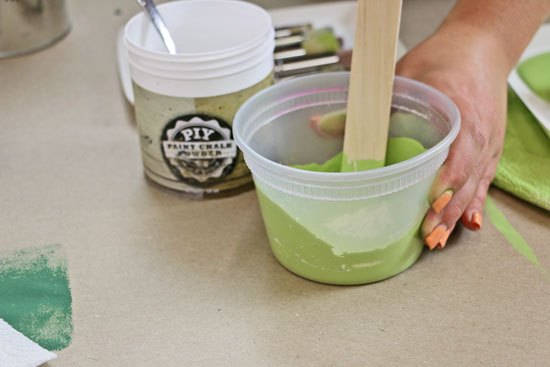
Notice above how when overlapping the stencils the darker green peaks through. The light green is basically translucent. (PRO TIP: You can apply the PIY Chalk Powder to the paint for better coverage when using multiple colors!)
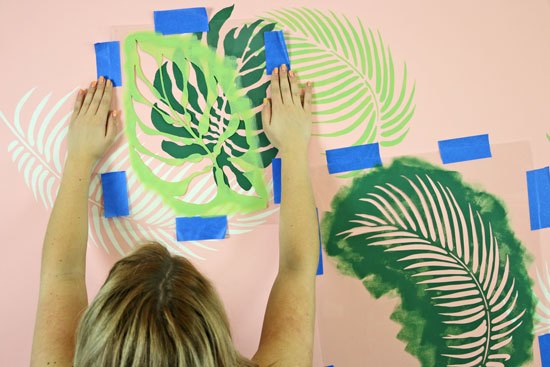
s you work along your tropical wall, continue placing and overlapping the stencils to cover any bare spots. You can make it as busy or as simple as you’d like, depending on the room!
We are all so excited to show you Erika’s Tropical Wall! We cannot believe that this was done using stencils. Save money and time doing it this way, rather than spending a fortune on wallpaper and hours applying it to walls. This tropical palm fronds trend is perfect for summer too!
{
"id": "4876190",
"alt": "",
"title": "",
"video_link": "https://www.youtube.com/embed/ktmfSYHlq5w",
"youtube_video_id": "ktmfSYHlq5w"
}
{
"width": 634,
"height": 357,
"showRelated": true
}
Comments
Join the conversation
2 of 4 comments
-
Very nice work.
-
Love this! I live in florida and I will use your idea in my bathroom. Thank you!


Frequently asked questions
Have a question about this project?