


How to Make a Kids Craft Table
I wanted to make a table that could keep all my nieces craft products in one place. I want her to be able to play with her play dough or paint and when she was finished everything could be put away and stored in the one place ready for next time.
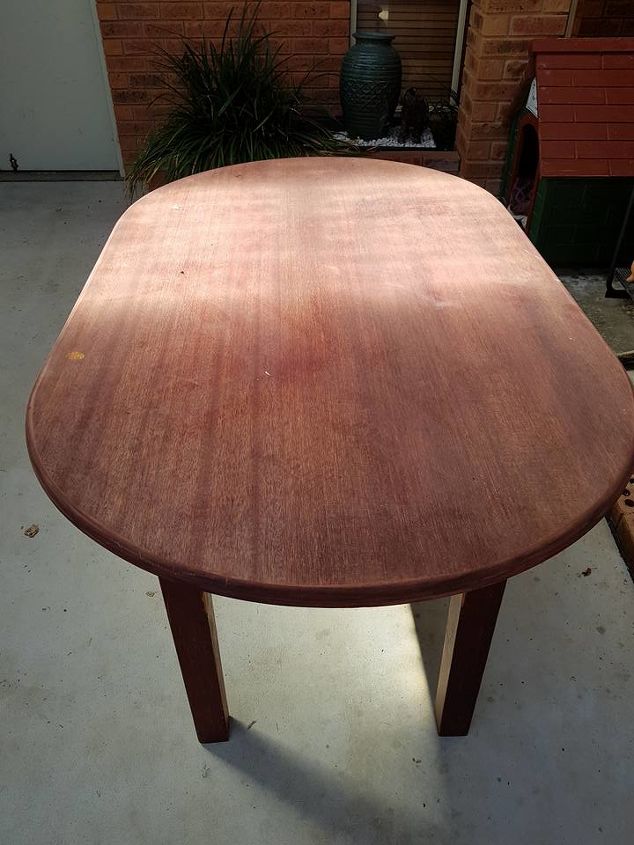
I used this old table which I was given and repurposed it into my activity table. I first removed the table top. This table had a drawer in the front which was missing so that section I modified to allow for storage.
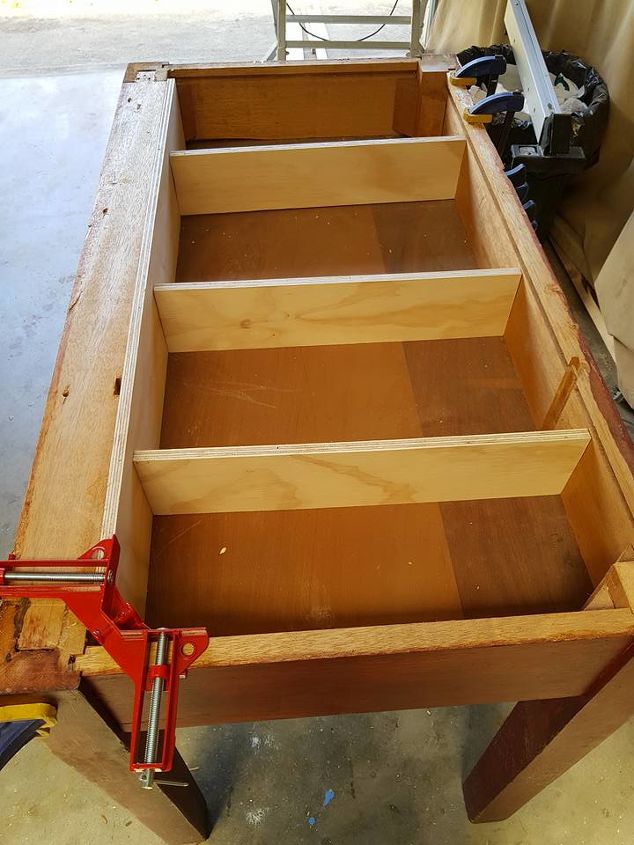
I used some scrap plywood to close off the hole in the front from the missing drawer and made partitions in the base to accommodate different craft supplies.

Because this table is for a toddler, I cut a section of the legs off to make the table a better height for a toddler.
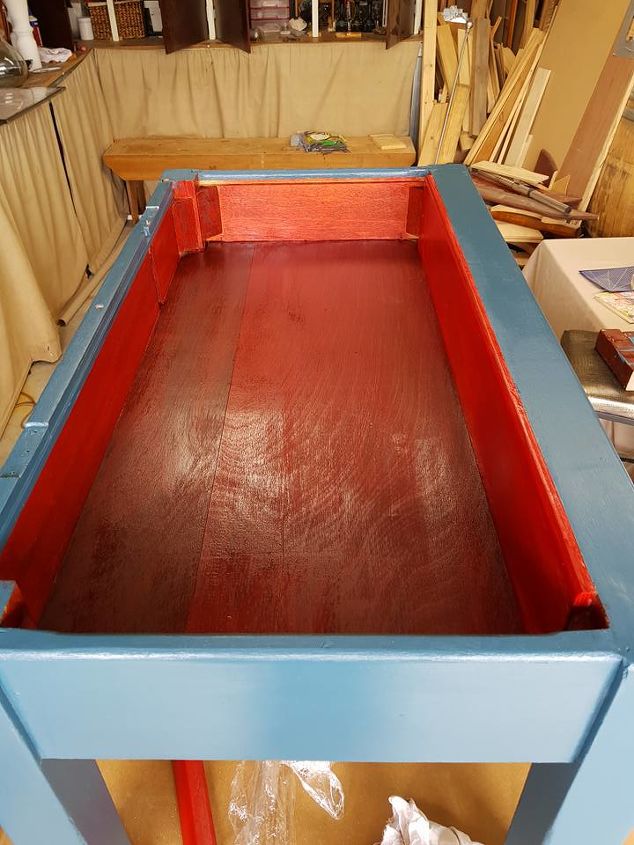
Next I painted the base and the inside, I used bright colours to make the table more appealing to a child. And used 3 coats of Polyurethane to give some protection.
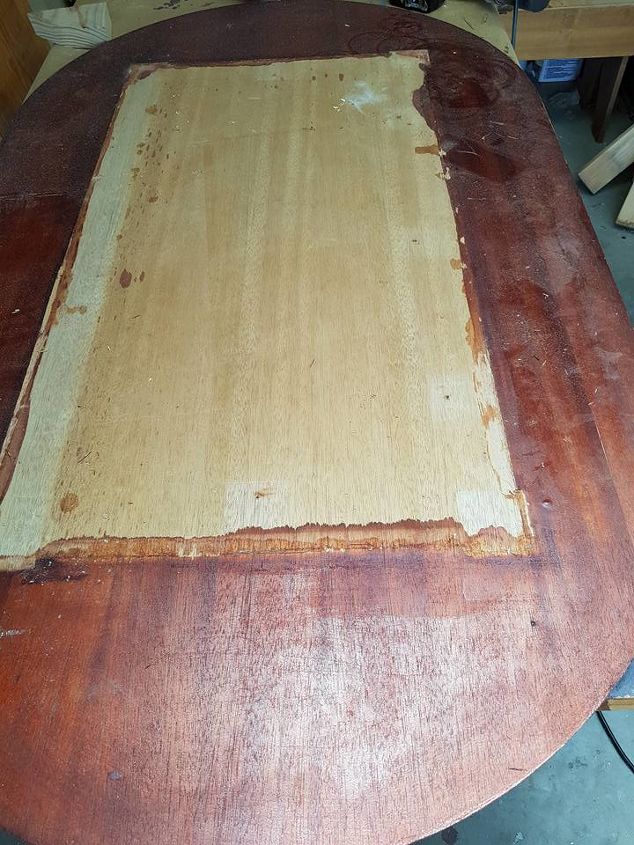
To make the lid I cut the table top to size to using a circular saw. And use a wood router to remove all the edges.
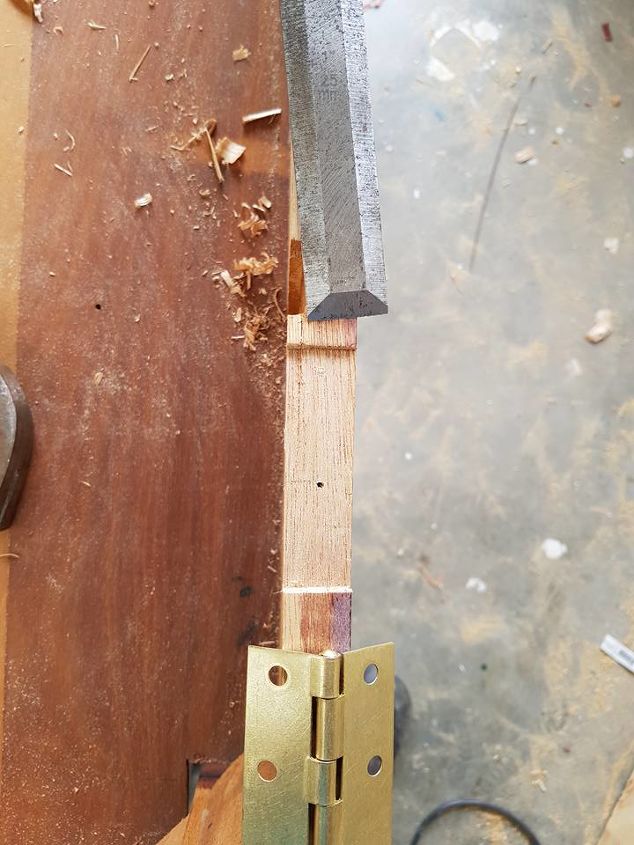
I marked out the position for the hinges and removed the excess wood with a hammer and chisel.
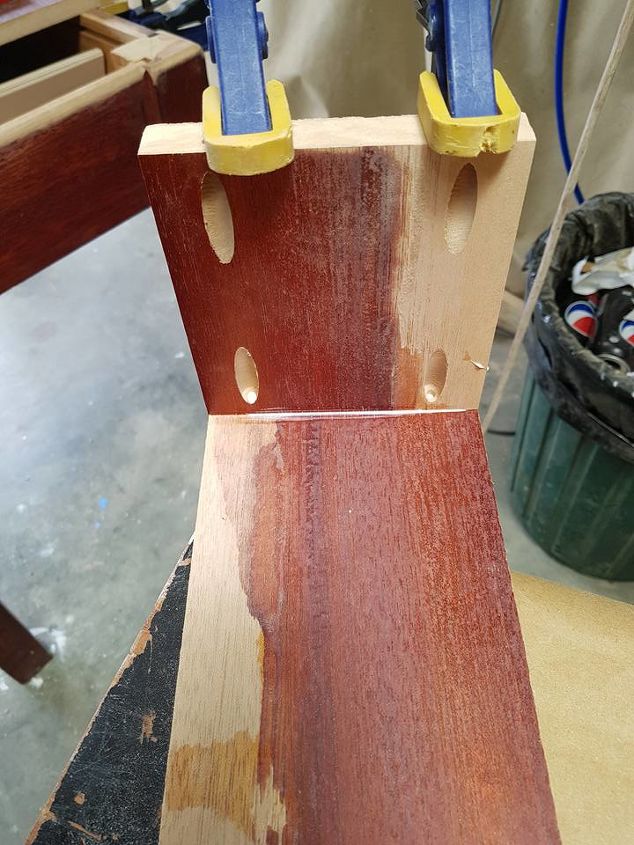
When I did a test run putting all the craft accessories into the table I noticed that the pencils and pens could only lay flat because the inside was not deep enough. But I wanted them to be accessible all the time. For this I added on a trough to the side of the desk. I cut 3 pieces of wood and joined them using a pocket hole jig. I used a scrap piece of plywood and nailed it to the base.
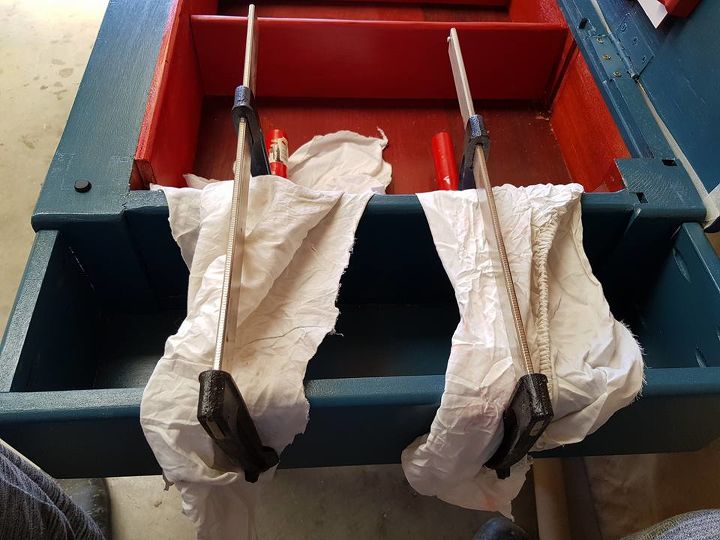
I painted it first because I always find it easier and quicker to paint when it is not assembled. I used large clamps to clamp them in place, using cloths to protect the wood. I glued and screwed the trough into the base of the table.
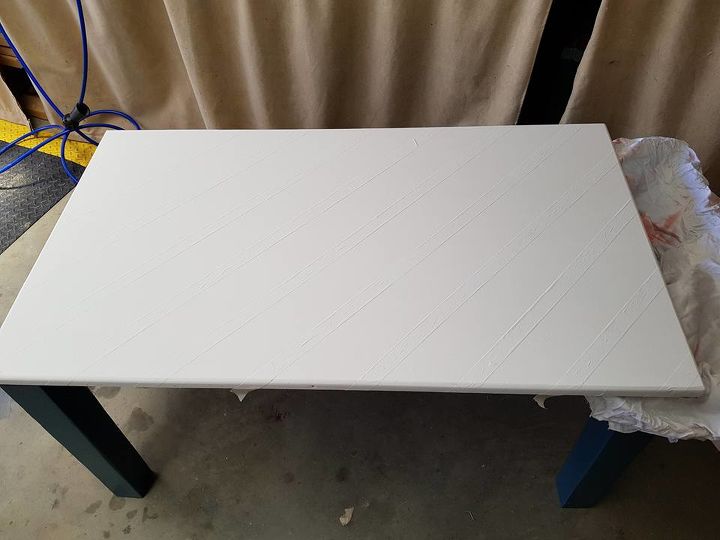
I fitted the lid to the table with the hinges. I painted the table top blue but was not happy with the look, I wanted it to look more attractive. I added some masking tape in a diagonal line across the table top. And gave It a coat of white paint and once dry I removed the tape. I gave the tabletop 5 coats of polyurethane to make it more toddler proof.
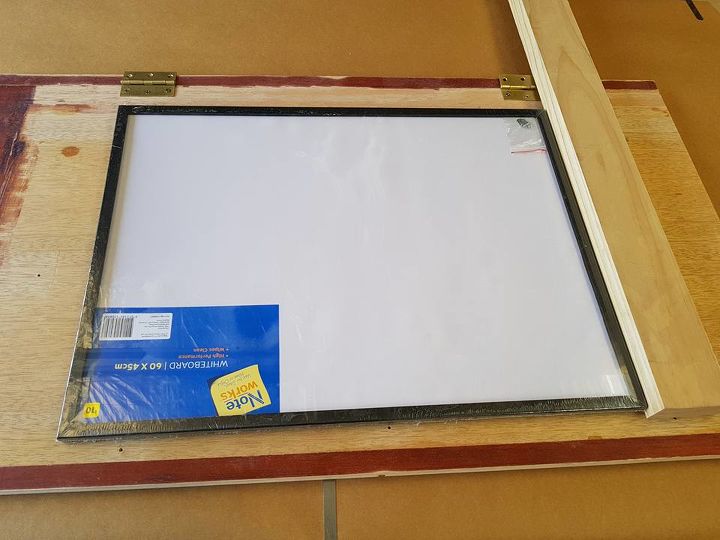
I wanted to to add a whiteboard and some lego plates to the table that could be used and then put away when finished. I cut 3 sections of wood and cut a lip into each piece so the board would be able to slide in and out. The lego plates were glued to the back of the whiteboard.
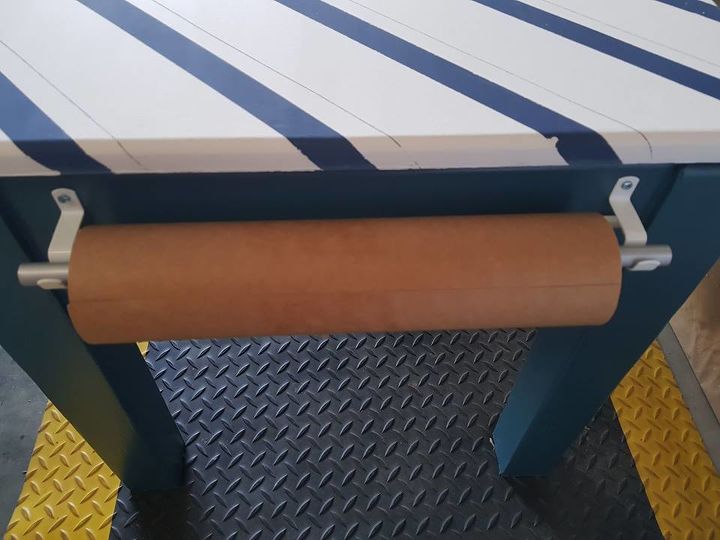
I also attached some brackets to hold a roll of paper that could be pulled across the table when she wants to draw or paint and this was held down by a piece of aluminium screwed into the table top.
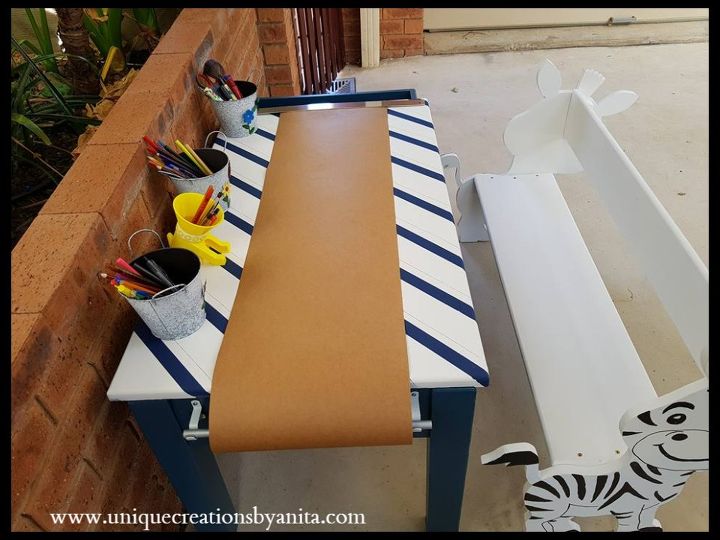
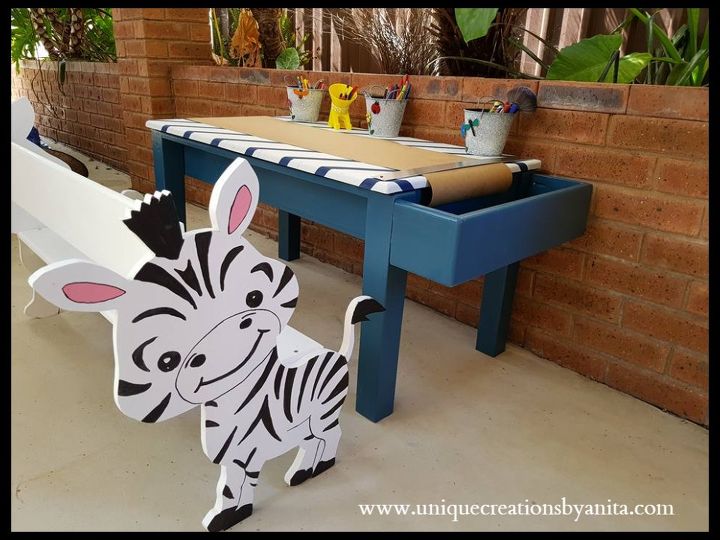
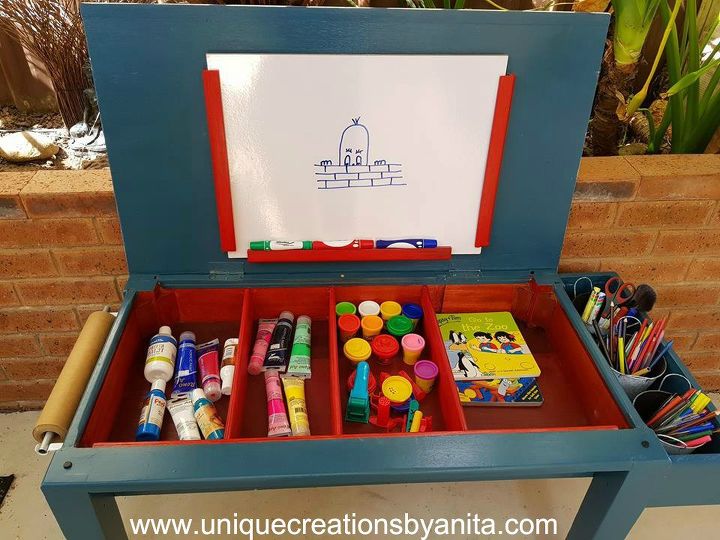
TA-DA here is the finished table. More detailed step by step instructions on how to make this table and to see more photos please visit my site. http://uniquecreationsbyanita.com/how-to-make-a-kids-craft-table/
I also made a super cute bench to go with this table http://uniquecreationsbyanita.com/how-to-make-a-zebra-bench-seat/
another great project you will love http://uniquecreationsbyanita.com/how-to-repurpose-an-old-desk-into-a-sandpit-desk/
The cost of this project will depend on what materials you have at home. Mine were all recycled and the paints and Poly I had at home so the cost is just a guess.

Comments
Join the conversation
-
ok i see if ican but thanks

-
Lv it


Frequently asked questions
Have a question about this project?