


A Cute, Cozy And Small DIY Kitchen Refinish Story!

5 Materials
$250
2 Weeks
Advanced
Hello Everyone!
After a long long time finally I found opportunity to share what we have done for our old Kitchen! 
We decided to sell our house, but our smart realtor told us that it was so difficult to sell because our kitchen looking was very old. We talked with a few companies but it came out with incredible costs for our small kitchen was 12' x 12'.

As you see ıt was so old and damaged. We were living ust one and a half year in this house.
But ıf we want to sell this property we have to get an update. So finally we decided to do it ourselves, husband and wife. And I choose custom made Beige Chalk Paint.
First we painted all kitchen walls with 2 different colors DIY home made chalk paints again from the left over colors. One of Grayish and the other one was off white. SORRY, really I forgot to take pictures for wall paint part
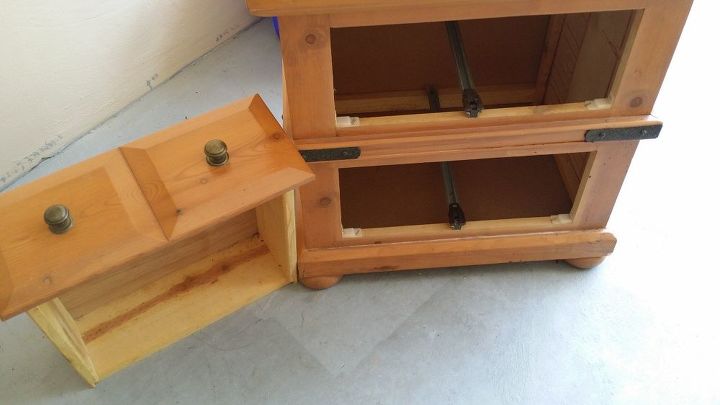
I would like to be an island in the kitchen, even if it is small. It's always functional for women. And I found this small old but very good condition old farmhouse nightstand.
I started working to transform this nightstand turn out the kitchen island, but of course my smart and very talented husband was helping me as always.
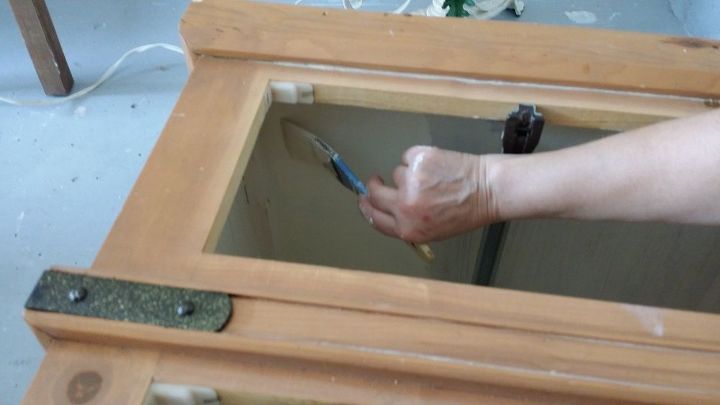
I always start inside to outside for painting and refurbishing my all projects. Inside painted with 123 Zinsser primer just one coat is covering perfectly. For the base coat I used beige color from Benjamin Moore.
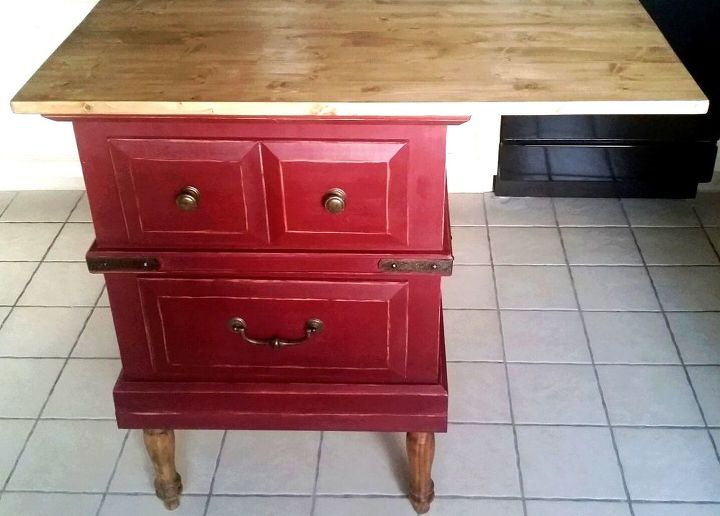
For outside I used a richer and primitive color, Burgundy from Benjamin Moore.
I wanted to have a table but a different design top of nightstand, and here my husband showed his talent skill right away.
He bought from Home Depot a solid wood 5' x 2' for the top. He just applied one coat natural stain over the solid wood top (Minwax Naturel Stain)
I needed the Sofa legs for this small and beautiful island, he got them as well from the home depot and mounted them.
Here is the Kitchen island that comes out with a beautiful design and work.
But I have to make this island even more functional, because I prefer to have my kitchen very handy, that's why we added 2 storages to the side of the island, hoping to buy this house a new owners that thinks like me.
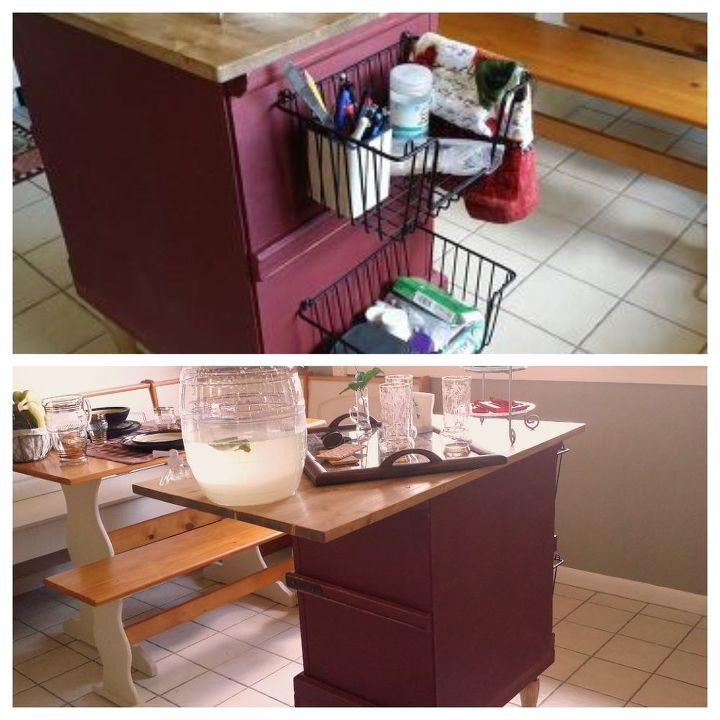
Yes a small, warm and very handy island, exactly as I want, ''Thank you to my sweet husband)
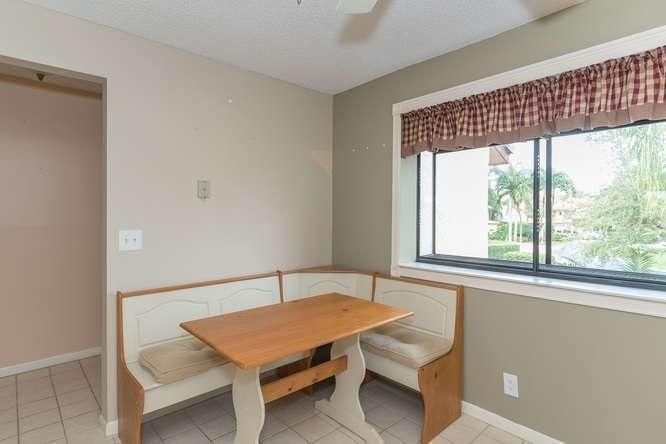
Now let's start to next, to refinishing breakfast nook!
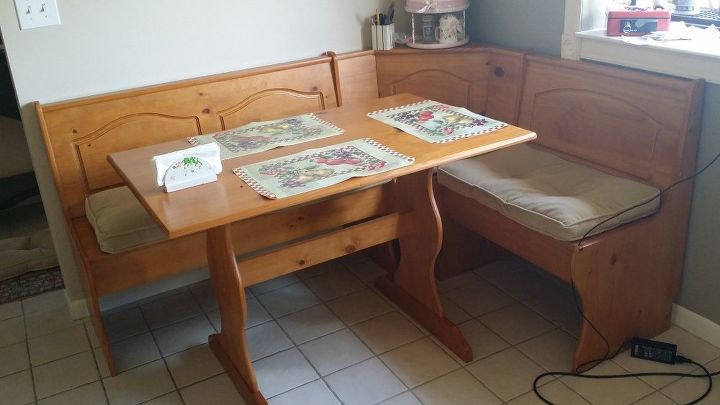
I just wanted to paint the with antique white (home made) chalk paint. You can find everywhere in internet chalk paint recipes.
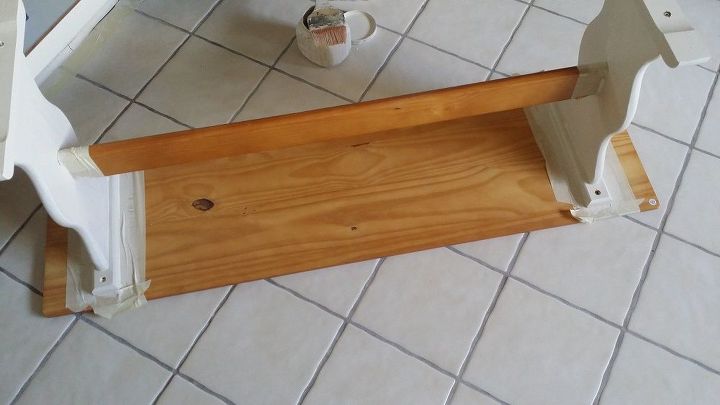
I only paint the top of the bench, with white.
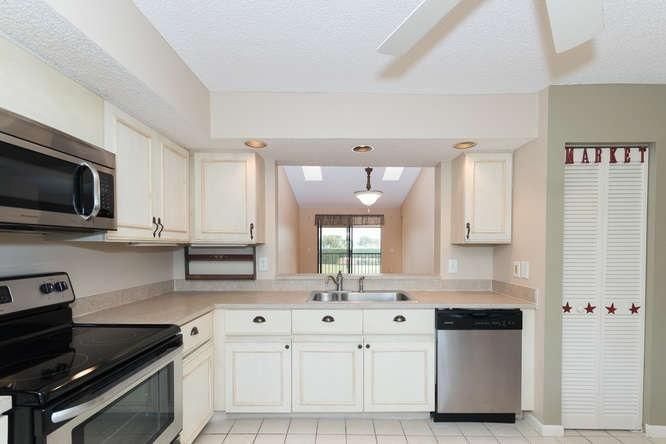
And turned out this look. now it's time to paint the kitchen cabinets and trims. We began to mask the floor and the cabinet sides.
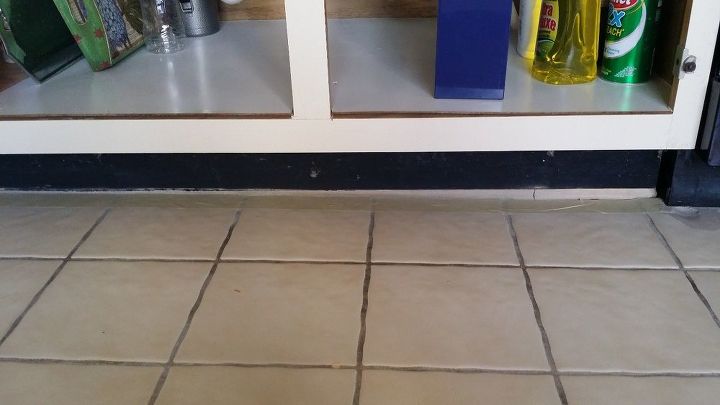
We removed all the doors, we did not have to remove the handles because already did not have handles. We started to clean from the wall unit first with Klean Strip TSP Substitute. if you use chalk paint you do not need a different cleaning tool.
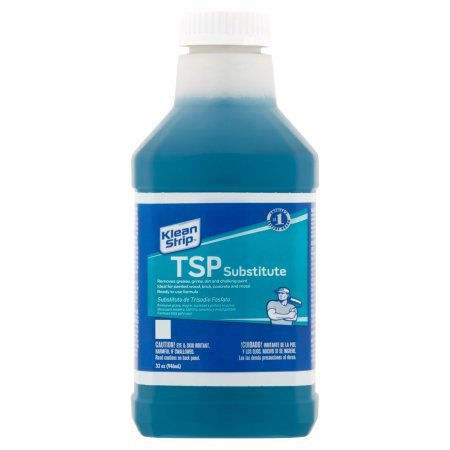
1- First step.
This is for make sure to remove oil, and collected scum.
Wipe down the cabinets and clean all surface very well and let dry.
2-Second Step.
We hadn't any crackle, and damage, but if you have you can use wood filler to fill holes , and crackles. And let dry again. After dry, sand to smooth and then start to paint. Please make sure before start to paint to stir very well your chalk paint.
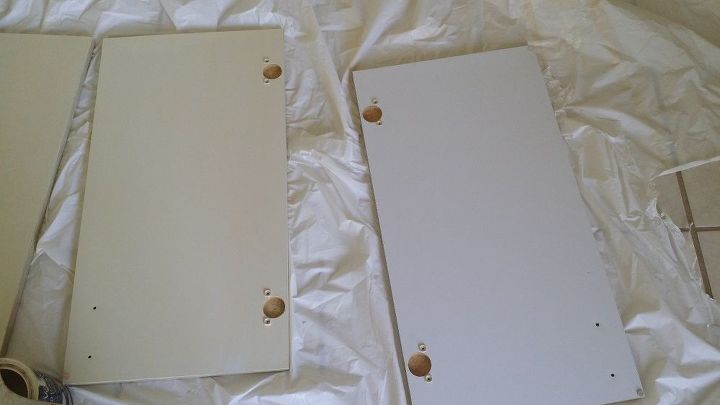
3- Third Step.
Apply 2 coats paint, After painting the first coat, leave for 1 hour
to dry. Many painters say 30 min, but I have been waiting half an hour extra for years to guarantee that they have always been satisfied with my customers. This is my way, however you can do it! (and go back to the second coat. Let dry for 1 hour. Don't panic if you leave brush strokes in your first coat cause when you applied the second one it will disappear.
4-Step.
after dry time let start to sand very softly and same direction all the time.
5- Fifth Step
If finished your sand, you can use a very soft brush to clean surfaces.
6- Sixth Step
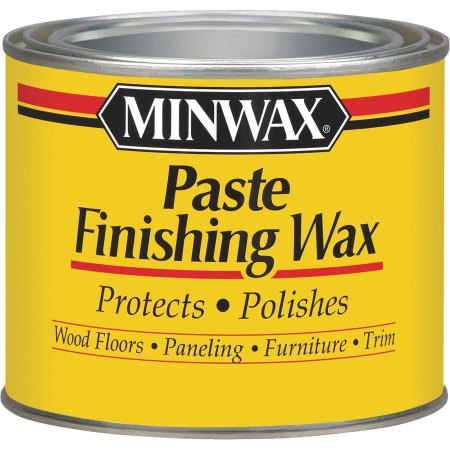
Now Wax time; apply to wax coating.
For this part I'm using Minwax you can find Home Depot. It's just $7,50
the others are more that $25.
You can find to many videos on youtube, but this one is directly related to this topic. Here is the link.
{
"id": "4852677",
"alt": "",
"title": "",
"video_link": "https://www.youtube.com/embed/_t3k91gZhf8",
"youtube_video_id": "_t3k91gZhf8"
}
{
"width": 634,
"height": 357,
"showRelated": true
}
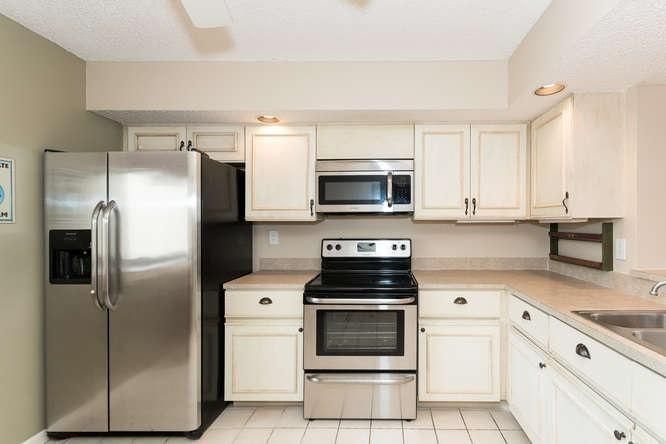
We choose the new handles, pulls for this project from Hobby Lobby. Here is the results.
To didn't like to flat look of the cabinets,that' why we bought trims and my husband apply their center, according to their dimension. I can not post it here because we have the limited to put 15 pictures. But also you will see below photos .
Hope you guys enjoy as well
See you for our next project.
Feri
Comments
Join the conversation
2 comments
-
It looks very nice and not like the old one.


Frequently asked questions
Have a question about this project?