


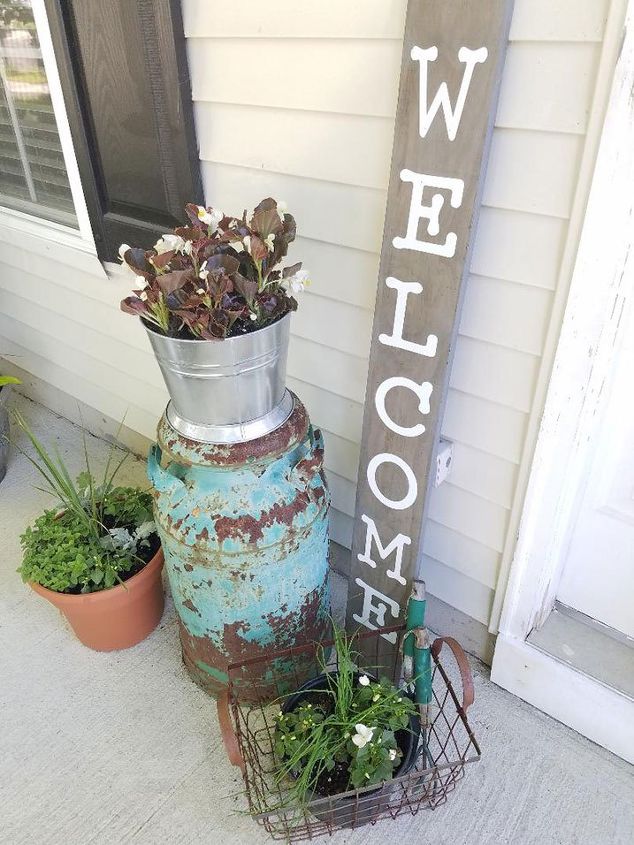
DIY Welcome Sign
3 Materials
$15
1 Hour
Easy
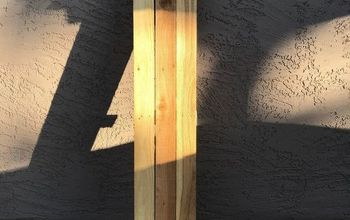
Every good DIY'er knows you never throw anything out. You never know what you will need for your next project. You basically become a hoarder! That is how this project started. I found a large piece of scrap wood in the back of my husband's truck headed for the dumpster. I immediately thought this would be perfect for a DIY welcome sign to use on my porch.

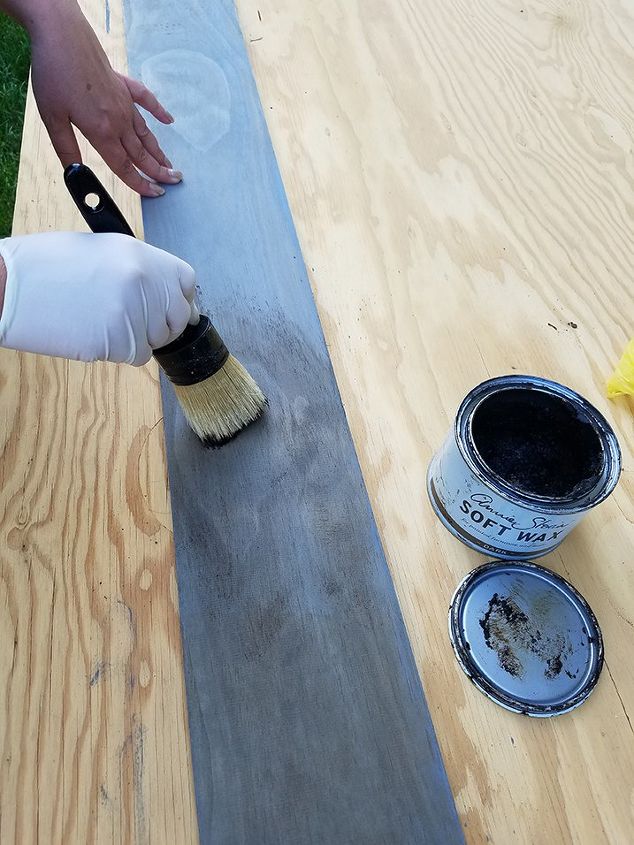
First I stained the unfinished wood with a weathered gray stain. When that was dry I applied dark wax to seal it and to give it a more distressed look.
To determine what size I wanted the lettering to be, I measured my piece of wood and divided that number by 9. Seven for the lettering and 2 more for spacing at the top and bottom. My piece of wood measured 4’H X 5.5″ W and I made my letters approximately 3.5″W X 4.5″H. I used my Cricut machine to print out the lettering.
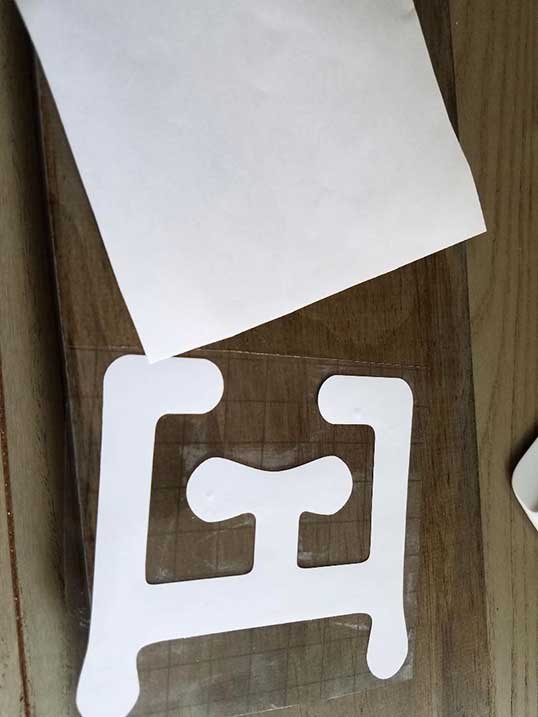
I used the transfer method to apply them to the wood, making sure to space them evenly apart.

It was a simple project, and I love how it looks on my little front porch. You can see more of my small front porch decked out for summer here.


Any price and availability information displayed on [relevant Amazon Site(s), as applicable] at the time of purchase will apply to the purchase of this product.
Hometalk may collect a small share of sales from the links on this page.More info

Want more details about this and other DIY projects? Check out my blog post!


Frequently asked questions
Have a question about this project?