


How to Install Board & Batten
7 Materials
$100
5 Hours
Medium
Make a feature wall in your bedroom with this simple DIY board and batten tutorial. This turned out perfect for our modern bedroom makeover.
It’s actually super easy to create if you can do basic math and have some time to measure everything a few times.
Let me show you how you can get this look with this simple board and batten tutorial and my best tips and tricks I learned.
If you like this project, you can see more simple DIY projects ideas on my blog, A Crafted Passion.

First, you need to measure your walls from side to side and from the top of the baseboard to the ceiling. Have someone help you because this needs to be exact (or as close as you can get to perfect).
You'll need to map out your grid and then buy your primed MDF depending on how much you'll need.
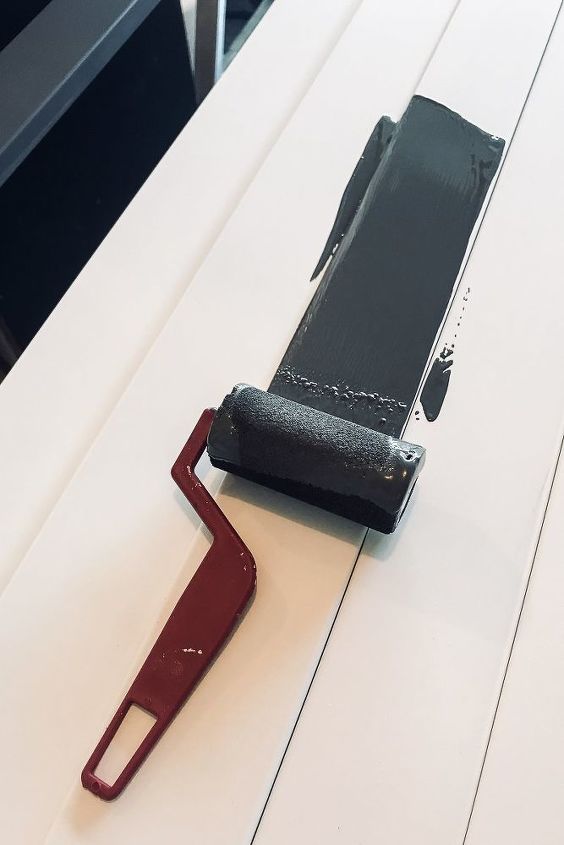
Before you start cutting and nailing, give all the primed MDF a good coat of the wall color paint. This will save you time in the long run.
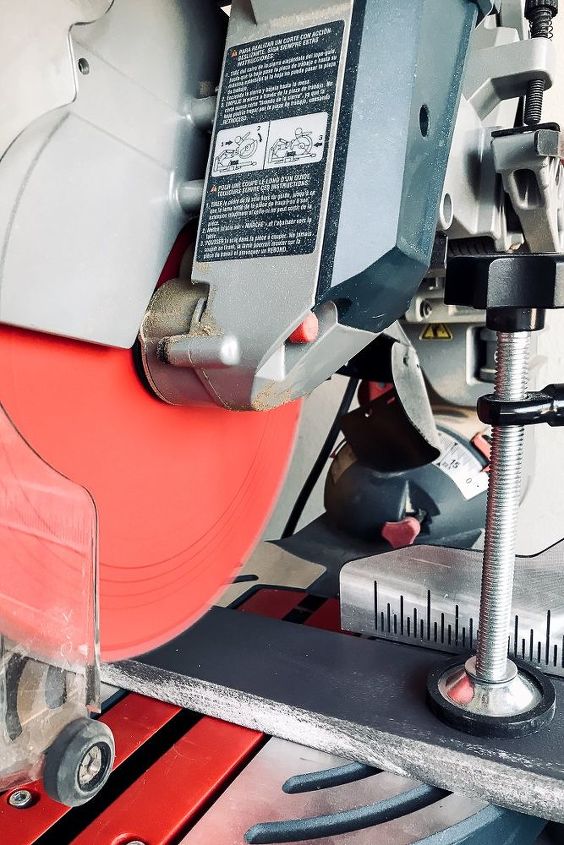
Once you know where all your boards are going, measure the width of the wall one more time and then cut down your boards and attach the top board that butts up against the ceiling. Use your finish nailer to nail in every 10-12″ or so.
Once that top board is attached, measure the height between the top of the baseboard and the bottom of the board you just attached. Do a few measurements along the wall to make sure the height is the same. Ideally, your ceiling and baseboard will all be level, but it’s better to be safe than sorry.
Then nail in your two side pieces framing the wall.
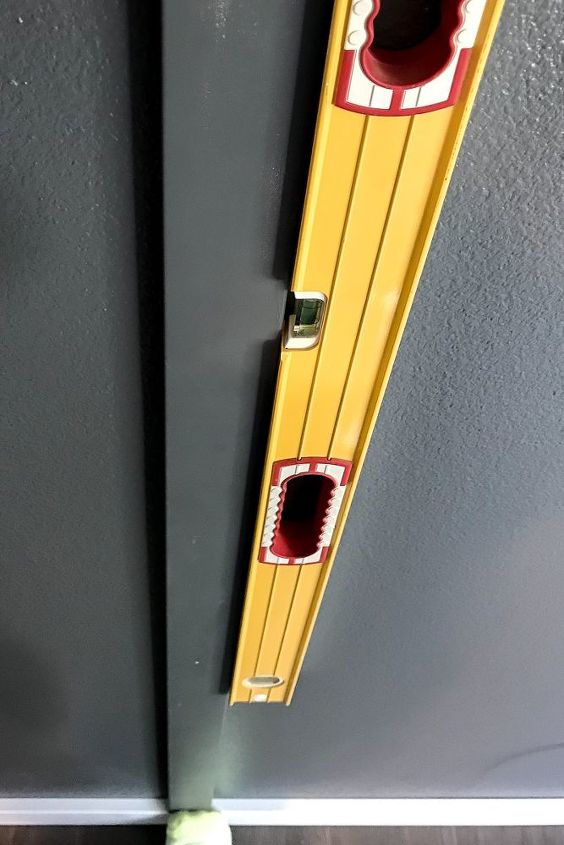
TIP: Be sure to use a level to make the board straight. It’s easy to fill gaps, but not so easy to ignore crooked boards, and even the slightest bit off will be noticeable.
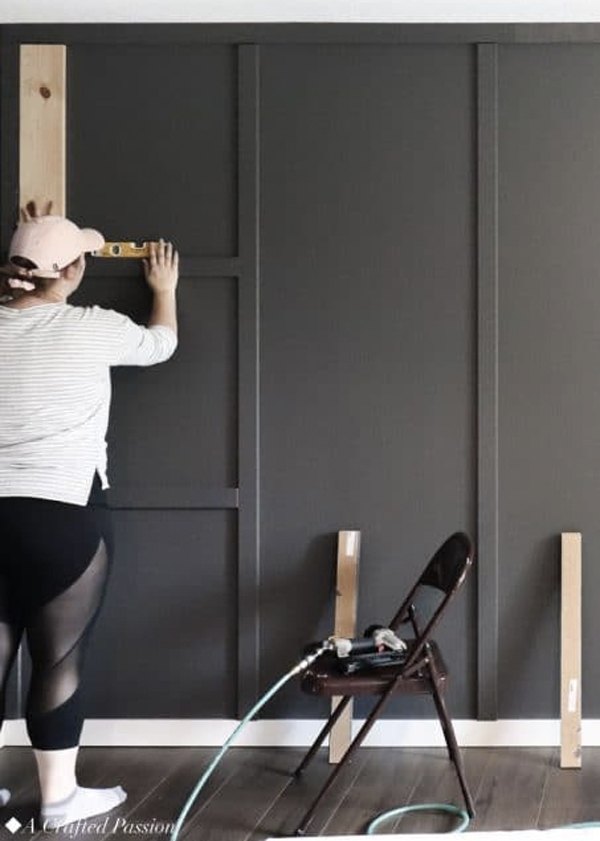
Measure from the edge of the first board on the left, to the center of the next vertical board, and draw a mark on the baseboard. I then centered the board on that mark, used my level to align the top of the board, and then nailed it.
Once all the vertical boards are attached, measure your horizontal board widths.
Cut a spacer board that is the exact distance between the horizontal pieces so all your horizontal boards are at the same height. This will make it super easy to place and nail up your horizontal boards.
Working down the wall, use your spacer board to get the correct height for your horizontal board and then use the level to make sure the board is perfectly level.
Once it’s level, grab your nailer and attach it tight to the wall.
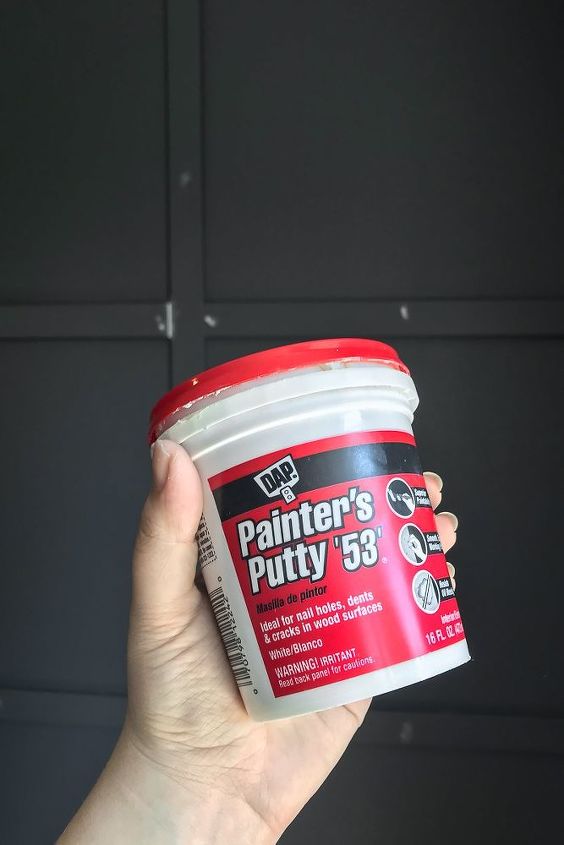
If you have large gaps between boards, use painter’s putty before caulking. Once the putty is dry, caulk all the area where two boards connect. Do a small section at a time and then use the angled sealing edge to clean it up.
Once all your putty and caulk is dry, give any rough areas a light sand, wipe off any residue, and then give it all a coat of fresh paint.
Want to create a family-friendly modern home on a budget? Grab this free guide right here to get started!
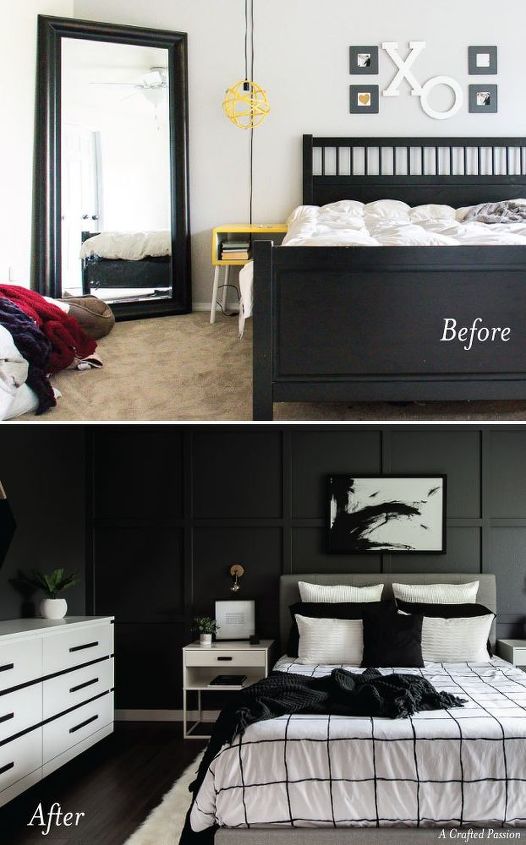
I love how this wall turned out and the board and batten really becomes a focal point in the bedroom. It really is so easy to do and I can’t wait to try the techniques I learned on this project for other home improvement things in our home.
Resources for this project:
See all materials


Any price and availability information displayed on [relevant Amazon Site(s), as applicable] at the time of purchase will apply to the purchase of this product.
Hometalk may collect a small share of sales from the links on this page.More info

Want more details about this and other DIY projects? Check out my blog post!
Comments
Join the conversation
2 of 18 comments
-
I LOVE LOVE LOVE THIS, BLACK AND WHITE IS ALWAYS SO ELEGANT LOOKING...THANK YOU FOR SHARING

-
I tried it and it turned out beautifully. Knocked it out in 2 days.


Frequently asked questions
Have a question about this project?
Amanda, this question is for you and every board and batten project I've seen. Why do you nail the lowest horizontal piece, which I'm assuming is square, above the molding, which is rounded?
I like the white contrast with your molding. But in the pictures I can clearly see a squared board meeting up and overhanging a curved molding. It just feels like a step is missing. It seems more logical putting down a squared off molding, which is really your first row of - is the horizontal called the board? or the batten? Or does it get its definition for some other characteristics? Even putting on a taller crown molding on the floor to meet up with this little gap would seem somehow more finished. I guess I need to know more of its history to understand it, but I like it.
I also like the dramatic peppercorn color. The white in the dresser, pillows, bedside tables, and glorious artwork keep the room from being somber.
After all, you're sleeping, so of course you want your major color a soothing, peaceful, nighttime color.
Thanks for sharing and stand proud of your color scheme. You made a strong choice; let them live with their pastels.😉
Where did you get the giant mirror?
I think your 'after' shot is gorgeous!! How calming and all of the other changes add so much to it! It's ready for the magazine shoot.
I am trying to figure out what the package of spacers was used for. Your list of materials states spacer board, but these are metal spacers, do you have to use 4 of these when attaching the boards? That seems expensive.
I am ready to try this and appreciate your response.