


HOW TO CREATE AN EASY PENNANT BANNER

by
Linda
3 Materials
$35
1 Hour
Easy
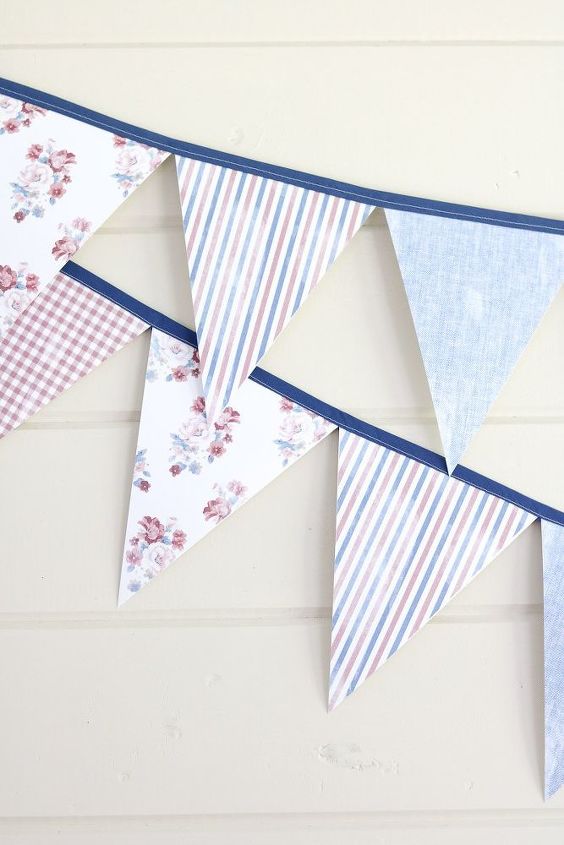
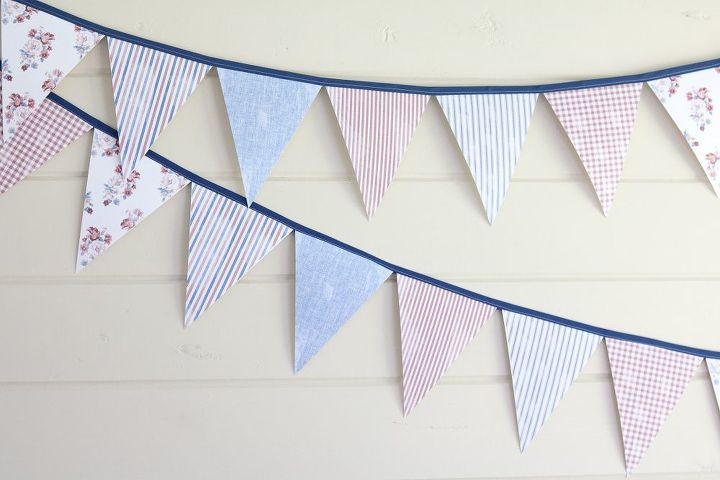
Pennant banners are perfect additions to your party decor or even just to your day-to-day decor. This easy pennant banner will make adding it to your home a breeze. So get your sewing machine ready and dig into this awesome, easy pennant banner template tutorial!
Step 1: Supplies
First, you will need to gather your supplies! See the list below for exactly what you will need.
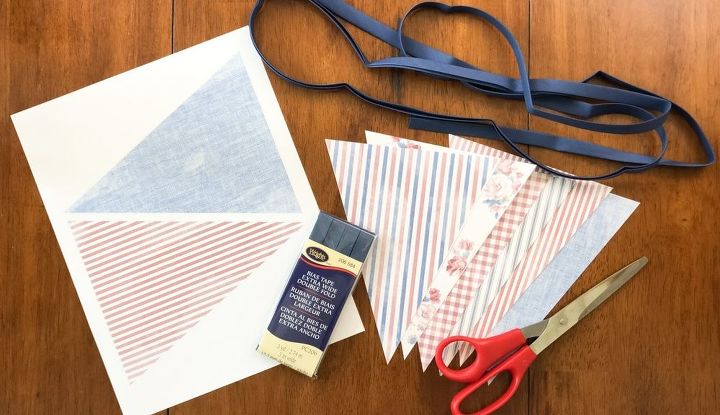
- Blue bias tape (extra wide, double fold)
- Scissors or paper cutter (I prefer a paper cutter because it cuts more precise lines)
- The pennant free printable design that you can find from our free printable library (sign up for emails to receive passcode)
- Thread
- Paper; we suggest using linen paper
Step 2: Measure
First, you are going to want to measure the desired length of your bias tape based on where you will be hanging it.
Some people like to hang their pennant banners on their mantle.
In that case, you will want to measure your mantle and add about 10 to 12 inches to the tape you cut.

Step 3: Print Free Banner Triangles
Next, print out those adorable, patriotic pennant designs!
Go to our free printable library to find them! You can find our library by going to Life on Summerhill’s menu and selecting the Free Printable Library.
To gain access, simply sign up and join the family! We’ll send you an access code so that you can get started on your pennant banner.
Next cut the triangles.
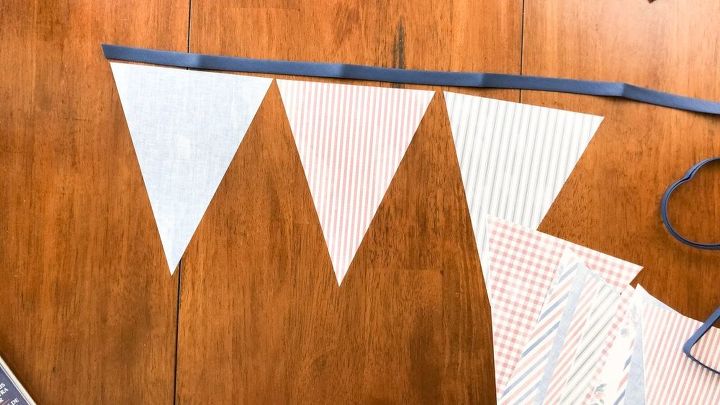
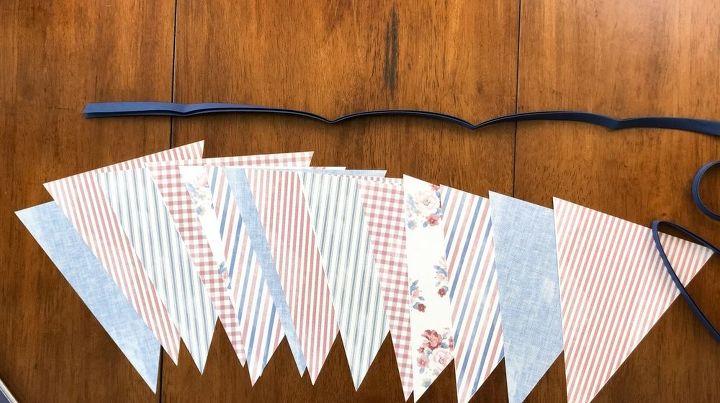
Step 4: Pattern
Make sure to lay out your pennants in the desired pattern. Hold them up to the bias tape side by side to make sure that you have enough of the pennants printed out.
Step 5: Sewing
Now, this is the fun part!
If you go to my website by clicking the link below there is a video showing how to do this step.
But here are the steps just in case.
I raised the stitch on my sewing machine to about 5.0 because I wanted a nice big, fat stitch on the bias tape.
Now open the bias tape and place a triangle inside.
And finally, stitch along the edge of the bias, setting the pennants in place in the tape.
When you finish fold in the ends and stitch them in place.
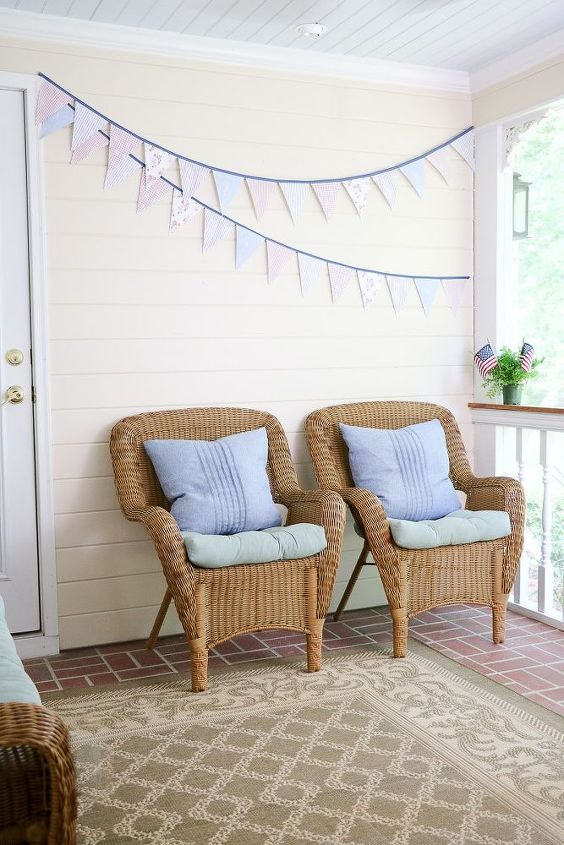
Step 6: Hanging the Pennant
Now that you have finished creating this beautiful pennant banner it is time to find somewhere to hang it.
I choose my back porch but it looks great at parties like 4th of July or children's bedroom too.
I hope you have enjoyed this pennant banner DIY and good luck on creating your own.
Happy Decorating!
Want more details about this and other DIY projects? Check out my blog post!


Frequently asked questions
Have a question about this project?