


Make Your Own Hand Lettered Sign
3 Materials
$12
1 Hour
Easy
Signs are everywhere these days! They are a super fun trend in home decor, and a great way to add personality to your home. But rather than just buying a random sign to hang on your wall, you can make your own customized wall art.
I came across a perfect funny quote for a friend of mine, and made this sign as a birthday gift. You can follow these easy steps to write whatever you want on a hand lettered sign, with no special tools required.
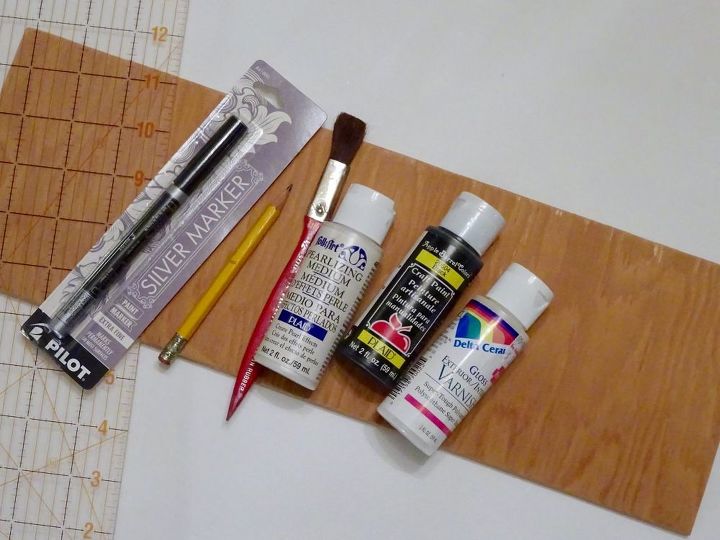
GATHER SUPPLIES
- Sign board backing (I used a scrap piece of wood. You can also pick up an ugly sign from the dollar store or thrift store to repurpose.)
- Ruler
- Pencil
- Acrylic paints and brush
- Paint pen
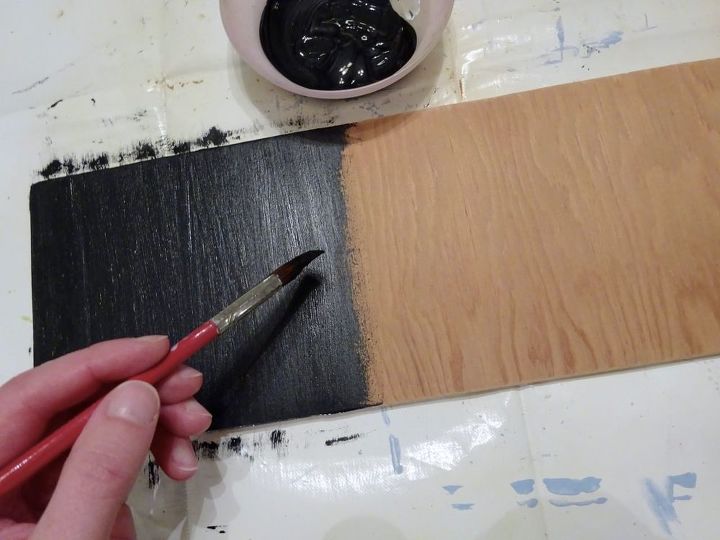
PAINT THE BACKGROUND
Start by putting a coat or two of your background color paint on the sign board. I chose black for this project, but you can choose any colors you want, to match your home decor.
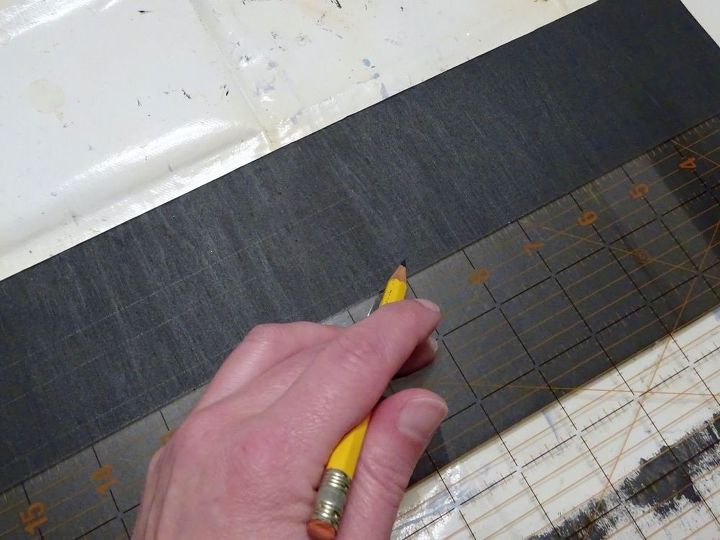
DRAW REFERENCE LINES
Using a ruler or yard stick, lightly draw pencil lines on your board, to help guide the size of your letters. (You'll erase them later.)
Leave yourself a bit of margin from all edges of your board. Then you’ll need to make three sets of lines for each row of text.
Here’s what I used for the spacing on my sign:
- 1 1/4” margins from top / bottom / sides
- 1 1/4” tall capitals & tall letters
- 3/4” tall lowercase letters (Make your lowercase letters about 2/3’s the size of the capitals.)
- 1/4” between text lines (Increase this if you have lots of letters with “tails”)
If you have a lot of letters with tails that stick down below the bottom line, like “y”, “g”, “p”, etc., you’ll want to add a fourth guideline. Also, add a little more space between rows of text.
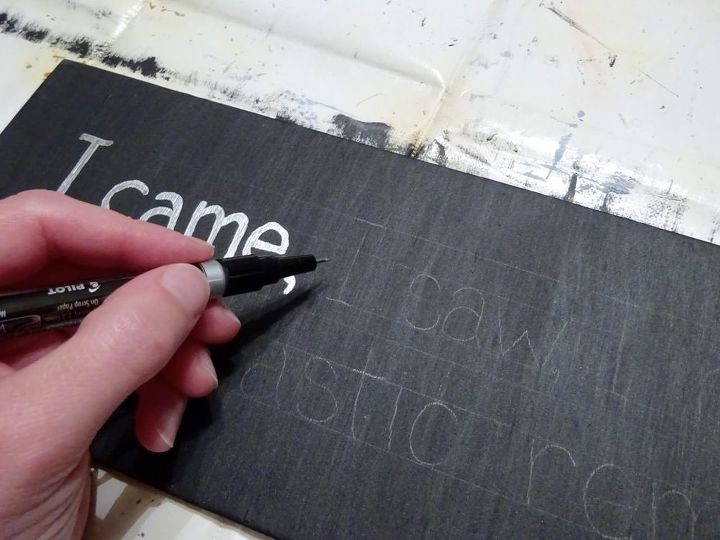
WRITE YOUR WORDS
On a scrap piece of paper, practice writing out the words for your sign. Play with different sizes and writing styles until you find something you like. Then, lightly write the words on your sign board in pencil, using the guidelines you drew in the previous step.
Once you're happy with the penciled letters, trace over them with your paint pen. For this sign, I traced over the letters a couple times, to make the lines a little fatter.
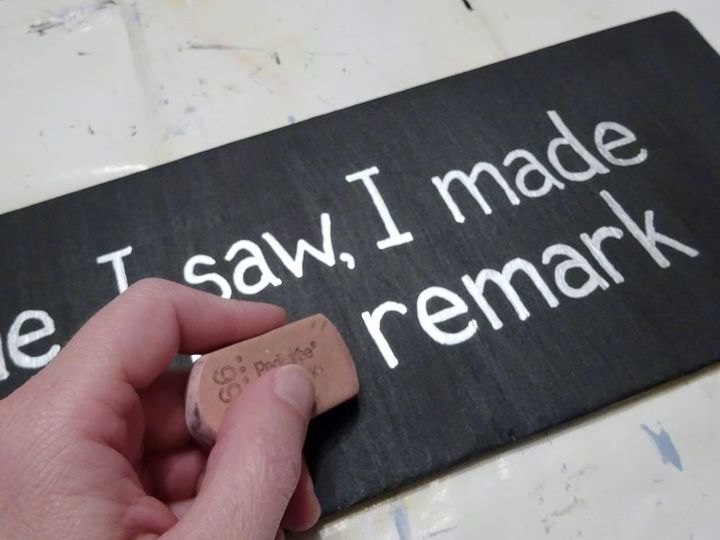
ERASE THE PENCIL MARKS
Gently and carefully, use an eraser to remove the pencil marks from your guidelines and practice letters. Carefully work between and around your lettering, and try to remove as little paint as possible.
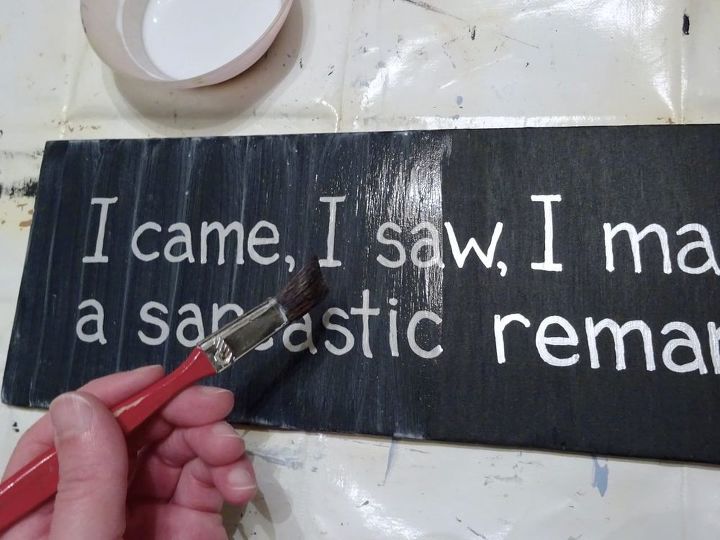
FINISH WITH A COAT OF VARNISH
I applied a coat of craft varnish over my finished lettering. This added a little shine, and helped hide any remaining hints of pencil marks.

And that's how you can create a hand lettered sign, without any special tools, stencils, or templates.
This is a fun and easy way to add your own personal stamp of style to any room in your home. And it also makes a great gift. Enjoy!
Get a free template to make this sign!
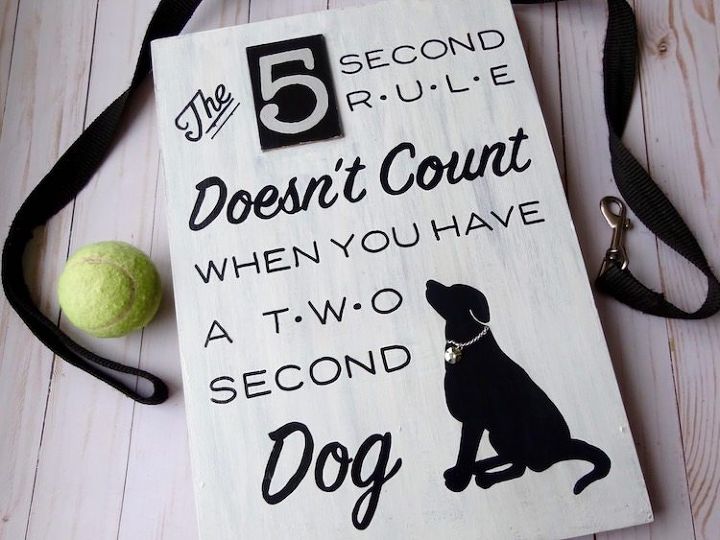
If you liked this, be sure to check out this ridiculously adorable dog sign tutorial. Complete with a free downloadable template so you can make your own!
Resources for this project:


Any price and availability information displayed on [relevant Amazon Site(s), as applicable] at the time of purchase will apply to the purchase of this product.
Hometalk may collect a small share of sales from the links on this page.More info

Want more details about this and other DIY projects? Check out my blog post!
Comments
Join the conversation
1 comment
-
Just love the quote, BZ, I am sarcastic about everything, but With age I take life quite a bit to serious at times. Just remember, just because I am right, does not need to mean you are left.
GOD BLESS
sirjames


Frequently asked questions
Have a question about this project?