


Patriotic Windsock

4 Materials
$1
30 Minutes
Easy
I was given one of these a few years back and it has long since sadly worn out beyond keeping. So I decided to make a few of my own.
With every project I know there are those out there in Hometalk Land that will say "I did it this way". But as a famous quote goes from that famous singer says - "I did it my way!"
For this project you will need:
* Star print fabric 18" x 13"
* Red and white 2 " ribbon or whatever fabric you want your stripes to be from. I was given a stash of parachute fabric so that is what is shown in the pictures. If the fabric you choose ravels you will have to take that into consideration and finish the edges however you wish to do.
* Oatmeal box ring or boning or whatever other idea you come up with to serve the same purpose as the ring
* 2 foot of cord, ribbon or whatever you wish to use to hang your windsock. I choose to use grosgrain ribbon since it doesn't twist in the wind as cord will.
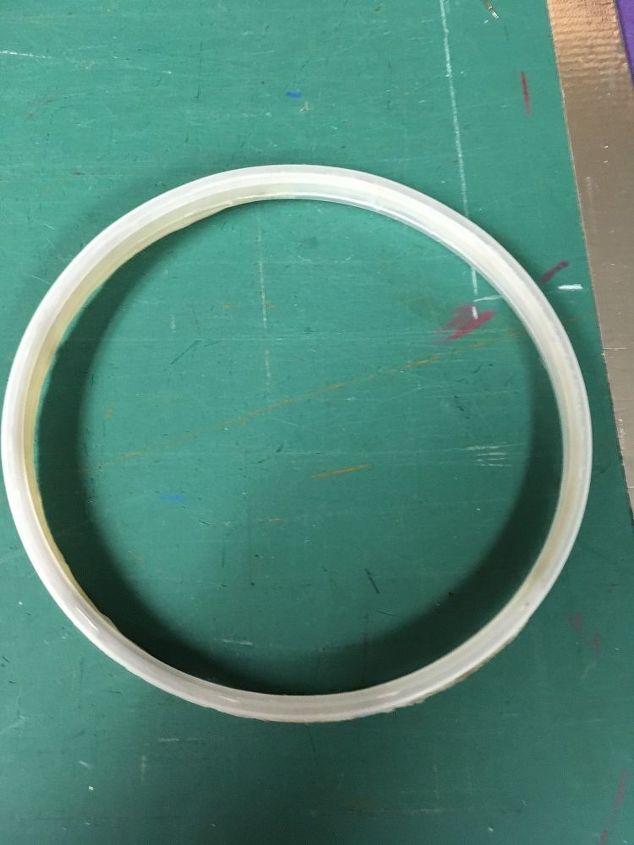
I started out buy taking a ring from the top of an oatmeal box.
I am aware that there are some brands of oatmeal that does not have these rings, so if that is your situation, you can always use boning that you can find at a fabric/sewing store. Possibly even Walmart.
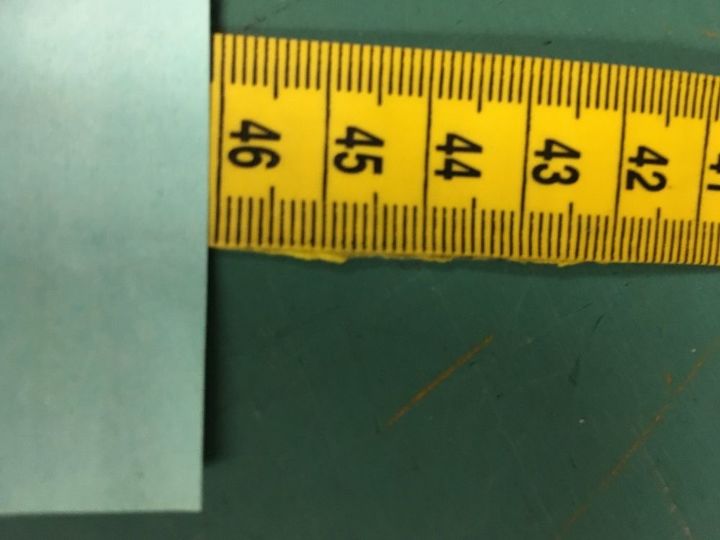
Measure the circumference (distance around the outer edge of the circle)
of the circle and add 1". My ring plus the one inch came out to be 46cm
or 18".
This will be the edge I am referring to as the circumference edge.
The length of the windsock is your option, but mind is 6" long.
I doubled it and that made a 12 inch length I than added an inch for the end finishing area bringing the measurement to 13".
I began by pressing under 1/2 inch on each side of the circumference edges. I than stitched this down so when I went to insert the ring at the end, the ring will not get caught in the fold of the fabric. You will understand this later on.
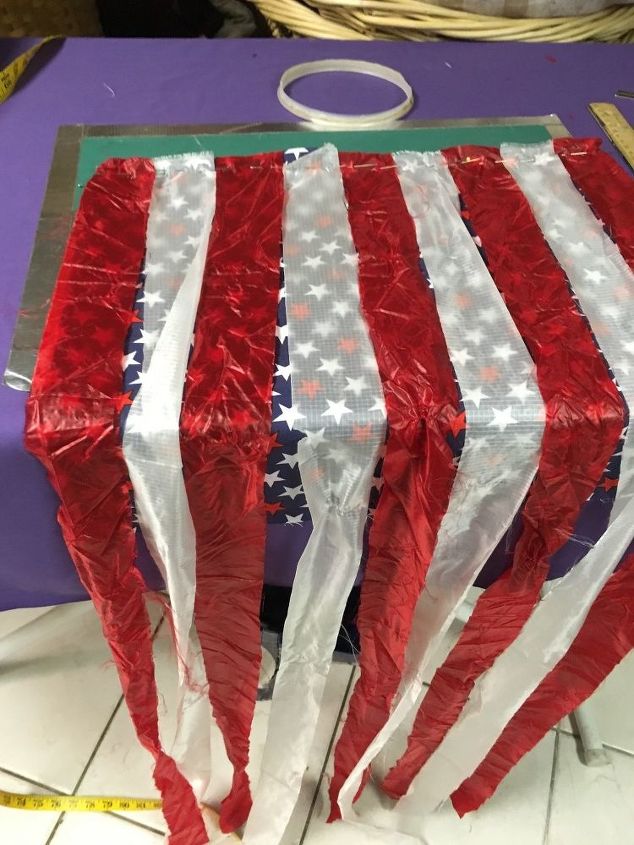
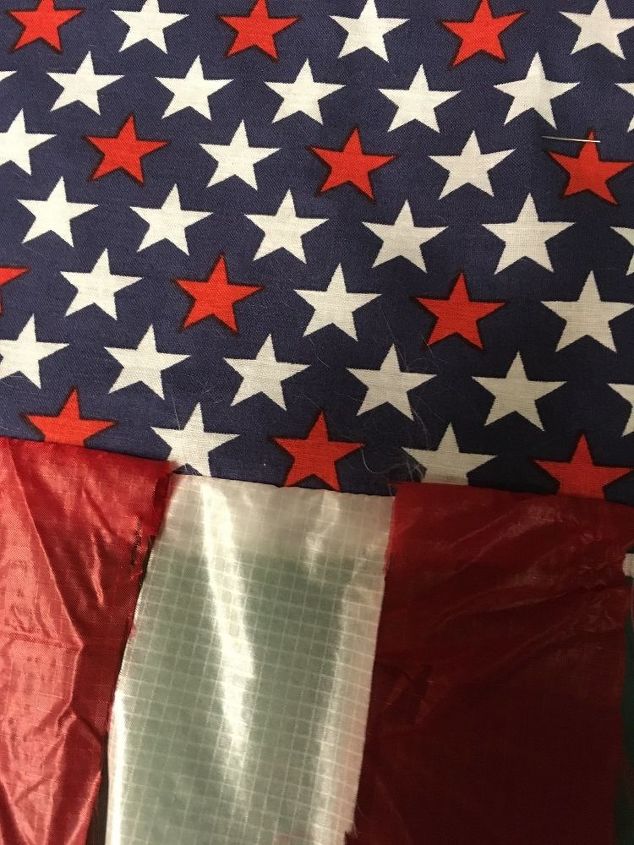
I then cut 5 red and 5 white strips 2" by 36".
I then laid the strip onto the unstitched edge and sewed these in place.
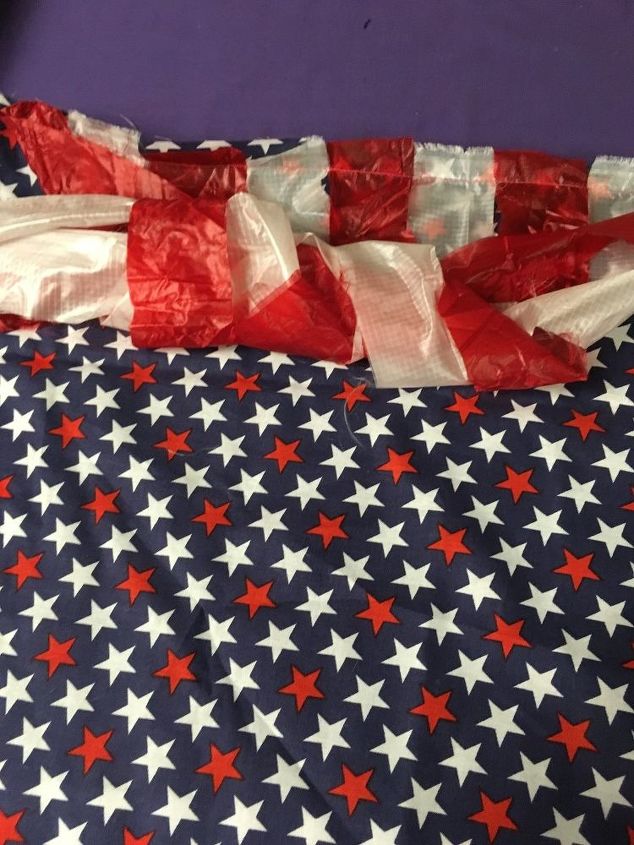
My next step was to gather all of the stripes and secure them to keep them tucked out of the way so that I could finish this step. I put right the
sides of the fabric together keeping the stripes free from getting stitched. You will have a tube formed to do this step with your stripes inside. Stitch and turn to the right side.
It should like like this when you turn it to the right side.
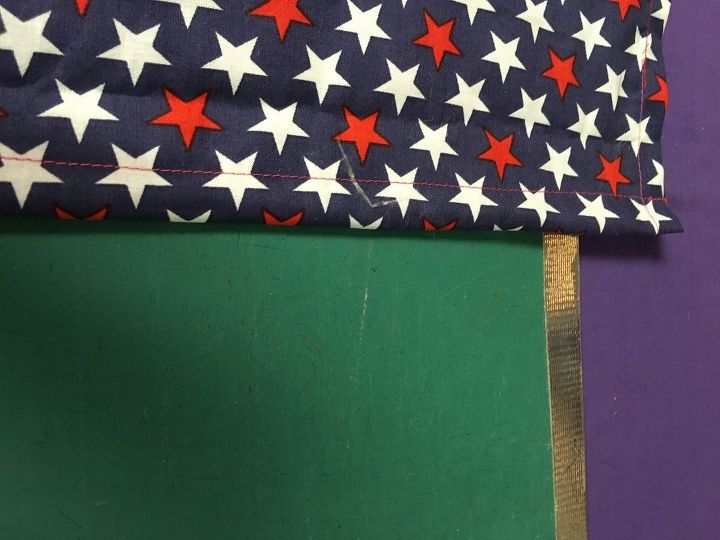
Along the folded edge (top of your windsock) to form a casing to insert your ring, you are going to sew a line 1/2 inch. (or whatever depth you will need for the method your using if you do not have an oatmeal box ring).
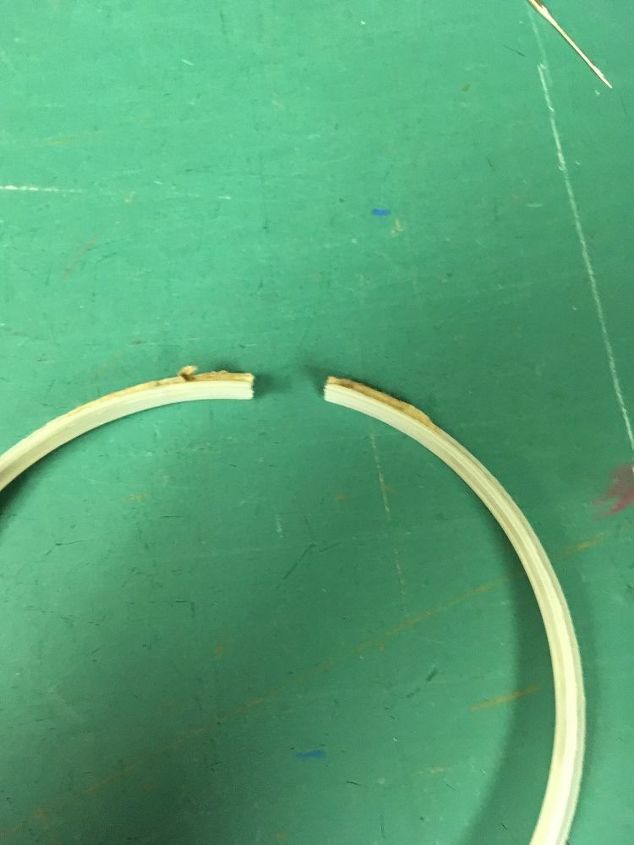
You will need to cut the ring in order to insert it into the casing.
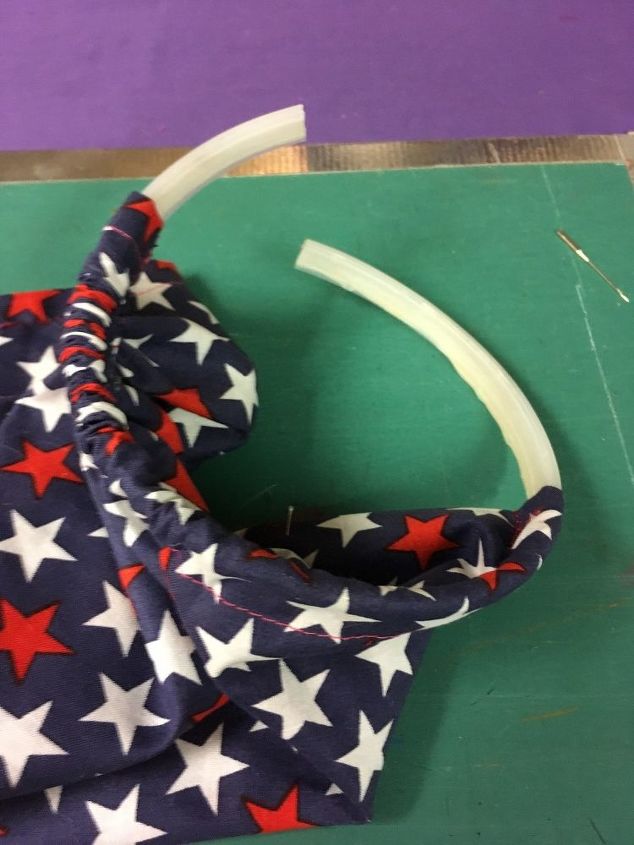
Insert the ring into the casing.
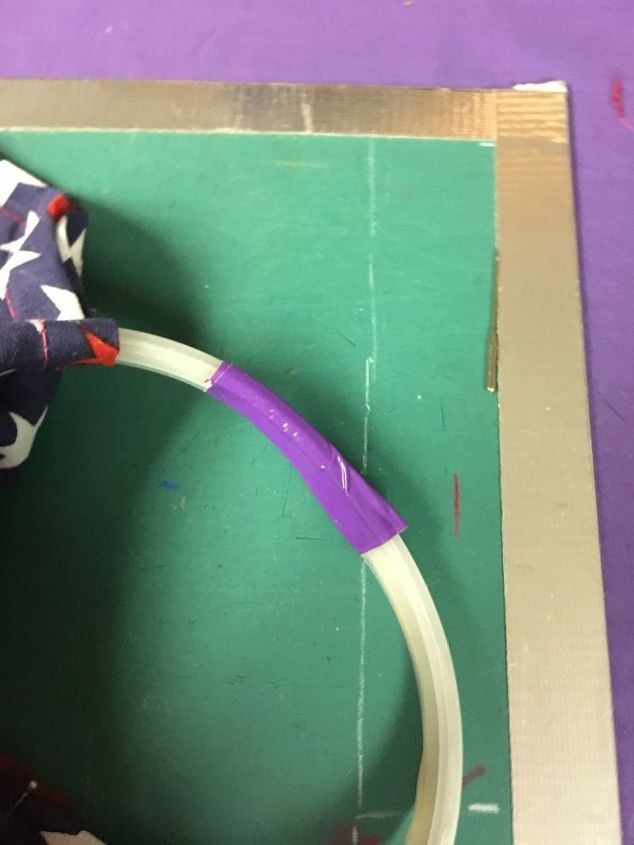
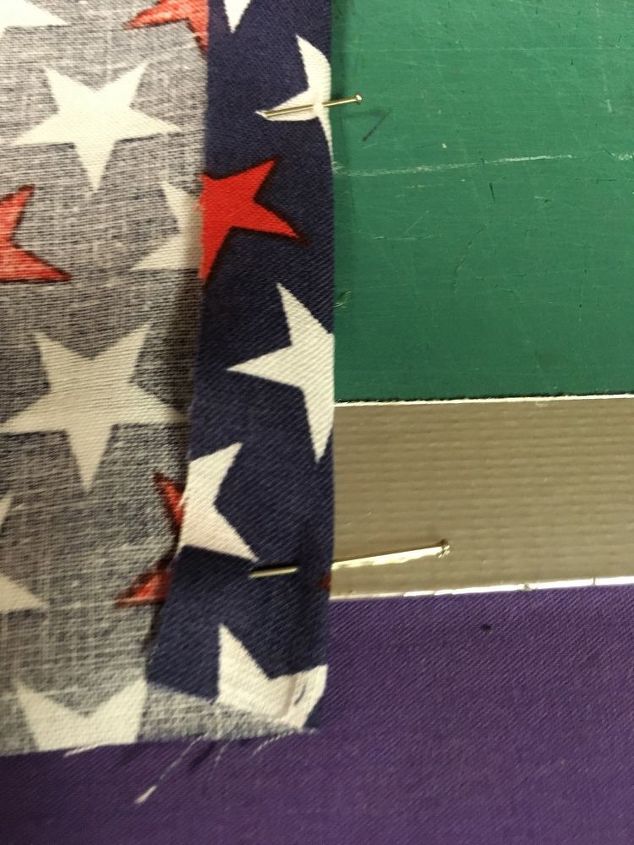
Tape the ends together and pull the fabric together and pin. You will now sew the edges together to finish off the sock.
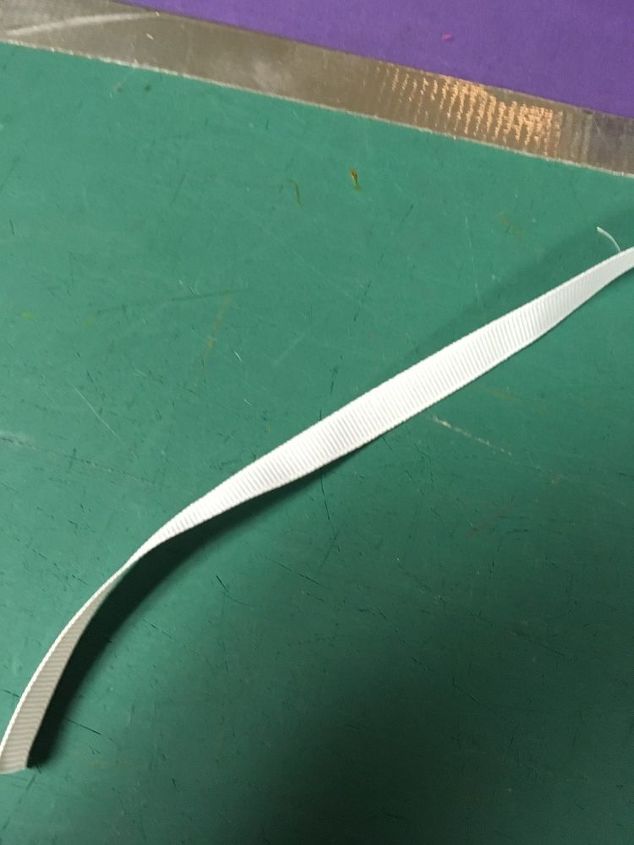
Now cut a length of ribbon or whatever else you have chosen to use. I used a 2 foot length since some of the places I wanted to hang these needed a longer hanger. Secure the hanger piece in place and you are now the proud owner of your very own homemade patriotic windsock. Let me hear how yours turns out.
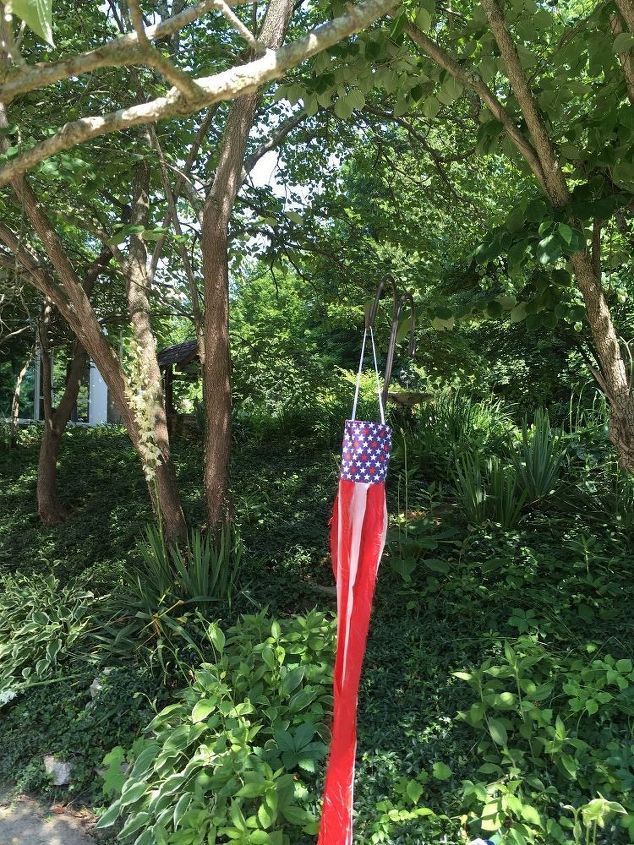
Here it is ready to catch the next breeze! Happy 4th of July!


Frequently asked questions
Have a question about this project?