


Epoxy Tutorial - Paper Weights

by
Sally
4 Materials
$25
5 Days
Easy
I started using Epoxy about a year ago and made a heap of mistakes along the way. I searched and still do for tutorials/blogs on how to correct some of the problems that I experienced.
I thought I would post this project to show how some of the problems can be overcome. I am a believer that almost anything can be fixed.
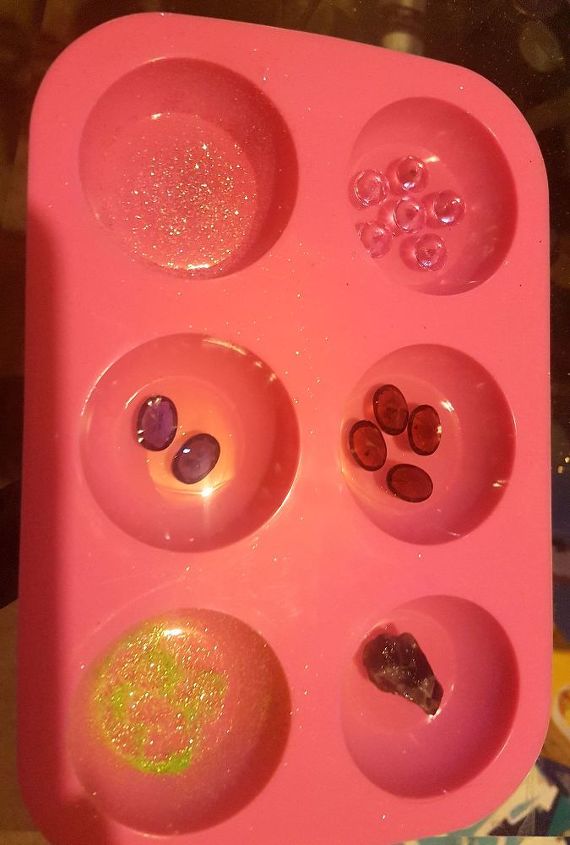
I brought this silicon mould online from "Wish". I poured a minimal amount of clear casting resin on the bottom of the mould. This formed a base for the objects that I wanted to embed in the resin.
I waited about 2 hours, the resin was still a little soft and I placed the glitter and gems I wanted to embed on top of the resin.
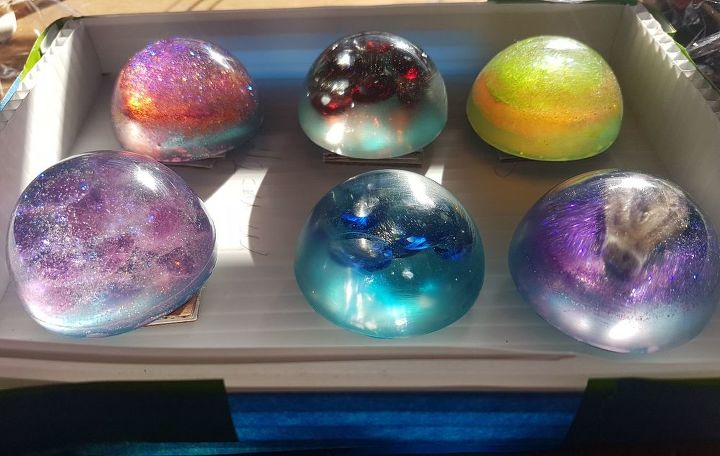
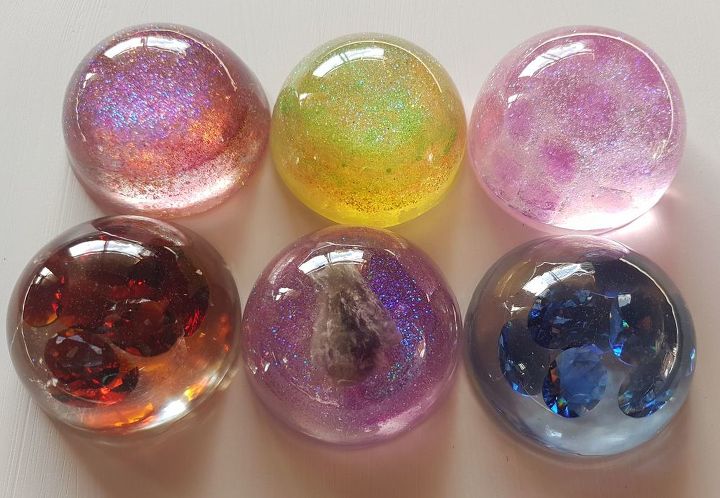
For this project, I used glitter, an amethyst point, plastic and glass crystal gems.
I poured another minimal amount of the clear casting resin over the glitter and gems. I did not cover them completely, a little over 3/4. This allowed me to easily pop the air bubbles with a blow torch.
I found that some air bubbles formed under the gems. Whilst the resin was still within it's working time, I used a needle to move the bubbles up to the surface where I was able to pop them.
I left the resin for 24 hours to allow it to harden. I placed another layer of glitter and gems on the top of the harden resin.
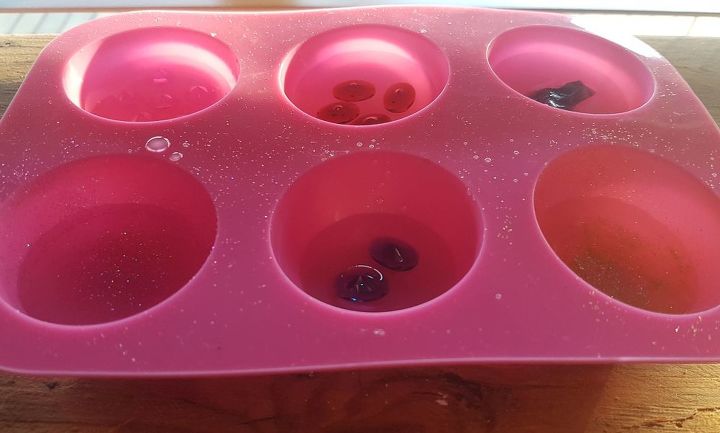
This time, I poured the resin to the top of the mould, repeating the process of popping the air bubbles and left it for another 24 hours to harden.
I did not use a mould release and battled to release the paper weights from the moulds. Some of the silicon mould stuck to the resin, I used a scourer to remove the silicon from the mould.
This left the paper weights with a cloudy appearance, I wanted clarity.
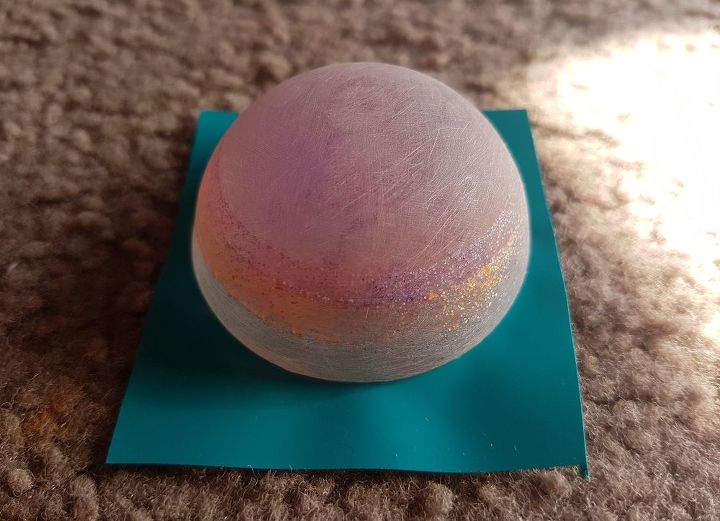
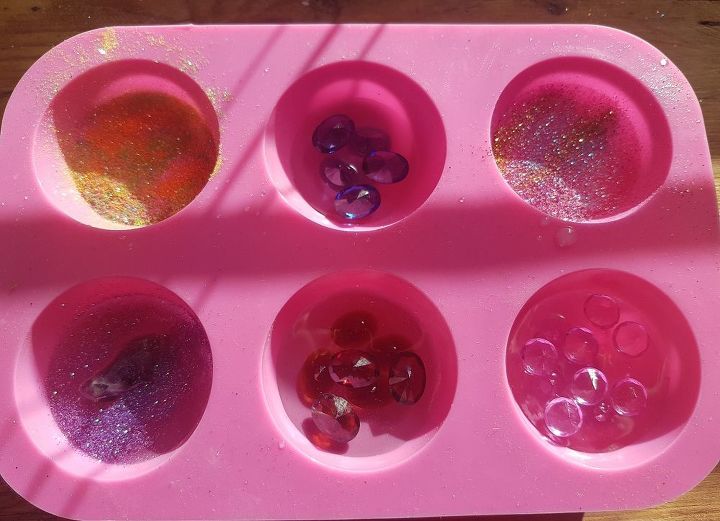
I gave each of the paper weights a sand with 240 and then 400 grit sand paper, this was to smooth out any imperfections in the resin and to have the entire surface smooth and ready for another pour.
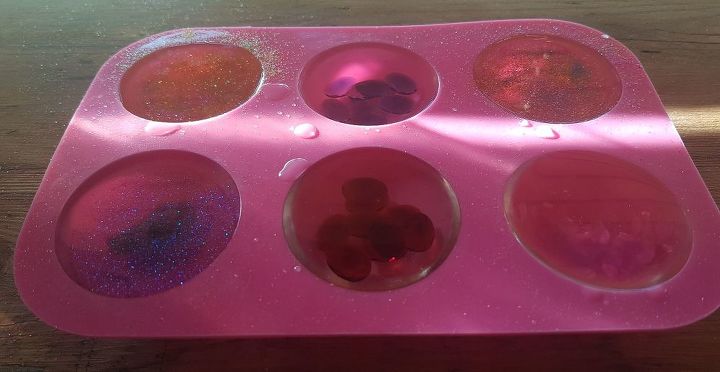
To protect the base, I cut small squares of vinyl. (This is what I had laying around)
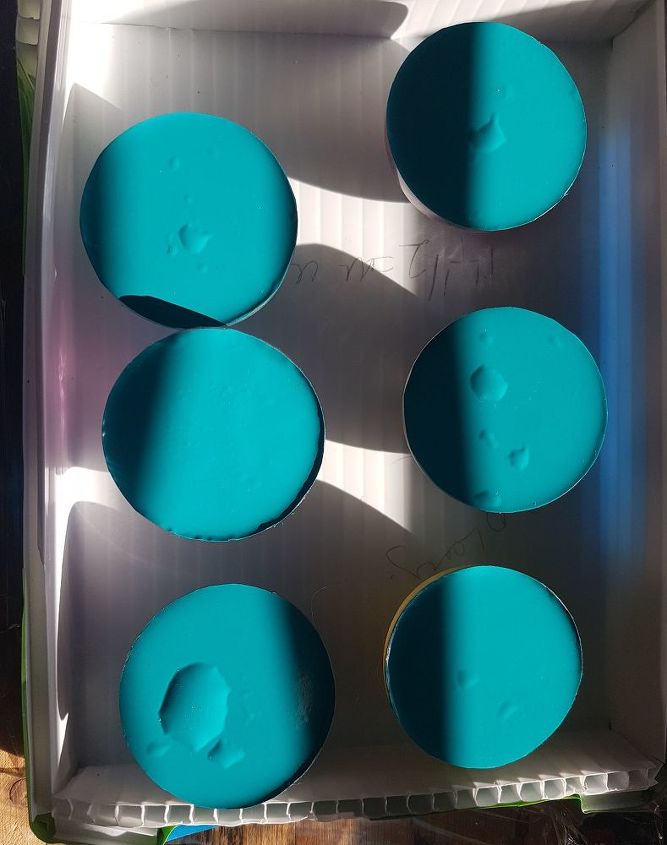
I cut the excess vinyl and had protection on the base from the resin.
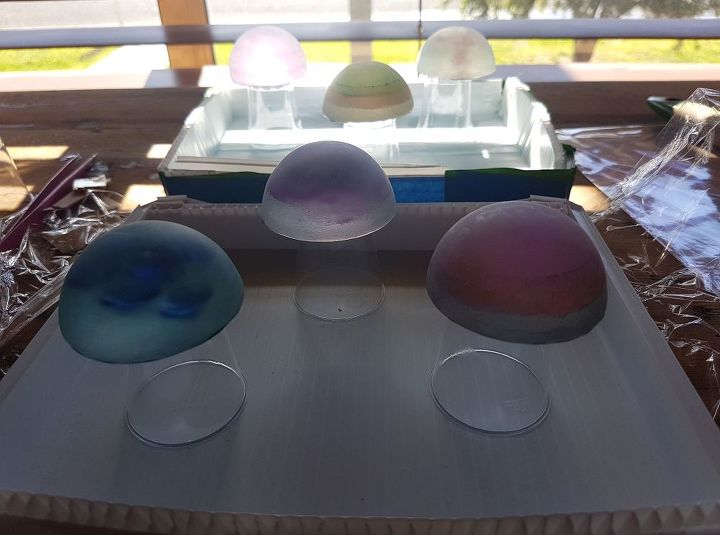
I used a box made from Corflute and placed the paper weights on top of small plastic cups. As a precaution, I placed cling wrap under the corflute box in case the box leaked resin.
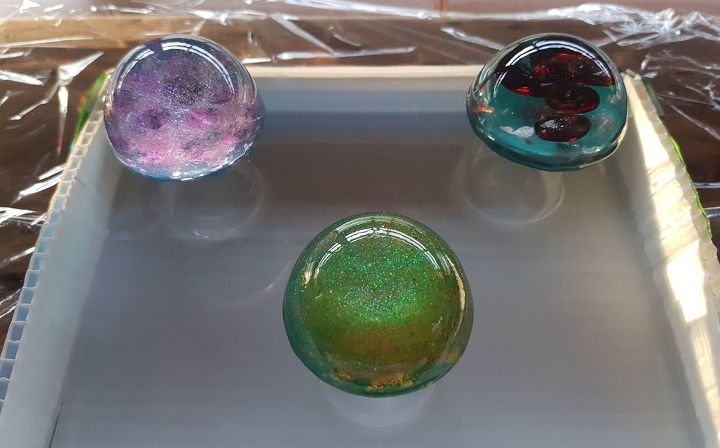
I poured a coat of resin over the top of the paper weights. Having the plastic cups smaller than the base of the paper weight allowed the resin to drip over the sides. I was able to remove the resin that pooled on the base with a paddle pop stick.

I left the paper weights for 24 hours, allowing the resin to harden.
Once the resin hardened, I easily removed the paper weights and vinyl from the base.
I had the resin that I used for this project.
Clarity achieved 


Frequently asked questions
Have a question about this project?
Those look gorgeous! I want to do this, I'm assuming they have similar products in American craft stores? Now I have to decide what to put in the paperweights that will be special for me....
Will they break if they are dropped? I teach and am always using my coffee cup as a paperweight. I'm sure my students would enjoy getting clean papers back!
Ok, metapaperweight: what if I put marbles inside the round paperweight? Oh, I hope I have a chance to try this yet before school reruns with its endless days!
You wrote, " I am a believer that almost anything can be fixed." Sometimes I just pretend that it was supposed to turn out like that, but it's usually just a funky hair day. Other than bubbles and cloudy finishes, what else could go wrong?