


Craft Area Redo - Part 3

5 Materials
$8
1 Week
Easy
In previous postings my desk and hutch were refurbished and put back into use. (Check out links below) However, I still wanted more storage and had been keeping an eye out in case something crossed my path. And low and behold, I realized what the old saying, "Can't see the forest for the trees" means. On the same wall as the desk sat a tall bookcase that I'd had for years. I was looking past it and not seeing the potential. Its use was very underutilized.
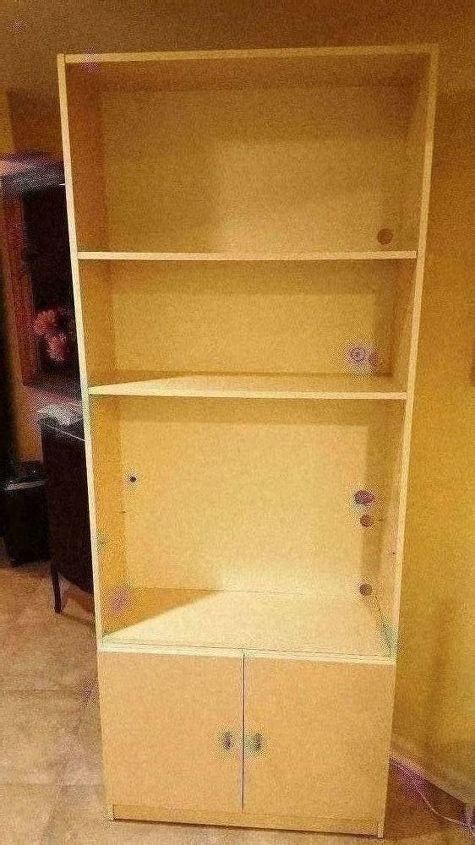
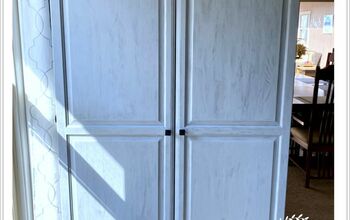
It is difficult to see on this photo but this white bookcase had turned into a drab and blotchy yellow. Time and oil paint had taken its toll, yet I couldn't justify spending money on something else when this was available.
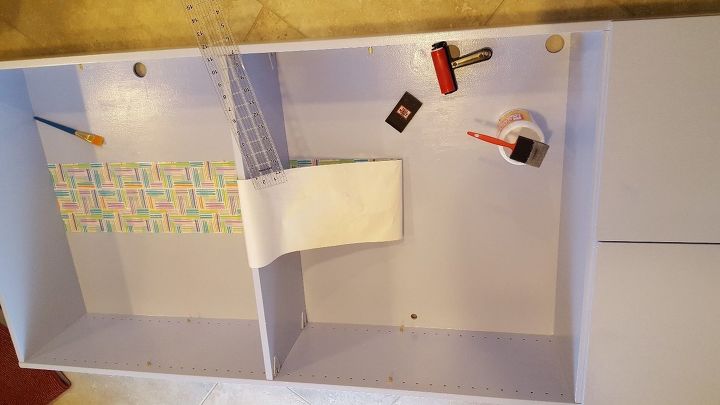
Another ailment this piece of furniture had was, as you can see, the many holes in the backboard, a couple of which were not very pretty. First up was to plug some of the holes. These were created over the years to run electrical cords through.
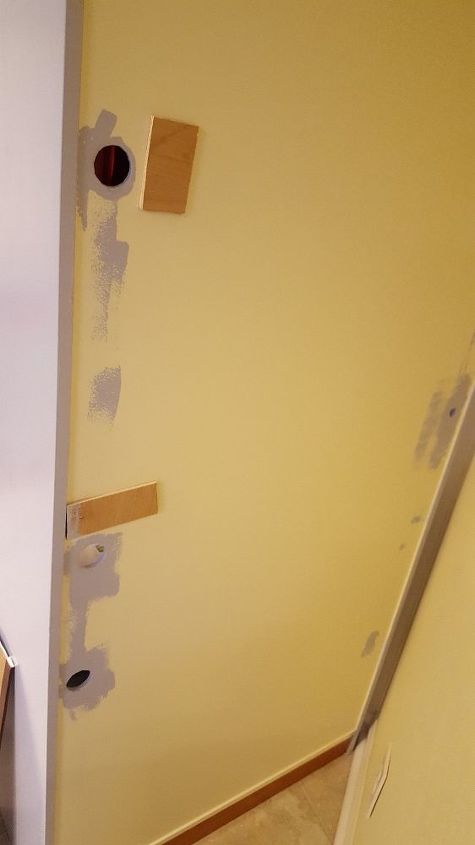
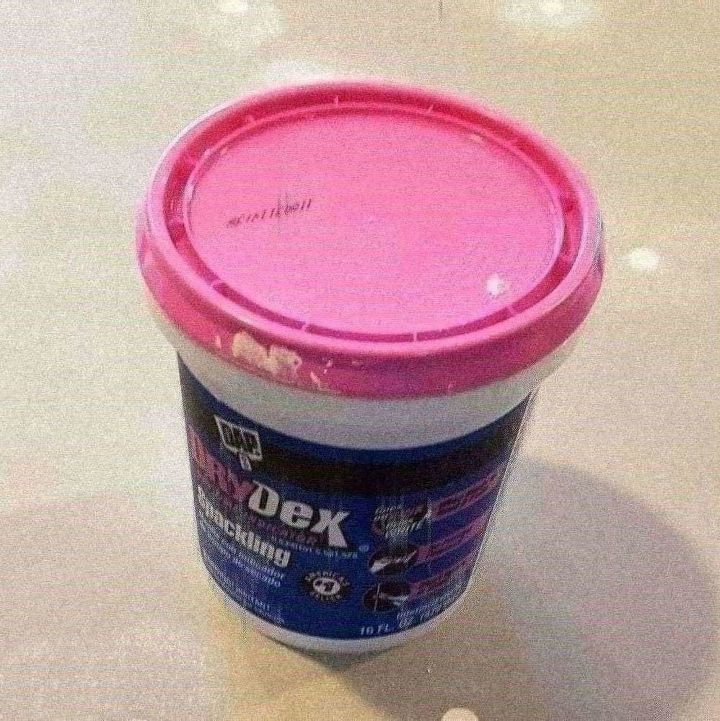
On the back I attached wood scraps over the holes with nails and glue and let it dry. After that was the spackle application to fill in the areas on the front side. I love this DryDex spackling shown below - it starts out pink and turns white as it dries. But because the holes were on the large, thick side, I waited 24 hours between coats to be sure it was dry in the center.
The next step in the process was to sand the bookcase completely to get rid of the glossy finish, after which it was thoroughly wiped down. To clean, first damp cloths were used two times, rinsing and wringing them often. Following that it was thoroughly vacuumed, and finally gone over with tack cloth. I recommend that you not skip these steps. I don't know how many tutorials I have seen where they just brush away the dust with a small brush and that's it. It needs to be well sanded and well cleaned, preferably outdoors.
Since I already had Zinsser 123 primer, it was used as the first coat. The photo above shows the bookcase at this stage in the process.
The piece of furniture was then painted with Blue Stemware Glidden paint. I love this color - it reminds me of blueberries. And this was the only expense of the project at that time.
The whole open area of the back was a beautiful blue canvas. It looked too empty, so I used some wrapping paper I already had and applied it with Mod Podge. I have given up trying to do this without getting wrinkles, though. I'm not stressing out about it anymore.
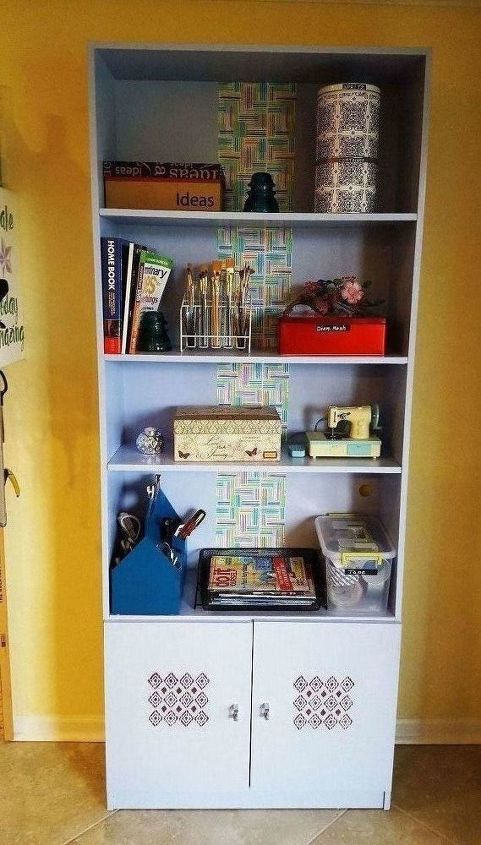
This was supposed to be the end of the craft area redo but it's not! There is a Part 4 to the story (and possibly Part 5, too) coming soon to a computer screen near you. Stay tuned . . .
Comments
Join the conversation
3 of 8 comments
-
Thank you! Glad I could help you out!
-
So many possibilities. Great reuse of existing furniture. Saving $$$ and the landfill. Win win!


Frequently asked questions
Have a question about this project?