


Replacing a Water Heater - Gaining New Energy Saving Features
$550
1.5 Hours
Medium
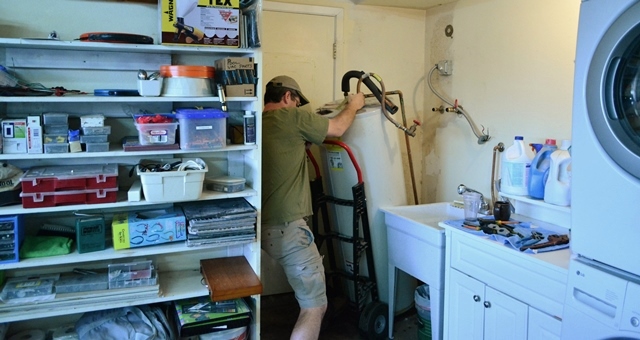
I'm not a fan of cold showers. It's time to replace this aging, failing water heater with a new one with some modern energy-saving features. It's a big scary appliance, but its really not that complex of an operation to replace it. I did the whole swap in a little over an hour, even with some added steps and unforeseen issues. You can do it!
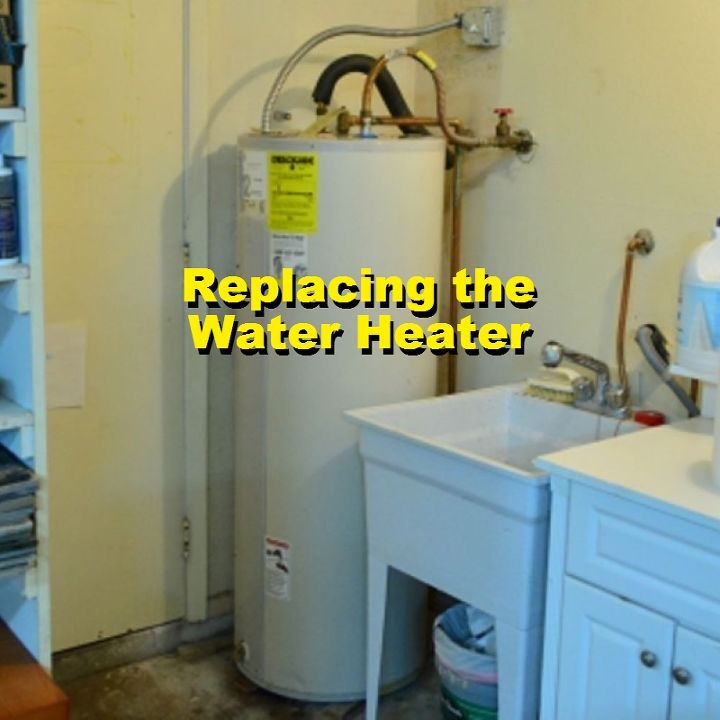
It's a 12 year warrantied unit and by the receipt I found on top, is over 13 years old. It's probably never been maintained.
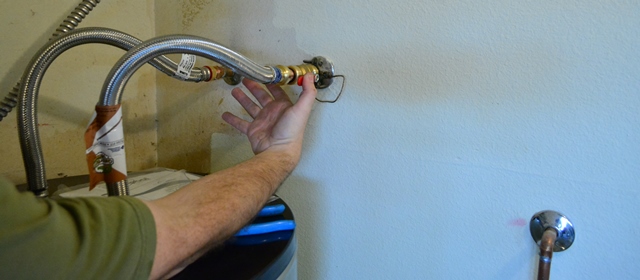
I didn't maintain it because I couldn't turn it off. That's just an excuse I suppose since I could have turned off the main water valve to the house. This repair was on my to-do list, so I took care of it this time as I replaced the heater. (The whole story is in the blog post. I used some cool push on fittings)
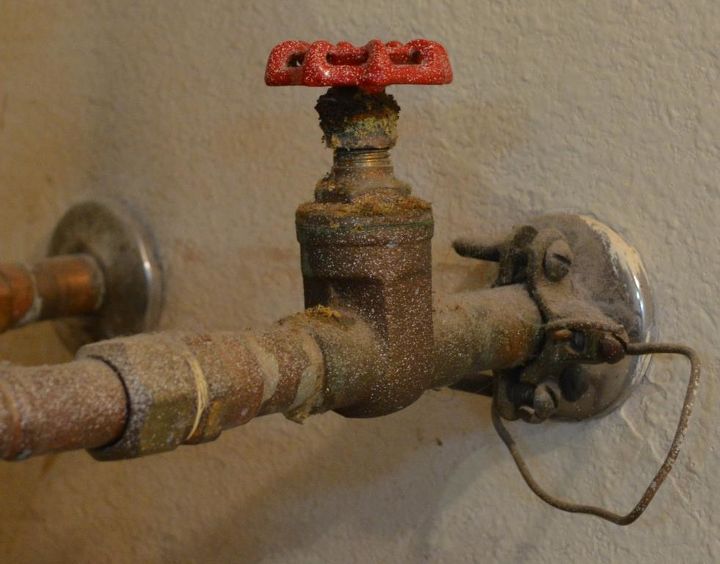
The (potential) drain line.
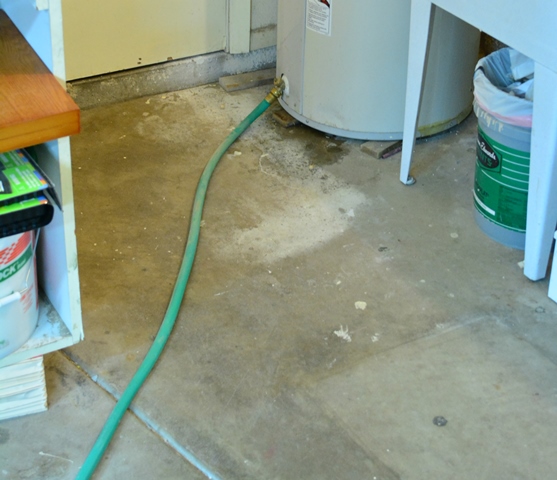
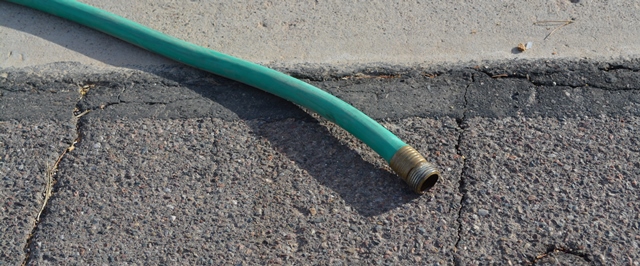
After turning the water (and power) off I used a garden hose to drain the tank...
Bone Dry
...or not. Either the bottom valve is broken, or there's so much sediment in the tank that it's clogged. I jammed a screwdriver in and wiggled it around, but couldn't get more than a dribble.
Applying some Hulk power
I disconnected the power and water lines before manhandling the full, heavy unit out of the way. That was an adventure (see the blog for more detailed misery).
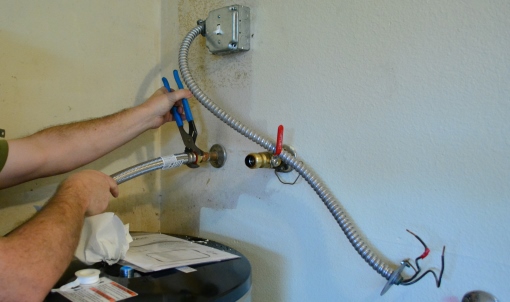
I used new, heavy-duty braided supply lines. I've been using these throughout the house, since we'd had a flood years ago due to a ruptured, cheap toilet supply line.
Turn on the water
The next step was to turn on the sink to vent the air out of the tank and let the water flow in. It's important not to turn on the power until the tank is 100% full. It could wreck the heating elements. This particular unit is advanced, sensors turn off the elements in the event of this "dry fire" condition.
Sparky time!
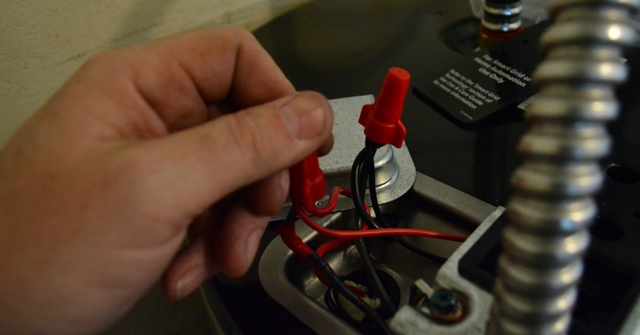
Next, I wired the unit back up with the existing power whip that I'd installed a few months ago with the cut-off switch. There are extra wires here this time, to run the energy management features.
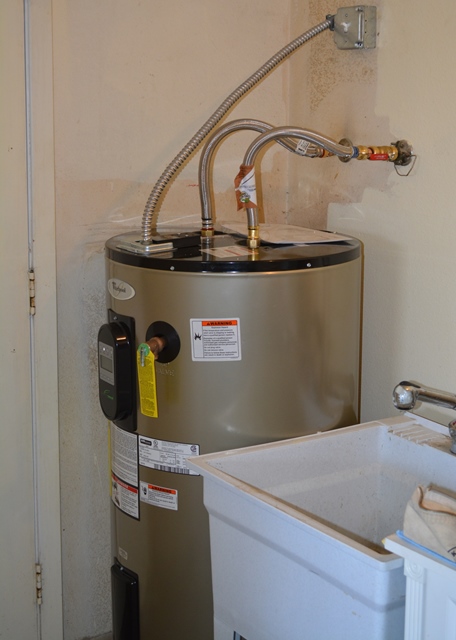
Finished!
With the tank full, I powered it up. Although we went from a 71 gallon tank to a 50 gallon tank, this one is much larger around. It has 3" of insulation included for better energy savings.
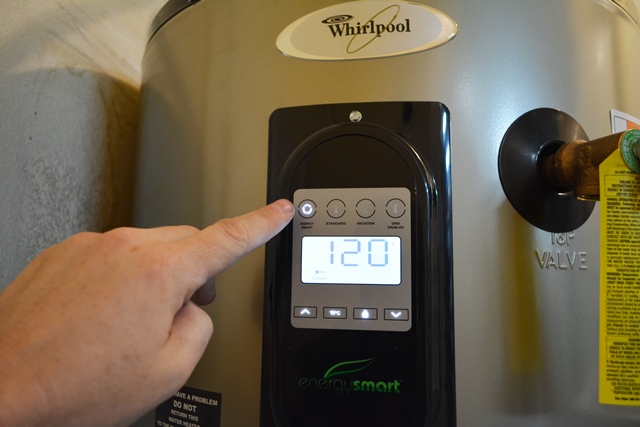
Seriously, it's not an airplane.
There's an advanced digital display that offers an energy saving mode. It learns from our usage patterns so it is not always heating water. It has a vacation mode that drops the temp down to 60 degrees, which is useless here in Arizona, but could be huge in areas that suffer from frozen pipes. It also has connections and settings for future home or utility grid energy management options.

Want more details about this and other DIY projects? Check out my blog post!
Comments
Join the conversation
2 of 12 comments
-
@Kashe Row & @Roberta Eagleston - I looked into the tank-less; I love the concept. Without a gas fired option (no gas here), we'd need the electrical unit. What I found scanning various recommendations and reviews were very mixed opinions. The power requirements alone would be beyond my home's electrical service, and the circuit feeding the heater wouldn't be sufficient. Even if I had or upgraded our electrical capacity ($$$), I'm just not sure we'd be happy. It's a lot of money to risk in case it didn't work out for us. I wasn't willing to take the chance. The install / electrical would have had a lot of unknowns, with the clock ticking, since we were in a hot water outage. I chose to go with this off-the-shelf, modernized heater, hoping for some savings. So far, one week in, we're really happy.
-
Thank you , Barb for you advice. Hope I remember Takagi:)


Frequently asked questions
Have a question about this project?