


Recycling Grocery Bags Into Garden Markers

by
Stacy Davis
5 Materials
$1
30 Minutes
Easy
Turning plastic grocery bags into fused "fabric" has become a thing and I couldn't wait to try this idea. Then yesterday, I was trying to think of something to use in place of wood as the top of my garden plant markers.  That was when it hit me, that this might be the perfect opportunity in trying to fuse plastic. Now, I am a novice gardener and this is the first year that I have had a garden. I only have 8 plants but since I haven't gardened before, I was having trouble remembering what was what. Course now that the vegetables have appeared, it is much easier.
  Next year will be a great time to use these and I do believe they should last a long, long time. **I feel like this post should come with a Warning: May become addictive. I am now evaluating all plastic bags in my house on the likelihood that they would be successful fusing material. I emptied a multipack bag of chips and realized it would be perfect to fuse. My fused stack of plastic is growing... **
That was when it hit me, that this might be the perfect opportunity in trying to fuse plastic. Now, I am a novice gardener and this is the first year that I have had a garden. I only have 8 plants but since I haven't gardened before, I was having trouble remembering what was what. Course now that the vegetables have appeared, it is much easier. Next year will be a great time to use these and I do believe they should last a long, long time. **I feel like this post should come with a Warning: May become addictive. I am now evaluating all plastic bags in my house on the likelihood that they would be successful fusing material. I emptied a multipack bag of chips and realized it would be perfect to fuse. My fused stack of plastic is growing... **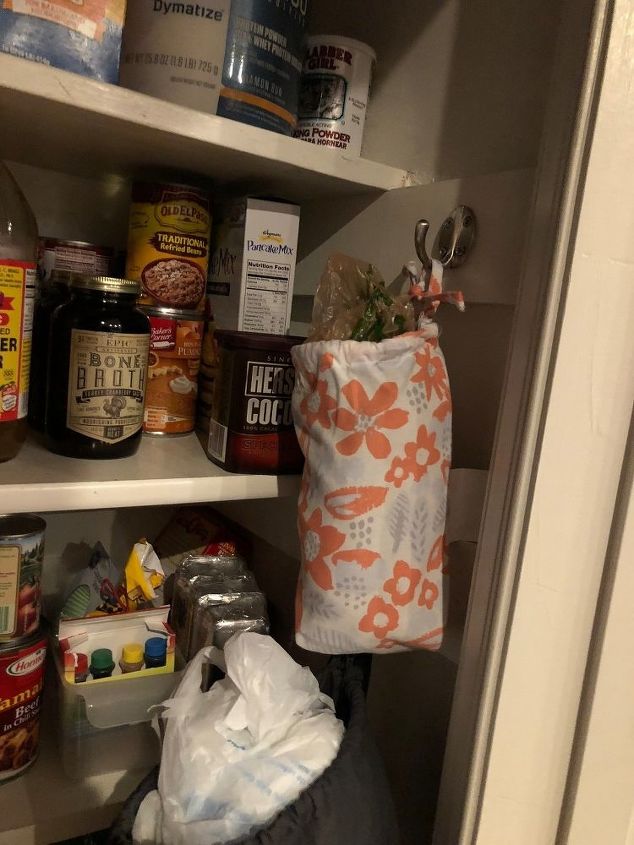
First, you will need plastic grocery bags. You know those cute fabric bags that sheets and pillow cases come in? I love to use them to store my bags. What do you use the fabric bags for? (Always looking for new ideas.) **Please Note: I do try to use reusable shopping bags but sometimes I forget and I also like to keep a small supply of these bags on hand to use in a reusable shopping bag around meat items.**
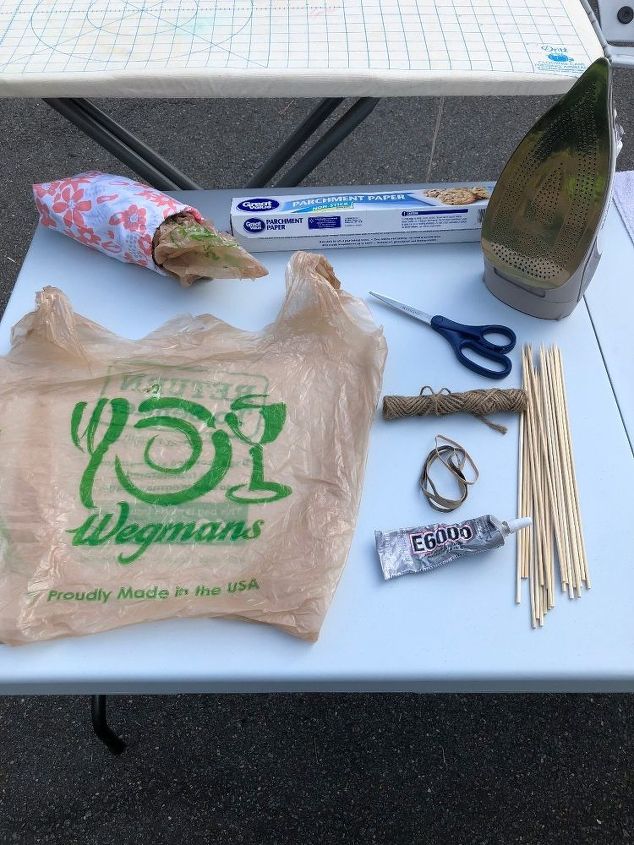
Fusing the plastic, can be smelly and should be done outside or in a well ventilated area. I used 4 plastic shopping bags, parchment paper, scissors, bamboo skewers, iron and ironing board and a hole punch for this project. (The E6000, jute twine and rubber bands were in the picture because originally I was going to use 3 skewers per marker but I found this was completely unnecessary.)
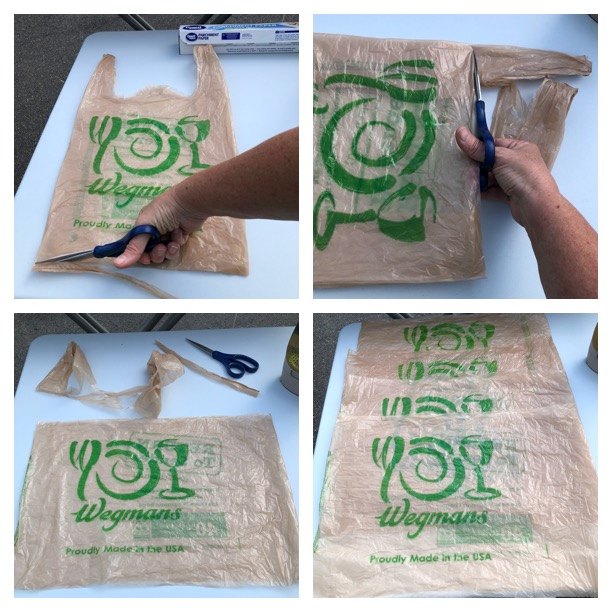
I cut the bottom off and the handles. I wish I had slit each side because I think that would have been better. You want them as flat and wrinkle free as possible. I did this with 4 bags. Place the stack of bags (pressed as smooth as possible) between two sheets of parchment paper.
If your bag has print on it, turn it inside out so the ink is on the inside. (I didn't do this and didn't have a problem. Some say the ink smears and some say the ink print is distracting.) If you have a rayon setting on your iron, use that. I would press in one area and lift the parchment paper to see if it was fusing. For me, it worked best to cut my bag into four separate pieces since I was making plant markers. Working with a smaller piece of plastic assisted in the plastic fusing together quicker than the large piece of plastic.
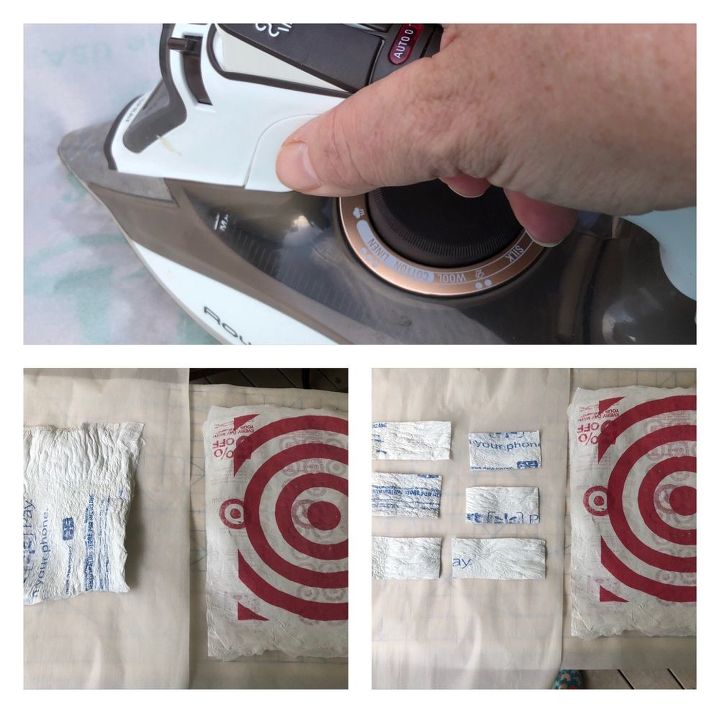
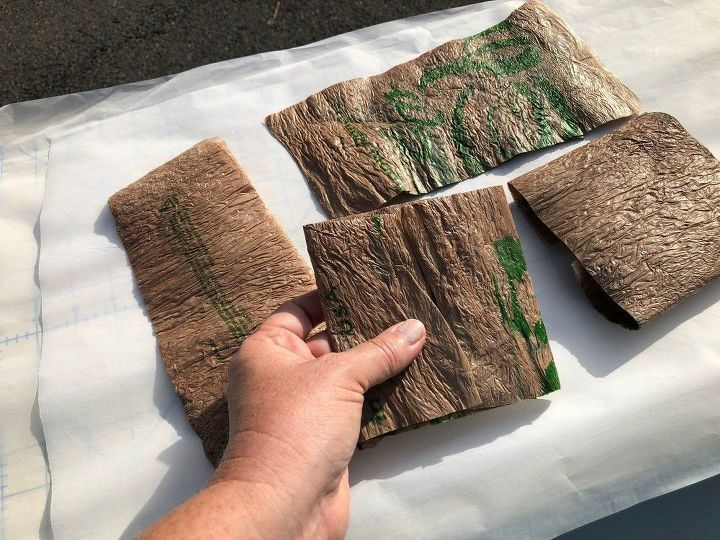
The bottom pictures show the difference in using different bags. Target and Michaels bags are thicker and better quality so I used the cotton setting on my iron for the Target bag. I worked for over a minute to fuse the Target bag.(I used 2 Target bags folded in half to make 8 ply for the above photo) The Walmart bag shriveled up in seconds so thinner bags need to be done at a lower temperature. If you are working with thin bags, start low and work your way up. Also, you want to work with bags that are free of holes. Thin bags will still work for fusing but you can see that the same size bags will give different amounts of fusible plastic fabric to work with. The Walmart and Target bags are roughly the same size but the Target bag will give you far more usable fabric.
Now, after I posted this, I decided to look at other tutorials and found that they say bumpy is bad because it creates a weak product. If you are using your fused plastic to make a bag and it needs strength, it shouldn't look bumpy or bubbly. Above, I am showing the other method. You iron each individual sheet so that each sheet is as smooth as possible. Then you fuse each sheet together, one at a time until you have 8 ply. The end result feels similar to a credit card. I think when it comes to garden markers, either way will work. Bumpy or Smooth, it is your choice. I felt like this method took FOREVER and the thin sheets of plastic kept blowing this way and that way in the breeze. I think I enjoyed the other way more.
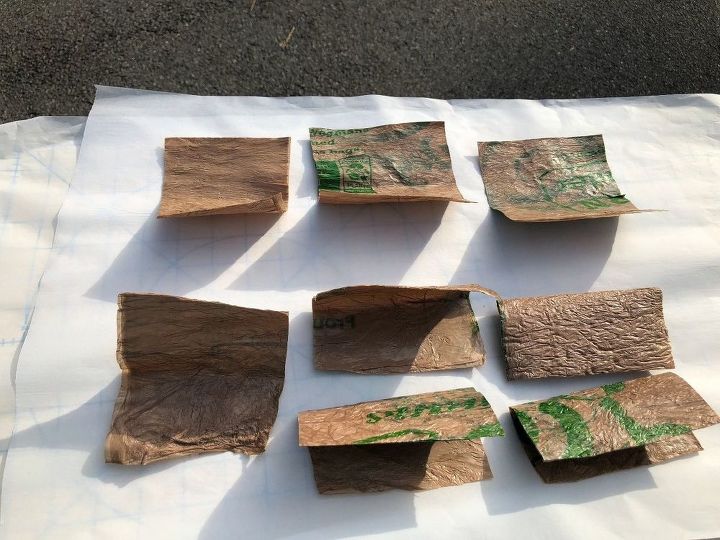
Here are the four pieces of my fused bags. I folded each piece in half and cut it to make 8 pieces to use as plant markers.
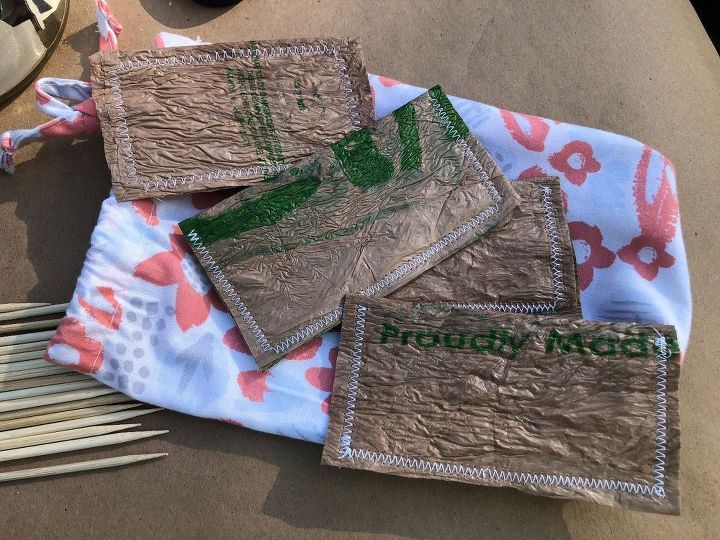
At this point, you fold in half again to make a sturdy little rectangle. You can use a waterproof glue to hold it but just for fun I sewed a zig zag around to hold in place. Totally Optional! (You can see in the bottom left that my iron was too hot but I just trimmed that one and it worked fine. Do not despair if you melt some areas too much.)
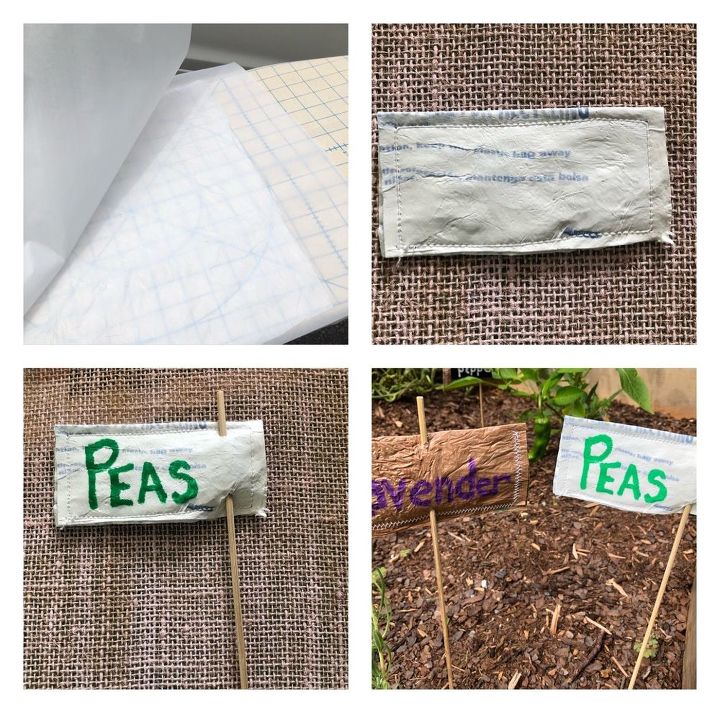
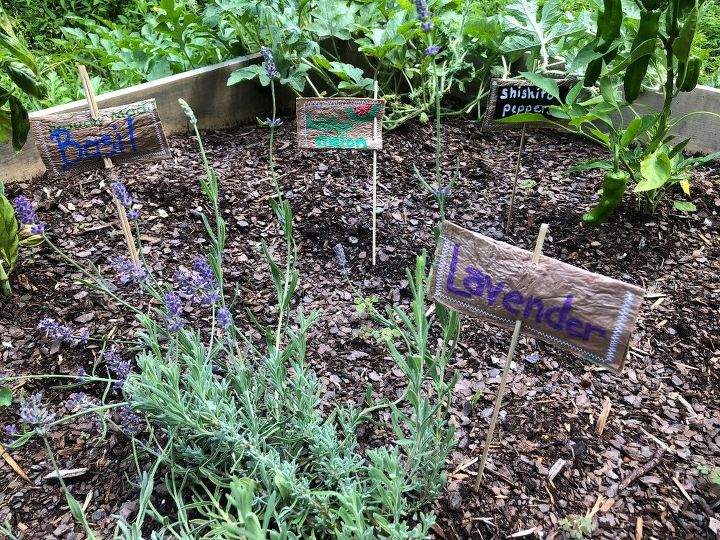
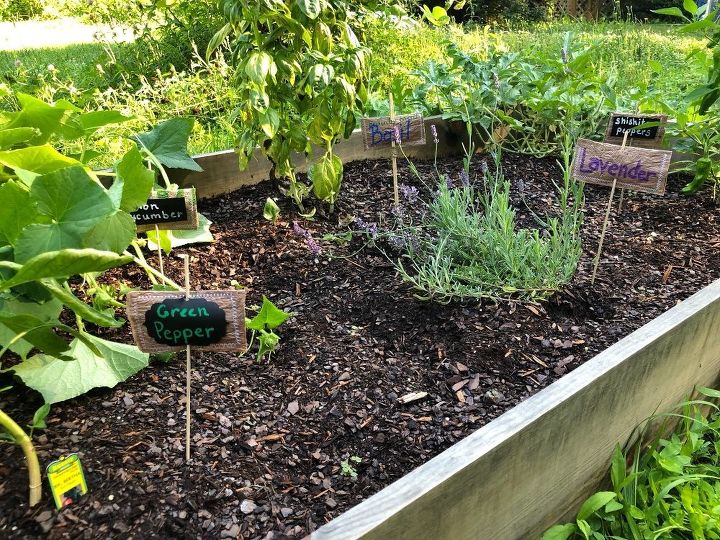
Ready for the labeling and a bamboo skewer.
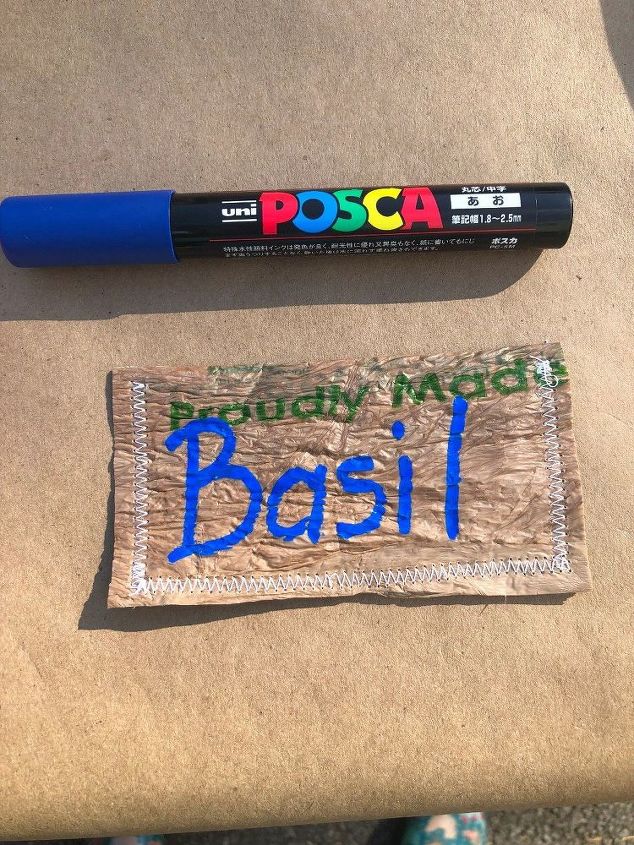
When it comes to labeling, there are lots of different ways to go. I had Posca Markers, which are known for there ability to permanently mark on a variety of surfaces. Here is the Posca marker straight on the fused plastic.
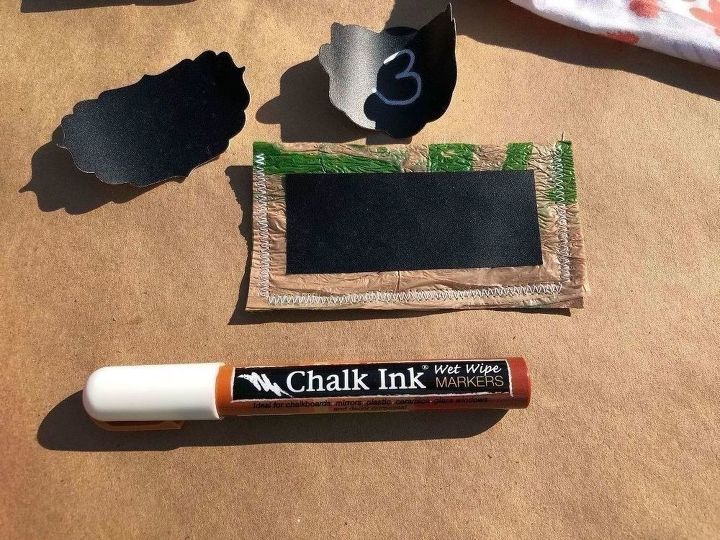
I also used stick on chalk labels and a chalk marker. I don't think it will come off in the rain and watering unless the wind is carrying a paper towel but I will let you know. Also, I will let you know if the peel and stick fails in the elements. But, for now it seems ok.
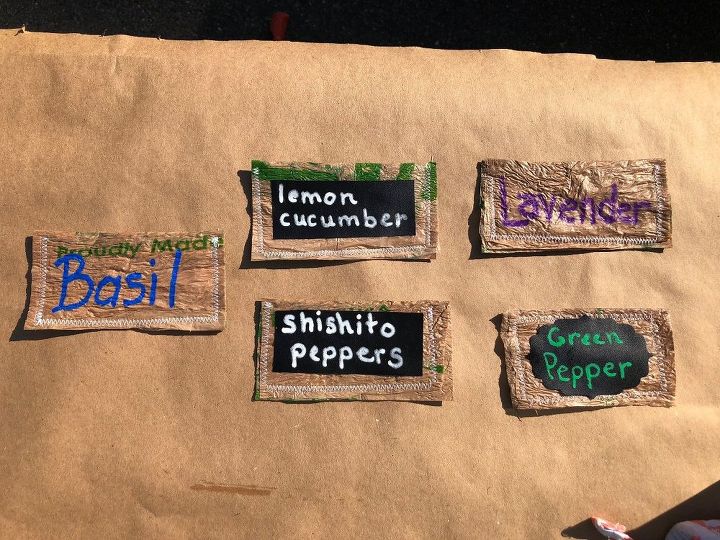
I did an assortment of chalk labels and Posca Markers and even Posca Marker on a chalk label. What do you think? Kind of a fun way to use up plastic bags?
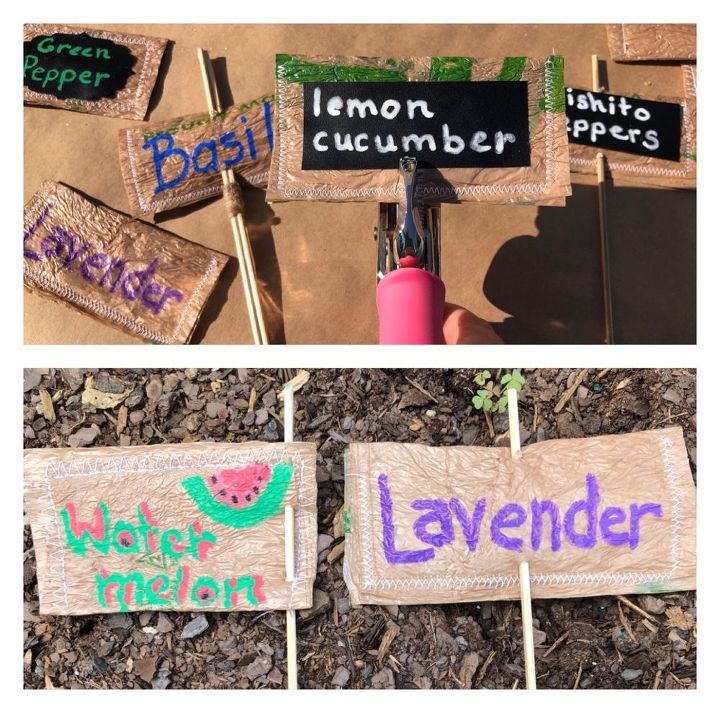
Use a hole punch to put a hole in the top and bottom to run the skewer through. You can place the holes in the middle or on the side. Your preference. I thought the skewers were way too long and contemplated cutting in half but when I added them to the garden, they are the perfect length!
And since there isn't much money involved in this, you can experiment without fear. If you don't like it no big deal. Nothing ventured, nothing gained.
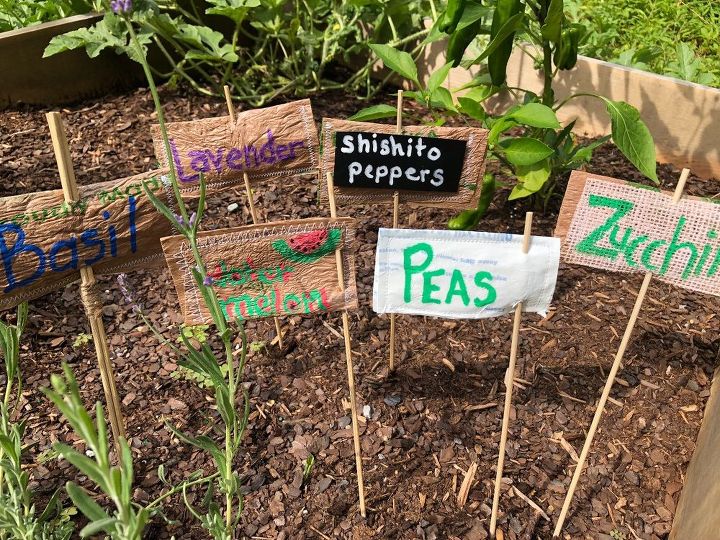
Some were made with paint pens, some with chalk labels and one with a scrap of burlap but all were fun!
What do you think?
I can't wait to do this again next year! I hope you enjoyed this tutorial. I sure had fun making these little plant markers!
Resources for this project:
See all materials


Any price and availability information displayed on [relevant Amazon Site(s), as applicable] at the time of purchase will apply to the purchase of this product.
Hometalk may collect a small share of sales from the links on this page.More info
Comments
Join the conversation
4 of 62 comments
-
Love that you are recycling items, any item.
My daughter uses rocks she finds in the ground (TN) and paints the name with a fat black sharpie and a clear coat then just lays the rocks at the front of the lane for each item planted. Works for her.
Thank you for sharing your project.
-
Lots of work for garden markers. Use the kids popsicle sticks.


Frequently asked questions
Have a question about this project?
What if you don’t see around the edge?
Several years ago the boys brought home a busted plastic canoe. I used a similar method to repair the boat. My weapon was a heat gun. I used grocery bags and leftover plastic lattice on the hull. It held water when I was finished!
This year I filled it with dirt, zip tied the lattice to it and planted flowers. Since I have cats, I had to prevent my canoe flowerbed from becoming a litter box. I'll probably need to do something creative once the petunias get established just to keep the cats out. Maybe set up imitation fishing poles? Congrats on starting to garden. Only thing better than gardening is fishing.
Sometimes we put old plastic bottles on top to help with oxidation and to prevent damage to the newly developed plant