


How To Reupholster an Ottoman Tutorial

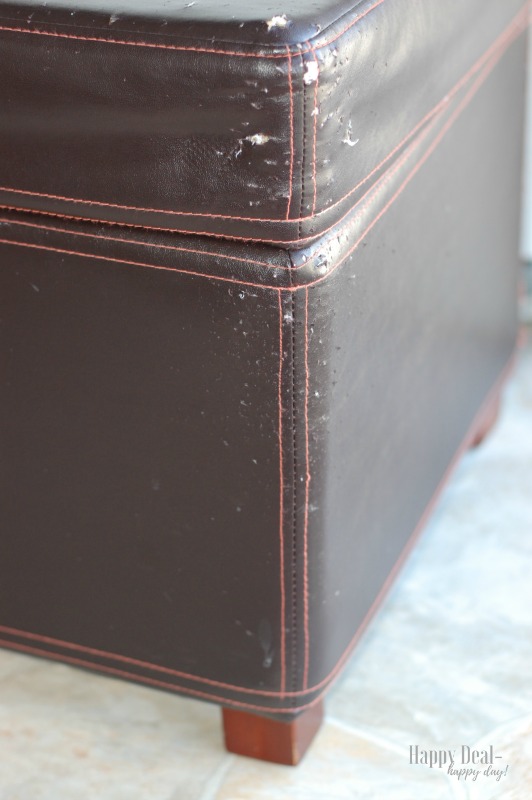
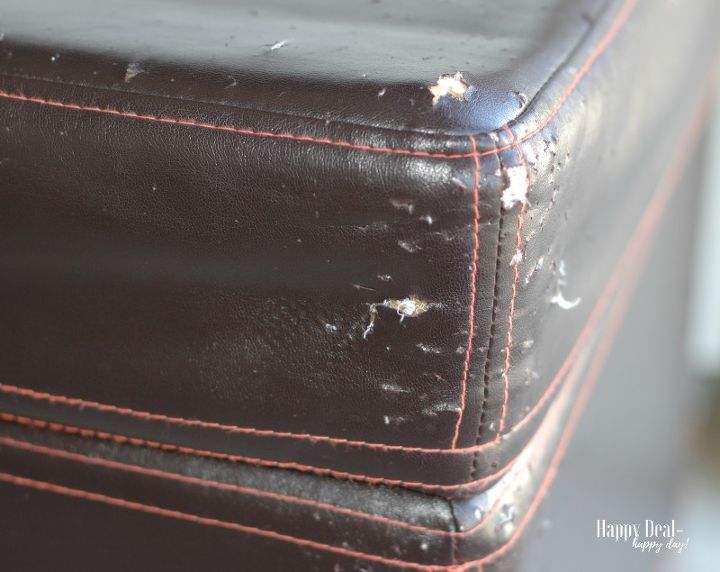
Does your ottoman look anything like this?
You know, with the nice pleather outing that a furry baby (aka your cat) has literally almost torn to shreds? My cats have this weird 6th sense that tells them that all of our ottomans like this (we have 3) were made for their claws to ruin.
And ruin they have succeeded in doing. So now that my cats have ruined my ottomans, I have two options. One - buy a new one. Probably since I don't want to spend a ton, it will be of the same cheap fake leather and cost me about $50-$75 to replace. Or two - reupholster it myself for less than half of that cost - with a fabric that my cats can't tear apart with one swipe of their claws.
Did I have experience upholtering furniture before I did this? No! Was I unsure of my success? You bet! But with $20 fabric and a staple gun (and a sewing machine), I didn't know that reupholstering an ottoman was a project that a normal person like me could handle.
So that's why I created this tutorial - to show you that you too can reupholster something at your house rather than throwing it in the dumpster and heading off to the store to spend more than double when you honestly fix it yourself!
Materials Needed to Reupholster A Square Ottoman with a Top:
- 3 yards of upholstery fabric
- Staple Gun
- Sewing Machine with thread to match your fabric color
- Utility Knife
- Spring Clamps
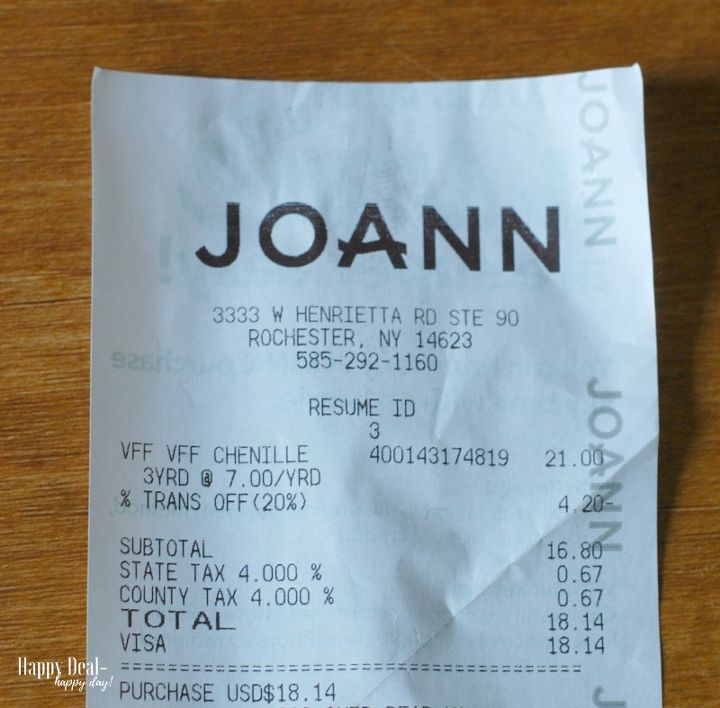
I found my upholstery in the clearance section of Joann's for $7.00 a yard. PLUS I had a 20% off coupon - making it just $18.14!
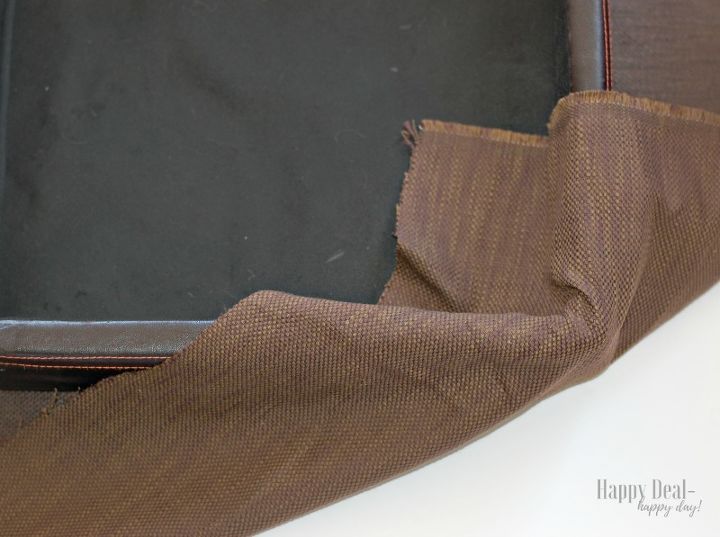
My ottoman had a top, so I re-upholstered it in two stages, starting with the top. Take the ottoman top and lay it down, top side down, on the upholstery fabric. Cut the fabric so that the sides are long enough to wrap the corners and there is enough left over to staple. I did not get exact dimensions when I did this - I just cut out enough fabric to make it work.
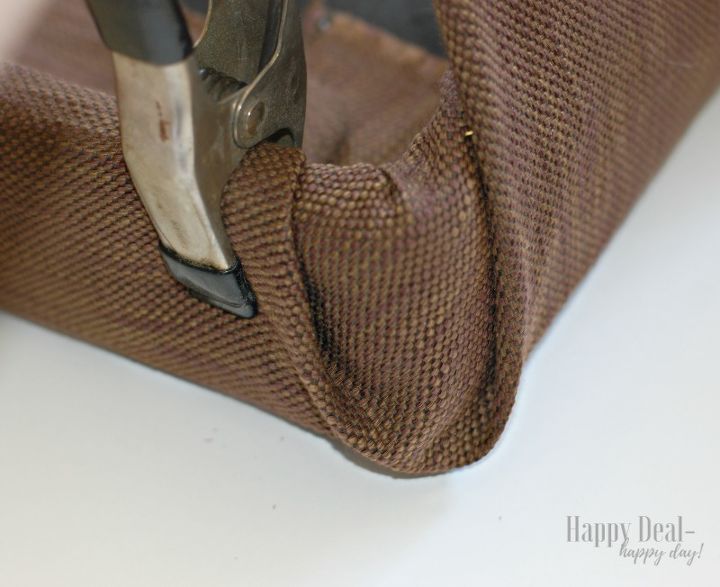
To make the corners nice and neat without having to sew, take the corner of the fabric and fold that directly inside the corner. Then take the 2 sides and fold them up and over making it look like the picture above - nice and neat, tucked in corners.
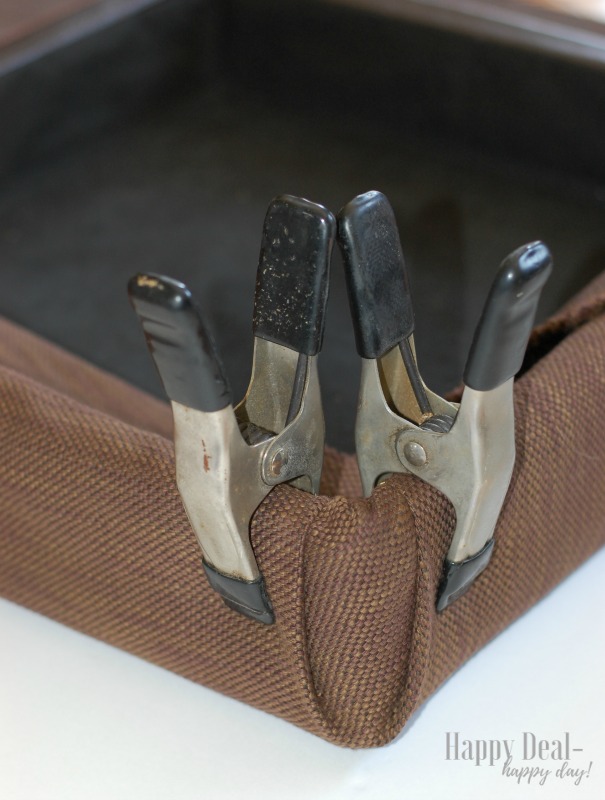
If you have any spring clamps, now would be a great time to get them out and hold the corners in place while you staple. Be sure the fabric is pulled tight before you clamp - you don't want any wrinkles to show up on the top flat surface when you are done!
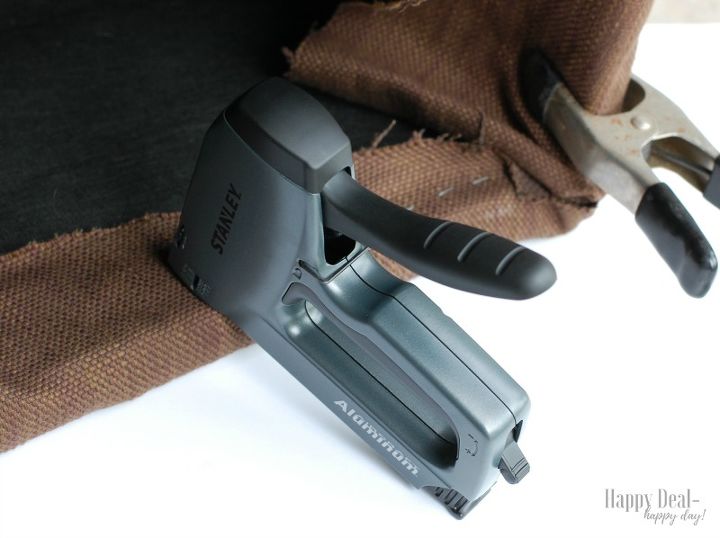
I'll be honest and say that this project was the first time I had ever used a staple gun. It's pretty easy. Just push hard against the where you want to staple so that your hand doesn't jerk too much and your staple gets placed way off. I just stapled a little bit apart from each other to make sure the fabric is secure.
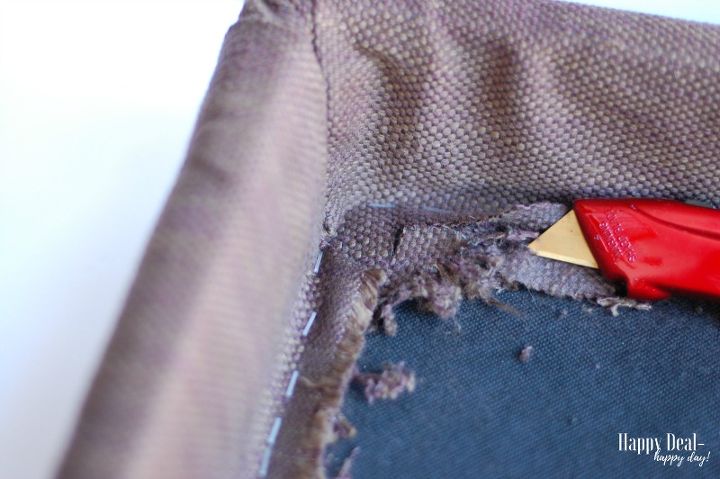
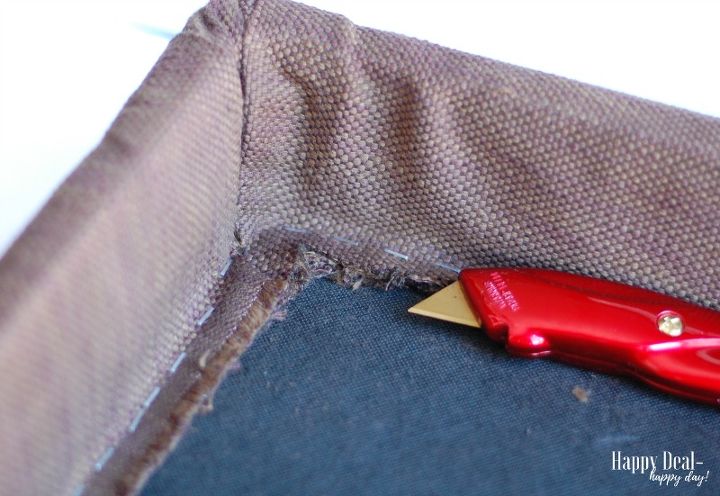
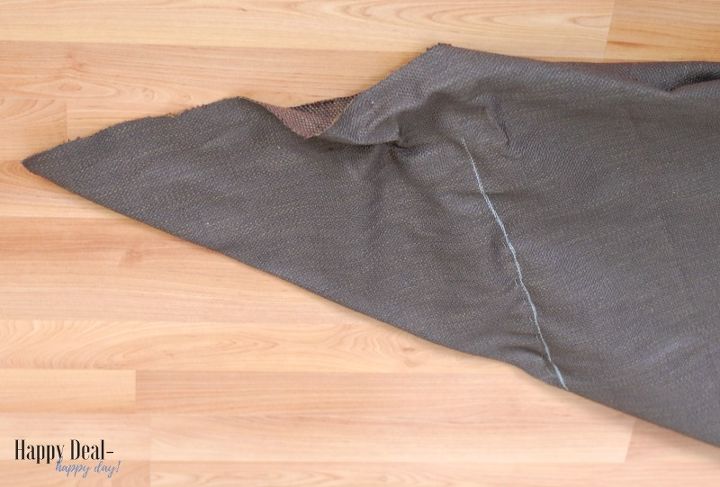
The corners will end up with a bunch of material in the corner. I got out my utility knife (be sure to use a NEW blade so it is sharp enough to cut through thick upholstery fabric) and clean up the corners a bit.
I love my CTL CUTTER Heavy Duty Sharp Box Cutter Retractable Utility Knife for this job. I used a new blade and it easily cut the fabric!
Here is one corner that turned out great.
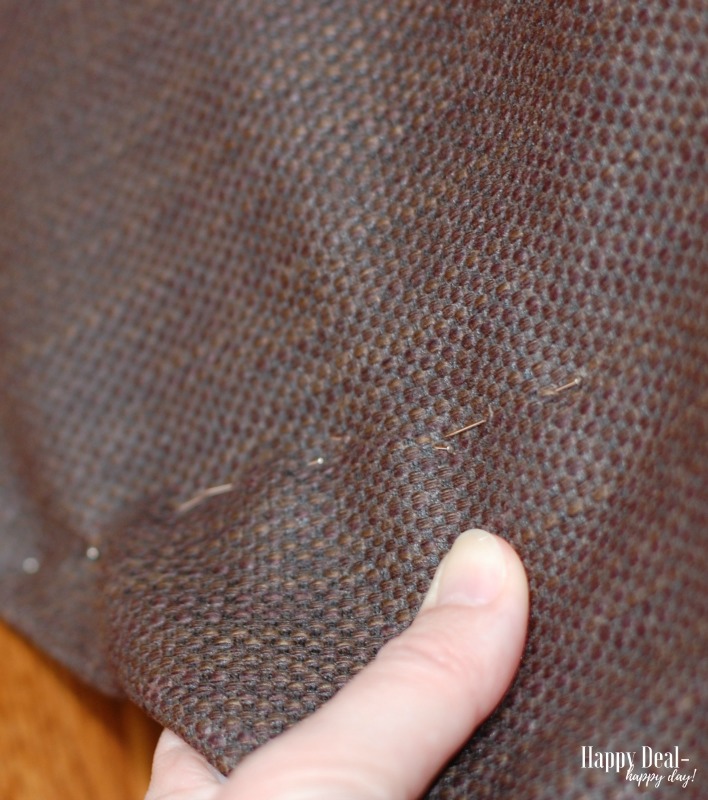
Not every corner was so perfectly neat though and I had more work to do to trim out the access fabric.
Once the access fabric is trimmed, then the top of your ottoman will be done!
Now we need to move on to the bottom storage box part of the ottoman. If you totally do not want to sew to do this, you can cover it the same way you did the top by folding the corners and stapling. I was finding it a bit challenging myself to do it that way and still get the fabric tight and looking good. So I decided it was time to get the sewing machine out to help.
I was inspired by Southern Wild Design on how she sewed the corners of the fabric to make a "box" shaped cover for the bottom of the ottoman.
I did the same thing. I also suggest using a chalk pencil to make a line where you want to sew. That is easy to follow and the pins just hold the fabric in place.
I also recommend having a second pair of hands to help you pull the corners tight while you pin.
Here is my chalk marked line with the pins before it was sewed.
I recommend doing these corners what at a time by pinning and sewing, then heading back to the ottoman and measure and pin the second corner, sew that - and then going back and measuring the third corner and sewing. That way each corner is snug and custom to fit. Again, having someone help you pull it tight while you pin is highly recommended. I'm not so sure I could't have done this part by myself without my husbands help.
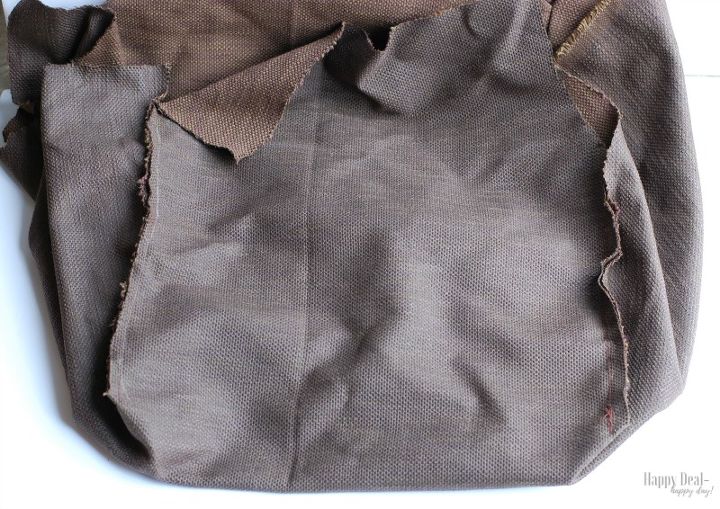
The picture above shows all 4 corners sewed - and I haven't turned it inside out yet.
Now its time to turn it outside in and get the true outside on the outside, and the slide it over the ottoman. I love it that this upholstery job I just got to cover up the old job, rather than taking off the old upholstery job and starting from scratch.
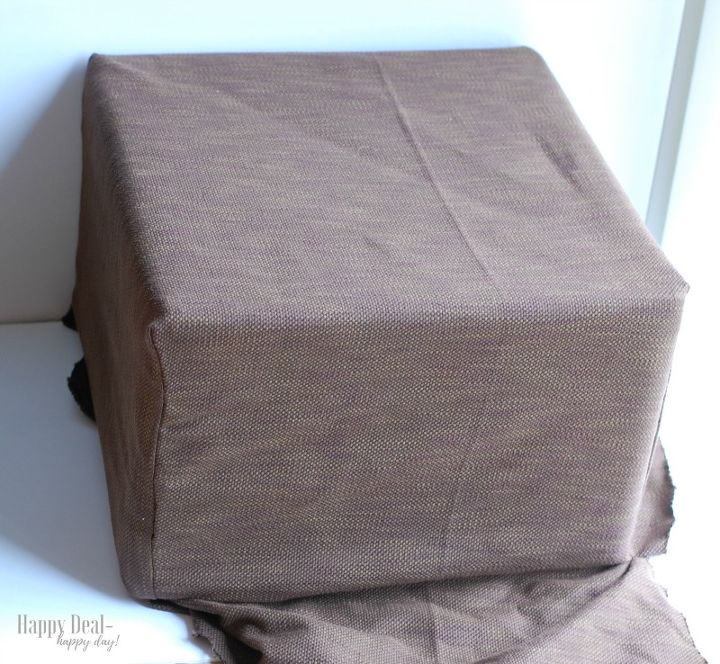
It's time to get out the clamps and staple gun again to fully secure the ottoman cover in place. It's a good idea to keep the scissors handy and trim off excess fabric as you are tucking in the corners before you staple. Use the staple gun just like you did on the top and go around each of the four sides and be sure the new cover is securely attached to the bottom!
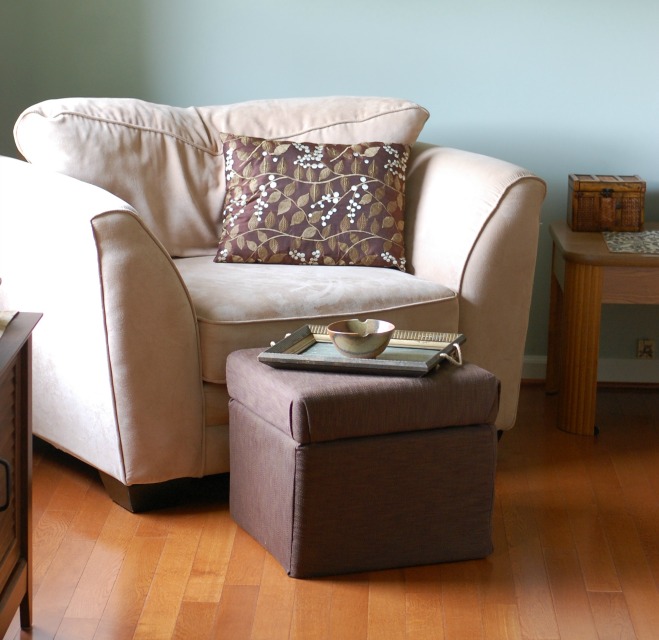
Here it is completely re-upholstered!
Now while my cats have tried to scratch this material, I quickly stop them when I can. Plus when they do, this material is much more resistant to some kitty claws and I'm imaginging this lasting much much longer than the fake leather did!
Want a cute tray for your ottoman like the one pictured above? I made it out of an old picture frame - you can make one too with this DIY Wood Tray tutorial!
Resources for this project:
See all materials


Comments
Join the conversation
-
Very nice job! I wish I had had this kind of thing around when I redid my queen-ann wing back chairs 20 years ago. But I did about the same thing except I purchased an electric staple gun---best thing I ever did. I pinned the new fabric over the chair and traced the curvy lines to get my pieces close to fitting. It came out great, but the only photos I can find are when we use them at work.


-
AWw!!!! Love it when Santa and Mrs. are also DIYers! ;)


Frequently asked questions
Have a question about this project?
Your ottoman looks great!
I also have a sad looking pleather ottoman but the lid is attached how would you suggest to recover it?
Your ottoman looks great!
I also have a sad looking pleather ottoman but the lid is attached how would you suggest to recover it?
Your ottoman looks great!
I also have a sad looking pleather ottoman but the lid is attached how would you suggest to recover it?