


Fireplace Make Over

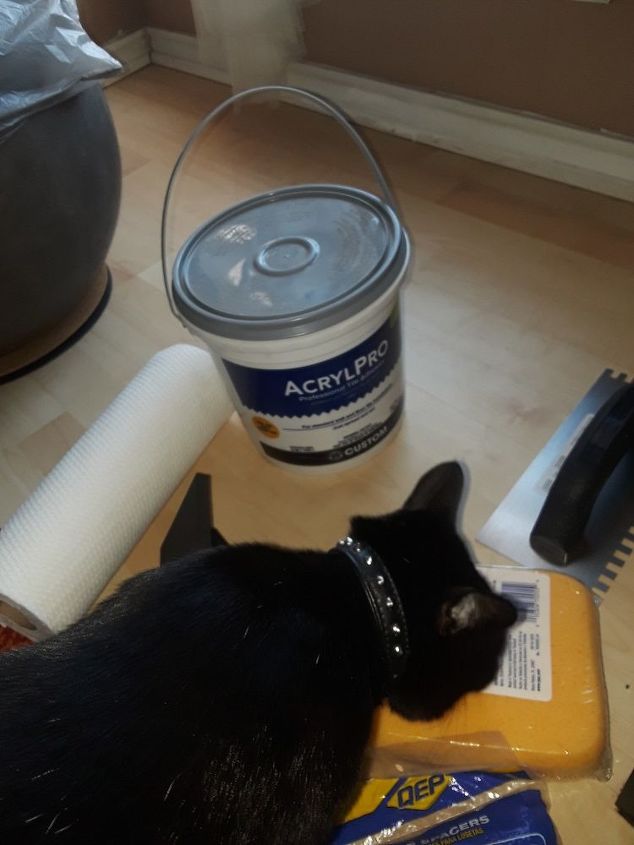
3 Materials
$175
5 Days
Medium
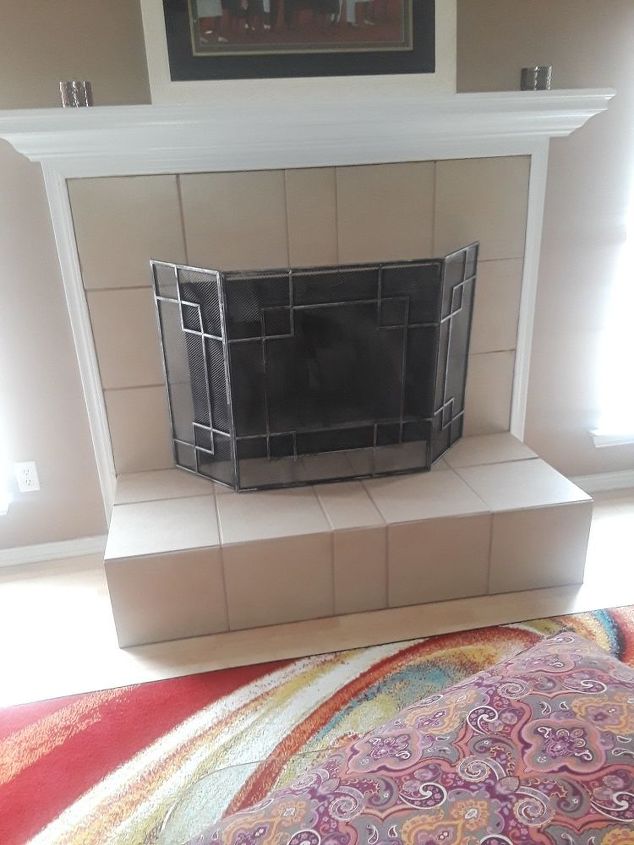
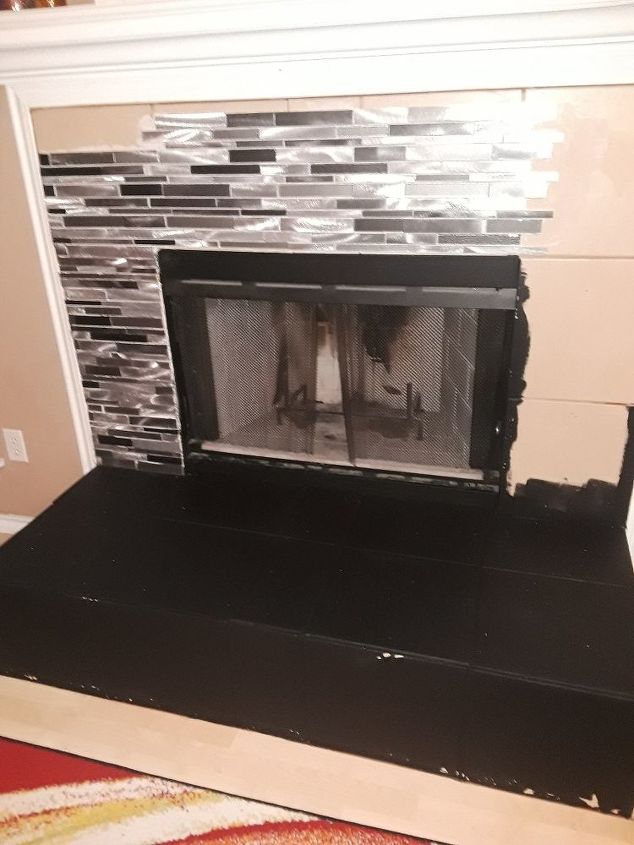
I was tired of this look and wanted something new, that I could afford to do myself.
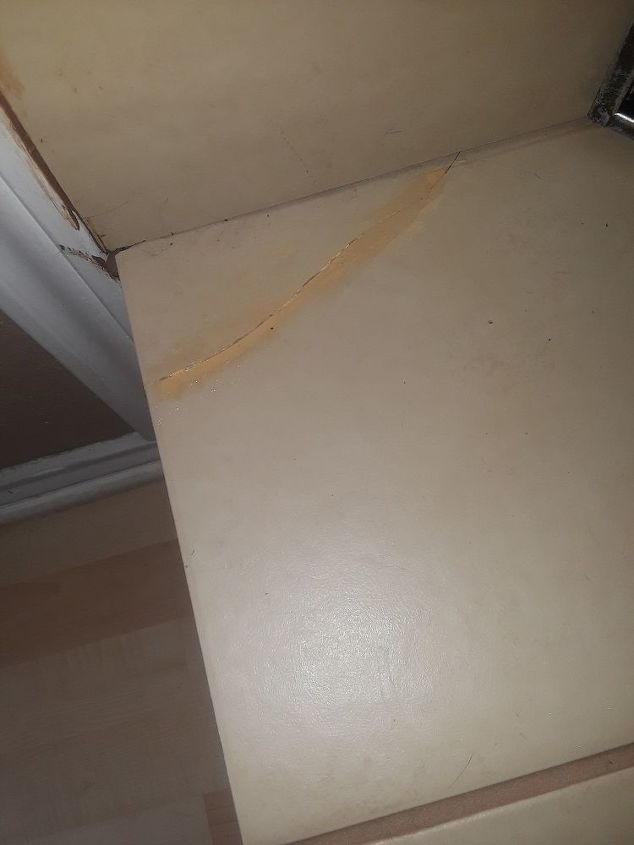
I repaired some cracks, and did a light sanding. I first used wood glue but that did not hold so I used some silicon ceramic tile crack repair.
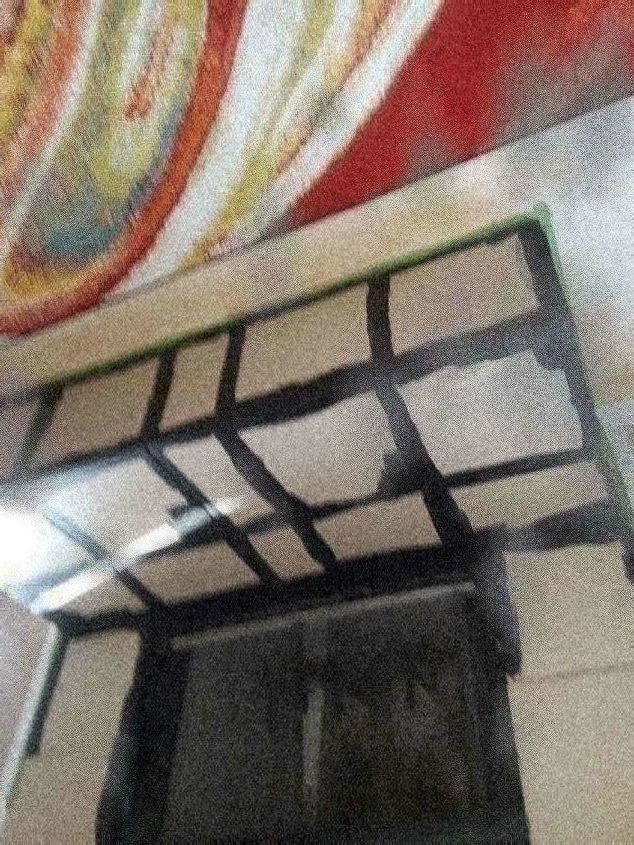
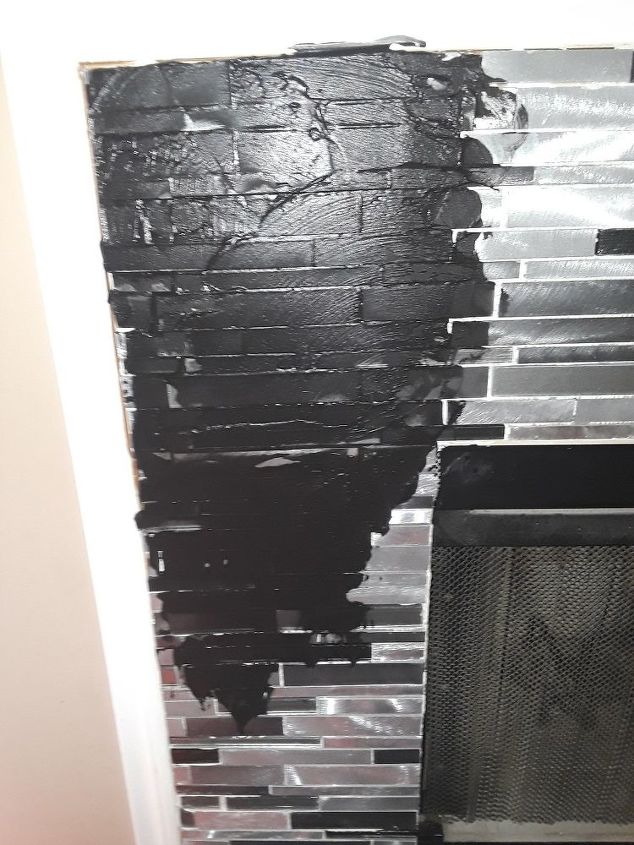
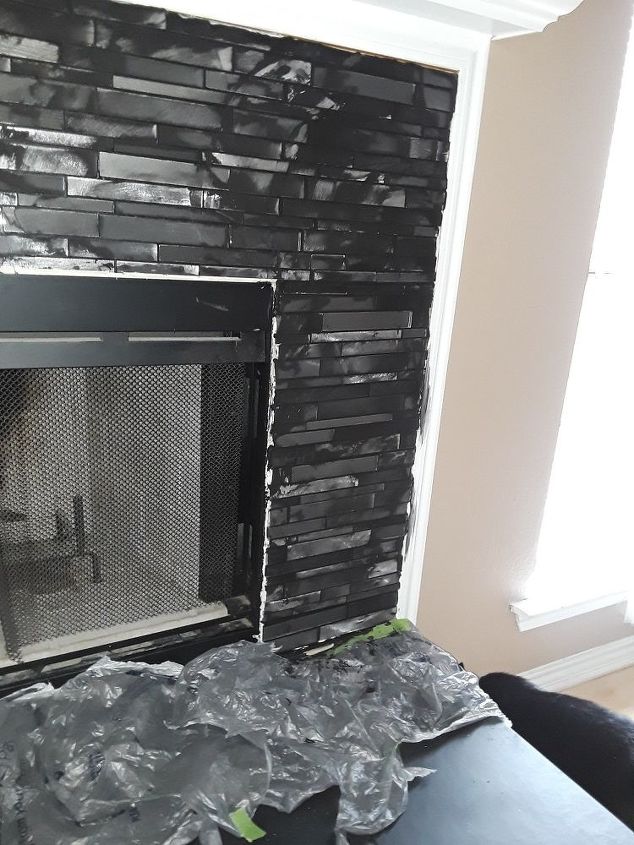
I then painted the tiles with flat black paint, using a brush to paint the grout lines and edges. I then used a roller to finish, and did two coats. I then put 2 coats of polyurethane to protect.
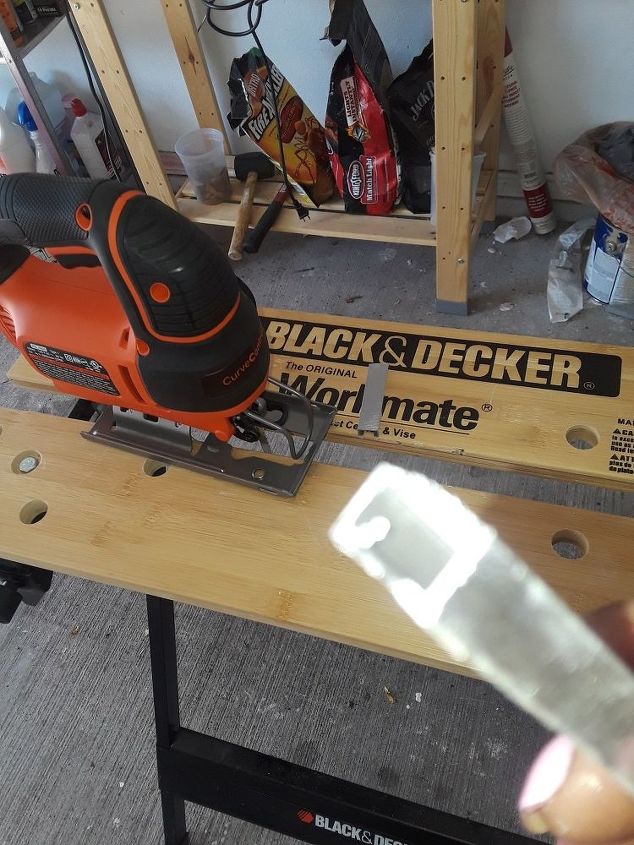
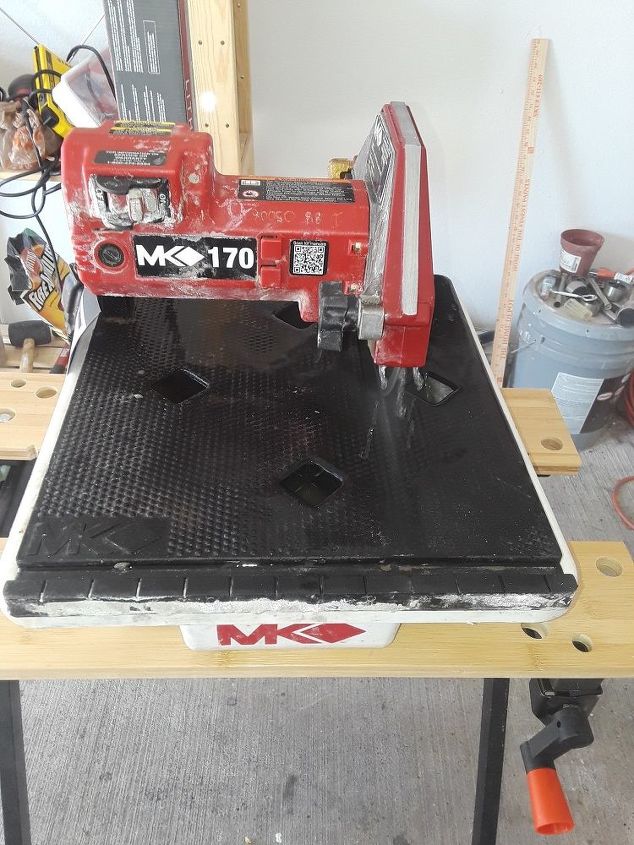
Now I was ready for the tiles, but I suggest that you paint after tile due to the mess. So I measured and marked the tiles and rented a water saw to cut the glass pieces, and I used my electric saw to cut the metal pieces of this mosaic tiles. I had to remove each individual marked piece to cut. I then spread the mortar on the fireplace in sections cause it dries fast.
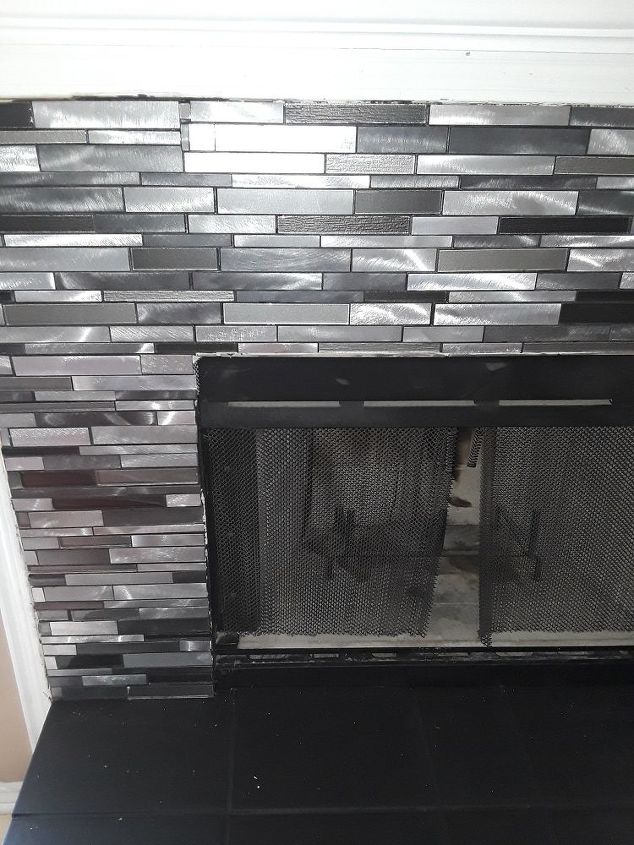
after I finished putting up the tiles I let the mortar dry over night then used black non sanded grout. I followed product directions to mix. Make sure you get it in all the crevices and try to get as much off as possible. let grout set for about 15 to 20 min. then use damp sponge to remove excess. About 2 hours later wipe towels using cheese cloth.
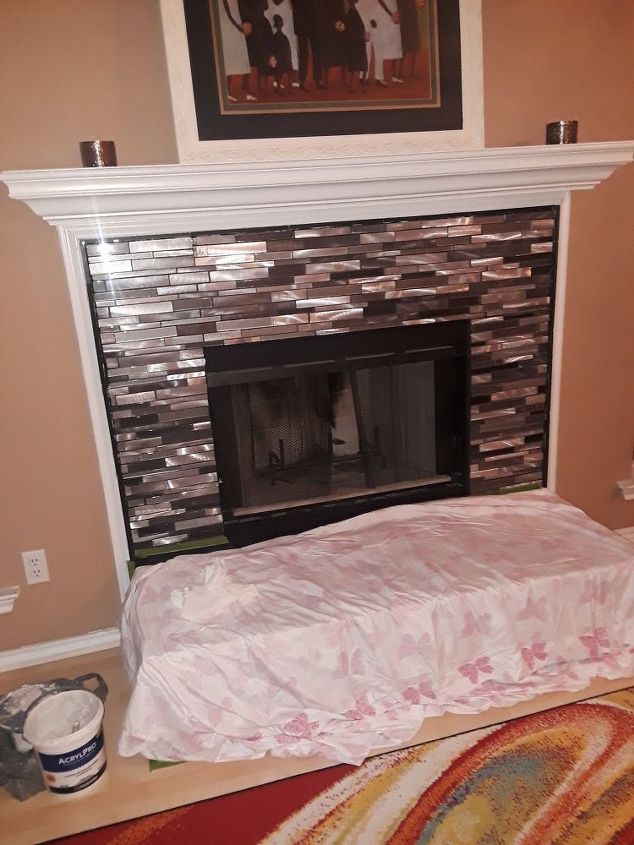
Now after that I realised that it would look a lot better with a border instead of caulking, BUT you are supposed to put the boarders on before placing tiles, but I though I'm going to do it any way and ran to Lowe's and brought some 12 inch long glass boarders. Using mortar I placed on the back of boarders and put around the outside of the tiles. I let dry overnight then grouted just the boarders.
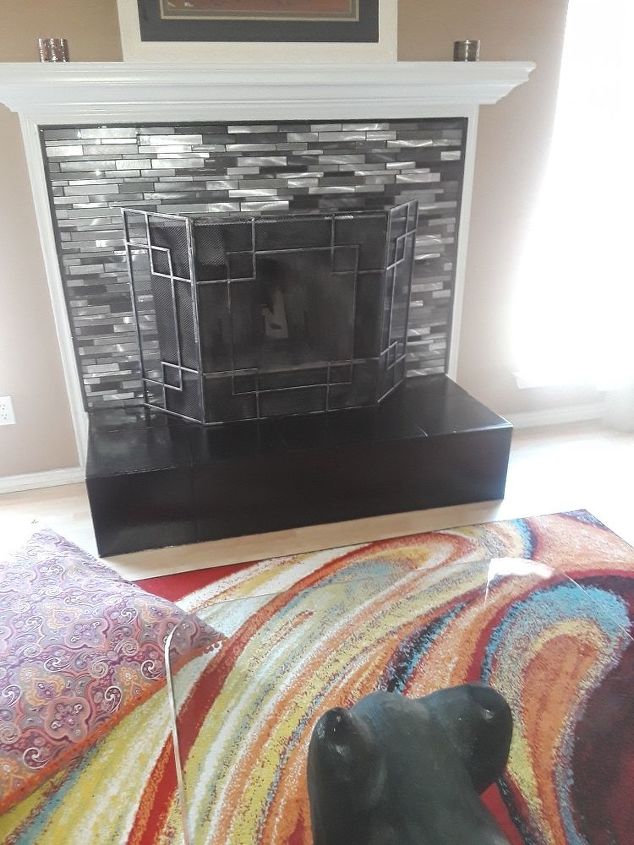
So here it is with the boarders, and I also caulked the inside opening edge.
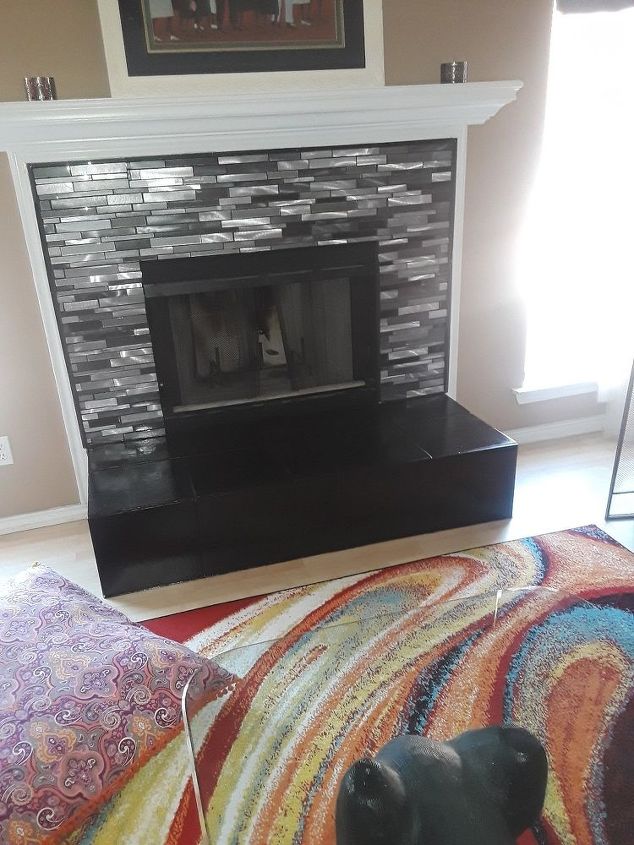
Here it is all done, this was definitely a learning experience, with a few errors that I managed to correct.
Comments
Join the conversation
4 of 12 comments
-
Just beautiful
-
Looks really good! Higher FPs were sometimes meant to bring the heat up higher. They come in handy when they are the only heat source. It is a pain when a coffee table blocks the heat. Some higher hearths were also meant to sit on. I don't think that is the case with yours, since it isn't very wide.


Frequently asked questions
Have a question about this project?