


Transform an Old Table Using Napkins

Do you want to do something different to an old table, or maybe make a new hall table? I make these tables a lot and they are fun and easy. Today I wanted to show how you can use a fun napkin print to make something unique. In this technique I used napkins to give my table top a printed look. Check my tutorial out to see how I achieved this printed (napkin) top in just a few simple steps, ending in a beautiful look.
What you'll need for this project:
- Napkins
- Mod Podge
- Polycrylic
- Stain
- Pin
- Sandpaper
- Scissors
- Paint brush
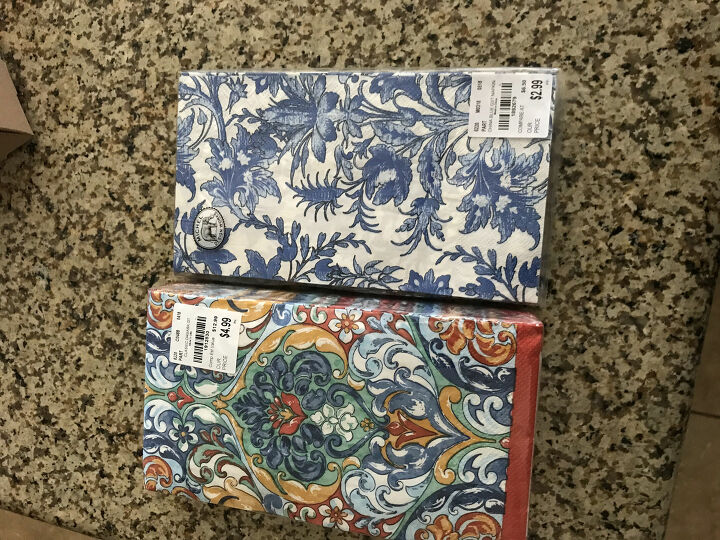
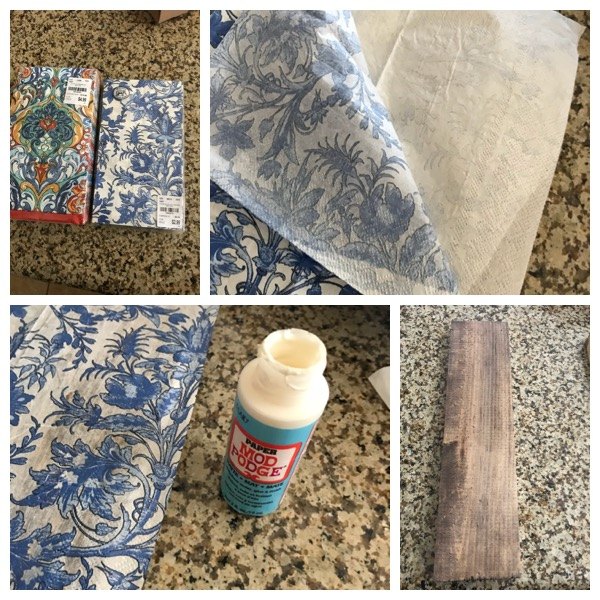
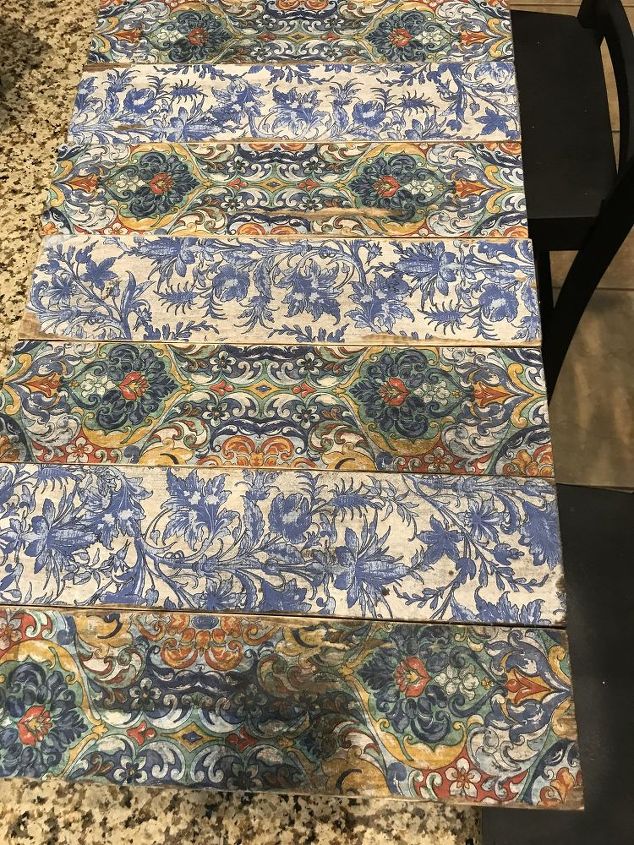
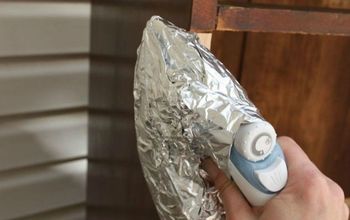
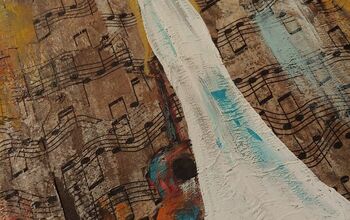
I found these beautiful napkins at Tuesday Morning, a local discount store. As you can see, they are not really cheap, from $2.99 up to $6.99, but I needed long ones for this wood top. I found these and happened to love the 2 prints. You will only use a few, in this case I used 4 napkins. The hardest part of the project is pulling the napkin apart. You need to remove the 2 layers behind the print. I started at the corner. I had to use a pin to get it started for me, but once you get it started it is easy. You just have to make sure to remove all the backing.
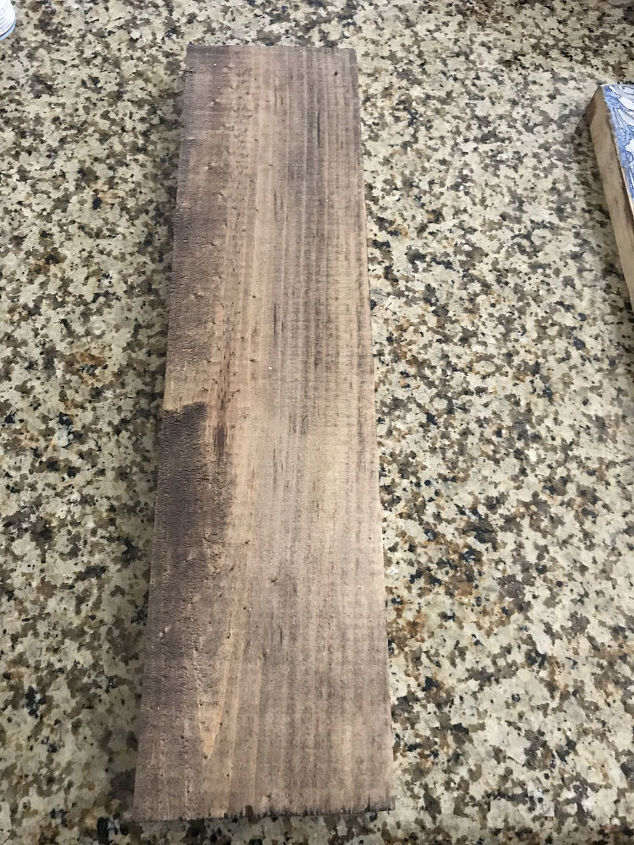
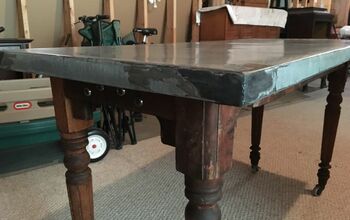
I used a stain on the top of my table boards because when you apply the napkins they are somewhat transparent. So, if you're redoing a table, the color you cover will show through, so keep this in mind.
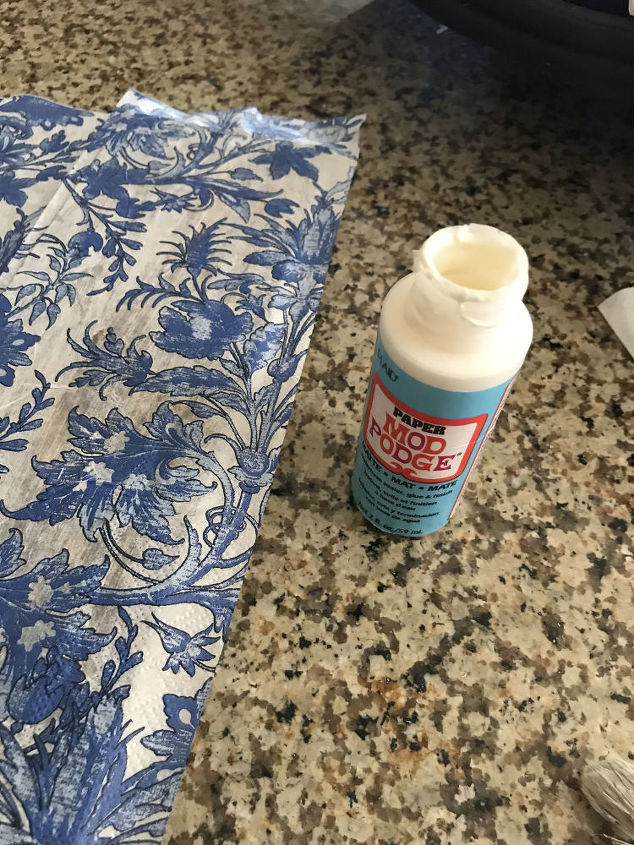
Next you'll just need some Mod Podge. I used one for paper and it's also a matte finish. Moving quickly, I covered the whole 14" board at one time applying an even, good amount but smoothly. After that take your napkin that you removed the layers from and apply the thin napkin and push down firmly and let dry, continue to do this on all boards. After they dry take a piece of sandpaper and run along the edges, this will remove any paper that hangs over the edges.
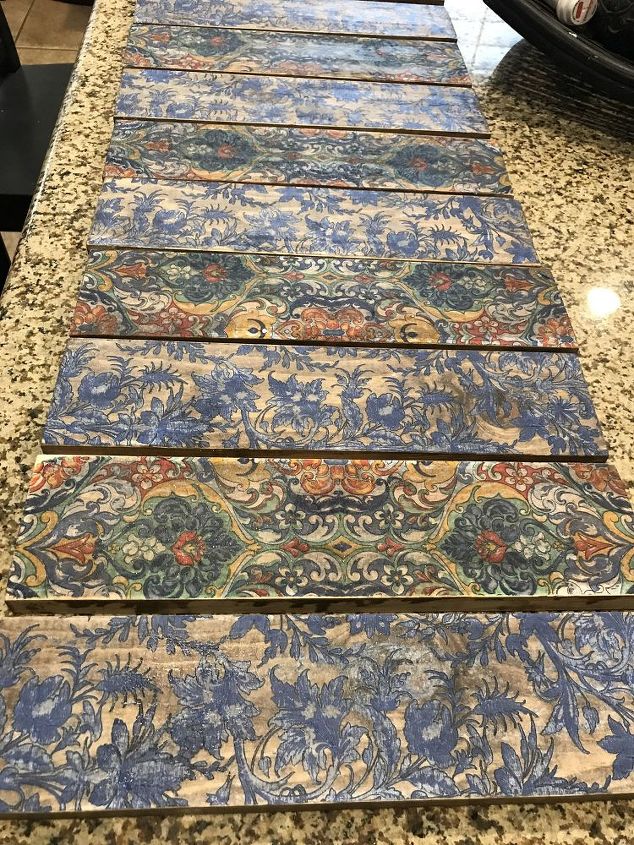
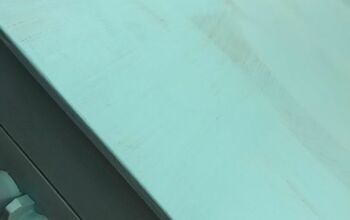
This is how my boards appeared after I sanded all the edges removing the excess paper from the edges. Once that is done you'll be ready for your final step.
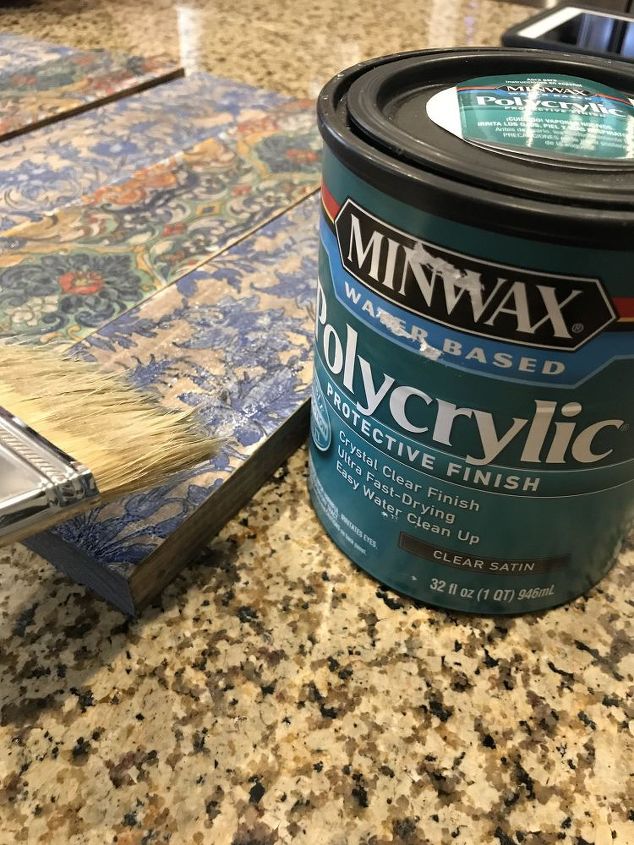
I used polycrylic to seal the paper. It's water based so it's easy to clean up. I just used a chip brush to cover the full paper surface and let that dry.
As you can see, after the sealer is applied, the stain or your original board color will show more.
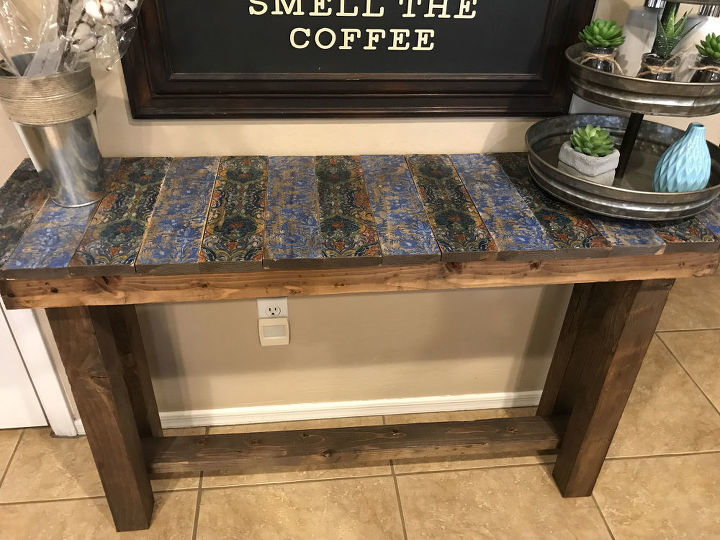
After the boards dried I applied them to my stained table base.
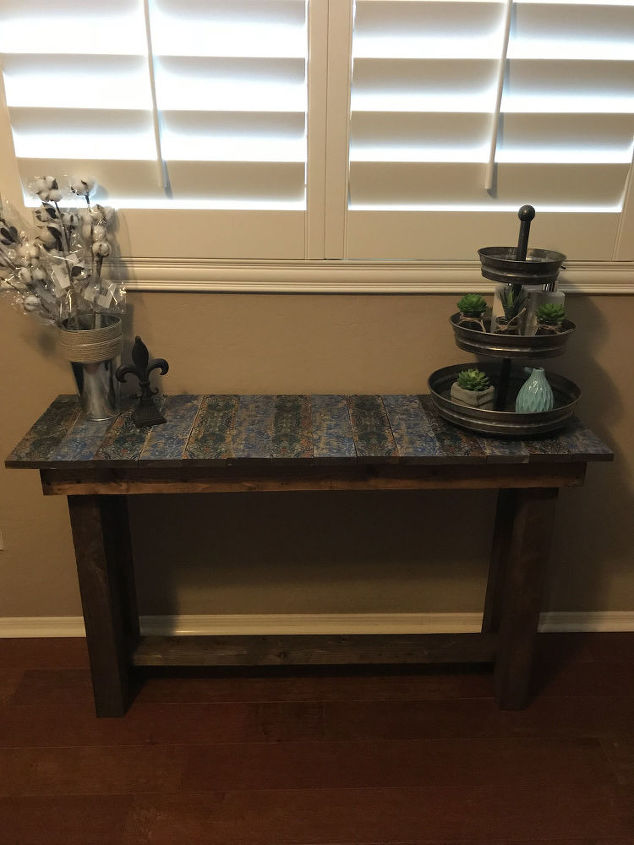
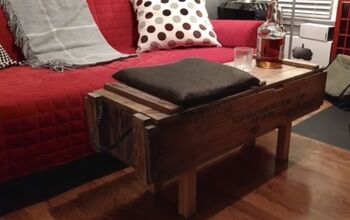
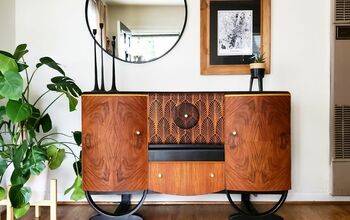
Here is the completed project in my office!
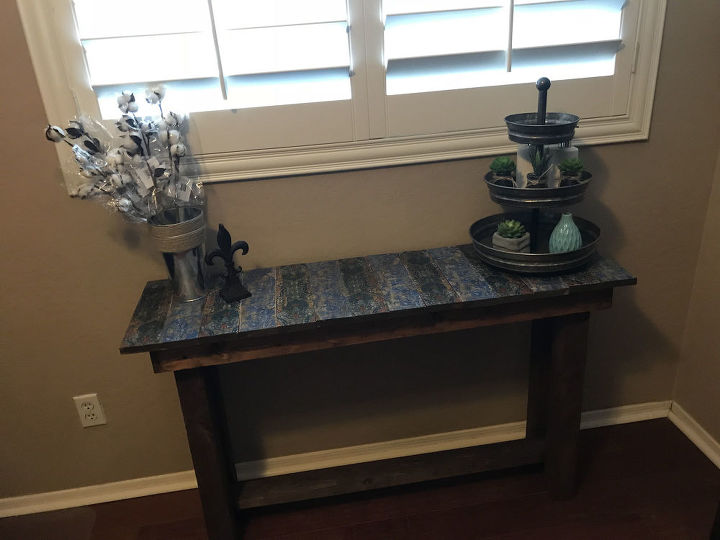
The paper napkin just adds a bit of elegance to this rustic table I built. This technique is also perfect to do for a different look. Now every time you see a napkin you'll think of other ways you can use it!
Resources for this project:
See all materials


Comments
Join the conversation
-
It simply looks amazing!
Those napkins are a great choice!
-
Awesome Job


Frequently asked questions
Have a question about this project?
How did you attach it to the base?
Interesting idea-----is the process the same for a table already assembled? No separate boards but a stationary surface?
Thanks
Can I do the napkins inside my bathroom sink ?🤔 R the water would damage it. Ty