


Ring Bell - If No One Answers - Pull Weeds Sign ( Take 2 )

So, when I created my contact paper stencil a few days ago, I had the opportunity to make two signs that say the same thing from one stencil. One uses the positive part of the stencil and one the negative. I posted the first tutorial on Hometalk and here is Take two. I wasn't going to post it because I wasn't happy with how it turned out. It wasn't a fail but it was BORING! Then I started adding messy paint and it became worse and well you can't go back... so this is a rather amusing tutorial of how I took a rather plain ordinary sign and turned it into an absolute HOT MESS. I am sure many people will have liked how it looked when it was first completed and may even be upset that I ruined it (in some eyes). In DIY, sometimes you wish you could click edit - undo and you can't. I actually like the sign and I think it has tons of character.
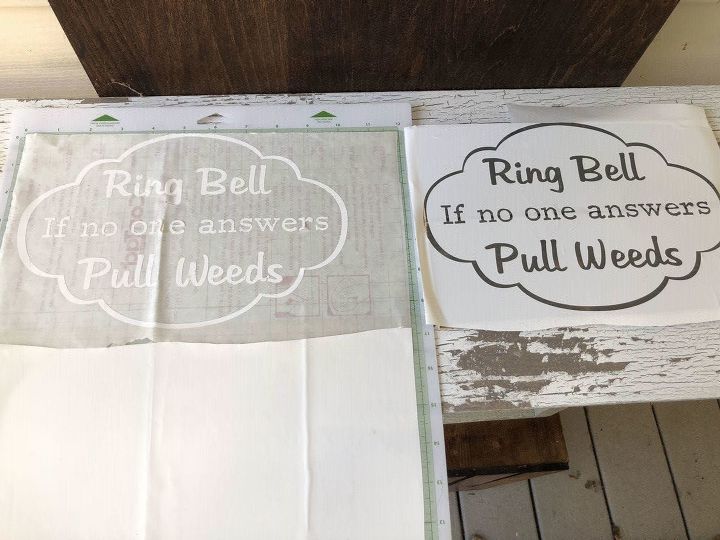
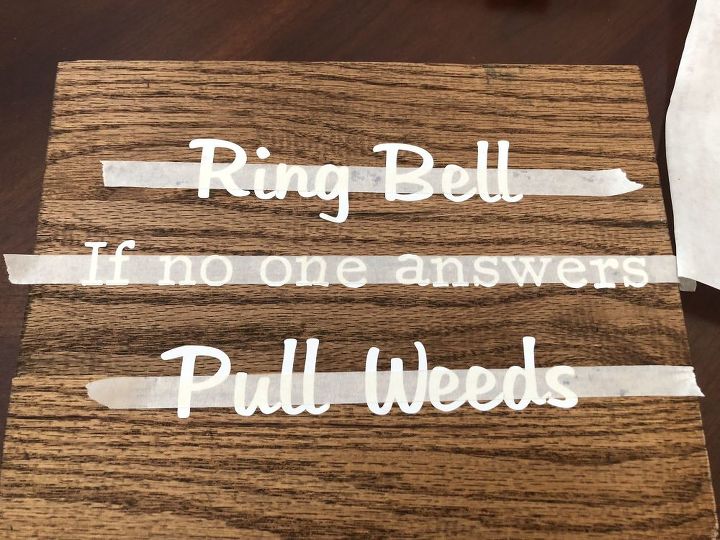
I began by cutting my design and stencil on my Silhouette Cameo. I removed one portion which is shown on the right and created a sign using this and that tutorial is here This tutorial uses the remaining pieces on the left. The cute little outline did not survive the transfer process. It was too delicate. If you use a piece of transfer tape to move this entire image, that is best. I didn't have transfer tape but I did have masking tape...
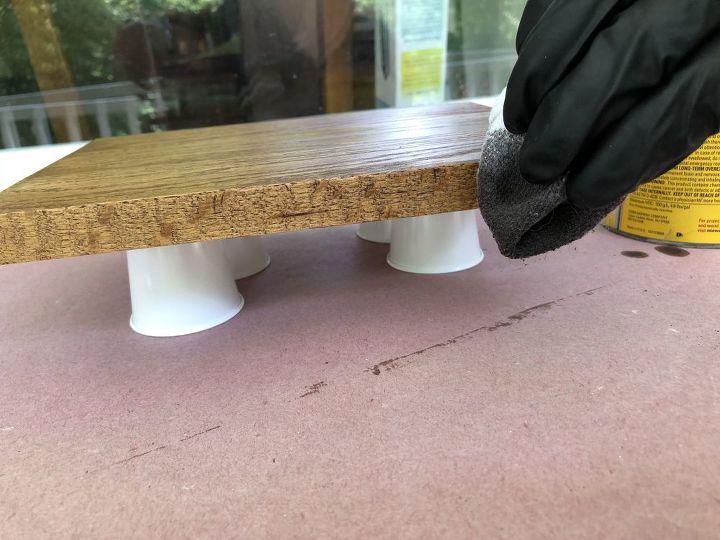
I stained my wood and put it on Dixie cups to get the edges.
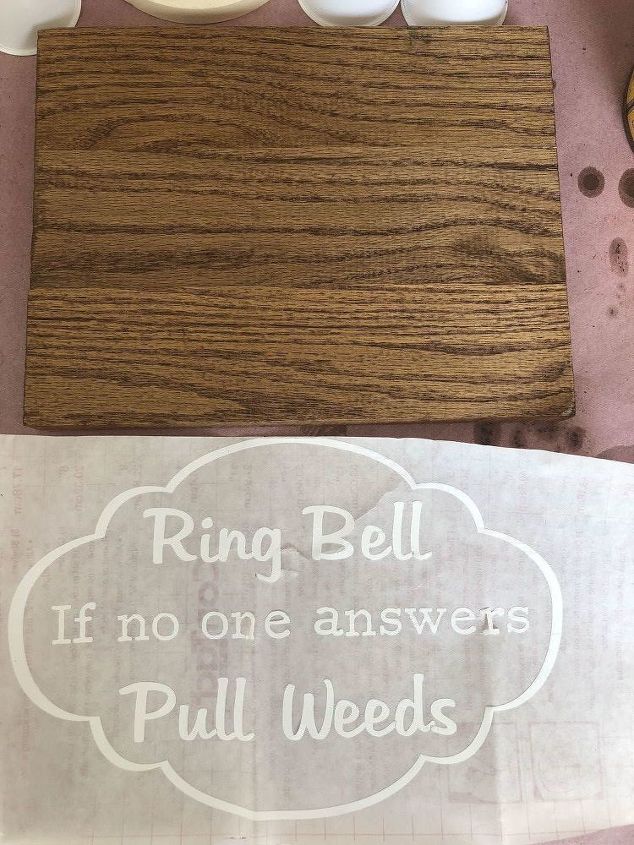
Now, if you have transfer paper or can get it, use that. You press it on the entire image/words and lift them off the waxy paper, press down hard on the wood and Voilà, you're done. Ready to paint. If you don't have transfer paper, you can use Press N Seal but I only had masking tape.
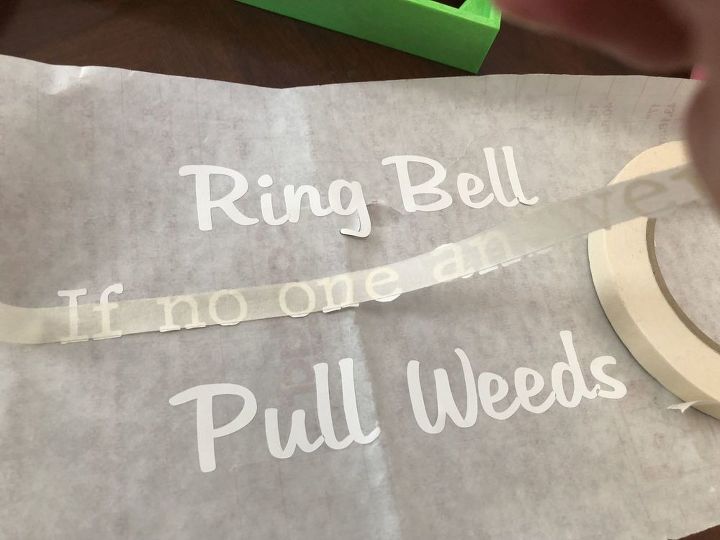
The masking tape worked, but a low tack painters tape might have worked better. The big letters came off easily, the little letters were a bit of a challenge.
This part was so easy!
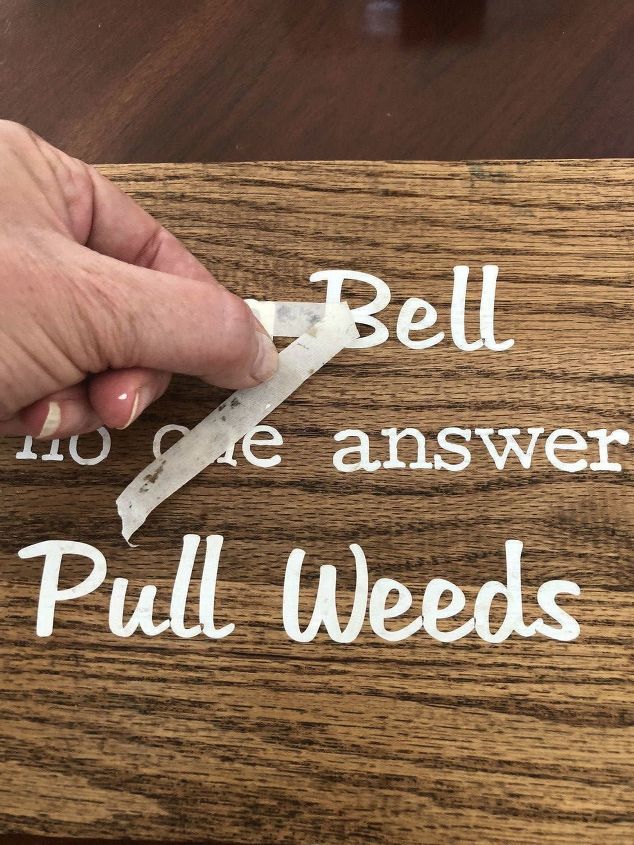
You want to press firmly and then slowly peel back the tape, leaving the letters on the wood. You might have to hold them down with one hand as you are peeling with the other.
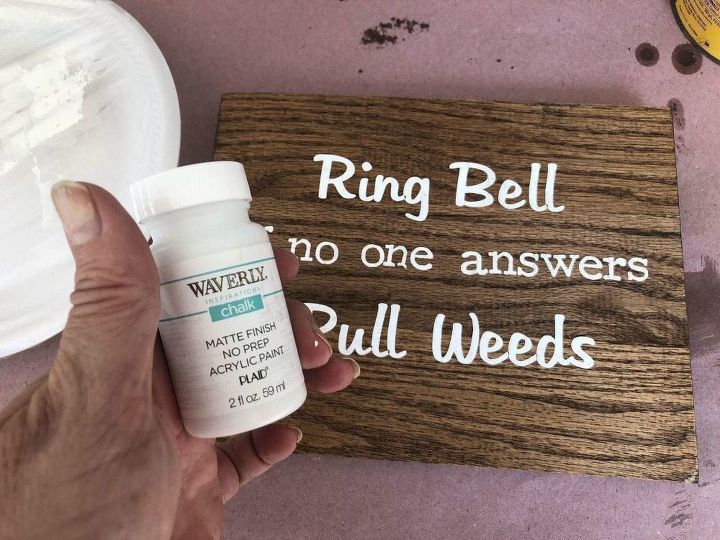
I used chalk paint for this sign.
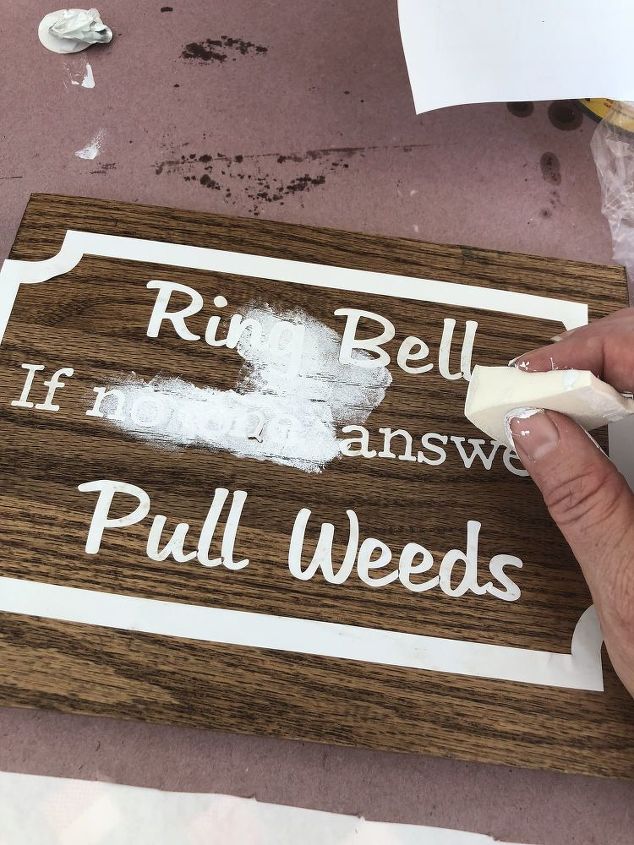
I thought a border might be nice but ended up not liking it and painting over it.
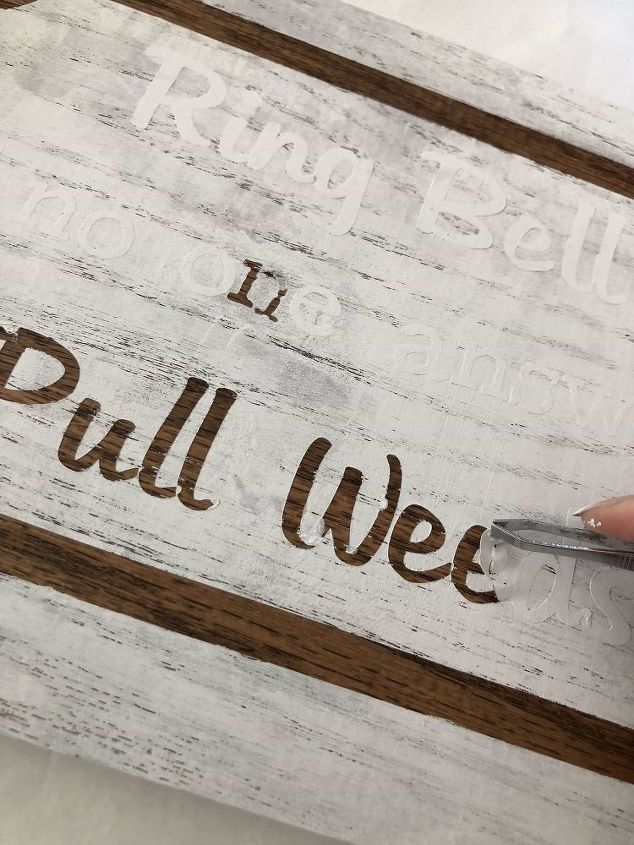
I used a tweezers to remove the letters when it was dry.
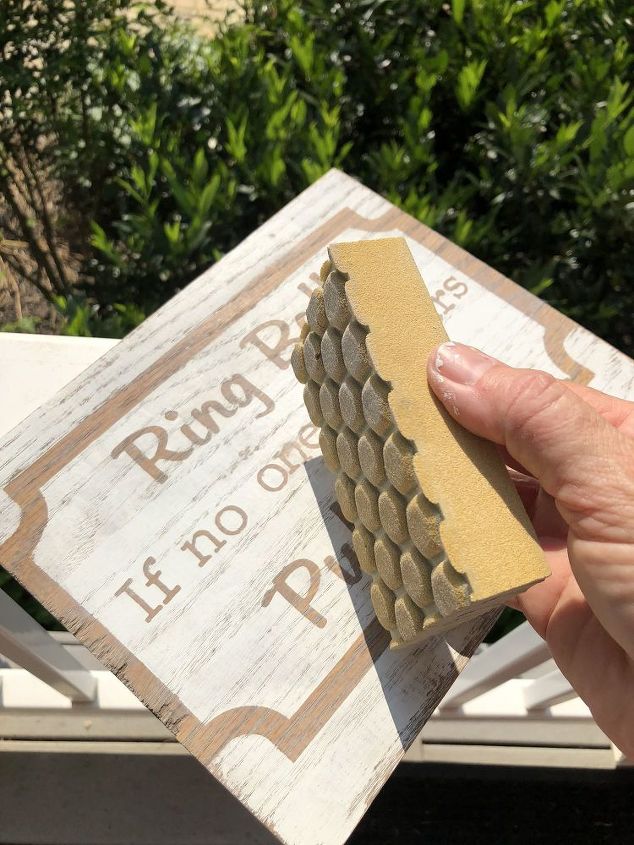
I used a sanding block to give it a lightly distressed look.
And it here it is. A perfectly nice sign and then I proceeded to turn it into an absolute HOT MESS. Some of you may need to avert your eyes over what happens next.
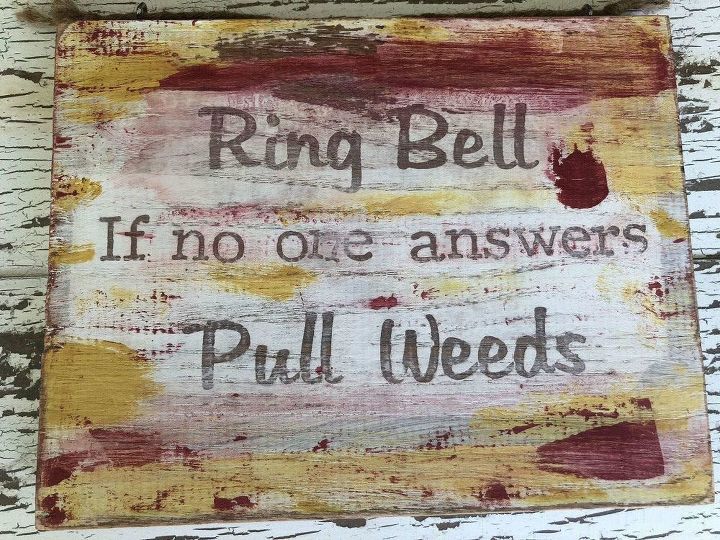
I don't know... it seemed like what I have seen other people do and it usually looks stunning. I mean, Wow. Just, wow, what have I done.
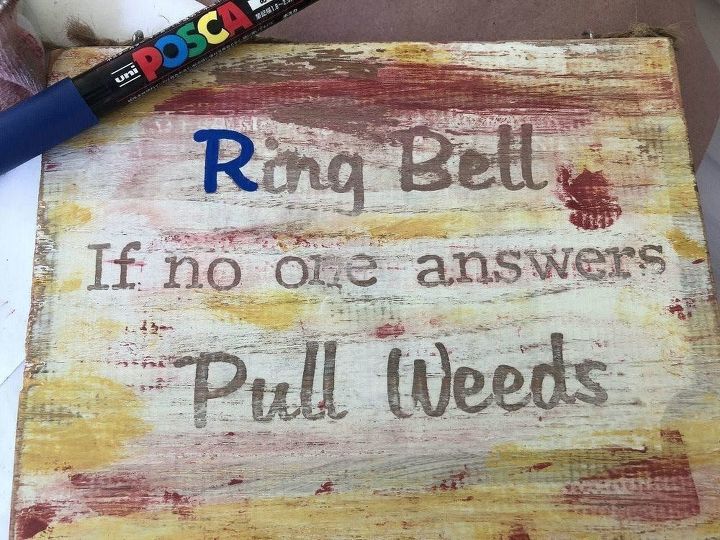
So, I took a paint pen to make the letters more of a focal point.
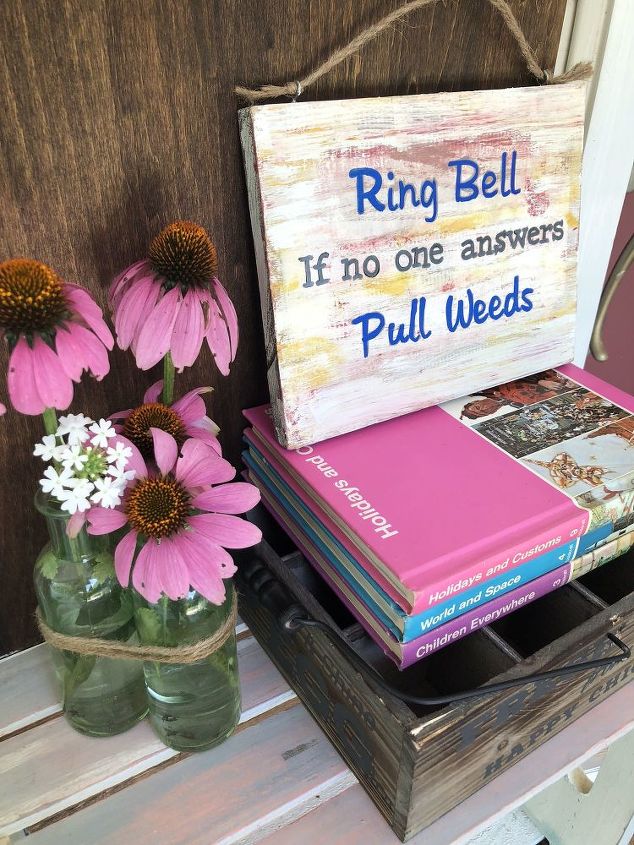
Honestly, I kind of like it. A lot of times when I DIY, I don't take risks and here is evidence that I took some risks and tried something new and I played it out to the end. My mother would say, "I like it. It has character." And I agree. Have you ever had a project that you went too far and wished you could go back a step or two? Were you able to fix it or what did you do?
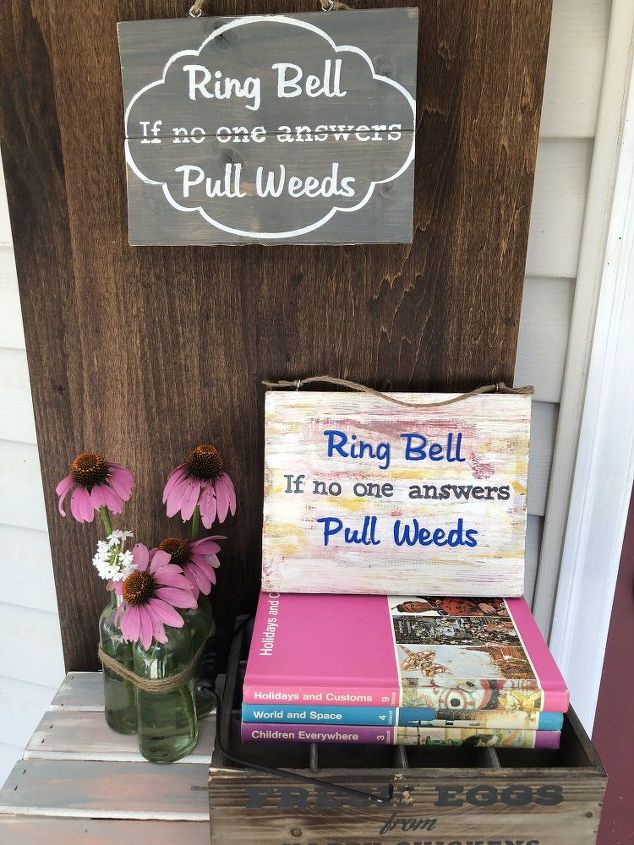
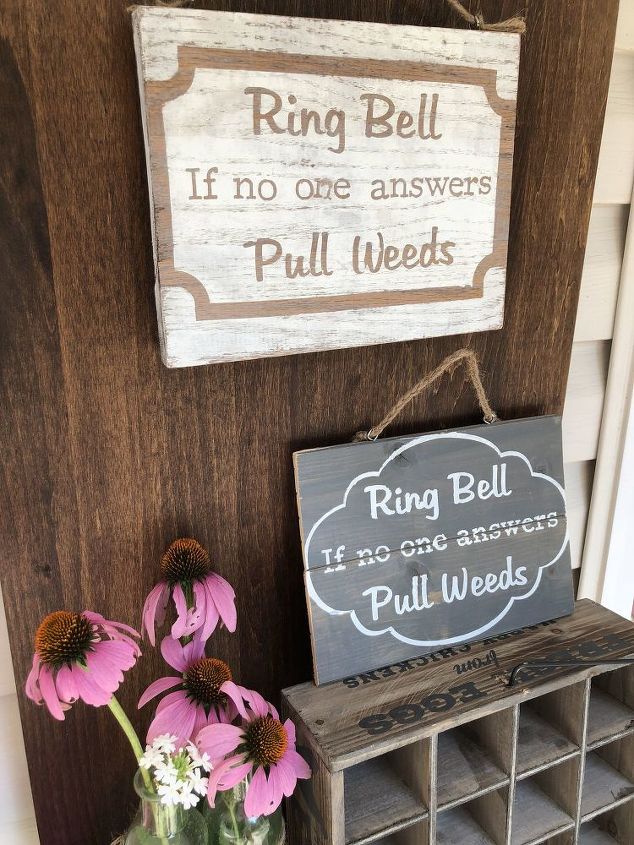
And here are the two signs together. I'm not sure I could have had two more different looks using the same identical words.


Frequently asked questions
Have a question about this project?