


Floating Pine and Cedar Corner Desk

This floating corner desk was a project I recently built for a friend. It's my first project building a piece of furniture for someone else and it was a lot of fun! I'm starting to run out of places to put the stuff I build!
My friend wanted a computer desk and had a vision for a corner desk. He asked me to build it for him and I said "Of course, I always need content for my blog and Hometalk!". From there we went back and forth and brain stormed a few ideas. Eventually we settled on a minimalist floating look. It's simple, but has a wood mosaic that keeps it from looking plain and boring.
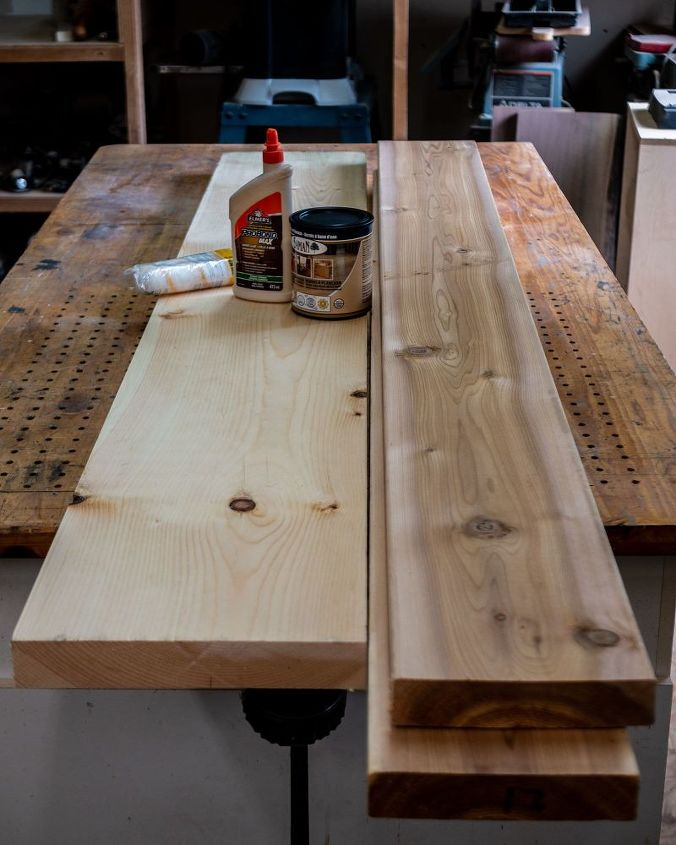
The list of materials used in this project is short. Just some wood, some glue and a glossy varnish.
It's made of red cedar and yellow pine. The pine is moulding grade pine which is generally used for interior trims, like baseboard, mantels and etc. It has minimal knots (but obviously still some) and comes pre-dimensioned. The cedar is just regular old cedar like you might buy to build a desk with, though I took care to buy it from a mill I know stores their cedar inside and out of the elements.
I bought 1 - 2" x 8" x 12' in cedar and cut it in half and 1 piece of 2" x 12" x 6' pine.
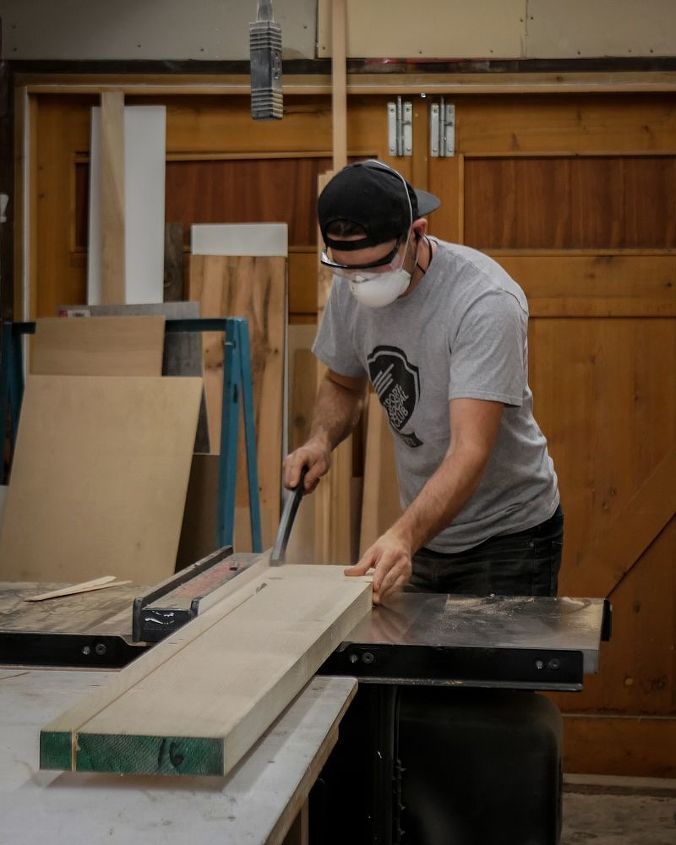
I wanted the desk to be a 1.5" thick. That meant my first job was to cut all of my cedar and pine into 1.5" x 1.5" x 6' rectangular prisms.
It was a pretty time consuming and repetitive job, but to help pass the time I listened to an audiobook while I worked.
In fact, I almost always listen to audiobooks while I'm working in the shop. It's a great way to catch up on reading, which I rarely have time for these days.
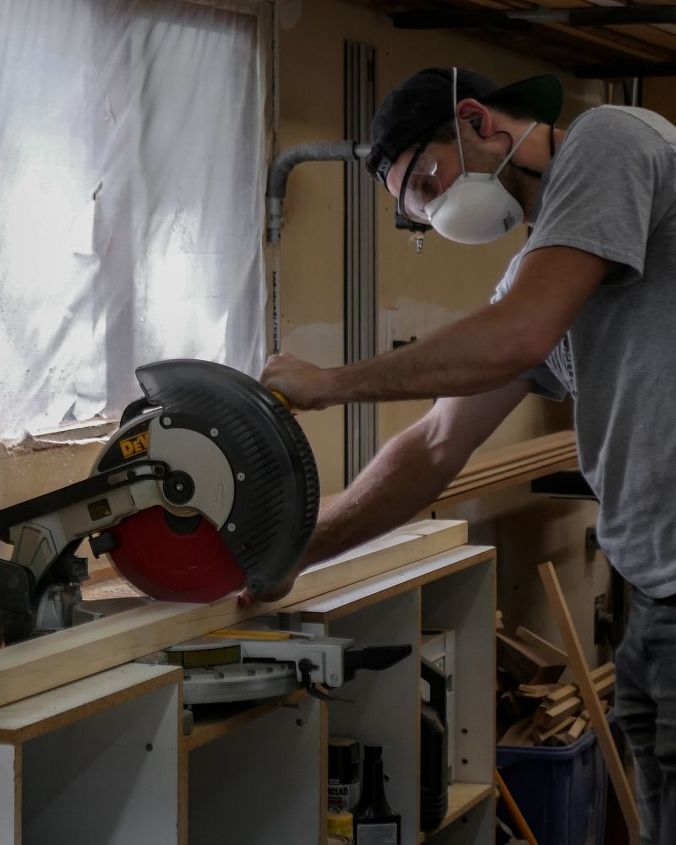
Next, in 1 foot increments, I cut each piece to random lengths with a chop saw.
Most of them are 1' long, but I included a good number of 2s, 3s, and even a couple of 4s. I wanted to keep it visually interesting without looking too busy and I felt this was a good compromise. Let me know if you agree in the comments!

I glued the whole desk together, but before I could do that I had to figure out the pattern I was going to use. Here I am dry fitting all the pieces so that I could find a pattern I liked the look of. I didn't want any of the seems to line up with one another, so it was a bit of a jigsaw.
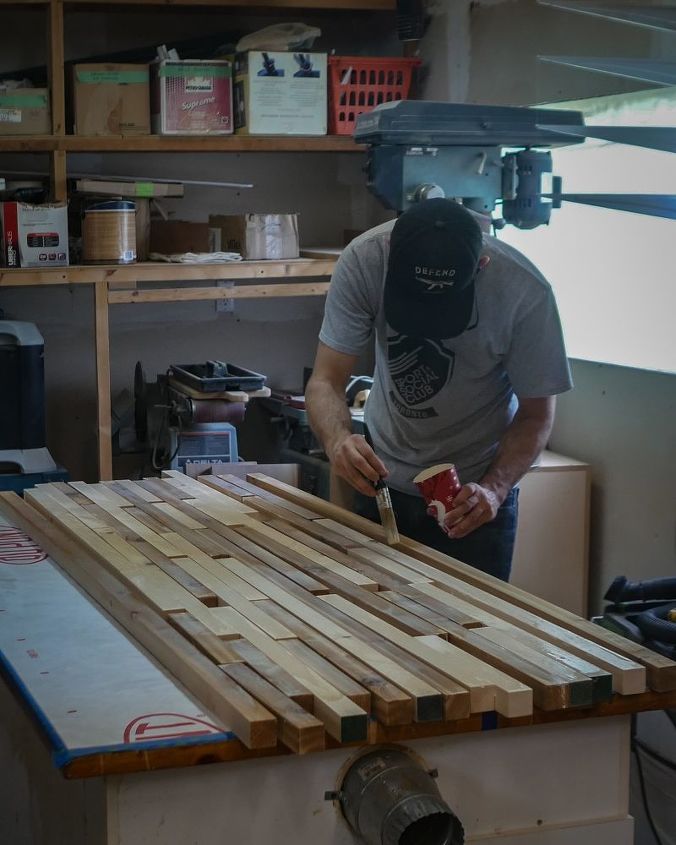
Glue time! You've got to work quickly here otherwise the glue will start to dry before you can finish and you'll be stuck (pun intended) with a sticky mess instead of a nice desk.
I dumped some carpenter glue into an old coffee cup and used a cheapo paint brush to apply it.
In order to extend my drying time a bit I added some water to the glue. My final mix was about 25% water and 75% glue. It definitely helped to extend my drying time, but it also thinned the glue. To compensate for the diluted glue I was very generous while applying it to the wood.
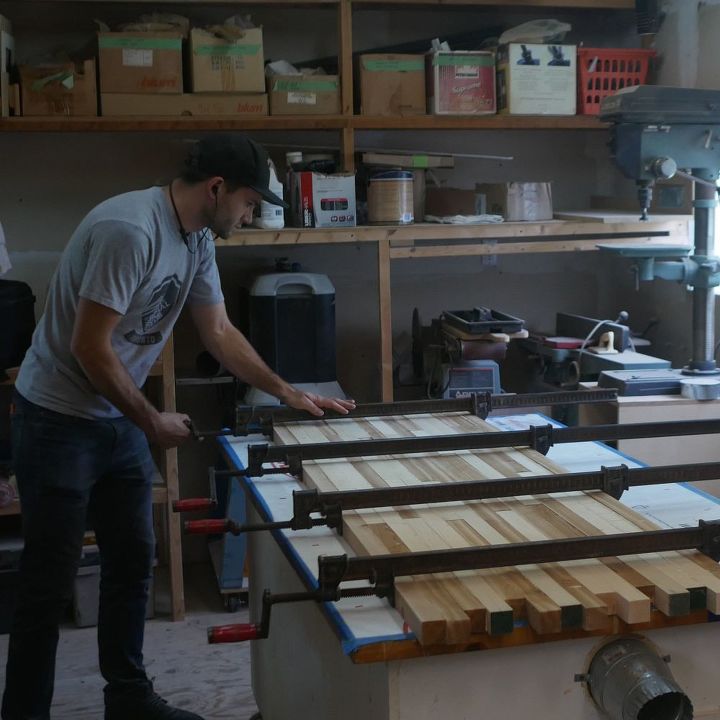
Before I even started gluing I already had my clamps set to the size they would need to be and laid out ready to go. The time saved per clamp might be measured in seconds, BUT, when you're using as many clamps as I did that time adds up.
It's always a rush to get these setup perfectly before the glue starts to go off.
I'd like to pretend that as soon as I took the clamps off the desk it was perfect and ready to go, unfortunately, that just isn't the case. After every glue up there is bound to be some variation in the height and alignment of the pieces of wood.
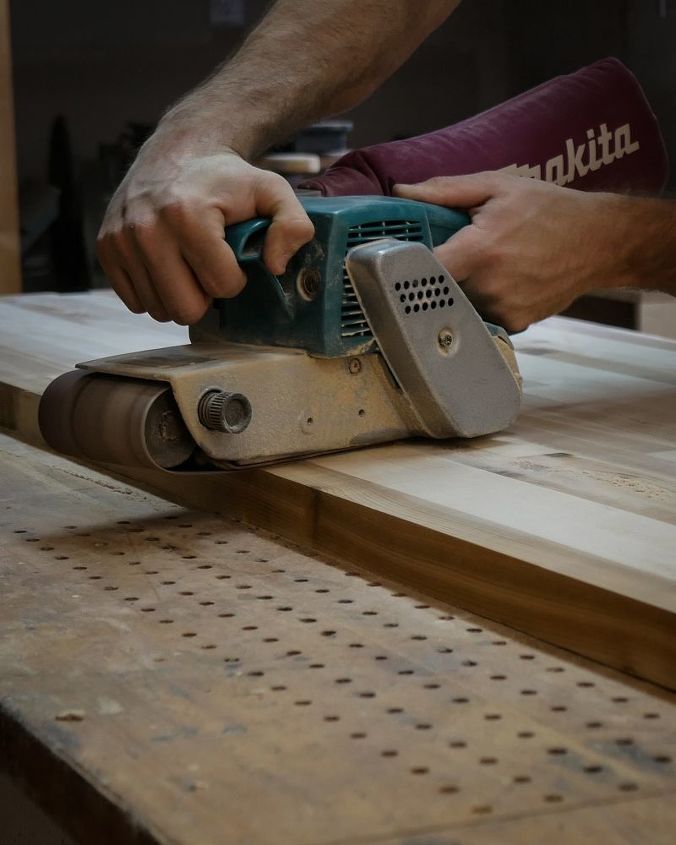
To smooth out the desks surface I spent hours sanding it with my belt sander and an 80 grit sanding belt. The 80 grit belt offered a good balance between speed and "oh crap I didn't move the sander for one second and put huge gouge in my wood!"
Again thankfully I had my audiobook to keep me company during this boring stretch.
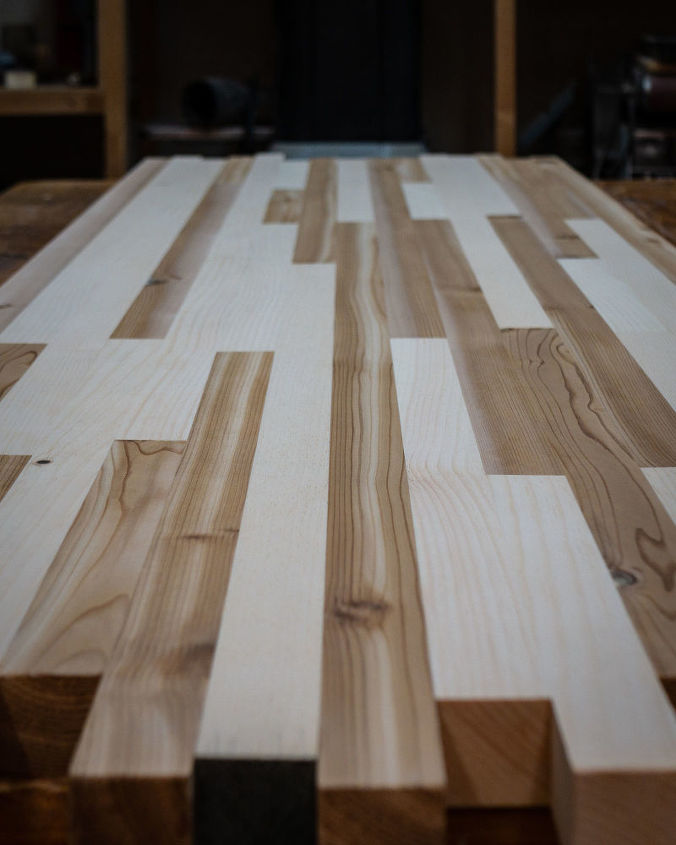
After hours of sanding I ended up with something that looked like this. I really love this stage of the project, I spent so long sanding these separate pieces of wood that they've become seamless to the touch. It really felt like one single surface.

Using my handy digital angle gauge I marked some 45 degree lines on the surface of the desk...
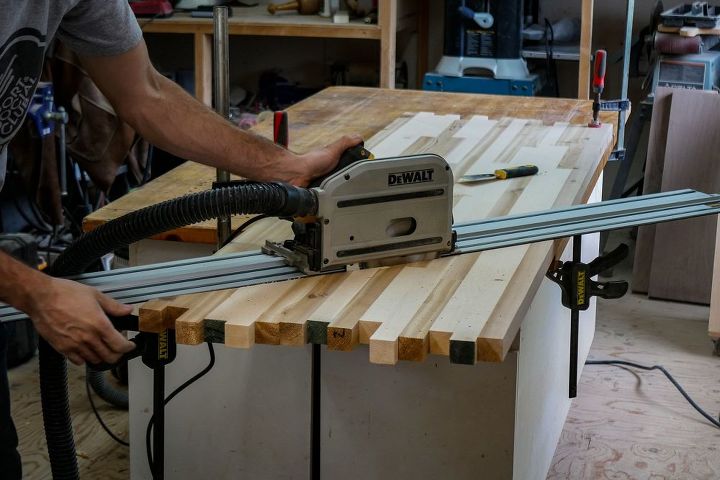
and then using my track saw I extrapolated and cut along them. After I had done both sides I was left with the isosceles trapezoid shape from the first few pictures.
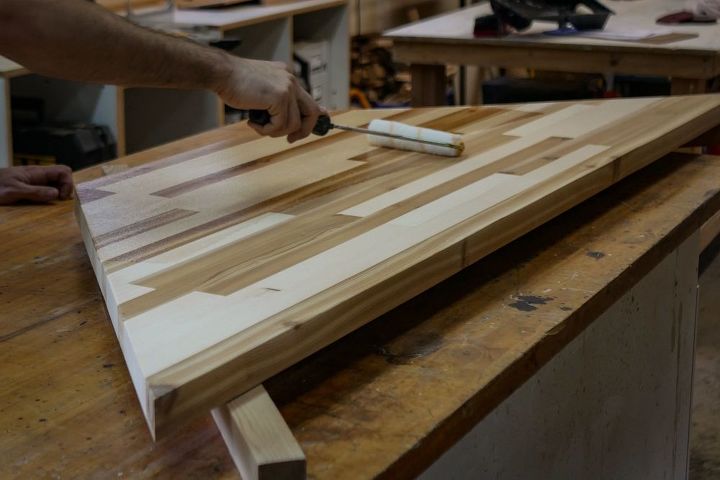
Now it was time for the part of the project I was most anxious for. Normally I clear coat most of my projects with some sort of varnish, but I generally avoid glossy finishes and stick to matte and satin. Glossy finishes tend to highlight small imperfections and even the smallest piece of dust can be visible when caught beneath a glossy clear coat.
Predictably my first coat was a mess of small hairs from the mini roller I used. So much for the "lint free" label.
That's ok though, this was never going to be a one coat project.
I sanded and applied a few more coats and eventually got something I was happy with.

Time to take the desk to my friends place and install it. Using a laser level as a guide for both level and the location of a stud I installed some cedar cleats onto the wall to hold the desk in place.
I used 3" wood screws to secure them in place.
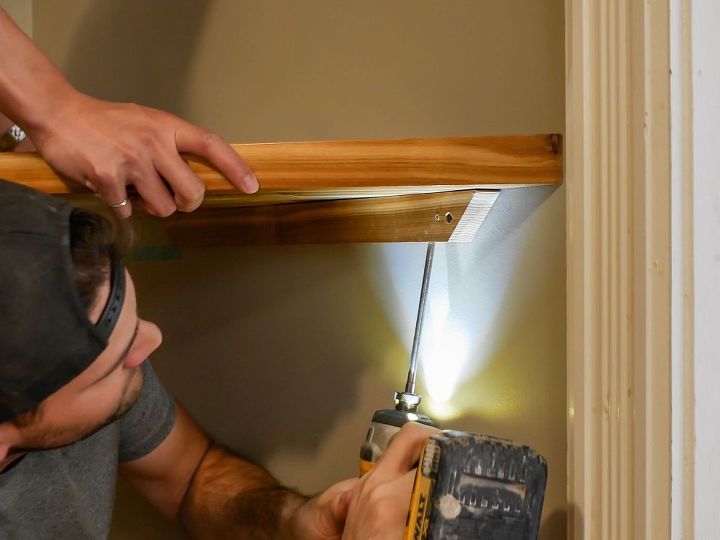
Finally I had to secure the desk to the cleats. I accomplished this by having my friend hold the desk down with all of his weight while I screwed through the cleat and into the bottom of the desk. I used number 10 2" wood screws for extra bite. Woof!
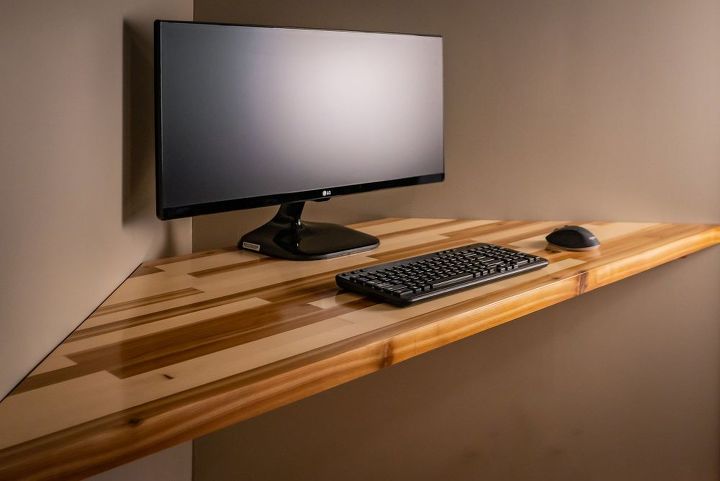
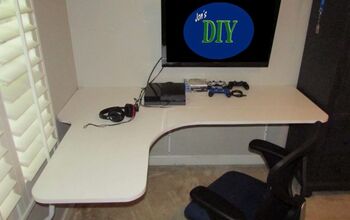
Here's what it looked like all setup with his computer on it. Wow! What a great look. I'm kind of sad I had to give it away in the end, but alas, like I said I'm really running out of places to put my stuff!
This is also one of my first projects that has a glossy finish. Generally I avoid glossy finishes because it's such a pain in the ass to get them perfect, but that's what my friend wanted so who was I to say no! I was just the hired gun who made it.
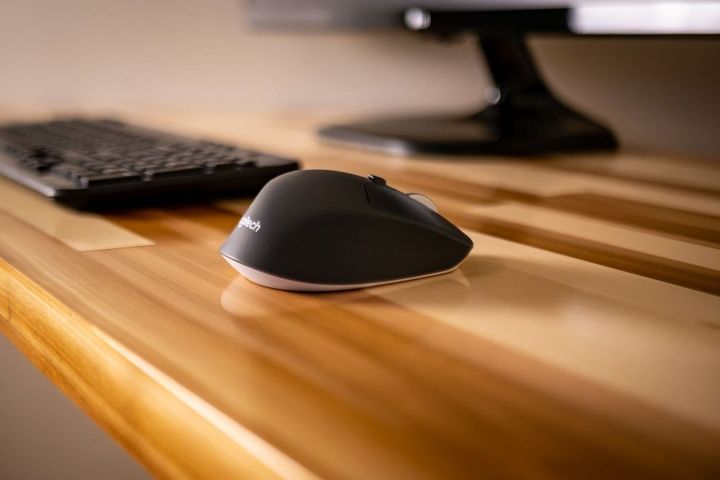
Truth be told I think this looks really good and I'm glad we did it. The finish is so glossy it's reflective!
Thanks for checking out my project, let me know if you have any questions or comments. Also if you follow the link below there's a more detailed build log on my site.
Resources for this project:
See all materials


Comments
Join the conversation
-
Beautiful work! Maybe you could use the triangles for small shelves in corners. I had those at one time.
-
As soon as I saw the picture of the finished desk my first thought was ‘Zac’. And I was right! I always enjoy seeing what types of wood you mixed together this time 👍🏽😊 they’re always a perfect pair


Frequently asked questions
Have a question about this project?
It's gorgeous! What did you do with the "triangles" you cut from the ends?
have you made cutting boards
Absolutely Fantastic !
Want to come & built a whole new kitchen for me ?