


Gorgeous Gold Leafed Table

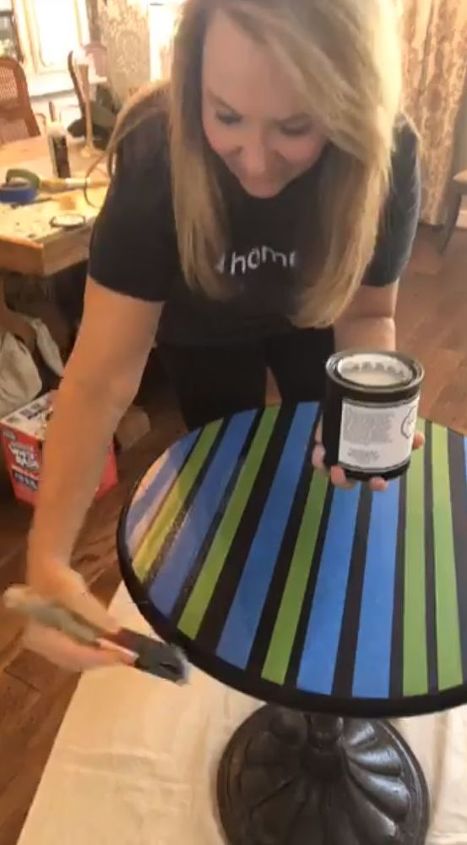
Hi, I'm Rhonda, a Hometalker here in Houston. I recently did a Facebook Live with Hometalk in which I added gold leafing to an old, metal table. In case you missed it, here's my tutorial!
If you're in the Houston area, you can Team Up with me get this look on a piece of your furniture, or to makeover any piece of furniture. Click here to go to my profile page and send me a message to get started!
Years ago, when I started doing DIY projects, it was really hard to get help, especially from somebody who knew what they were talking about. I love this Team Up program, cause you can get experienced help at a reasonable price and feel confident about moving forward with your project!
Now on to the table!
I decided to go with gold leafing, which is coming back into style now. It helped me take this old table from drab to fab. I've added a list of the materials I used below the post.
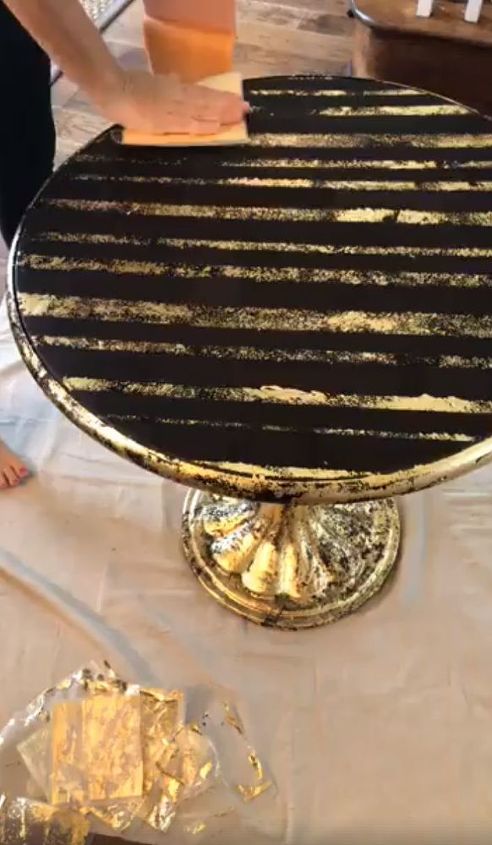
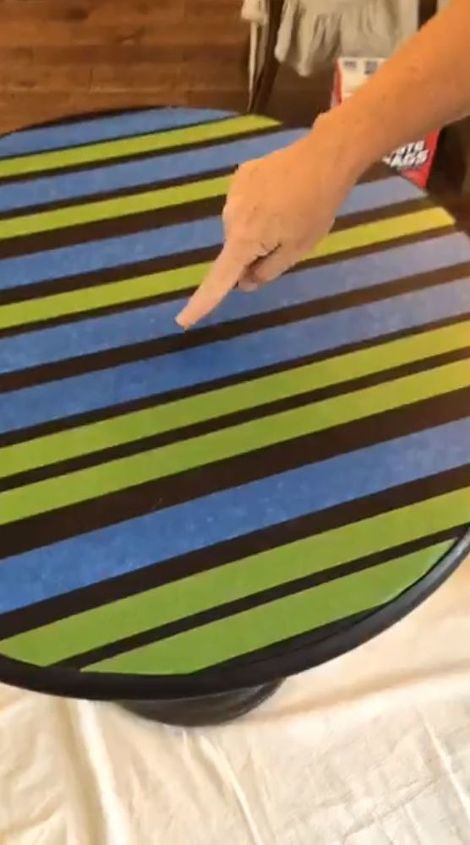
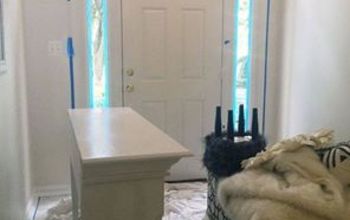
I had a heavy iron table (not wood, metal), and it wasn’t painted so I didn’t sand it, I just cleaned it and created some stripes with painters tape. I wasn't very meticulous about how I laid my stripes, but if you're a little more Type A, you would want to measure your tape as you lay it down.
I began by applying a nice, even layer of the adhesive where I wanted the foil to stick. Foiling and leafing doesn’t like a porous surface, so if you're working with a wood surface, for example, it’s best to seal it before laying the leafing.
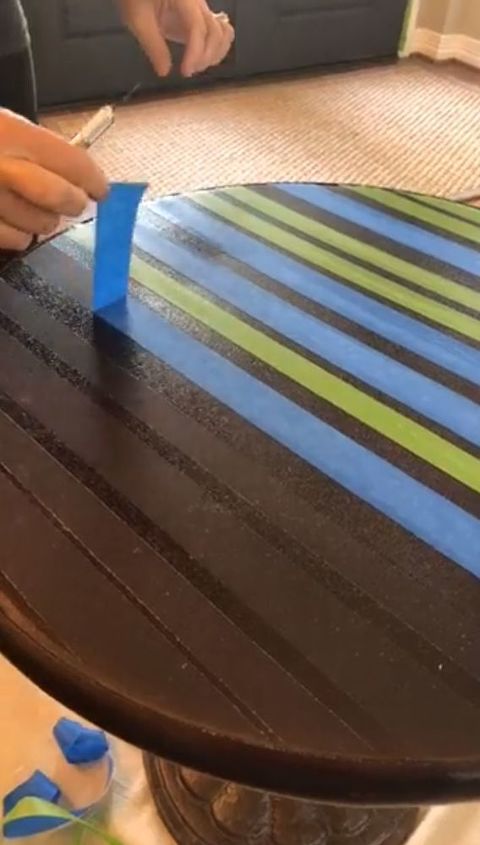
After I finished brushing on the adhesive, I pulled up my tape and left just the stripes of adhesive on the table.
I left it for 10-15 minutes at that point to let it tack up. In the meantime, I added the leafing to the base of the table, which I had already covered with adhesive a bit earlier.
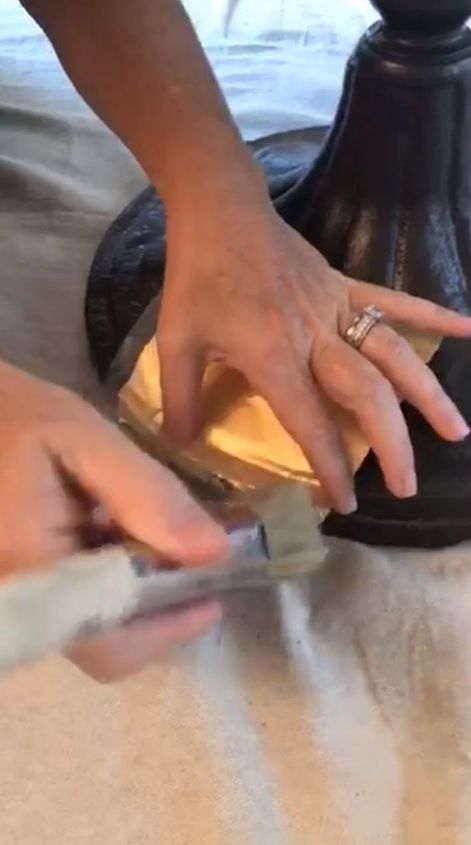
First, I just laid the leafing face down on the surface, then used a brush to gently pounce along the back of the sheet. I wanted a variegated, chippy finish, not a fully smooth cover, so I didn’t work so carefully. If you want a fuller cover, make sure you’ve covered the area well when you’re adding your adhesive.
Once it was stuck down, I used the brush to push it into the nooks and crannies.
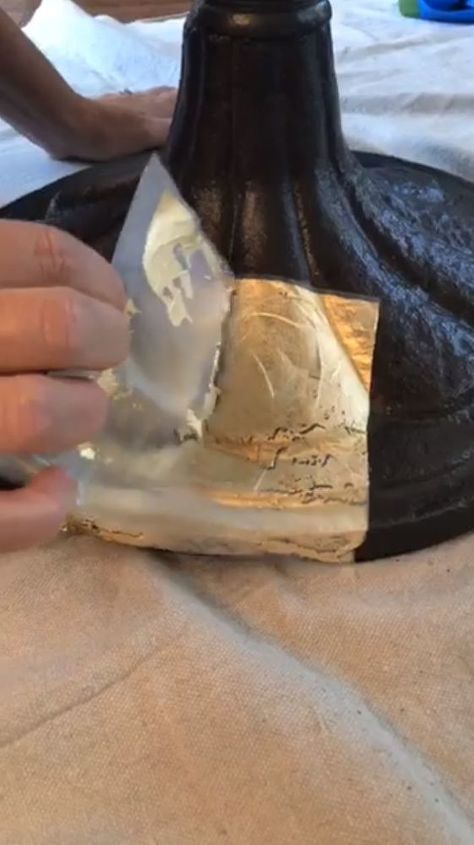
I pressed the edges and corners down with my fingers and smoothed the sheet out. When I felt like the leafing was in the places I wanted it, I grabbed a corner and pulled the wax paper up. I loved the choppy texture it left behind.

I used the brush at this point to press down pieces that weren’t quite stuck.
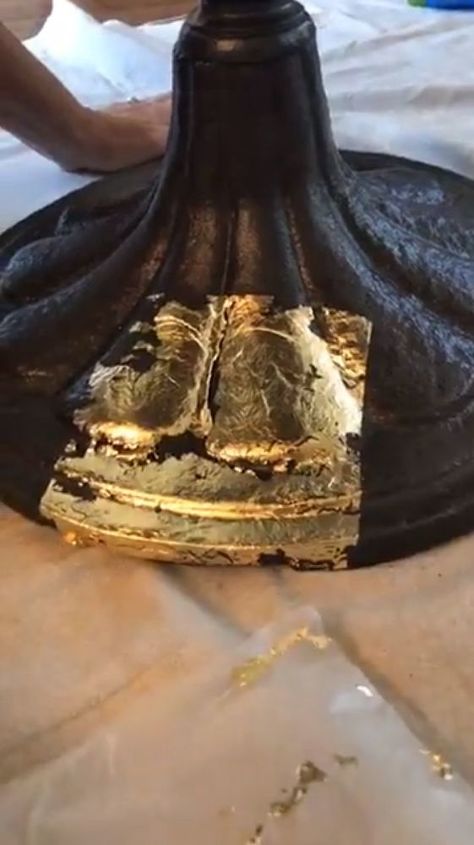
Here's what it looked like after fully applying just the one sheet. Loving the look, but not quite finished!
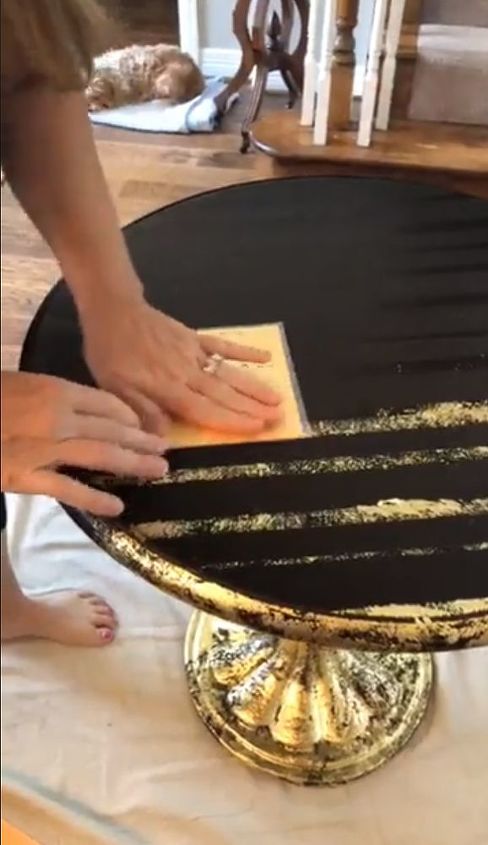
Once the table top was nice and tacky, I followed the same technique here, pressing sheets down on the top and along the rounded edges.
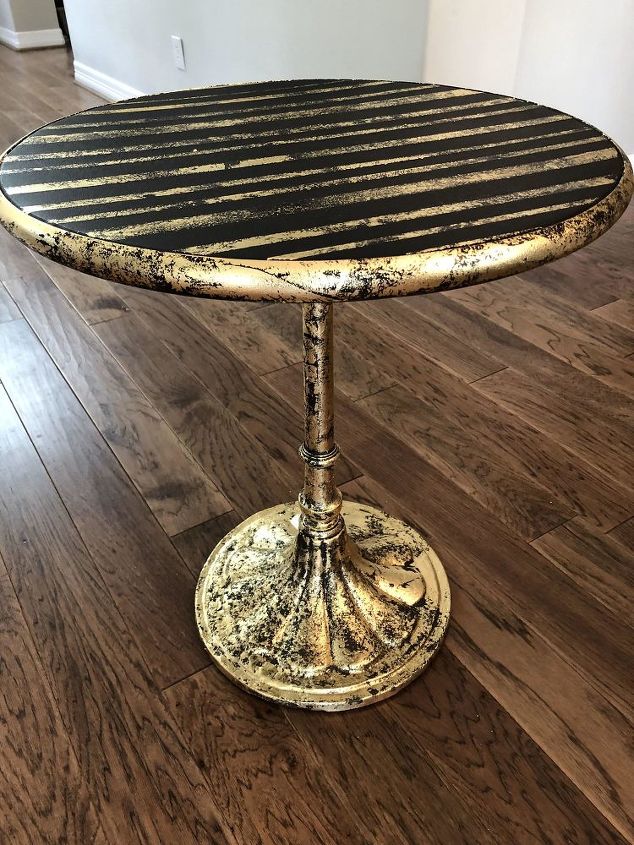
Here it is in all its glory! Isn't the chippy finish just perfect?
I hope you're able to follow the steps and give this beautiful update to an old piece that needs some new life!
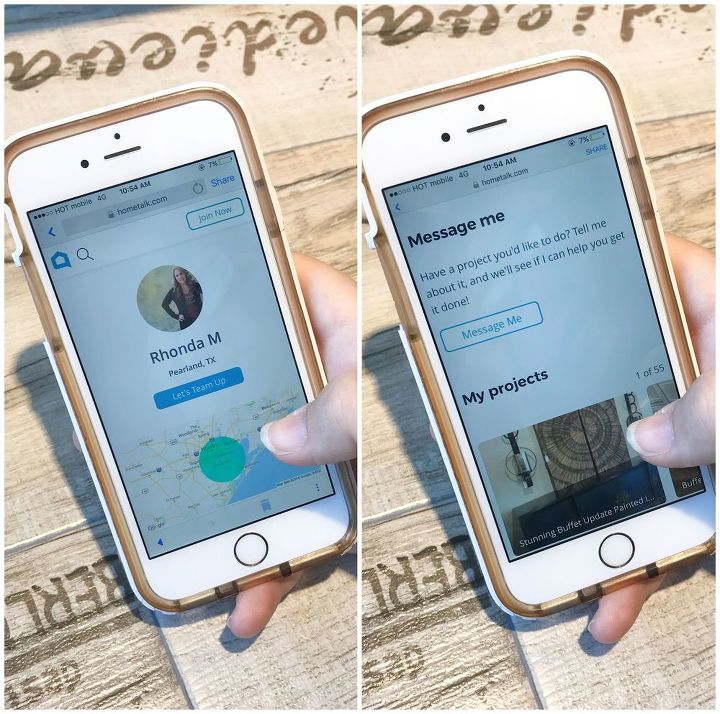
In the Houston area and need some help to get this look? Team Up with me and I'll help you get it done! Click here to go to my profile page, where you can see more projects that I've done and send me a message!
Resources for this project:
See all materials


Comments
Join the conversation
-
Good morning, Rhonda! I love what you did with the gold leaf on the small round table! I am not able to do big projects, but I do make cards at home, and will include gold leaf in the future.
-
Ty for great instructions 💕🙌! Looks beautiful!!


Frequently asked questions
Have a question about this project?
Thank you Wendy! Are you going to bling something up in your home?
Do you seal it when you're done?